9 Powerful Roof Leak Fixing Guide Steps for Emergency Leaks
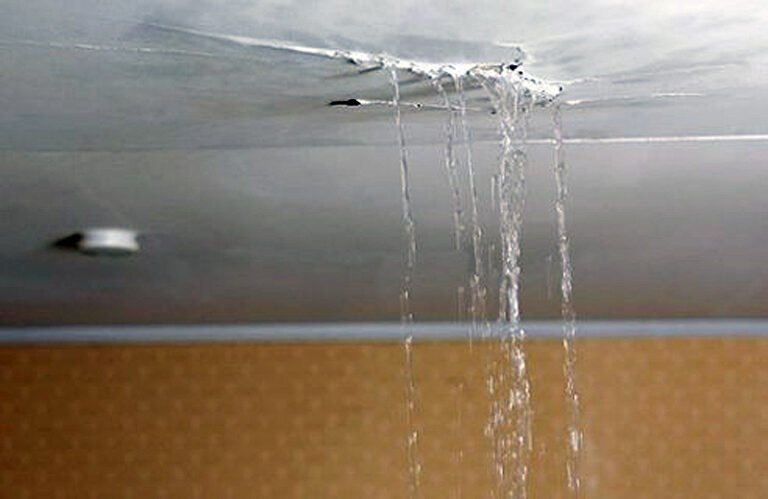
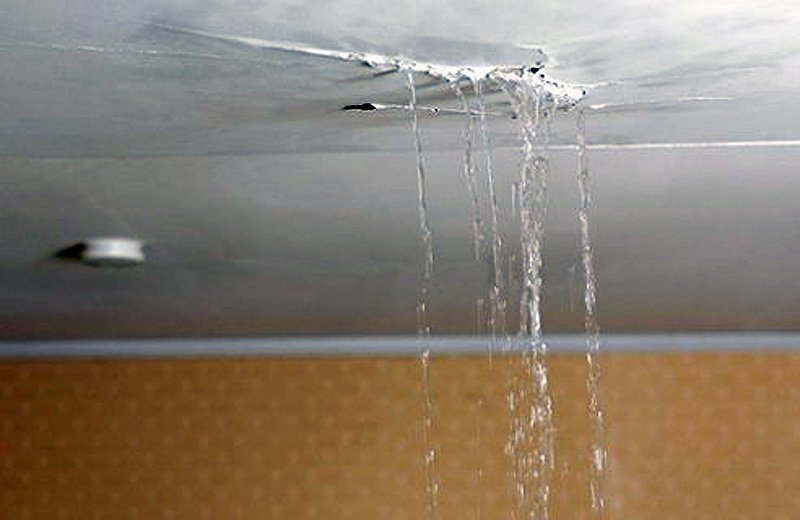
It was 2 AM when I heard that unmistakable dripping sound coming from my living room ceiling. I grabbed every bucket I could find, shoved towels against the baseboard, and just stood there in my pajamas thinking — now what?
If you’ve been through a roof leak emergency, you know that feeling of complete helplessness. The rain isn’t stopping, the ceiling is darkening by the minute, and you have no idea where to even begin.
Here’s the thing though — your first 30 minutes matter the most. What you do (or don’t do) in that window can mean the difference between a $200 patch job and a $4,000 structural repair. I’ve learned this the hard way, and I’ve also helped three of my neighbors get through similar emergencies. So let me walk you through exactly what works.
1. Stop Panicking — Assess First, Repair Second
Sounds obvious, but most people grab a ladder and climb onto a wet roof in the middle of a storm. Don’t do this. You’ll either hurt yourself or make the damage worse.
The very first thing you do is locate where water is entering the room, not where it’s dripping. These are often different spots. Water loves to travel — it can enter at the ridge and drip down 6 feet before it ever hits your ceiling.
Look for:
- Wet insulation in the attic (bring a flashlight)
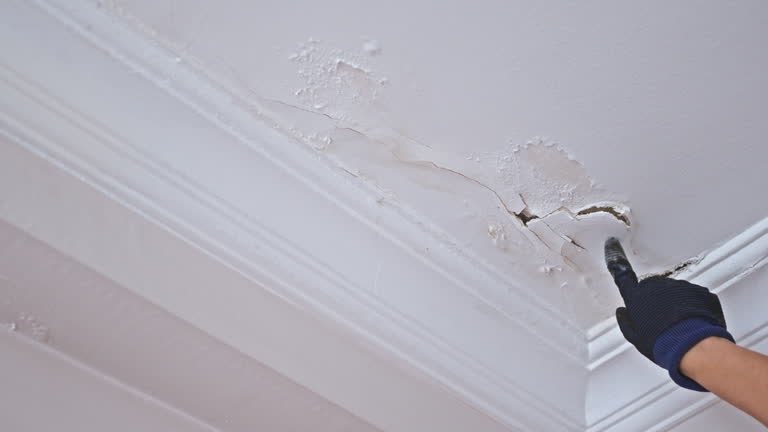
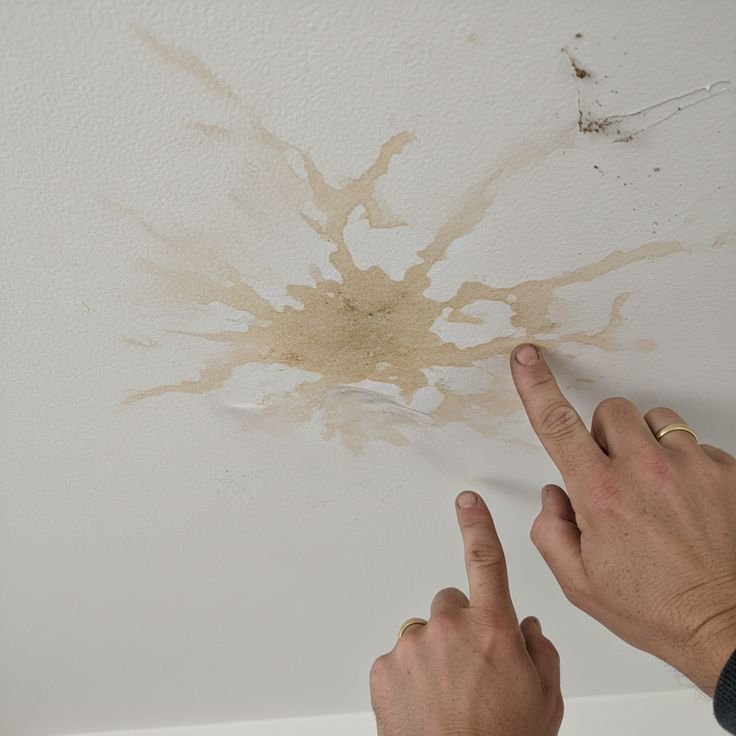
- Water stains that look like rings (older leaks)
- Active drip points vs. damp spots
One quick way to narrow it down — go into your attic during daylight after the storm and look for light coming through. That pinpoints the entry zone fast.
2. Protect the Interior Immediately
Before you touch anything outside, protect your home inside. This step saves furniture, flooring, and your electrical system.
What to do right now:
- Place buckets under active drips
- Lay plastic sheeting or tarps over furniture and flooring
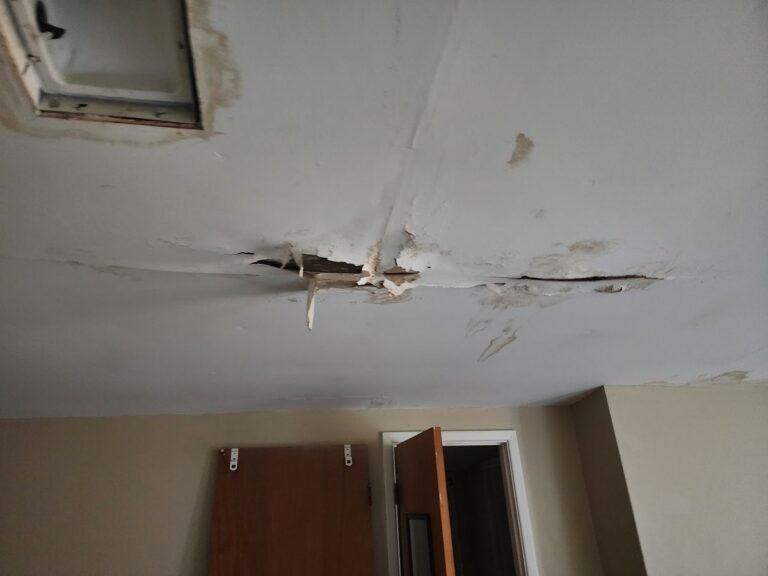
- If water is pooling on the ceiling and bulging, carefully puncture it with a screwdriver to release it in a controlled stream (I know, feels wrong — but a burst ceiling is way worse)
- Flip the breaker for any rooms with water near light fixtures or outlets
I once skipped the electrical part because “it’s just a small drip.” Ended up with a short circuit that cost more than the roof repair itself. Learn from my mistake.

3. Get Into the Attic Before You Get on the Roof
This is the step most DIY guides skip straight past, but it’s genuinely the most useful one.
Your attic is a diagnostic goldmine. Grab a torch (or your phone flashlight) and look for:
| What You See | What It Means |
|---|---|
| Wet rafters or decking | Active leak, entry point nearby |
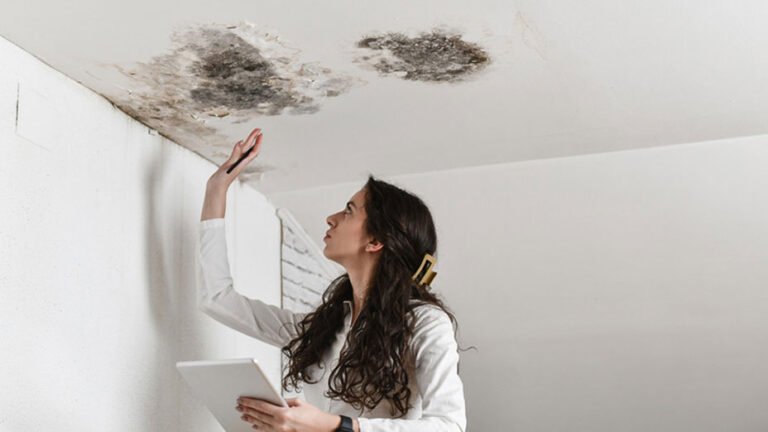
| Black mold spots | Slow, older leak that’s been ignored |
| Daylight through boards | Physical gap or crack in roof structure |
| Wet insulation clumps | Water has been traveling for a while |
| Drip trail on rafters | Follow it uphill to find the source |
Water trails on rafters are your best friend here. Follow the wet line uphill (toward the roof peak) and you’ll almost always find where it’s entering within a foot or two.
4. Temporary Fixes When It’s Still Raining
Once you’ve found the approximate entry zone, here’s how you buy time until the rain stops and you can do a proper repair.
Roofing Tape / Butyl Tape If you can safely access the attic, press roofing tape (something like Gorilla Waterproof Patch & Seal Tape or similar butyl-backed tapes) over any visible gaps or cracks from the inside. This is a temporary measure only, but it genuinely works for 12–24 hours.
Plastic Sheeting on the Roof If the rain has paused even briefly and you can safely get on the roof — which honestly I’d only do on a very low slope — lay a heavy-duty poly tarp over the affected area and weigh it down with 2×4 boards or bricks along the edges. Never staple or nail a tarp during an emergency because you’re just adding more holes.
Roofing Cement (Mastic) If you have access to a visible crack, damaged flashing, or a lifted shingle edge, roofing cement applied with a caulk gun can seal it quickly. Henry’s Wet Patch is one product that actually works in wet conditions — most sealants don’t.
For a deeper look at what repair approaches work best under pressure, these 5 proven roof leak repair hacks that actually work are worth reading before your next storm season.
5. Identify the Real Culprit (It’s Usually One of These)
Once the immediate crisis is handled, it’s time to figure out why the leak happened. Nine times out of ten, emergency leaks come from one of these sources:
Damaged or Missing Shingles Look for shingles that are curled, cracked, or simply gone. Wind is the usual suspect. A missing shingle creates a direct highway for water into the decking.
Failed Flashing Flashing is the metal strip around chimneys, vents, skylights, and roof valleys. It’s the #1 cause of leaks I’ve seen in older homes. It corrodes, pulls away, or was just installed badly to begin with. Run your finger along flashing edges — if it moves or lifts, that’s your problem.
Clogged Gutters Backing Up This surprises people. When gutters overflow, water backs up under the fascia and into the roof edge. Clean gutters literally prevent emergency leaks — not just water damage at ground level.
Cracked Pipe Boots The rubber collar around plumbing vent pipes on your roof degrades over 10–15 years. Once it cracks, every rain event sends water right down the pipe hole into your attic. Easy to spot, easy to replace.
Ice Dams (in cold climates) Not relevant everywhere, but if you’re in a cold region and you see icicles forming at the roof edge, melting ice is likely backing up under shingles.
6. The Actual Emergency Repair Process — Step by Step
Okay, the rain has stopped, it’s daylight, and you need to fix this properly (or at least semi-properly until a roofer can come). Here’s the sequence that works:
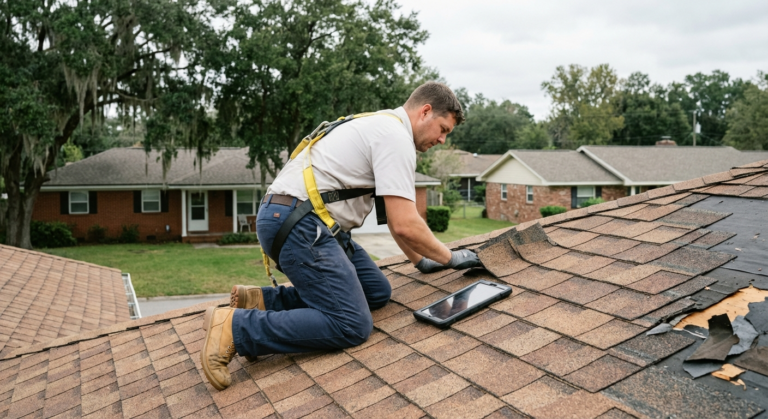
Step 1 — Gear up correctly Non-slip rubber-soled boots, gloves, and if your roof pitch is steep, a roof harness (you can rent these). Never go up alone. Tell someone you’re going up.
Step 2 — Clear the area Remove debris, wet leaves, and standing water from around the damage zone. You can’t repair what you can’t see clearly.
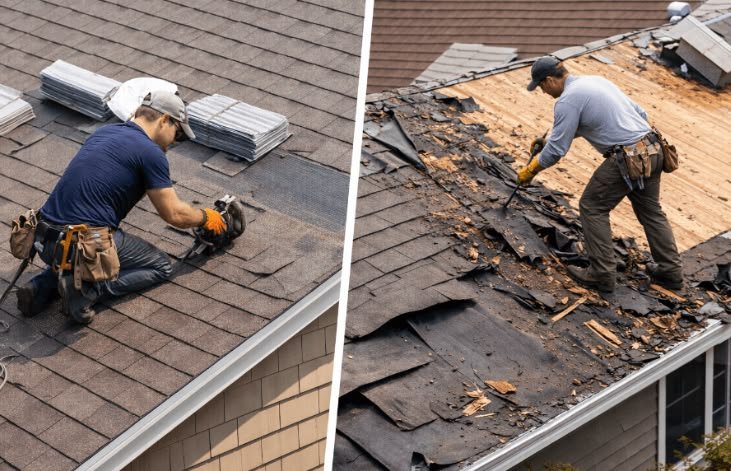
Step 3 — Replace damaged shingles Slide a flat pry bar under the edges of surrounding shingles to expose the nails. Remove the damaged shingle, slide in a new one of matching thickness, nail it down with roofing nails (not regular nails), and apply roofing cement under the edges of overlapping shingles.
Step 4 — Re-seal or replace flashing For minor separation, clean the area with a wire brush, apply roofing cement underneath, and press the flashing back into place. For heavily corroded flashing, it needs full replacement — which is a job worth calling a roofer for.
Step 5 — Seal pipe boots If the rubber collar is cracked, you can get a universal pipe boot replacement for under $20 at any hardware store. Slide it over the existing pipe and secure it. Done in 15 minutes.
Step 6 — Apply sealant over any nail heads or gaps Any exposed nail head in the repair zone gets a dab of roofing cement. This is the most overlooked step and causes re-leaks within weeks.
Step 7 — Test with a hose (don’t wait for rain) Have someone spray water with a garden hose from below the repair zone while you watch from the attic. Work upward in zones and wait 2–3 minutes at each spot. This is how roofers actually confirm a fix.
7. Don’t Make These Common Emergency Mistakes
I’ve made some of these myself, and I’ve watched neighbors make the rest:
Mistake 1: Climbing a wet roof The statistics on roof falls are genuinely alarming. If it’s still raining or the surface is damp — wait. The interior damage from a few more hours of dripping is always less expensive than an ER visit.
Mistake 2: Using the wrong sealant Standard silicone caulk and roof cement are not the same thing. I’ve seen people use bathroom caulk on shingles — it doesn’t bond properly and fails within weeks. Use actual roofing-grade products.
Mistake 3: Only fixing what you can see If water has been present long enough to stain your ceiling, it’s been there longer than you think. Check the surrounding decking for soft spots (a spongy feeling underfoot on the roof surface means rotted decking beneath).
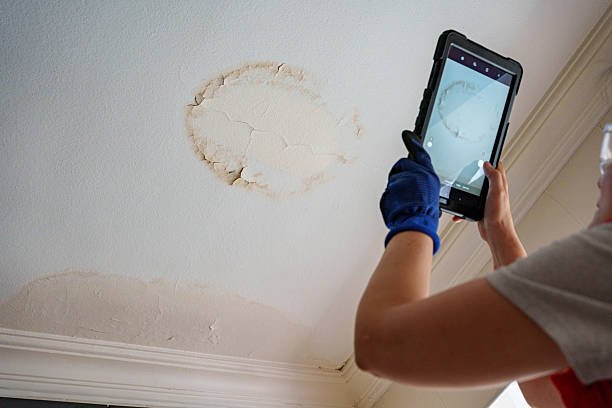
Mistake 4: Not documenting for insurance Take photos and video of everything before you start cleaning up. Roof damage is often covered by homeowners insurance, especially storm-related events. I skipped this once and had no evidence for a claim that would have saved me $1,800.
For a full breakdown of what not to skip, this guide on 11 expert roof leak repair tips for long-lasting results covers the professional checklist really well.
8. Know When to Call a Professional
Look, I’m all for DIY — I’ve fixed my own roof twice now. But there are situations where calling a roofer is just the right call:
| Situation | DIY or Pro? |
|---|---|
| Single cracked shingle | DIY |
| Missing 3–4 shingles in one spot | DIY with care |
| Flashing separation (minor) | DIY |
| Sagging roof deck | Pro immediately |
| Leak near electrical wiring | Pro immediately |
| Widespread shingle failure | Pro |
| Chimney flashing replacement | Pro |
| Insurance claim involved | Get a pro inspection first |
A sagging deck means structural damage — that’s beyond a weekend repair and can become dangerous fast. Same goes for anything near your electrical system.
Most emergency roofers offer same-day or next-day service, and honestly, many will do a temporary emergency tarp install for under $300 just to stop active damage.
9. Set Up Leak Prevention So This Doesn’t Happen Again
Once you’ve handled the emergency and done the repair, take one afternoon to do a basic roof audit. This single habit has saved me from three potential emergencies since I started doing it.
Twice-a-year inspection checklist:
- Walk the perimeter and look at the roof from ground level with binoculars
- Check all flashing for separation or rust
- Clear gutters and downspouts completely
- Look for granule buildup in gutters (granule loss = shingles aging out)
- Check attic ventilation — poor airflow degrades shingles from below
- After any major storm, do a quick visual from ground level before assuming all is fine
Also consider picking up a basic drone — even a cheap $80 consumer drone gives you an aerial view of your roof without ever going up. I started doing this two years ago and spotted a cracked ridge cap I never would have seen from the ground.
If you want to go deeper into prevention habits, these 7 smart roof leak prevention tips that actually work break it down in a way that’s genuinely practical for regular homeowners.
The Real Cost of Waiting
Here’s something nobody tells you until after it’s too late: the longer you leave a roof leak — even a small one — the more expensive the repair gets. What starts as a $150 shingle replacement can turn into $2,000+ of decking replacement, insulation removal, and drywall repair if water sits in those spaces for weeks.
The emergency response matters. The speed matters. But so does follow-through after the storm.
I’ve had neighbors “patch it for now” with a bucket and forget about it for two months. By the time they called a roofer, there was mold in the attic and the decking needed full replacement on a 6-foot section. The original fix would have been one afternoon.
Treat a roof leak the way you’d treat a chip in your car’s windshield — small now, catastrophic if ignored.
One more thing worth your time before your next inspection season: check out these 8 proven roof leak maintenance ideas that save money — some of the maintenance angles in there I genuinely hadn’t thought of before reading it, and a few of them take under 30 minutes to implement.
Stay dry out there.
About the Author