11 Smart Roof Leak Repair Tips I Learned the Hard Way
Let me be honest with you — I had absolutely no idea what I was doing the first time my roof started leaking.
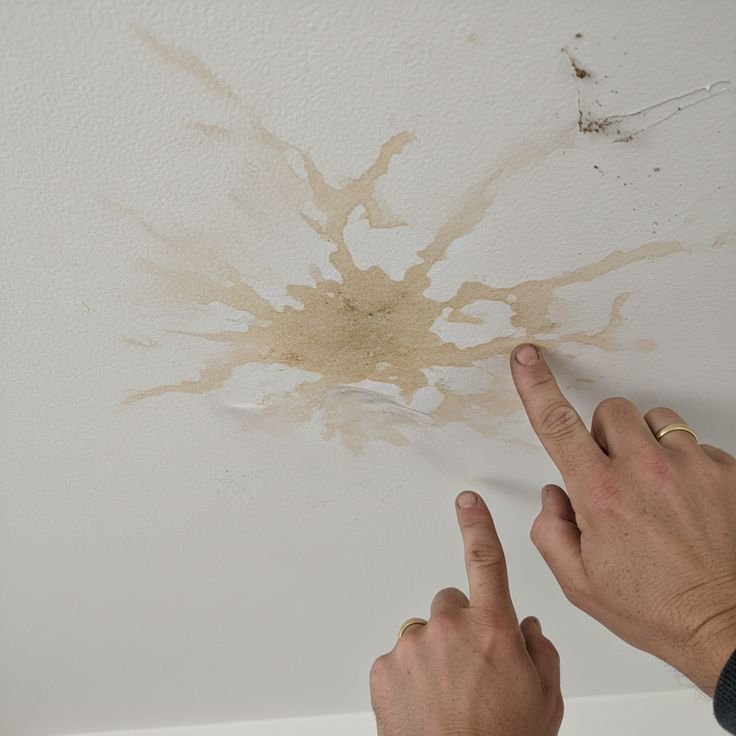
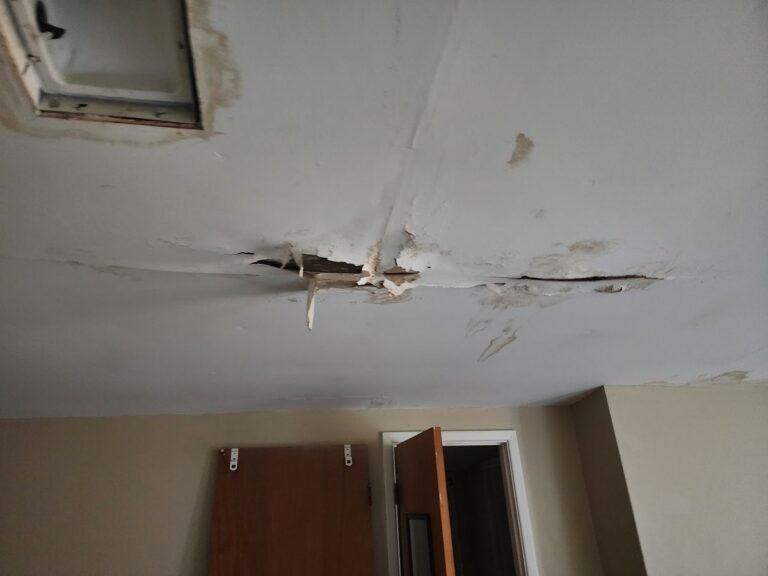
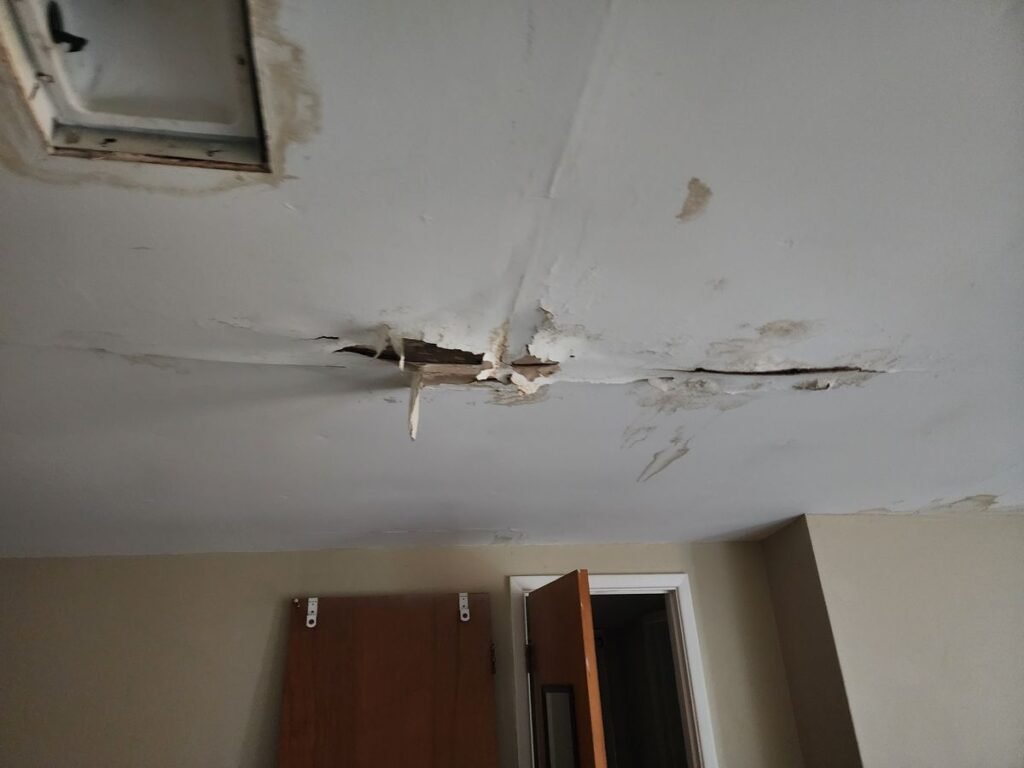
It was a Tuesday night, raining like crazy, and I noticed a dark stain spreading across my bedroom ceiling. My first instinct? Grab a bucket and Google “how to fix a roof leak” at midnight. What followed was three weeks of trial and error, one ruined weekend, a slightly strained relationship with my neighbor (long story involving a borrowed ladder), and eventually — a fully repaired roof that’s held up for two years now.
So yeah, I learned most of this the hard way so you don’t have to. These aren’t tips I copied from some contractor’s brochure. This is real stuff that actually worked — or didn’t, and taught me something valuable anyway.
1. Find the Actual Source Before You Touch Anything
This sounds obvious, but hear me out — the spot where water drips inside your house is almost never directly below where the leak actually is on the roof.
Water travels. It slides along rafters, beams, and underlayment before finally dripping down somewhere completely unrelated to the entry point. I wasted an entire Saturday morning patching a shingle that had nothing to do with my leak.
What actually works:
- Go into your attic with a flashlight during or right after rain
- Look for water trails, stains, or wet insulation — follow them up and back toward the ridge
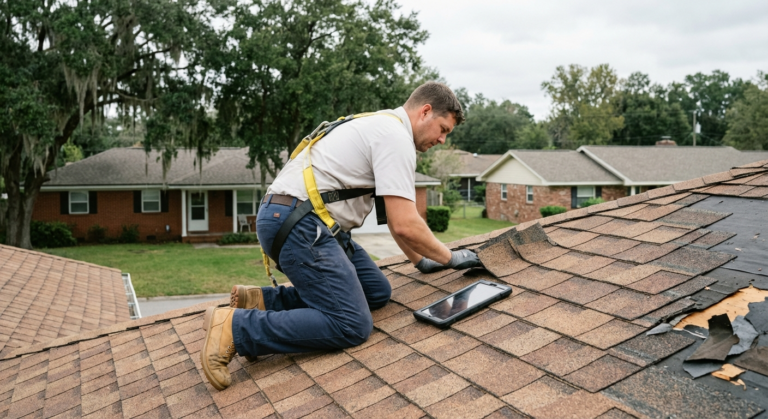
- Use a garden hose with a helper inside the house — start low on the roof and slowly move up, section by section, until your helper spots dripping
The hose method is slow but incredibly accurate. Don’t skip it.
2. Flashing Is Usually the Culprit — Not the Shingles
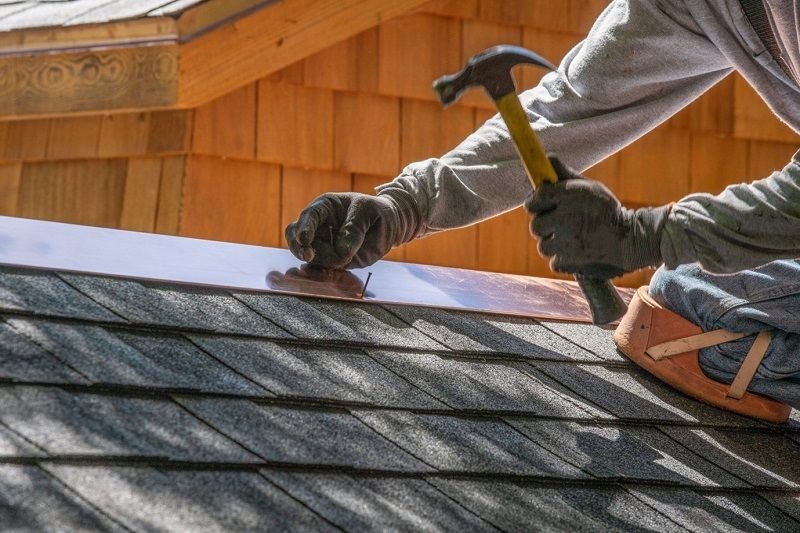
I spent so much time obsessing over my shingles when the real problem was the flashing around my chimney. Flashing is the thin metal (usually aluminum or galvanized steel) that seals joints — around chimneys, skylights, vent pipes, and where your roof meets a wall.
Over time, the caulk or sealant around flashing cracks, shrinks, or just gives up. And that’s all it takes for water to sneak in.
Check the flashing first, especially if your roof is older than 10 years. Run your finger along the edges — if the sealant feels brittle or you can lift the metal even slightly, that’s your problem.
I used a product called DAP Dynaflex 230 to re-seal mine and it’s held up through two monsoon seasons here. Just make sure the surface is completely dry before you apply anything.
3. Roofing Cement Is Your Best Friend for Emergency Fixes
Before you can get a proper repair done, roofing cement (also called roofing mastic or tar) buys you time. It’s thick, sticky, and waterproof.
When I found a cracked shingle and a small gap near a vent boot at 6 PM on a Friday — with rain forecast overnight — roofing cement was my hero. I stuffed it into the gap with a putty knife, smoothed it out, and it held for three weeks until I could do a proper fix.
Quick tip: Wear gloves you don’t care about. This stuff is basically impossible to get off your hands without turpentine.
Look for Karnak 19 Ultra Rubberized Flashing Cement or Henry 208R — both are solid choices you can find at any hardware store or online.
4. Don’t Ignore Soft Spots on Your Roof Deck
When I finally got up on my roof (safely — more on that in a second), I noticed one area near the leak felt slightly spongy when I stepped on it. That’s rotted decking, and it’s a sign water has been getting in much longer than you realized.
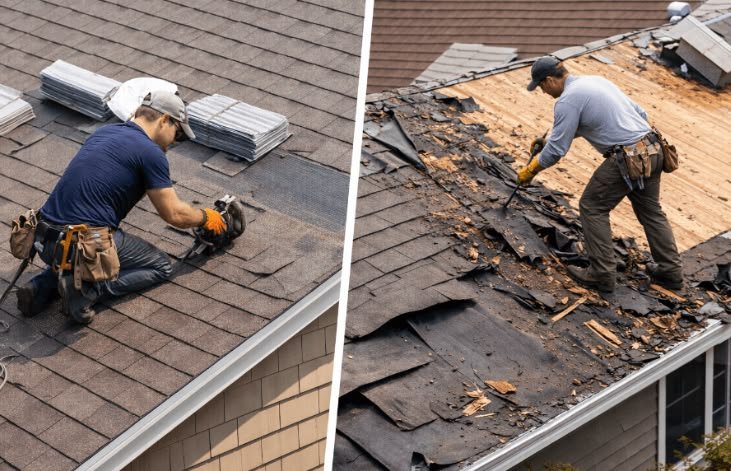
Soft spots mean the plywood or OSB underneath your shingles has absorbed water and started to break down. You can’t just slap shingles over that — it won’t hold nails properly, and the problem will come back fast.
If you find soft spots, the decking section needs to be cut out and replaced. It’s more work, but skipping this step means you’ll be back on the roof again in six months.
A moisture meter (I use the Dr. Meter MD812) is surprisingly handy here — you can check wood moisture levels without tearing anything apart first.
5. Nail Pops Are a Silent Leak Starter
Here’s one I genuinely didn’t know until my roofer pointed it out. Over time, roofing nails can work their way up (called “nail pops”) due to temperature changes causing the wood to expand and contract. When a nail head pushes up through a shingle, it creates a tiny hole — tiny enough to ignore, big enough for water to use.
Walk your roof (carefully) and look for small bumps in shingles. Press them down. If they spring back up, the nail underneath has backed out.
Fix: Hammer the nail back flush, then cover it with a small dab of roofing cement. If the shingle is damaged around the nail, it needs to be replaced.
6. Vent Boots Crack and Nobody Talks About It
Those rubber collars around your plumbing vent pipes sticking out of the roof? They’re called vent boots, and they’re made of rubber or plastic that eventually cracks and shrinks — usually after 10–15 years.
I had zero idea this was a thing until water started coming in near my bathroom. Turns out the vent boot had split right down the side. The shingles were completely fine.
Replacing a vent boot is actually easy:
- Carefully lift the shingles around the boot (don’t break them)
- Remove the old screws or nails holding the base
- Slide the old boot off the pipe
- Slide the new boot on (universal fit ones work for most standard pipes)
- Re-secure and press the shingles back down
The whole job took me about 45 minutes. Cost: around $15–20 for the part.
For a complete walkthrough on what to check before and after this kind of repair, this guide on 9 Smart Roof Leak Fix Guide Basics for Quick Repairs has some solid additional advice.
7. The Valley Is a High-Risk Zone
Roof valleys — the V-shaped channels where two roof slopes meet — handle a massive amount of water runoff. They’re one of the most common leak spots and also one of the most overlooked during DIY inspections.
Check that the valley flashing is lying flat with no lifted edges, and that there’s no debris (leaves, twigs, moss) building up in there. A clogged valley can back water up under your shingles.
I cleared out a thick layer of decomposed leaves from mine and installed some zinc strip along the ridge — zinc naturally kills moss and algae and washes down the valley when it rains, keeping it cleaner longer.
8. Attic Ventilation Problems Can Mimic Roof Leaks
This one really threw me off. I kept finding moisture in my attic and assumed my roof was leaking. Spent two days going over every inch of shingles and flashing — nothing.
Turned out my attic had a ventilation problem. Warm, humid air from inside the house was getting trapped in the attic, hitting the cold roof deck, and condensing into water droplets. Classic condensation — and it looks exactly like a leak from below.
How to tell the difference:
- Condensation tends to be spread across a wide area rather than localized
- It’s usually worse in winter and on cold mornings
- You’ll see moisture on the underside of the decking rather than running down rafters
The fix: make sure your soffit vents aren’t blocked (I had insulation stuffed right up against them — oops), and consider adding a ridge vent if you don’t have one.
9. Always Fix Gutters Before Assuming Roof Damage
Overflowing or poorly angled gutters can cause water to back up under your roof edge (the fascia area) and drip into your walls or ceiling — mimicking a roof leak perfectly.
Before climbing up on your roof, check this first:
| Issue | What to Look For | Quick Fix |
|---|---|---|
| Clogged gutters | Overflow during rain | Clean and flush gutters |
| Sagging gutters | Water pooling inside | Re-hang with new spikes/screws |
| Missing end caps | Water pouring off sides | Replace or seal end caps |
| Wrong slope | Standing water after rain | Re-pitch the gutter run |
I re-pitched my gutters slightly and suddenly a “roof leak” at the corner of my house completely stopped. Didn’t touch a single shingle.
10. Safety First — and I Mean This Seriously
I know this sounds like something you skip past in articles, but I want to be real with you: roofs are dangerous. I slipped once — just once — and caught myself on the ridge. My heart was pounding for a solid 10 minutes.
My actual setup now:
- Non-slip shoes — I use old running shoes with grippy soles, not boots (boots are actually harder to feel the surface through)
- Roof brackets and a plank — you can rent or buy these, they hook under your shingles and give you a flat platform to stand on
- Safety harness — yes, even for “quick” jobs. I use a basic construction harness from Amazon, less than $40
- Never work alone — someone needs to know you’re up there
And don’t work on a wet or damp roof. Ever. The surface looks dry but can be slick enough to send you sliding. Wait at least a couple hours after rain.
For more practical safety guidance before you get up there, I’d recommend reading through 8 Essential Roof Leak Fix Guide Safety Rules Before Climbing a Roof — genuinely useful stuff.
11. Know When to Call a Professional
After all my DIY adventures, here’s the honest truth: some jobs are beyond what a homeowner should attempt.
Call a roofer if:
- You have widespread damage across multiple sections
- Your roof is steep (anything over a 6:12 pitch is tricky without proper equipment)
- You suspect structural damage to rafters or trusses
- The leak is near electrical components in the attic
- You’ve tried fixes and the leak keeps coming back
Getting three quotes is standard — don’t just call one company. And ask specifically whether they’ll do a full inspection or just fix the obvious problem. A good roofer will check surrounding areas too.
I eventually called a professional for my chimney reflashing because no matter what I tried, that area kept weeping during heavy rain. The roofer found that the step flashing behind the chimney had been incorrectly installed years ago — something I never would have caught on my own.
Common Mistakes I Made (So You Don’t Have To)
Here’s a quick summary of the facepalm moments so you can avoid them:
| Mistake | What Happened | What to Do Instead |
|---|---|---|
| Patching without finding the source | Leak came back in 2 weeks | Always trace water trails first |
| Using regular caulk instead of roofing sealant | Cracked within months | Use roofing-specific products |
| Working right after rain | Nearly slipped off roof | Wait until roof is fully dry |
| Ignoring soft decking | Had to redo the repair | Fix rot before re-shingling |
| Skipping the attic check | Wasted hours outside | Start inspections from the attic |
| Only patching visible damage | Missed cracked vent boot | Do a full roof inspection every time |
A Few Products Worth Having on Hand
If you’re going to do any DIY roof maintenance, keep these in your garage:
- Roofing cement (Henry or Karnak) — emergency patching
- Self-adhesive flashing tape (Grace Ice & Water Shield) — incredibly versatile
- Roofing nails and a hammer — obvious, but have them ready
- Moisture meter — tells you how bad wood damage is before you tear things apart
- UV-resistant sealant — for anything that’ll be exposed to sun long-term
- Wire brush — cleaning rust off old flashing before sealing
Keeping a Roof Repair Log
One thing that’s genuinely helped me is keeping a simple notes document (I use Google Keep, nothing fancy) where I log every repair I do — date, location, what I used, how long it took. When a new issue shows up, I can check if there’s a pattern. It’s also helpful if you ever sell the house and want to show buyers you’ve been on top of maintenance.
For ongoing maintenance habits that help prevent issues before they start, 7 Smart Roof Leak Fix Guide Maintenance Habits That Prevent Leaks is a good reference to bookmark for seasonal checkups.
Wrapping It All Up
Roof leaks have a way of teaching you humility fast. One minute you’re confident, patching a shingle like a pro, and the next you’re standing in your attic at night with a headlamp wondering why it’s still dripping.
But honestly? After going through all of this, I feel genuinely capable of handling most residential roof issues myself. And it’s not because I’m especially handy — it’s because I stopped guessing and started being methodical about it.
Start in the attic. Trace the water. Check the flashing and boots before you panic about shingles. Use the right products. Be safe. And know when the job is bigger than your skill set.
Your roof is one of the most important things protecting your home. A little attention twice a year — spring and fall — can prevent the 2 AM ceiling disaster entirely.
Also worth reading: 6 Essential Roof Leak Fix Guide Basics Before the Rainy Season — a practical pre-rain checklist that’s helped me stay ahead of problems before they start.
About the Author