7 Proven Roof Leak Repair Tips That Cut Repair Costs
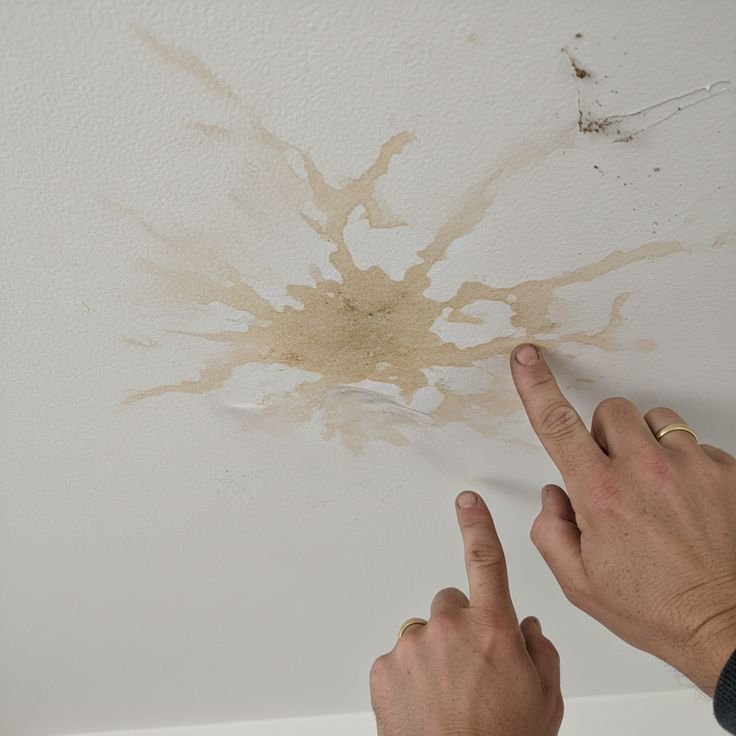
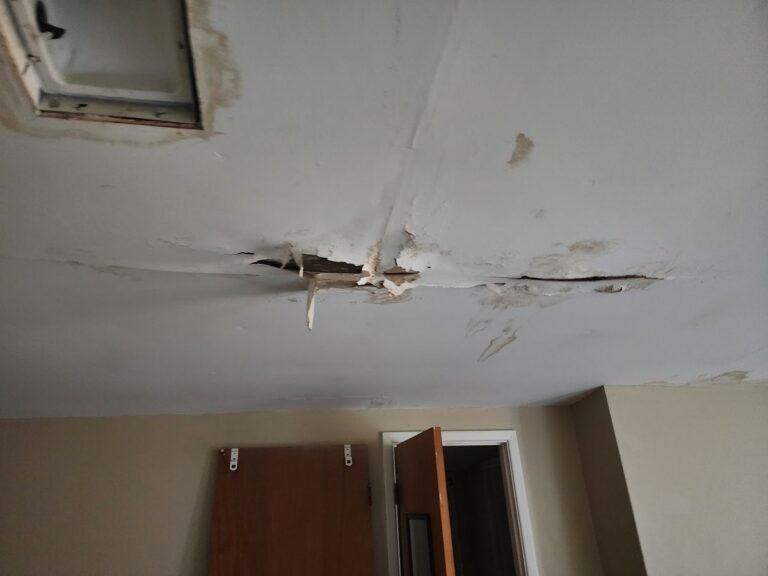
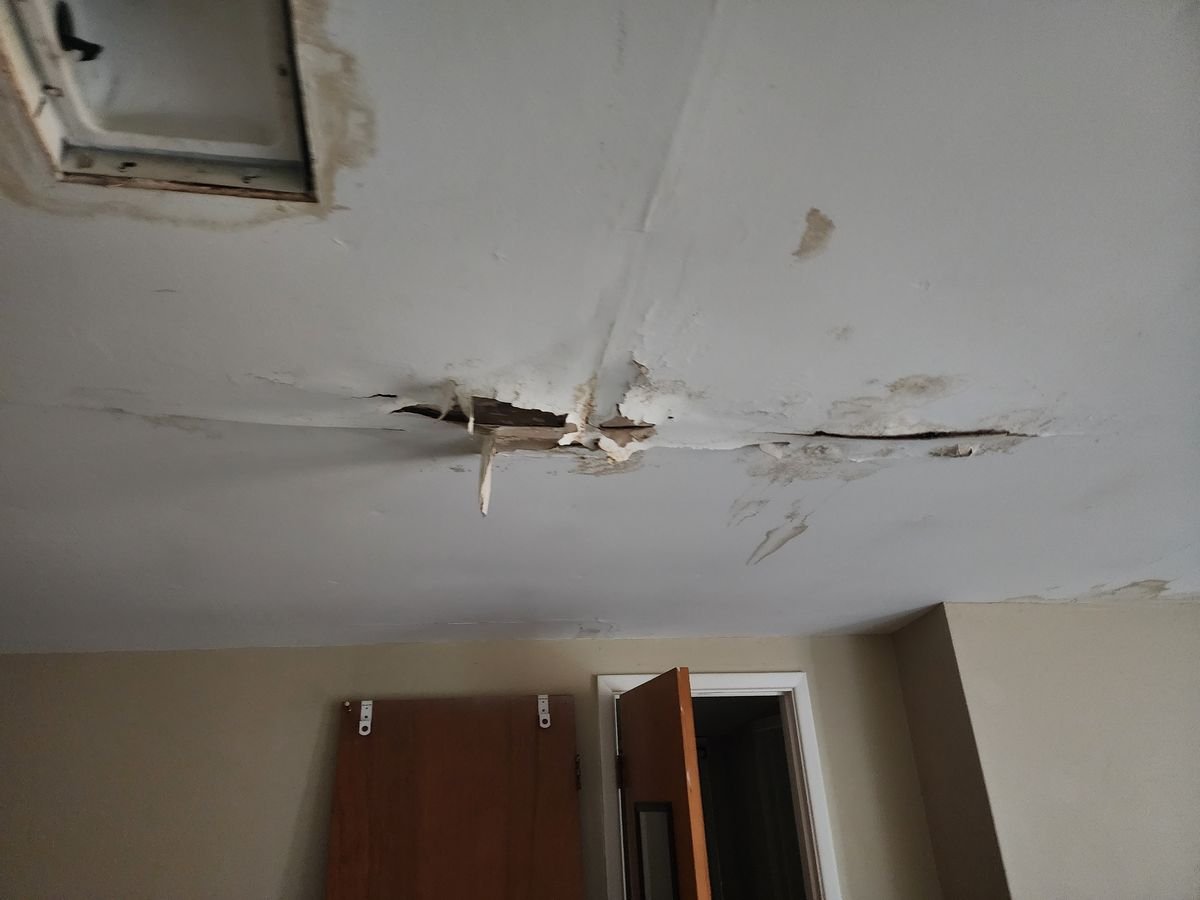
Last monsoon season, I learned a very expensive lesson. Water started dripping from my ceiling right above my living room couch — not a dramatic pour, just a steady, maddening drip. I put a bucket under it, told myself I’d deal with it “tomorrow,” and two weeks later, I had a damaged ceiling, warped floorboards, and a repair bill that made me want to cry.
The roofer who eventually showed up told me something I’ll never forget: “Most of the damage here wasn’t from the leak itself. It was from waiting.”
That hit differently. Because most of us treat roof leaks like minor inconveniences until they become major disasters. I’ve since fixed three roof leaks myself — two minor, one moderate — and saved somewhere around $1,400 in contractor fees by knowing what to do and when to do it.
Here’s everything I wish I’d known from the start.
1. Find the Actual Source Before You Touch Anything
This sounds obvious, but it’s where most people (including past me) go wrong immediately.
Water doesn’t leak where you see the stain. It travels. It runs along rafters, drips down insulation, and pools somewhere completely unrelated to the actual entry point. I once spent an afternoon patching around a vent pipe because there was a water stain nearby — completely wasted effort. The real culprit was a cracked flashing joint about four feet away.
How to actually track the source:
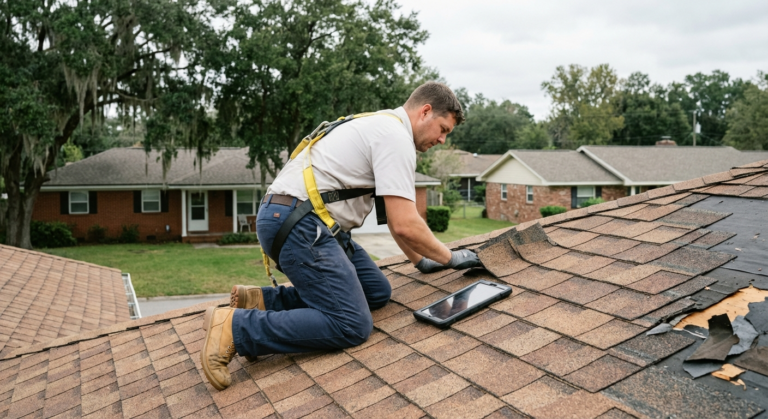
- Go into your attic during or right after rain
- Use a flashlight and look for water trails, dark stains, or wet insulation
- Follow the trail uphill toward the roof peak — that’s where it entered
- If it’s dry outside, use a garden hose. Have someone inside watch while you wet different roof sections methodically, starting from low and moving up
Don’t guess. Confirm the source first. Every repair you do before finding the actual source is money and time wasted.
2. Act Within 24–48 Hours — Even If It’s Just a Temporary Fix
I cannot stress this enough after my living room disaster.
Water damage compounds fast. What starts as a small entry point can saturate insulation, rot wood decking, encourage mold growth, and compromise your ceiling drywall — all within a few days of continuous moisture exposure.
If rain is coming and you can’t do a full repair immediately, at minimum do this:
- Cover the affected area with a heavy-duty poly tarp (at least 6 mil thickness)
- Secure it over the ridge so water runs off rather than pooling
- Use roofing nails or sandbags to hold it down — don’t trust just the weight
A $15 tarp from a hardware store has saved me from two situations that could’ve become $800+ water damage repairs. Temporary fixes aren’t a sign of laziness — they’re smart damage control while you prep for the real fix.
Quick tip: Keep a roll of Henry’s Wet Patch rubberized roofing cement in your garage. It’s one of those products that’s worth its weight in gold during a rain emergency — it applies to wet surfaces and bonds almost immediately.
3. Learn to Read Your Flashing (It’s the #1 Leak Culprit)
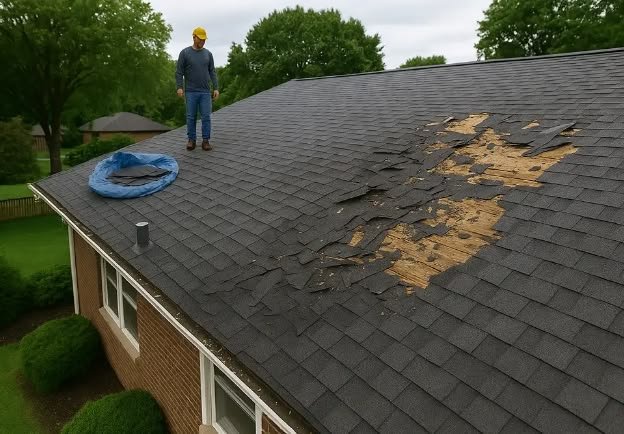
If you ask most professional roofers where leaks come from, they’ll tell you: flashing failures, almost every time.
Flashing is the thin metal (usually aluminum or galvanized steel) that seals the joints where your roof meets something else — chimneys, skylights, vent pipes, dormers, and valleys. It expands and contracts with temperature changes, and over time the sealant around it cracks and pulls away.
Here’s what to look for during a visual inspection:
| Flashing Location | Common Problem | DIY Fix Difficulty |
|---|---|---|
| Chimney base | Cracked sealant, rust | Easy–Moderate |
| Vent pipes | Cracked rubber boot | Easy |
| Roof valleys | Lifted or corroded metal | Moderate |
| Skylights | Separated caulk seams | Easy |
| Dormer walls | Gaps in step flashing | Moderate–Hard |
For most flashing issues, the fix involves cleaning out the old cracked sealant, applying new roofing caulk or flashing tape, and pressing firmly. For vent pipes specifically, the rubber boot around the pipe collar is often the culprit — and a replacement boot costs about $10–15 at any hardware store.
Check out 6 Easy Roof Leak Fix Guide Repairs You Can Do in 15 Minutes for some quick fixes you can actually tackle before the next rainfall.
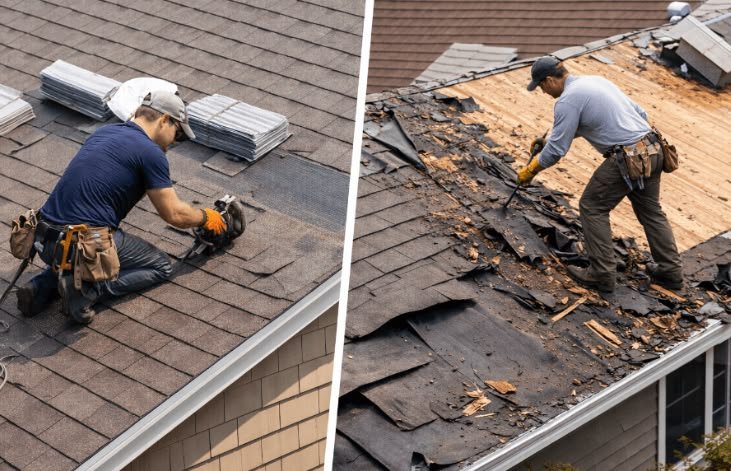
4. Replace Damaged Shingles — Don’t Just Slap Sealant Over Them
I made this mistake on my first DIY repair. A few shingles were cracked and curling, and instead of replacing them, I globbed roofing cement over the cracks and called it done. It held for about six weeks. Then came another rainstorm, and the whole area was leaking again — worse than before.
Here’s the thing about damaged shingles: sealant is a band-aid, not a fix. If the shingle is cracked, brittle, curling, or missing granules, it needs to come off.
How to replace a shingle yourself:
- Gently lift the edges of surrounding shingles using a pry bar
- Remove the nails holding the damaged shingle (a flat bar works well)
- Slide out the old shingle carefully
- Slide the new shingle into position — make sure it aligns with the row
- Nail it down with four roofing nails, just below the adhesive strip
- Press down the overlapping shingles and seal nail heads with roofing cement
Match your shingle type and color as closely as possible. Take a piece of the old shingle to the hardware store. Mismatched shingles don’t just look bad — they can have slightly different thicknesses that affect water runoff.
Cost comparison:
| Approach | Materials Cost | Longevity |
|---|---|---|
| Sealant patch only | $5–15 | 6 weeks – 3 months |
| Full shingle replacement | $20–60 per bundle | 15–25 years |
The math isn’t complicated. Replace it properly the first time.
5. Don’t Ignore the Gutters — They Cause More Leaks Than You’d Think
Most people don’t connect gutter problems to roof leaks, but they absolutely should.
Clogged or poorly pitched gutters cause water to back up under the lower edge of your shingles — an area called the eave. This is especially destructive in winter (ice dams) but causes slow damage year-round in humid climates too.
I once had a persistent leak along the rear wall of my house that drove me absolutely crazy. I re-caulked the flashing, checked every shingle, even had a roofer look at it. Nobody caught it. Turned out my gutters were so full of debris that water was sitting against the fascia board and wicking under the shingles edge.
Gutter maintenance that prevents roof leaks:
- Clean gutters at least twice a year — spring and fall
- Check the pitch: gutters should slope about 1/4 inch for every 10 feet toward the downspout
- Look for separated seams and reseal with gutter sealant
- Install gutter guards if leaves are a constant issue (the micro-mesh type works best in my experience)
- Make sure downspouts discharge at least 6 feet away from your foundation
For 9 Smart Roof Leak Fix Guide Basics for Quick Repairs, gutter checks are always on the list — and for good reason.
6. Use the Right Products — Not Just Whatever’s at the Checkout Aisle
I’ve tried a lot of roofing products over the years, and there’s a big quality gap between the stuff that actually works and the discount versions that give out after one season.
Here’s my short list of products I’ve personally used and would buy again:
For sealing and patching:
- Henry 208R Rubberized Wet Patch — works on wet surfaces, dries flexible
- Dicor Self-Leveling Lap Sealant — incredible for RV and flat roofs
- Flex Seal — honestly better as a supplemental sealant than a primary fix, but useful in a pinch
For flashing repair:
- EternaBond RoofSeal — peel-and-stick tape that genuinely works long-term
- aluminum flashing tape (not to be confused with HVAC foil tape) — good for quick seals on metal flashing gaps
For full shingle replacement:
- Buy name-brand shingles (GAF, Owens Corning, CertainTeed) when possible — they have better dimensional consistency and longer warranties than generic brands
Also: invest in a good caulking gun. A $4 squeeze-tube approach to roofing sealant will leave you frustrated. A proper ratchet or dripless caulking gun gives you actual control over the bead.
7. Know When to Call a Pro — And Negotiate Smartly When You Do
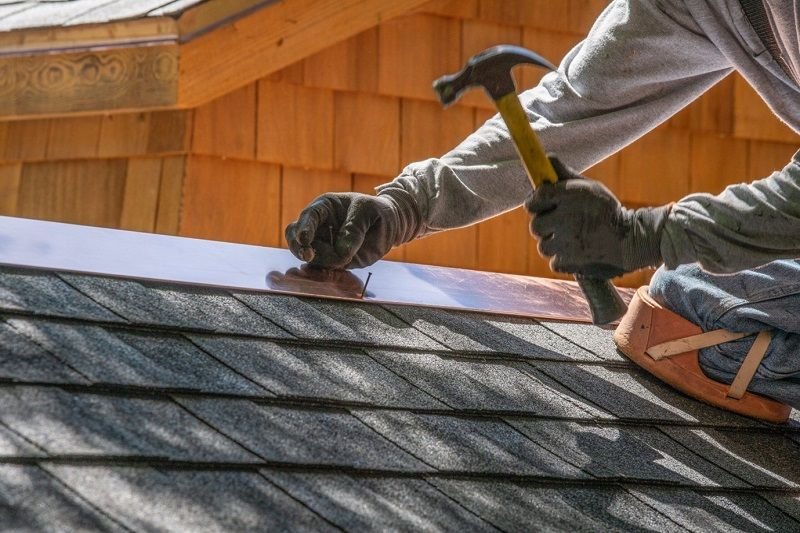
There’s no shame in knowing your limits. Some roof situations are genuinely dangerous or complex:
- Steep pitch roofs (anything over 6:12 slope)
- Widespread decking rot beneath the shingles
- Structural ridge damage
- Leaks you genuinely cannot locate after multiple attempts
When you do call a contractor, here’s how to not get taken for a ride:
Get three quotes minimum. This isn’t just about price — it’s about education. Three quotes will teach you more about your roof’s actual condition than any YouTube video.
Ask for an itemized breakdown. “Repair job: $600” tells you nothing. You want labor, materials, and scope of work broken out separately.
Ask about partial DIY. Some roofers are surprisingly open to you doing the prep work (clearing debris, moving furniture inside, etc.) in exchange for a small discount. I got $75 knocked off a quote this way once.
Timing matters. Late summer and fall are peak season — everyone’s getting their roof ready before winter. If your situation allows, scheduling in late winter or early spring often gets you better pricing and more roofer availability.
Check out 11 Roof Leak Fix Guide Basics Tips Experts Swear By for some insider-level knowledge that’ll help you have smarter conversations with contractors.
Common Mistakes That Cost People Way More Than Necessary
Since I’ve been through the school of hard knocks on this, let me save you some tuition:
Mistake #1: Working on a wet or damp roof. Wet shingles are slippery, sealants don’t bond properly, and you’re significantly increasing fall risk. Wait for a dry day.
Mistake #2: Walking all over your roof during inspection. You can crack shingles that were still intact, especially on older roofs. Walk on the edges or use roof jacks.
Mistake #3: Using interior caulk outside. It’ll fail within weeks. Always use exterior-grade, UV-resistant sealant or roofing-specific products.
Mistake #4: Skipping the attic inspection. Half the time, problems are visible from inside before you ever need to get on the roof.
Mistake #5: Assuming a small stain means a small leak. Water stains expand slowly. A 12-inch ceiling stain could mean a drip that’s been running for months along a rafter.
A Few Numbers Worth Keeping in Mind
| Repair Type | Average DIY Cost | Average Contractor Cost | Potential Savings |
|---|---|---|---|
| Flashing reseal | $15–40 | $150–300 | Up to $285 |
| Single shingle replacement | $20–50 | $150–250 | Up to $230 |
| Vent boot replacement | $15–30 | $150–200 | Up to $185 |
| Gutter cleaning & reseal | $20–50 | $100–250 | Up to $230 |
| Temporary tarp application | $15–30 | $200–400 | Up to $385 |
That’s a combined potential savings of over $1,300 on relatively straightforward repairs — which is almost exactly what I calculated I’d spent unnecessarily before I started doing this myself.
Final Thoughts
Roof leaks are one of those home problems that reward fast, informed action and punish hesitation. The gap between a $30 fix and a $3,000 repair is often just a few weeks of delay.
You don’t need to become a roofer. You just need to know enough to respond quickly, do the safe stuff yourself, and make smarter decisions when you do hire someone.
Start with your attic after the next rainstorm. Just go up there with a flashlight and look around. Half the time, you’ll find something that’s been slowly causing damage for months — and you’ll be genuinely glad you looked.
Also worth reading: 8 Fast Roof Leak Fix Guide Repair Tricks That Saved My Roof — some of these tricks are the kind of thing a roofer would never tell you upfront, but they make a real difference.
About the Author