
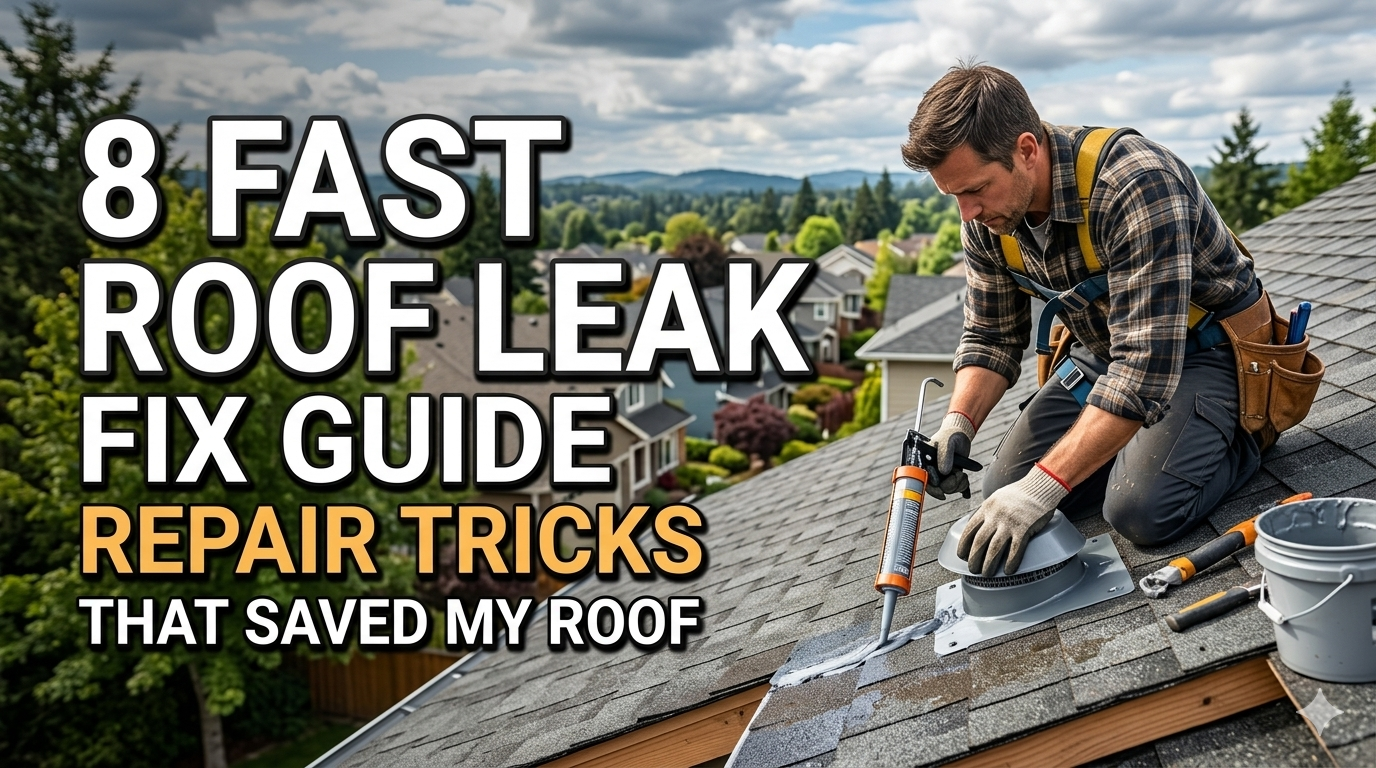
8 Fast Roof Leak Fix Guide Repair Tricks That Saved My Roof
Meta Description: These roof leak fix tips can prevent your home from incurring serious water damage. Learn 8 tried-and-true tricks that will repair like a champ — no contractor required.
Roof Leak Repair Tricks: 8 Quick Fixes That Saved My Roof
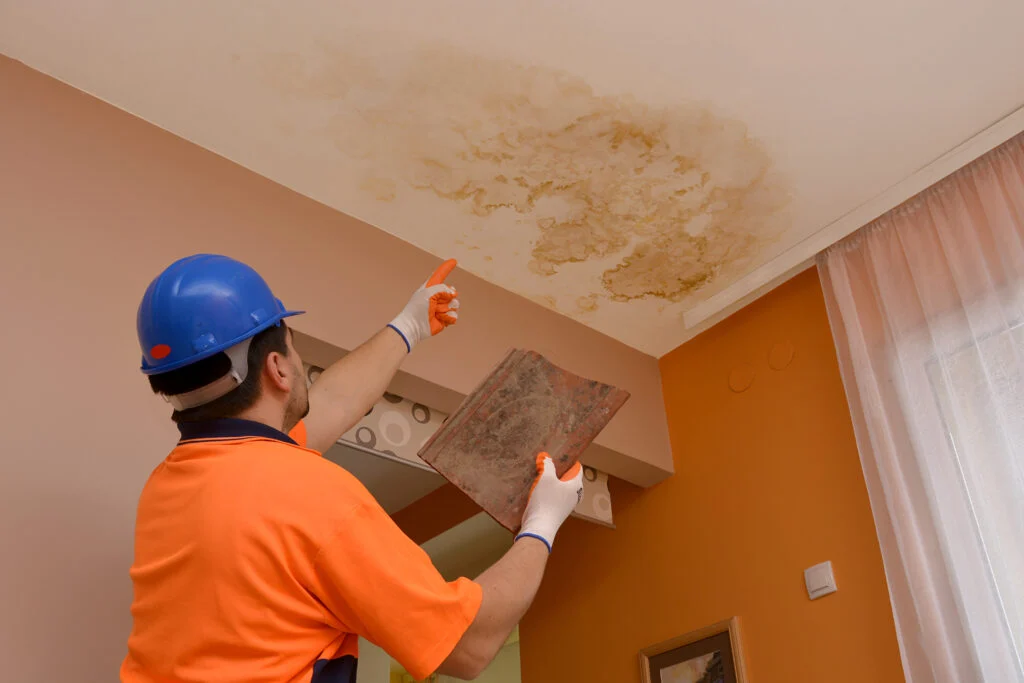
There is nothing worse than hearing that drip-drip-drip sound during a storm.
I’ve been there. Water was leaking through my ceiling, creating ugly brown streaks and soaking my insulation. A full roof replacement would cost thousands of dollars, but I didn’t have that kind of money. And I wasn’t willing to wait weeks for a contractor to come.
So I did what any tenacious homeowner would do — I figured it out myself.
This guide discloses the very 8 quick roof leak repair tricks I apply. Some of these were less than an hour. All of them worked. So whether you’re facing a small drip or a larger issue, this guide will help you stop the damage quickly.
Why You Need to Move Quickly on a Roof Leak
A little roof leak does not remain a little roof leak for long.
Water can soak into your insulation, rot your wooden rafters, and begin growing mold in as little as 24 to 48 hours. A leak that costs $200 to repair today could easily turn into a $5,000 repair job next month.
Here’s a quick run-through of what happens when you ignore roof leaks:
| Time Passed | Damages That Can Occur |
|---|---|
| 0–24 hours | Ceiling stains, wet insulation |
| 1–3 days | Mold begins to grow, wood starts to swell |
| 1 week | Structural damage to rafters and decking |
| 1 month+ | Major rot, mold spread; ceiling collapse possible |
The whole story is in that table. Fast action is everything.
How to Track Down Where the Leak Actually Is
Before you can fix something, you have to find the true source.
Here’s the tricky part — wherever you see water inside your home is almost never where the leak actually begins. Before it drips down, water can run along rafters, beams, and roof decking.
Look Higher Than the Stain
Always begin your search above the water stain. Water moves downhill, meaning the point of entry could be several feet higher up on your roof.
Check These Spots First
- Flashing around chimneys and vents
- Each valley, where two roof sections meet
- Skylights and their surrounding seals
- Damaged or missing shingles
- Where a roof meets a wall
The Hose Test (Does It Work Every Time?)
If the leak is not visible from the inside, go outside and grab a garden hose.
Have a friend get inside your attic as you slowly run water over various areas of the roof. Begin at a low level and move up from there. When your helper sees water dripping inside, you have located the zone.
It is a simple trick that has saved me hours of guessing.
Tip #1 — Roofing Cement and a Putty Knife
This is the simplest repair, and it is surprisingly effective on small cracks and gaps.
What you need:
- Roofing cement (also known as plastic cement or roof tar)
- A stiff putty knife or trowel
- Gloves and safety glasses
How to do it:
Climb up to the problem area. Remove dirt, leaves, or loose debris. Spread a thick, even coat of roofing cement directly across the crack or gap. Press it down and smooth it out with a putty knife.
Use it on a dry day with temps above 50°F for best results — roofing cement won’t stick well in the cold or when wet.
This repair is excellent around the base of chimneys, on tiny cracks in flashing, and on areas where shingles have lifted a bit.
Tip #2 — Do Your Own Shingle Repairs
Replacing a shingle that is cracked, curling, or missing completely is easier than many people might think.
What you need:
- Replacement shingles (color and style match)
- Roofing nails
- A hammer or nail gun
- A pry bar
- Roofing cement
Step-by-step:
- Gently lift up the edges of the surrounding shingles.
- Using the pry bar, remove any nails holding the damaged shingle.
- Slide the old shingle out, and slide the new one in.
- Nail it down with four roofing nails — one at each corner.
- Run roofing cement underneath the edges of surrounding shingles to reseal them.
The entire process usually takes less than half an hour. The toughest part is matching shingles at the local hardware store.
Tip #3 — Repair Flashing Leaks Using Metal Tape
Flashing is the thin metal strip that seals the joints between your roof and features such as chimneys, skylights, and vents. It’s one of the most common sources of leaks.
The moment flashing cracks, separates, or rusts out, water gets in fast.
The Quick Metal Tape Fix
What you need:
- Metal flashing tape (self-adhesive aluminum or butyl tape)
- A wire brush or sandpaper
- A rag and rubbing alcohol
How to do it:
Use your wire brush to scrub the area and wipe it down with rubbing alcohol. This step is crucial — tape adheres poorly to dusty surfaces. Cut the metal tape to length and press it down over the damaged flashing. Take the back of a spoon or a roller and press out any air bubbles.
For larger gaps, you can stack two strips of tape for extra waterproofing.
It’s a quick fix that doesn’t cost a fortune and should stay put for several years when done right.
Trick #4 — Seal Cracked Roof Vent Boots
If you look up at your roof, you will likely see several black rubber boots sticking up. Those are vent pipe covers, and they do crack when exposed to UV rays and temperature changes.
A cracked vent boot is one of the sneakiest causes of a roof leak — because it’s easy to overlook.
How to Spot a Bad Vent Boot
Get on your roof and feel each rubber boot. If it feels stiff, cracks, or crumbles in your fingers, it has issues.
The Fix
Option 1 — Flexible Rubber Caulk: Apply a generous bead along the base and any cracks. That buys you time, but it’s not a permanent solution.
Option 2 — Replace the Boot: Remove the old boot from the pipe, slide a new one in place (they run about $10 at any hardware store), and seal it with roofing cement at its base. This is a better long-term solution and takes about 20 minutes to do.
Trick #5 — Prevent Ice Dam Leaks Before They Happen
If you live in a cold climate, ice dams may be your worst enemy.
An ice dam occurs when snow melts on your warm roof, runs down the slope to the cold eave, and refreezes. That ice builds up under your shingles and drives water into your house.
Fast Ice Dam Removal
Do not chip at ice with a sharp tool. You’ll crack shingles and make things worse.
Instead, after a heavy snowfall, use a roof rake to pull snow off the lower sections of your roof. Keep three feet or more of the eave clear of snow.
For an ice dam that has already formed, place calcium chloride (not rock salt) into an old nylon stocking and set it over the dam. It will melt a channel through the ice and allow trapped water to drain away.
The Long-Term Fix
Put an ice and water shield membrane underneath your shingles on the bottom few feet of your roof. It’s a tacky, self-sealing layer that prevents water from penetrating — even if ice develops above it.
According to the Insurance Institute for Business & Home Safety, properly installed ice and water shield membranes are one of the most effective ways to protect your roof from winter water damage.
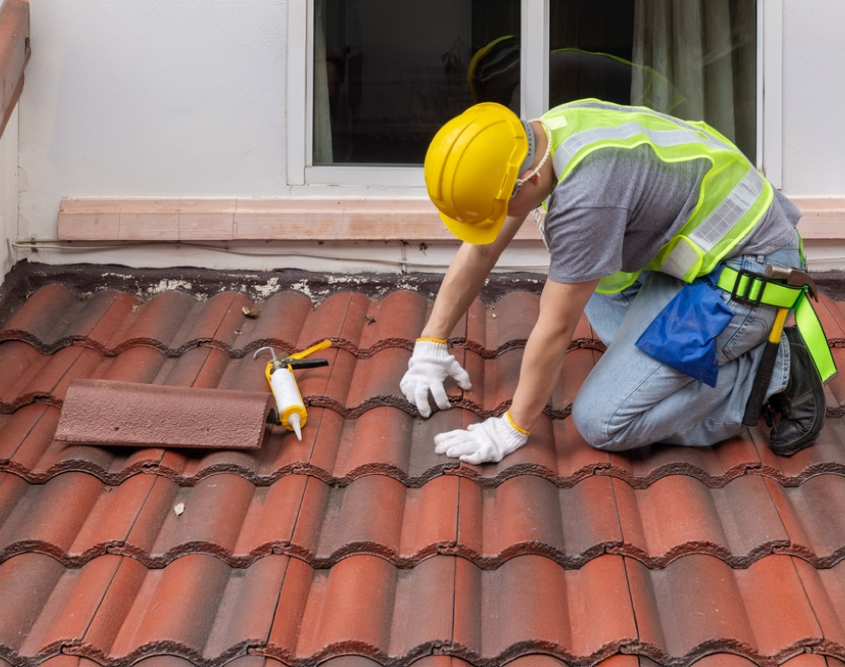
Hack #6 — Recaulk Skylights and Chimneys
Caulk doesn’t last forever.
Sunlight, temperature fluctuations, and rain degrade it over time. Cracked, dried-out caulk is an open invitation for water to come into your home.
What you need:
- Roofing caulk or silicone sealant (for outdoor use)
- A caulk gun
- A scraper or putty knife
- Rubbing alcohol
The process:
Using your putty knife, scrape out all the old cracked caulk. Use rubbing alcohol to clean the surface and allow it to dry fully. Fill your caulk gun, then lay a smooth, continuous bead along the joint. Smooth it down with a wet finger or caulk tool.
Don’t rush this job. You want a complete seal with no gaps.
Perform this every few years during your normal roof maintenance — and you’ll stop dozens of potential leaks.
Trick #7 — Emergency Tarping When You Need Immediate Protection
There are times when the damage is huge, the rain is coming, and you just have to stop the water right now.
In this scenario, a heavy-duty tarp is your best friend.
The Proper Method to Tarp a Roof
What you need:
- A polyethylene tarp (at least 6 mil thickness)
- 2×4 lumber boards
- Roofing nails or screws
- A staple gun
Steps:
- Lay down the tarp over the area of damage. It should extend at least 4 feet beyond the damage in all directions.
- Run a 2×4 board along each edge of the tarp.
- Roll the edge of the tarp around the board and nail or screw it down tight.
- Be certain the tarp’s upper edge overhangs the roof ridge so that water drains over it instead of underneath.
With proper installation, a tarp can last weeks and sometimes months. It’s not beautiful, but it will keep your house dry while you figure out a permanent fix.
For more detailed repair guides and product recommendations, visit Roof Leak Fix Guide — a go-to resource for homeowners tackling roof repairs on their own.
Tip #8 — Inspect Your Gutters (Most People Miss This)
This one catches a lot of homeowners off guard.
Clogged gutters not only allow water to pour down your siding — they can also push water backward under your shingles. When gutters overflow with leaves and debris, there’s nowhere for the water to go but back up onto the roof deck.
Signs Gutter Problems Are Harming Your Roof
- Dirt or stains on your outdoor walls right underneath the gutters
- Leaks near the eaves only
- Gutters that overflow in moderate rain
The Fast Fix
Clean your gutters completely. Clear off all leaves, dirt, and sludge. Hose them out to check the flow. Ensure that downspouts are directing water at least 3 feet away from your foundation.
Then install gutter guards. These are a one-time cost that can solve this issue year after year.
Roof Leak Repair Cost Comparison
Understanding what these repairs cost can help you determine whether to DIY or call in a professional.
| Repair Type | DIY Cost | Professional Cost |
|---|---|---|
| Roofing cement patch | $10–$20 | $150–$400 |
| Single shingle replacement | $5–$15 | $100–$300 |
| Flashing repair | $15–$40 | $200–$500 |
| Vent boot replacement | $10–$25 | $75–$200 |
| Recaulking skylights | $10–$20 | $100–$250 |
| Emergency tarp installation | $30–$80 | $200–$600 |
| Gutter cleaning | Free–$20 | $100–$300 |
The savings add up fast. You can do most of these repairs for less than $50 if you do it yourself.
Safety Guidelines Before Getting on Any Roof
No repair is worth your life. Follow these rules every single time.
- Never climb a wet roof. Allow it to dry completely.
- Use a sturdy, secured ladder. Have someone hold it at the bottom.
- Wear rubber-soled shoes for grip.
- Use a safety harness if your roof pitch is steep (over 6:12 slope).
- Whenever possible, work with a buddy.
- Do not work in wind over 15 mph.
If the damage is extensive, the roof is very steep, or you are not comfortable at any point — call a pro. There’s no shame in it.
When DIY Isn’t Cutting It — Signs You Need a Pro
These 8 tricks are useful for all kinds of common leaks. But some circumstances require the assistance of a professional.
You should call a roofing contractor if you see:
- Scattered shingle damage across several sections
- Sagging areas on your roof deck (indication of severe structural damage)
- Multiple leaks in different locations
- Mold or rot that has extended into your attic
- The roof is over 20 years old and repairs have been a regular occurrence
A professional inspection, which costs $150–$300 in most parts of the country, can tell you precisely what you’re facing.
At a Glance — Which Fix for Each Problem?
| Problem | Best Fix |
|---|---|
| Minor crack in shingles | Roofing cement (Tip #1) |
| Broken or missing shingle | Shingle replacement (Tip #2) |
| Leaking chimney joint | Metal flashing tape (Tip #3) |
| Cracked rubber vent boot | Boot replacement (Trick #4) |
| Winter ice backup | Ice dam removal + shield (Trick #5) |
| Leaking skylight edge | Recaulking (Hack #6) |
| Major hole or sudden damage | Emergency tarp (Trick #7) |
| Leaks near the eaves only | Gutter cleaning (Tip #8) |
Frequently Asked Questions About Quick Roof Leak Repairs
Q: Can a roof leak be fixed from inside my house? A: You can apply a temporary patch from inside the attic with roofing cement or hydraulic cement to seal the decking. But this is only a stopgap. The real repair always has to take place externally on the actual roof surface.
Q: How long do DIY roof patches last? A: It depends on the method. Roofing cement patches last 2–5 years. Metal flashing tape lasts 5–10 years. A proper shingle replacement done correctly can last as long as the roof itself — 15 to 25 years.
Q: Is walking on my roof safe? A: Most roofs are foot-traffic friendly — as long as you’re careful. Walk on the lower sections of shingles, not the upper edges. Do not walk on clay or concrete tiles — they are very brittle. Always ensure your ladder placement is sound and wear rubber-soled shoes.
Q: How can I temporarily fix a roof leak in heavy rain? A: From inside your attic, use roofing cement or self-sealing butyl tape as a temporary fix. Outside, a tarp is your quickest solution. Neither is permanent — but both will prevent water from flowing into your home while you arrange the true repair.
Q: How can I tell whether my flashing is the issue? A: Inspect all metal strips around your chimneys, skylights, and vents. Look for rust, separation, or visible gaps. You can also gently press on the area — if it moves or flexes, the seal has probably been broken.
Q: Will homeowner’s insurance pay for roof leaks? A: It depends. Most policies cover damage from storms or falling objects. They typically don’t cover leaks due to wear and tear or neglect. Be sure to take photos of any damage before making repairs and call your insurer to see what you’re covered for.
Q: Do I need special caulk for a roof? A: Regular interior caulk can’t stand up to sun, rain, and temperature changes. Always use caulk or silicone sealant rated for outdoor use, specifically for roofing. It should say “roofing” or “exterior” on the product label.
Wrapping It All Up
A roof leak seems like a disaster when it happens. But it’s a very fixable problem in most cases — especially if you catch it early and act quickly.
These 8 tricks have saved my roof more than once. From a basic tub of roofing cement to a well-placed emergency tarp, each one works when you need it most.
The key takeaways are simple:
- Do not fix anything until you source the issue.
- Moving quickly stops small leaks from becoming expensive damage.
- Use the right material for the job.
- Stay safe on every trip up the ladder.
You don’t need to be a contractor to protect your home. You just need the proper information and a will to get up there and do it.
Your roof took care of you. Now it’s time to take care of it.


