5 Fast Roof Leak Repair Tips That Work in Heavy Rain
It was 2 AM when I heard that unmistakable dripping sound.
Not the rain on the window. The rain inside my house.
I jumped out of bed, grabbed a bucket, and spent the rest of the night watching a steady stream of water hit the kitchen floor while the storm outside showed absolutely zero signs of stopping. By morning, I’d soaked through two towels, lost sleep, and learned more about roof leaks than I ever wanted to know.
If you’re reading this right now — maybe with a bucket in one hand and your phone in the other — I get it. And I want to help you actually fix it, not just read about it.
Here’s what I’ve learned works in real life, especially when it’s still raining and you can’t wait for a professional.
1. Find the Leak First — It’s Never Where You Think It Is
This is the mistake I made the very first time. I saw water dripping near the window, assumed the window was the problem, and spent an hour caulking around the frame. Completely wrong spot.
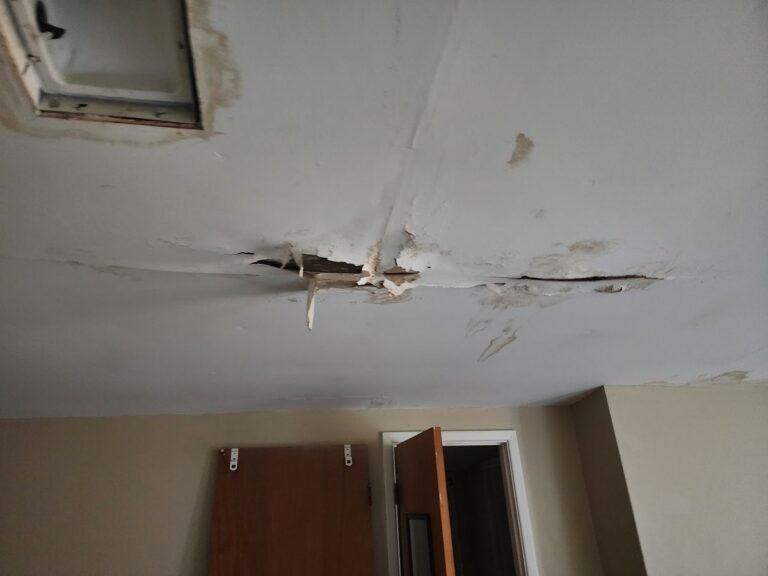
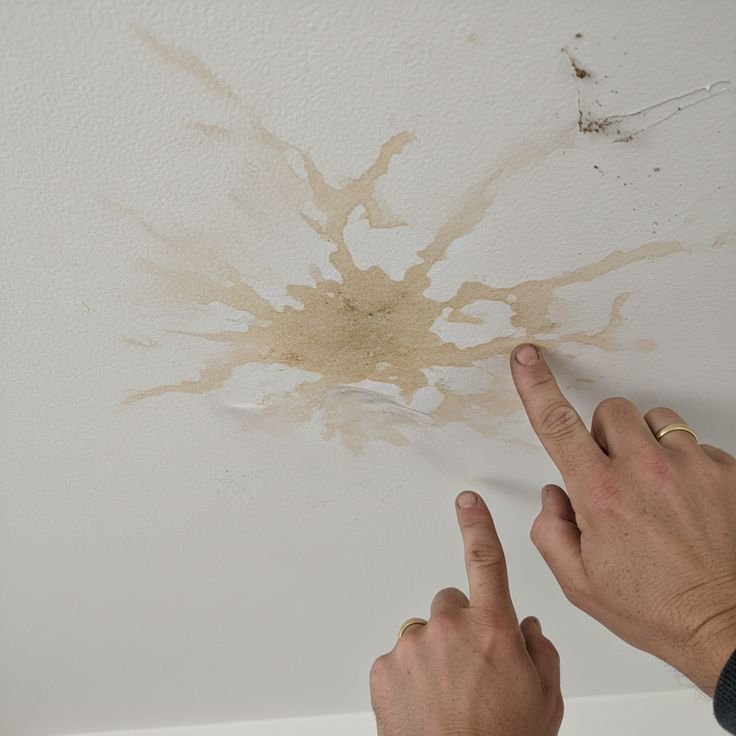
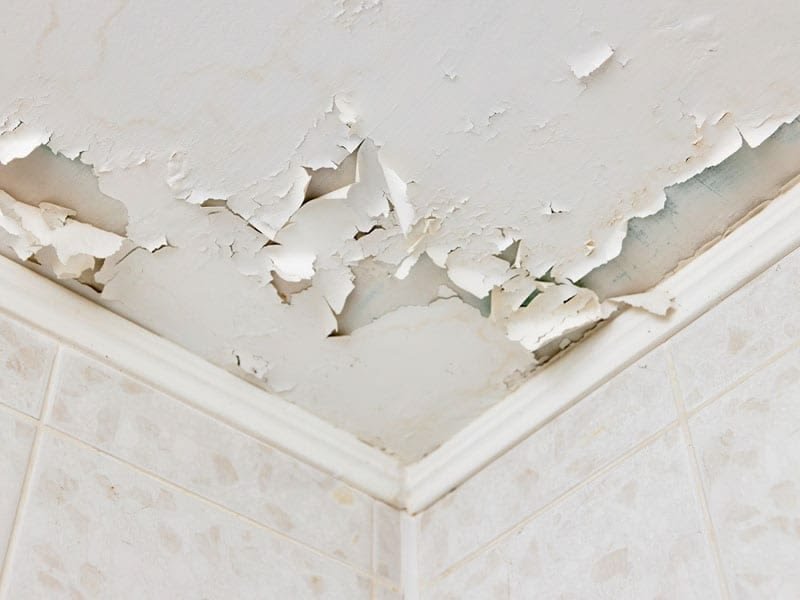
The thing about roof leaks is that water travels. It enters at one point, rolls along the roof deck or attic insulation, and drips down somewhere entirely different. So the wet ceiling patch you see in your living room could be coming from a crack near the chimney six feet away.
Here’s how to actually locate it:
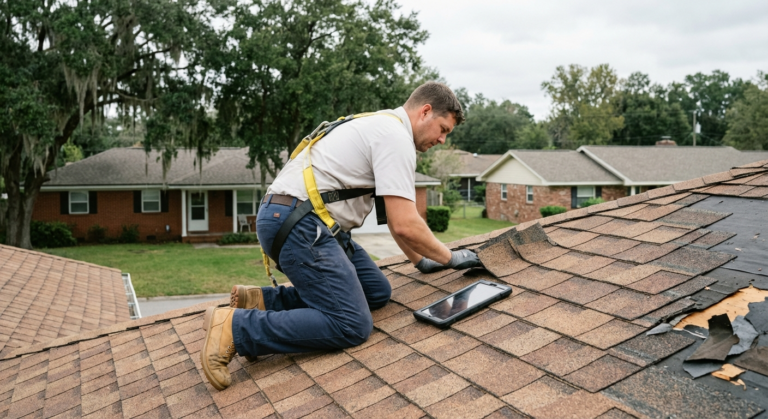
Go into your attic with a flashlight while it’s still raining if you can do it safely. Look for water trails, dark staining, or wet insulation. Follow the trail upward and back toward the peak. The entry point is almost always higher than where the damage appears.
If you can’t get into the attic, mark the interior drip location on the ceiling, then measure from two fixed points (like walls or a chimney) so you can find the corresponding spot on the roof.
Once I started doing it this way, I actually fixed the right spot on the first try.
2. Use Roofing Tar or Flex Seal as an Emergency Patch — Right Now, Rain and All
Here’s something a lot of people don’t realize: you don’t have to wait for dry weather to apply an emergency fix. There are products made specifically for wet surfaces.
Roofing tar (also called plastic cement or roof patch) is one of the oldest tricks in the book for a reason. It sticks to wet surfaces, fills gaps, and holds up through continued rain. I’ve used Henry 208R Wet Patch — you can find it at most hardware stores — and it genuinely works when applied correctly.
Flex Seal Liquid is another one I’ve tried. It’s basically a rubberized coating you brush or pour on. It’s not a permanent solution, but as an overnight emergency fix, it buys you time without requiring you to risk your safety on a wet roof.
Step-by-step for applying roofing tar in rain:
- Put on rubber-soled shoes and use a safety harness if going on the roof
- Clear debris from the leak area as best you can
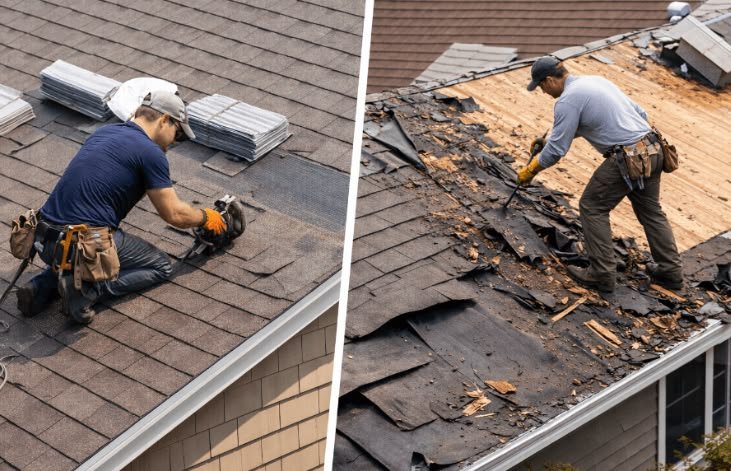
- Apply roofing tar generously over the crack, hole, or lifted shingle
- Press down any loose shingles into the tar
- Apply a second layer over the top and edges
- If possible, press a piece of sheet metal or a shingle over the top and secure with roofing nails
You’re not trying to make it pretty. You’re trying to stop water from getting in for the next 24-48 hours until you can do a proper repair.
For more detailed repair guidance, check out these 8 Fast Roof Leak Fix Guide Repair Tricks That Saved My Roof.
3. A Tarp Is Your Best Friend — If You Deploy It Right
This sounds obvious, right? But I’ve seen people throw a tarp on a roof in completely the wrong way, and it does almost nothing.
The key is how you secure it and how much of the roof you cover.
| Common Tarp Mistake | What to Do Instead |
|---|---|
| Tarp covers only the leak area | Cover from peak to eave, at least 4 feet on each side of the leak |
| Tarp held down with rocks | Use 2x4s sandwiched over the edges and screwed in |
| Tarp not long enough to go over the ridge | Extend it over the top — water will flow under if it stops short |
| Cheap plastic tarp that tears in wind | Use a heavy-duty poly tarp, minimum 6 mil thickness |
The method that actually works: run the tarp up and over the ridge of the roof, then let it hang down at least 4 feet on the other side. Secure it with 2×4 boards laid along the edges and screwed into the roof deck (not just the shingles). This keeps wind from lifting it and ensures water runs off instead of pooling.
I made the mistake of using a dollar-store tarp during one storm. It split by morning. Lesson learned.
4. Know When to Go Up and When to Stay Down
Let me be direct about this one: getting on a wet, sloped roof in heavy rain is genuinely dangerous. I’ve done it, and I’m lucky I didn’t fall.
There’s a practical decision tree you should run through before climbing:
Stay off the roof if:
- The pitch is steeper than 4:12 (you can barely walk up it on a dry day)
- There’s lightning anywhere nearby
- Wind is above 20-25 mph
- You don’t have a safety harness and anchor point
- You’re alone with no one to call for help
You can consider going up if:
- The rain has paused or become light drizzle
- The roof is low-pitched and you have rubber-soled footwear
- Someone is with you and can hold the base of your ladder
- The leak area is accessible from a ladder without fully climbing on the roof
For situations where you truly can’t go up safely, the best interior move is to reduce the damage. Poke a small hole in the lowest point of the ceiling bulge (if one is forming) to let water drain into a bucket rather than spreading across the entire ceiling. It feels counterintuitive, but it prevents a bigger collapse.
Check out these 8 Essential Roof Leak Fix Guide Safety Rules Before Climbing a Roof before you go up — seriously worth two minutes of your time.
5. Seal the Flashing — That’s Where Most Leaks Actually Start
Here’s something I didn’t know until a professional roofer pointed it out while I stood there embarrassed: the vast majority of roof leaks don’t come from the shingles themselves. They come from the flashing.
Flashing is the thin metal strips that seal the joints around your chimney, skylights, vents, and roof valleys. Over time — especially after temperature swings or heavy storms — flashing lifts, cracks, or the sealant around it dries out and crumbles.
I once spent three weekends “fixing” shingles when the real culprit was a 2-inch gap in the chimney flashing that I could have fixed with a tube of roofing caulk.
Here’s how to check and seal flashing in a hurry:
- Locate all flashing points on your roof (chimney, vents, skylights, valleys)
- Look for visible gaps, rust, or lifted edges
- Apply roofing caulk (Geocel 2300 or similar) into any gaps you can see
- For lifted flashing, press it back down and apply roofing tar underneath before caulking the top edge
- In heavy rain, apply the caulk anyway — it’ll cure slower but still bond
| Flashing Problem | Emergency Fix | Permanent Fix |
|---|---|---|
| Separated from chimney | Roofing tar pressed in and over | Re-flash with new metal + sealant |
| Cracked old caulk | Scrape and re-apply roofing caulk | Full re-seal by a roofer |
| Lifted metal edge | Tar underneath, nail down, seal top | Replace flashing section |
| Rust holes in flashing | Roof patch tape over hole | Replace flashing entirely |
This single fix has saved me more headaches than anything else I’ve done on my roof.
The Mistakes I Made (So You Don’t Have To)
Since we’re being real here, let me just list the things I got wrong before I figured this out:
Waiting for the rain to stop before doing anything inside. Big mistake. Water was spreading across the ceiling while I waited. The moment you spot a leak, put something down, protect furniture, and poke that ceiling bulge if needed.
Using regular silicone caulk instead of roofing caulk. They look the same in the tube but they’re not. Regular silicone doesn’t bond well to wet surfaces or withstand the movement a roof goes through. Use products rated for roofing — Geocel, Henry, or NP1 are all solid choices.
Fixing the wrong spot. Covered this above but it’s worth repeating. Measure twice, fix once.
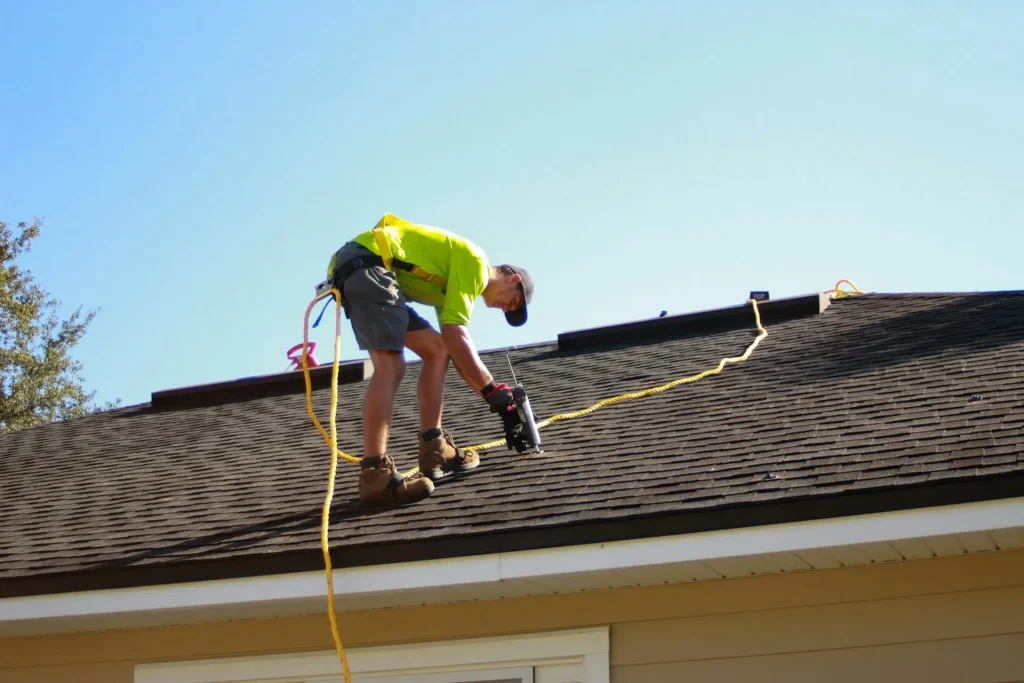
Skipping safety gear because “it’ll only take a minute.” It only takes one slip. A non-negotiable rule I have now: if I go on the roof, I clip in. Every single time.
Assuming one application of tar was enough. In heavy rain, you often need two layers — once for initial adhesion and a second thicker layer for protection.
For a more comprehensive approach to seasonal prep, the 6 Essential Roof Leak Fix Guide Basics Before the Rainy Season is genuinely useful reading.
A Quick Reference: What to Do Based on Where You Are Right Now
| Your Situation | Immediate Action |
|---|---|
| Active drip inside, can’t go up | Bucket + poke ceiling bulge + protect belongings |
| Rain paused, can safely access roof | Find leak source, apply roofing tar or patch tape |
| Leak near chimney/vent | Check flashing first, apply roofing caulk |
| Large section of roof affected | Deploy tarp over ridge, secure with 2x4s |
| Leak getting worse fast | Call emergency roofing service, stop DIY |
When to Call a Professional (Be Honest With Yourself)
I’m all for DIY. But there are moments when the right move is to pick up the phone.
If the leak is large, spreading fast, or located in a structural area near load-bearing walls, call a professional. Most roofing companies have emergency services and can get someone out quickly — often within a few hours for active leaks.
If you’ve tried two or three of these fixes and the water is still coming in, that’s also your signal. A repair that doesn’t work isn’t just frustrating — it can lead to mold, structural rot, or ceiling collapse if the water keeps going.
No shame in calling for help. The goal is a dry house, not a pride project.
Final Thoughts
A roof leak in heavy rain is one of the most stressful home situations I’ve dealt with. The pressure of water coming in, the fear of damage spreading, the uncertainty of whether you’re even fixing the right spot — it’s a lot.
But most leaks, especially early ones, are genuinely manageable if you know what you’re doing. The five tips above are the ones I return to every time: find the actual source, use the right wet-surface products, deploy a proper tarp, stay safe, and check your flashing before anything else.
If you take nothing else from this, take the flashing tip. Seriously. Go look at your roof flashing after the next storm and you’ll probably find your future leak before it finds you.
Also worth reading: 9 Powerful Roof Leak Fix Guide Repair Tips for Heavy Rain — some solid extra techniques for exactly the kind of situation we talked about here.
About the Author