
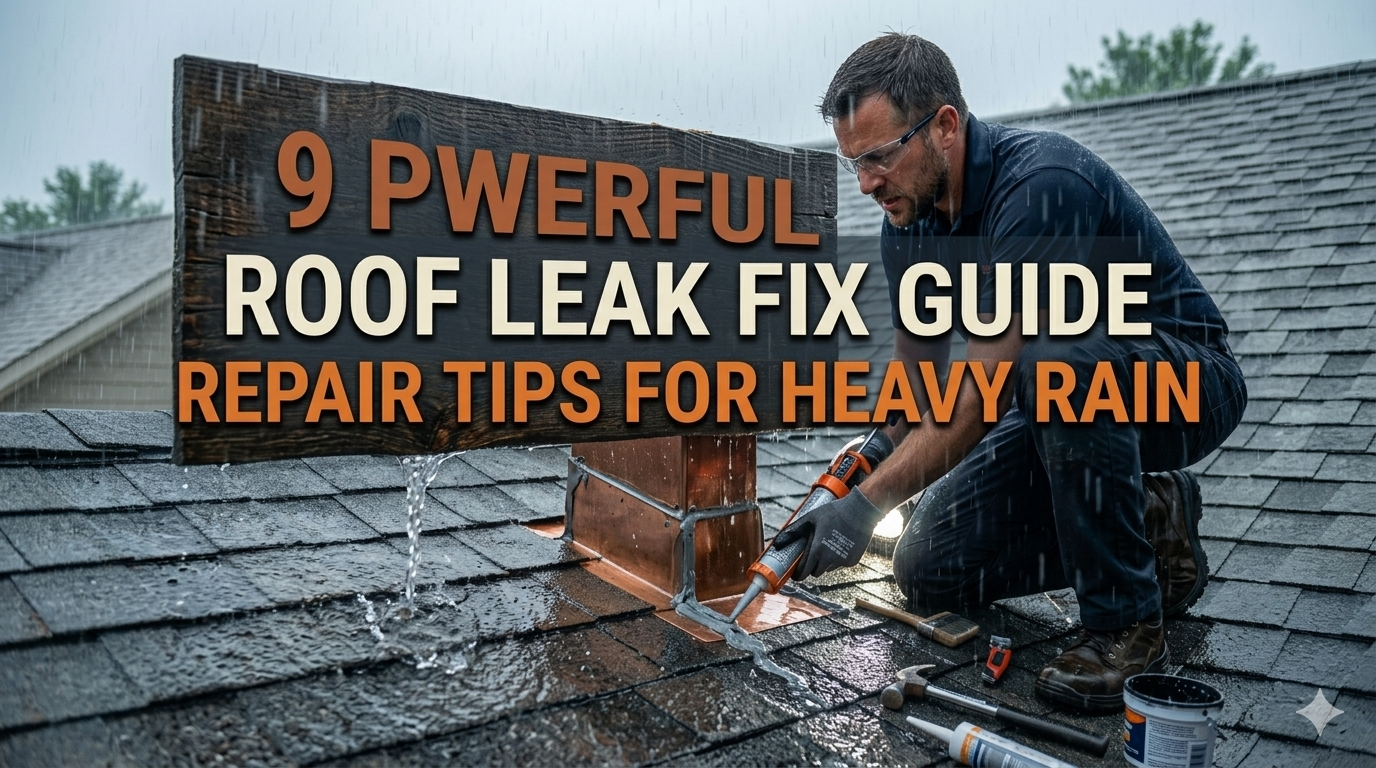
9 Powerful Roof Leak Fix Guide Repair Tips for Heavy Rain
Meta Description: Roof leak fix guide for heavy rain — 9 easy ways to stop the water damaging your home and costing you money.
9 Powerful Roof Leak Fix Guide Repair Tips for Heavy Rain
Heavy rain doesn’t wait for a good time to reveal a weak point in your roof. One minute all is well; the next — you’re putting buckets out on the floor and watching water stain your ceiling. It’s stressful, it’s messy and when neglected, it gets expensive in a hurry.
The good news? Most roof leaks can be addressed without the urgency of calling in a contractor. With the right information, a few tools and some safety precautions, most common leaks can be dealt with directly.
This roof leak repair guide takes you step-by-step through 9 effective, practical repair tips engineered for heavy rains. Whether you’ve got a drip from the attic or water streaming in through a cracked shingle, this guide is for you.
Why Heavy Rain Can Make Roof Leaks Worse
A misty rain might conceal a leak. Heavy rain makes every single flaw in your roof system visible.
When rain comes down hard and fast, water doesn’t just flow — it floods gutters, collects on flat surfaces and forces its way through the tiniest crevices. Wind forces water sideways under shingles. Debris clogs drainage. Pressure builds up.
That’s why a roof that “looks fine” for much of the year suddenly gives way in a big storm.
Knowing this gives you insight on where to look, what fixes matter more in high rainfall seasons and why.
Safety First — Before You Climb Anything
Before tackling any repair, safety must come first.
- Do not walk on a wet roof during or immediately after rain
- Wait for the roof surface to fully dry
- Wear rubber-soled shoes with good grip
- Place a solid ladder on level, stable ground
- Have a second person nearby as a spotter
- Wear gloves and eye protection
If the damage appears serious, or if you aren’t comfortable with heights, call a pro. No repair is worth a severe injury.
Tip 1 — Locate the Leak Before Repairing Anything
The most common mistake homeowners make is patching the wrong area.
Water travels. A leak in your bedroom ceiling may have originated 10 feet away from where you see it. Water works in through a gap, follows along a rafter or insulation and drips at a low point.
How to Track the Leak Indoors
Start with a flashlight in your attic. Look for:
- Water stains on wood beams (brown or dark circles usually)
- Mold or mildew patches
- Wet insulation
- Light shining through the roof boards
Follow the damp path up toward the roof’s ridge. The origin point is nearly always higher than where the drip appears.
How to Find It From Outside
On a dry day, spray the roof with a garden hose to imitate rain. Have a buddy in the attic while you gradually soak sections of the roof. Start at the bottom and work your way up. Once your partner sees dripping, stop — you’ve located the zone.
Mark it with chalk before going down.
Tip 2 — Repair Broken or Missing Shingles Promptly
Shingles are the first line of defense for your roof. When one breaks, bends or goes missing, rain can flow straight in.
Signs a Shingle Needs Replacing
- Visible cracks or splits
- Curling edges (upwards or downwards)
- Granules collecting in gutters
- Bald, shiny patches on the surface
- Shingles that are completely missing
How to Replace a Broken Shingle
What you need: Pry bar, hammer, roofing nails, replacement shingle, roofing cement
- Gently lift the edges of surrounding shingles
- Using your pry bar, pull out the nails holding down the damaged shingle
- Slide the old shingle out
- Slide the new shingle into place, lining it up with the row
- Nail it down with four roofing nails close to the top
- Apply roofing cement under the edges of surrounding shingles to seal them flat
This method is very effective on asphalt shingle roofs, which are the most common type in North America.
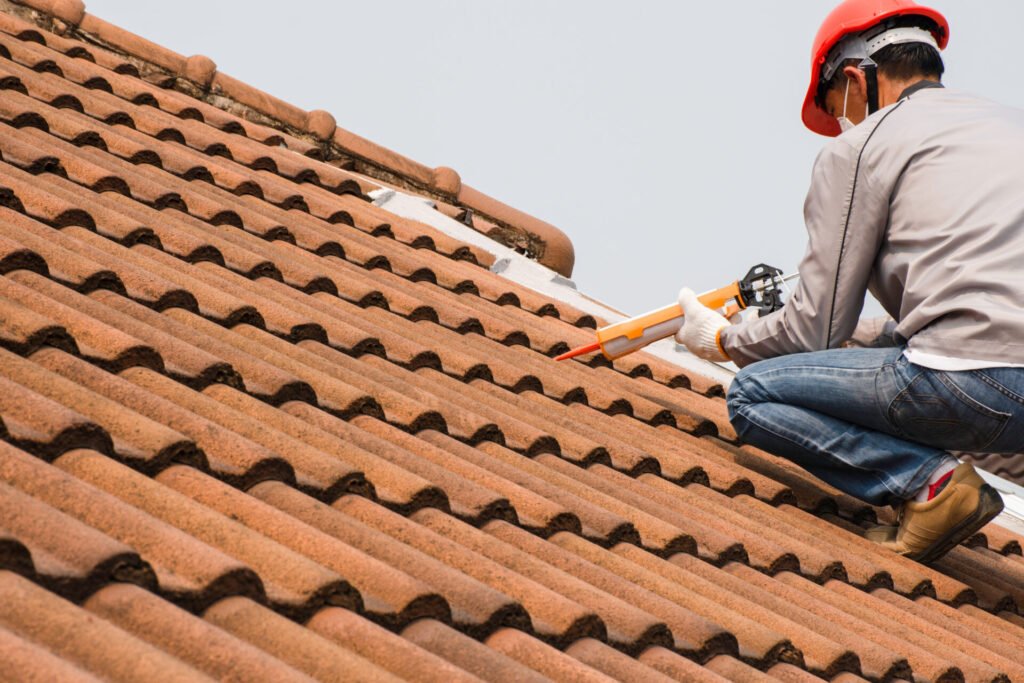
Tip 3 — Seal Roof Flashing That Has Pulled Away
Flashing is the metal material installed around chimneys, vents and skylights, as well as at the junction where your roof meets a wall. It’s meant to direct water away from joints and seams.
When flashing pulls away, rusts or cracks — water goes right in. Flashing issues are among the top causes of leaks, especially during heavy rain.
How to Repair Roof Flashing
What you’ll need: Roofing cement or silicone caulk, caulk gun, metal flashing patch (if necessary), roofing screws
- Clean the area around the flashing — remove dirt, debris and old dried caulk
- If the flashing has simply pulled away from the surface, press it back into position
- Run a thick bead of roofing cement or waterproof silicone caulk around all edges
- If the flashing itself has a hole or crack, cut a piece of metal slightly larger than the damage
- Firmly press the patch into roofing cement
- Seal all edges of the patch completely
Examine the flashing around every penetration point on your roof — chimneys and skylights tend to be the biggest trouble spots.
Tip 4 — Clear Clogged Gutters and Downspouts
This one is so frequently ignored. Gutters aren’t just about water that’s already off the roof — they influence what happens on the roof as well.
When gutters are filled with leaves, twigs and debris, the water backs up. That pooled water sits against the edge of your roof (the fascia and soffit area). Eventually it creeps beneath shingles and rots the wood below.
With heavy rain, this backup occurs in minutes.
Gutter Maintenance Checklist
| Task | Frequency |
|---|---|
| Clear leaves and debris | Every fall and spring |
| Flush with garden hose | Twice a year |
| Check for sagging sections | Once a year |
| Inspect downspout flow | After every heavy storm |
| Install gutter guards | One-time improvement |
Ensure gutters are cleared throughout the year and downspouts carry water at least 3–4 feet away from your foundation.
Tip 5 — Patch Holes With Roofing Cement and Mesh
Tiny holes from nails, screws or critter damage are sneaky. They are small enough to overlook during a cursory inspection, but large enough to allow water in during heavy rain.
Quick Patch Method for Small Holes
What you need: Wire mesh, roofing cement, putty knife
- Clean the hole and the area around it — no dirt, rust or debris
- Cut a piece of wire mesh slightly larger than the hole
- Press the mesh flat over the hole
- Spread roofing cement over the mesh in a thick, even layer
- Smooth with a putty knife and feather the edges
- Allow it to fully cure before rain exposure (refer to product label for drying time)
For larger holes, you’ll need a proper patching kit or professional assistance to determine if the decking (the wood beneath) has been damaged.
Tip 6 — Fix Leaks Around Skylights and Vent Pipes
Skylights and vent pipes are two of the most leak-prone spots on any roof. They protrude from the flat surface of the roof, so they always require additional sealing.
Skylight Leak Fixes
Water around a skylight typically originates from one of three sources:
- The flashing around the frame
- The rubber seal (gasket) between the glass and frame
- Condensation within the skylight (not an actual leak, but damaging nonetheless)
If the problem is flashing, use the method in Tip 3. For seal problems, run a bead of clear silicone caulk around the inside frame edge. If the gasket is cracked or compressed, it might need to be completely replaced — this is a job for a skylight specialist.
Vent Pipe Boot Repairs
Over time, the rubber boot at the base of vent pipes cracks due to UV exposure and temperature swings. A cracked boot = a direct water entry point.
Fix: Apply pipe flashing sealant around the base of the boot. For severely cracked boots, use a replacement rubber boot slip cover — these go right over the existing pipe and seal the area without having to remove anything.
Tip 7 — Apply Roof Sealant to Low-Slope or Flat Sections
Flat or low-slope roofs don’t shed water the same way pitched roofs do. They hold water longer, so even the tiniest crack can become a major issue during a downpour.
Best Products for Flat Roof Repairs
| Product Type | Best Use Case | Average Lifespan |
|---|---|---|
| Liquid rubber sealant | Wide coverage, large areas | 10–20 years |
| EPDM rubber membrane | Full flat roof coverage | 20–30 years |
| Bitumen tape | Seams and joints | 5–10 years |
| Reflective roof coating | Sealing + energy savings | 5–15 years |
How to Apply Liquid Rubber Sealant
- Deep clean the roof surface — sweep and then wipe down
- Let it dry fully
- Apply primer if required by the product instructions
- Roll or brush the sealant on in even coats
- Apply two to three coats for full waterproofing
- Allow to fully cure before rain (24–48 hours in most cases)
This works especially well for garage roofs, porch roofs and flat extensions.
Tip 8 — Deal With Ice Dams Before They Cause Leaks
If you live in a cold climate, ice dams are the winter version of the heavy rain problem. They form when heat from your attic melts snow on the roof. That meltwater trickles down and refreezes at the cold roof edge, creating a dam. Rain or more snowmelt then pools behind the dam and gets underneath shingles.
The result? Major leaks — the kind you usually get in late winter or early spring when rain falls on lingering ice.
How to Deal With Ice Dams
Short-term fix:
- After storms, use a roof rake to clear snow from the lower 3–4 feet of the roof
- Apply calcium chloride ice melt in a sock or stocking along the dam area — do NOT use rock salt (it damages shingles)
Long-term fix:
- Add attic insulation to keep warm air from reaching the roof deck
- Improve attic ventilation so the roof surface stays consistently cold
- Next time your roof is replaced, have a waterproof membrane (ice and water shield) installed along the eaves
The permanent way to fix ice dams is dealing with heat, not just removing ice.
Tip 9 — Use a Tarp as an Emergency Cover During Active Storms
Sometimes the damage happens in the middle of a storm. You can’t repair a roof when it’s raining — but you can stop the bleeding temporarily with a tarp.
A temporary tarp cover can’t fix the leak, but it will keep more water from getting in while you wait for safe conditions to make a proper repair.
For more expert tips, repair checklists and product recommendations, visit Roof Leak Fix Guide — a dedicated resource for homeowners dealing with roof leaks and water damage.
How to Tarp a Roof Safely
What you’ll need: Heavy-duty polyethylene tarp (minimum 6 mil thickness), wooden boards or sandbags, rope or bungee cords
- Wait for a break in the rain before heading up onto the roof
- Unroll the tarp over the damaged section
- Make sure the tarp extends at least 4 feet past the ridge of the roof on both sides
- Fasten the edges with wooden boards laid along the sides — this holds the tarp down without tearing it
- Secure any loose corners with rope or bungee cords
- Inspect and re-secure after the storm passes
A properly placed tarp can cover a damaged area for days or even weeks while you arrange the right repairs.

Common Roof Leak Causes at a Glance
| Cause | Where It Shows Up | Ease of Repair |
|---|---|---|
| Cracked/missing shingles | Open roof surface | Easy |
| Failed flashing | Chimney, vents, skylights | Moderate |
| Clogged gutters | Roof edges and fascia | Easy |
| Cracked vent boot | Around pipe penetrations | Easy |
| Flat roof membrane failure | Flat/low-slope sections | Moderate |
| Skylight seal failure | Skylight frame | Moderate |
| Ice dams | Lower roof edge | Hard |
| Small nail holes | Anywhere on roof deck | Easy |
| Ridge cap damage | Top of the roof | Moderate |
When to Stop DIY and Call a Professional
This roof leak fix guide addresses many common issues — but not all leaks should be repaired solo.
Call an experienced roofing contractor if:
- The leak is extensive or widespread
- You notice significant sagging in the roof deck or ceiling
- Mold is spread over a large area of insulation or wood
- The leak has been going on for more than a couple of weeks
- Upon inspection, you are unsure of the source
- The damage involves structural components of the roof
A licensed roofer can also recognize problems you may overlook, and some repairs require permits based on your local building codes.
According to the National Roofing Contractors Association (NRCA), homeowners should have their roofs professionally inspected at least once a year to catch hidden damage before it becomes a costly problem.
It’s always a good idea to get two or three quotes before hiring.
FAQs — Roof Leak Fix Guide
Q1: Is it possible to repair a roof leak without prior experience?
Yes, for small repairs such as replacing a shingle, sealing flashing or patching a small hole. These tasks are relatively easy using simple tools. However, safety first — never attempt repairs in wet or windy conditions.
Q2: How do I locate where my roof is leaking from inside?
Take a trip into your attic in the daytime and check for water stains, wet spots or daylight shining through the boards. Trace the wet trail upward — the entry point is most often above where the drip shows up in your house.
Q3: Which sealant works best for roof leaks?
For most roof repair jobs, a good-quality roofing cement (known as plastic roof cement) or a flexible silicone sealant works well. Rubber or EPDM products provide longer-lasting coverage for flat roofs.
Q4: How long does a temporary tarp last on a roof?
A good polyethylene tarp, secured the right way, will last two to four weeks. Some heavy-duty tarps last even longer. Check and re-secure the tarp after every storm.
Q5: Why does my roof only leak during heavy rain and not light rain?
Light rain does not create sufficient pressure or volume to push through small gaps. Heavy rain overwhelms weak points — clogged gutters, breached flashing or cracked sealant — that light rain might not affect.
Q6: Can a roof leak cause mold in my home?
Absolutely. Even a small, slow leak you may be unaware of creates enough moisture for mold to grow within 24–48 hours. Which is why early detection and timely repair are so important.
Q7: How regularly should I check my roof?
Twice a year — in spring and in fall. Also do a quick check after any major storm. That’s what catches small problems early and prevents big repair bills down the road.
Wrapping It All Up
A leaking roof in heavy rain is one of those issues that requires attention quickly. The longer you wait, the more water creeps into your home — staining ceilings, rotting wood and encouraging mold growth.
This roof leak fix guide provided you with 9 genuine, actionable tips to put to work:
- Track the leak to its real source before patching
- Replace cracked or missing shingles
- Seal pulled-away flashing
- Clear gutters and downspouts regularly
- Patch small holes with mesh and roofing cement
- Address skylights and vent pipe boots
- Apply liquid sealant to flat or low-slope roof sections
- Deal with ice dams in cold-weather climates
- Use a tarp for emergency protection during a storm
You don’t need to do it all at once. Focus on the most visible damage, work through the problem methodically and don’t be afraid to call in a pro when the job is too big or too risky.
A little prevention now can go a long way toward saving you headache and money down the road. Stay diligent, stay safe and keep that roof tight.


