
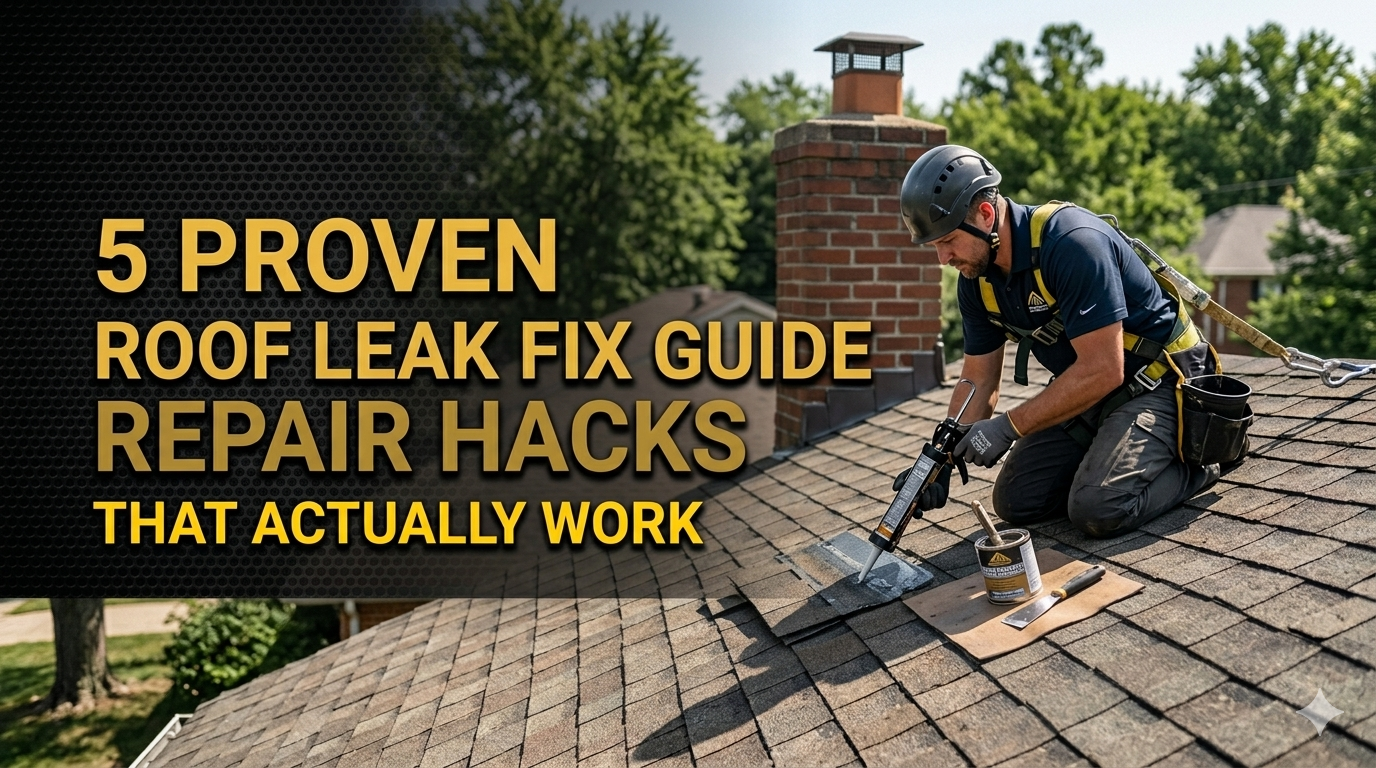
5 Proven Roof Leak Fix Guide Repair Hacks That Actually Work
How To Fix Roof Leaks: 5 Roof Leak Repair Hacks That Work
Meta Description: Roof leak fix guide with 5 proven repair hacks that actually work. Stop water damage fast with these easy, step-by-step DIY solutions for every homeowner.
Your Roof Is Leaking — Here’s What You Should Know First
The leaky roof is the stuff of every homeowner’s nightmares.
Water stains on the ceiling. Dripping noises at 2 a.m. Mold oozing into the edges of your walls. It begins as a little thing growing big in no time.
The good news? You don’t always have to call an expensive contractor immediately.
Many roof leaks can be repaired with the right knowledge, proper materials and a little confidence. This roof leak fix guide details 5 tried-and-true repair hacks that real homeowners and roofing pros swear by.
Regardless of whether your roof is covered with asphalt shingles, metal panels or flat rubber membrane — there’s a little something here for you.
Let’s get into it.
What Causes Roof Leaks in the First Place
You need to know why your roof is leaking before you fix anything.
Roof leaks are rarely random acts of nature. There’s almost always a clear reason. Here are the usual suspects:
| Cause | How Common | Risk Level |
|---|---|---|
| Cracked or missing shingles | Very common | High |
| Damaged flashing around chimney or vents | Very common | High |
| Clogged gutters | Common | Medium |
| Worn-out roof sealant | Common | Medium |
| Ice dams in winter | Seasonal | High |
| Nail pops or lifted nails | Less common | Medium |
| Improper roof installation | Less common | Very High |
Generally, knowing your cause = knowing your fix.
Once you identify where the water is coming in, it’s a lot easier to make the repair.
How to Get Ahead of a Roof Leak Before You Repair It
Honestly, the hardest part is finding the leak.
Water travels. It comes into the roof at one point and appears somewhere completely different on your ceiling. This fools many homeowners.
Start From the Inside
Go into your attic on a sunny day. Look for:
- Sunlight shining through the roof decking
- Dark water stains or streaks on the wood
- Mold or mildew buildup
- Wet insulation
Mark any spots you find with chalk or tape.
Move to the Outside
Now that you know the problem area from inside, head safely up on top of the roof. Look for:
- Missing, curled, or cracked shingles
- Damaged or lifted flashing
- Gaps around vents, skylights, or chimney
- Pooled water or debris buildup
The Garden Hose Test
Can’t find the leak visually? Use a garden hose.
Have someone accompany you into the attic, and run water over various areas of the roof in stages. Start low and work upward. Once your helper starts to see water pouring in, you’ve found it.
This method works better than you might think.
Hack #1 — Replace Damaged or Missing Shingles the Proper Way
Shingles are your roof’s first line of defense. When they crack, curl or go missing, water gets in nearly instantly.
This is the most common cause of a roof leak — and the most common repair.
What You’ll Need
- Replacement shingles (match your existing ones)
- Roofing nails
- Pry bar
- Hammer
- Roofing cement or sealant
- Utility knife
Step-by-Step Shingle Replacement
Step 1 — Take out the damaged shingle. Work the pry bar under the edges of the shingles and carefully lift them. Take out the nails that are securing it in place. Take care not to damage the surrounding shingles.
Step 2 — Remove the old shingle. Pull it out completely. Examine the underlying shingle for damage as well.
Step 3 — Slip in a new shingle. Work it up into place until the top edge is aligned with the shingles above.
Step 4 — Nail it down. Pound four roofing nails just below the tar strip line. Two on each side.
Step 5 — Seal the edges. Spread roofing cement under the edges of any surrounding shingles to seal everything in place.
Pro Tip for Curled Shingles
If the shingle is simply curled but hasn’t cracked, you shouldn’t have to replace it. Put roofing sealant under the curled corner, press it back down, then weigh it flat with a brick for 24 hours. Works like magic.
How Long Does a Shingle Repair Last?
| Repair Type | Expected Lifespan |
|---|---|
| Full shingle replacement | 15–25 years |
| Sealant over curled shingle | 1–5 years |
| Patch over cracked shingle | 2–7 years |
Hack #2 — Repair Worn Flashing Around Chimneys and Vents
Here’s a little-known fact:
Flashing failures lead to more roof leaks than shingle damage.
Flashing is the thin metal strip that seals joints in your roof where it meets a vertical surface — such as a chimney, a skylight or pipe vent. It tends to rust, warp or pull away over time.
When that seal breaks, water comes right in.
How to Tell If Your Flashing Is the Culprit
- Water stains directly beneath or adjacent to your chimney
- Gaps between the flashing and the chimney or vent
- Rust or corrosion on the metal strips
- Loose or pulled-back metal edges
Fixing Flashing Without Replacing It
If the flashing is still intact but there are small gaps or cracks, it can be resealed instead of completely replaced.
What You’ll Need:
- Roofing caulk or flashing sealant
- Wire brush
- Clean cloth
- Putty knife
Steps:
- Use a wire brush to clean the area around the flashing. Scrape away any old dried caulk, rust or debris.
- Wipe it down with a dry cloth so the surface is clean and dry.
- Run a thick bead of roofing caulk into the gap. Press it in firmly with a putty knife.
- Smooth it out and let it cure for a minimum of 24 hours before it gets wet.
When to Replace Flashing Completely
If the metal is seriously rusted, badly bent or has big holes — resealing won’t work. Then you’re going to have to replace the flashing.
This is a more involved project but nevertheless manageable for a confident DIYer. New flashing strips are readily available at any hardware store and will run you about $10–$30 depending on length and type.
Hack #3 — Seal Flat Roof Leaks With Roofing Tape or Patch Kits
Flat roofs are common on garages, extensions and commercial buildings. They’re also notorious for leaking.
Why? Because water doesn’t run off — it pools there. And standing water will seek out every little weakness.
Peel-and-Stick Patches: The Flat Roof Leak Solution
Roofing tape and peel-and-stick patch kits are some of the most underrated tools in any homeowner’s toolkit.
These products, designed especially for flat roofs, can seal cracks, blisters and tears in just a few minutes.
Best Products for This Hack
| Product Type | Best For | Average Cost |
|---|---|---|
| Butyl rubber tape | Small cracks and seams | $15–$30/roll |
| EPDM patch kit | Rubber membrane roofs | $20–$50 |
| Aluminum flashing tape | Metal and felt roofs | $10–$25/roll |
| Liquid rubber sealant | Large problem areas | $30–$80/gallon |
Step-by-Step Flat Roof Patch
Step 1 — Make sure the area is completely dry. Moisture under the patch = patch failure. Use a heat gun or wait for a dry sunny day.
Step 2 — Clean and prepare the surface. Clear out all gravel, debris, or loose material. Wipe down with a dry cloth.
Step 3 — Trim your patch to fit. Make it at least 6 inches wider and longer than the damaged area on all sides.
Step 4 — Peel and press. Remove the backing, press the patch firmly against the surface, and smooth all air bubbles out from the center outward.
Step 5 — Seal the edges. Apply a bead of roofing caulk around the perimeter of the patch for extra water protection.
Liquid Rubber — The Pour-and-Spread Option
If you’re facing cracking over a large area, go with liquid rubber sealant. You pour it on and roll it out. It dries to a waterproof membrane.
This is a long-term flat roof repair method that works really well.
Hack #4 — Clean and Repair Gutters to Prevent Overflow Leaks
Most people don’t consider gutters when thinking about roof leak repair. But a significant percentage of water damage is caused by clogged or damaged gutters.
Here’s why:
When gutters overflow, water spills back under the roof edge. It goes behind the fascia boards, gets into the soffits and ultimately gets inside. This shows up as ceiling leaks around the perimeters of rooms — often misdiagnosed as a shingle problem.
Signs That Your Gutters Are Behind the Leak
- Water stains close to outside walls, not in the middle of the ceiling
- Overflowing water during rain
- Gutters separating from the home
- Rotting wood along the roofline
Step-by-Step Gutter Fix
Clean them out first. Remove any leaves, twigs and debris. Flush with a garden hose. Alone, this solves many problems.
Check the slope. Gutters should slope slightly toward the downspout — about ¼ inch per 10 feet. If they’re sagging or flat, water collects and overflows.
Resecure loose gutters. Loose gutter hangers cause gutters to droop. Add or replace hangers every 2 feet along the gutter run.
Seal cracks and holes. Apply gutter sealant on the interior of any cracks. For holes, use a metal patch cut from aluminum flashing tape.
Install gutter guards. A long-term solution. Gutter guards help keep debris away and greatly reduce maintenance.
Gutter Maintenance Schedule
| Season | Task |
|---|---|
| Spring | Remove winter debris, inspect for damage |
| Summer | Check after heavy storms |
| Fall | Clear after leaves drop — most important |
| Winter | Look for ice dams, remove snow buildup |
Hack #5 — Use Roofing Cement for an Emergency Leak Repair Right Now
Sometimes you can’t wait for supplies. Sometimes the storm is imminent and you need a fix tonight.
That’s what roofing cement is for.
Roofing cement (also known as plastic roof cement, or asphalt mastic) is a thick, tar-based product that you apply directly to trouble spots. It sticks to nearly everything — shingles, metal, concrete, flashing — and forms a waterproof seal quickly.
For a deeper look at all five of these methods and more expert tips, visit Roof Leak Fix Guide — a dedicated resource for homeowners dealing with roof leaks of every kind.
When to Use Roofing Cement
- A temporary patch over a cracked shingle
- Sealing around the base of a vent or pipe
- Filling gaps in flashing
- Emergency repair before a permanent fix
How to Apply Roofing Cement
- Try to clean off the surface as much as possible.
- Open the can and scoop out the cement with a putty knife.
- Spread on a thick layer (at least ¼ inch) over the area of concern.
- Press it down and smooth the edges.
- Let it cure. Most products are waterproof within 1–2 hours.
Important Warning
Roofing cement is a short-term solution. It’s great in an emergency but doesn’t substitute for proper repairs. Plan to follow up with a permanent solution when conditions permit.
Also — don’t use roofing cement on EPDM rubber roofs. It’s not compatible and can even cause damage. Use an EPDM-specific sealant instead.

Safety First — Rules for Roof Repairs You Should Never Skip
With that out of the way, let’s talk about safety.
Roof work is considered among the most dangerous home repairs. Every year thousands of serious injuries result from falls from roofs.
Here are the non-negotiables:
- Never work on a wet roof. Even the slightest film of moisture renders surfaces treacherously slippery.
- Wear a safety harness if you are going up one story or higher.
- Tell someone you’re going up. Do not work alone on a roof without anyone knowing.
- Wear shoes with rubber soles and good grip.
- Avoid windy days. Wind can easily disturb your balance.
- Use a sturdy ladder rated for your weight plus tools.
If your roof is steep, high or structurally questionable — hire a pro. No repair is worth a bad fall.
DIY or Professional Roof Repair — Which One Do You Need?
Some roof leaks are not do-it-yourself projects. Here’s how to tell one from the other:
| Situation | DIY or Pro? |
|---|---|
| One or two missing shingles | DIY |
| Small gap or crack in flashing | DIY |
| Blistering flat roof or small tear | DIY |
| Clogged or sagging gutters | DIY |
| Emergency patch during storm | DIY |
| Large section of damaged shingles | Pro |
| Structural deck rot or sagging roof | Pro |
| Leak source completely unknown | Pro |
| Multiple leaks across the roof | Pro |
| Roof more than 20 years old | Pro evaluation |
As a general rule: if the area you need to repair is more than a few square feet or you can’t identify what’s causing it — get a professional opinion.
What Is the Cost to Repair a Roof Leak?
Cost is a huge consideration in how to address a leak. Here’s a realistic breakdown:
| Repair Type | DIY Cost | Professional Cost |
|---|---|---|
| Replace 1–3 shingles | $10–$50 | $150–$400 |
| Reseal flashing | $5–$20 | $200–$500 |
| Flat roof patch | $20–$80 | $300–$800 |
| Full gutter clean and reseal | $15–$40 | $100–$300 |
| Emergency roofing cement patch | $5–$15 | $150–$350 |
| Full roof replacement | N/A | $5,000–$15,000+ |
DIY savings are real. But so too are the risks of a bad repair that compounds the problem. Use your judgment.
According to the National Roofing Contractors Association (NRCA), homeowners should have their roofs professionally inspected at least once a year to catch small issues before they become expensive repairs.
The 10-Minute Roof Leak Action Plan
When you have a leak, here’s what to do within the first 10 minutes:
- Place buckets under the drip to protect your floors.
- Puncture a small hole in an overfilled water-laden ceiling bubble. That releases the water in a controlled manner rather than allowing it to spread.
- Relocate valuables and electronics from the flooded area.
- Photograph all damage for insurance purposes.
- Go to the attic if safe to do so and identify the entry point.
- Apply a temporary patch with roofing cement or tape if it’s safe to access the roof.
- Call your insurance company if the damage is widespread.
Responding quickly in the initial minutes alone can help prevent thousands of dollars in secondary damage.
FAQs About Roof Leak Repair
Can I fix a roof leak from the inside?
You may be able to temporarily repair it from the inside of the attic using roofing cement or waterproof tape. However, this is not sustainable and does not address the underlying cause. To do this well, you always need to solve the problem from the outside.
How long can I ignore a roof leak before it leads to costly damage?
Even a small, slow leak can lead to extensive mold, rot and structural damage within 24–48 hours if conditions are right. Don’t wait. Tackle it the moment you see it.
What is the best roof leak sealant?
For most shingle roofs, asphalt-based roofing cement will do the trick. On flat EPDM rubber roofs, use liquid rubber or patch kits designed for EPDM. For metal roofs, use either butyl rubber tape or silicone sealant. Your product should always be matched to your roof type.
Is a roof leak covered by homeowner’s insurance?
It depends on the cause. Storm damage from sudden events is generally covered. Gradual leaks from negligence are generally not. Refer to your specific policy and document everything with photographs.
Do I need a full roof replacement or can my roof be repaired?
If your roof is less than 15 years old and the damage is localized, repairs are typically adequate. If it’s more than 20 years old, showing widespread damage or signs of structural issues — it’s worth having a replacement discussion with a roofer.
Can I use Flex Seal or spray cans for roof leaks?
Flex Seal and similar products can be effective as a very short-term emergency measure. They are not intended for permanent roof repair and will probably fail within one or two seasons. Use them only to buy some time ahead of a proper repair.
Is it safe to walk on my roof?
The answer depends on the roof type and pitch. Low-slope roofs are typically safer to walk on. Fall protection gear is required for steep roofs. Tile and slate roofs may crack when walked on. Always be safe and consider hiring a professional for steep or fragile roofs.
Wrapping It All Up — Act Before It Gets Worse
A roof leak doesn’t heal itself.
The longer you put it off, the worse it gets — and the more expensive the fix is. Water damage compounds fast. What begins as a tiny drip can become rotted decking, ruined insulation and toxic mold within weeks.
This roof leak repair guide provided you with 5 actual, tested repair hacks:
- Replace or reseal damaged shingles — the most common source of leaks
- Reseal or replace flashing around chimneys and vents
- Seal flat roofs with peel-and-stick kits or liquid rubber
- Clean and repair gutters to stop overflow damage
- Apply roofing cement for a speedy temporary fix
Each one works. All are within reach of most homeowners with some basic tools and a little confidence.
Start with finding the leak. Then match it to the right hack. Act quickly and carefully. And remember — when the task is far too great or just plain dangerous, always the right move is to hire a professional.
Your roof is protecting everything underneath it. Give it the attention it deserves.


