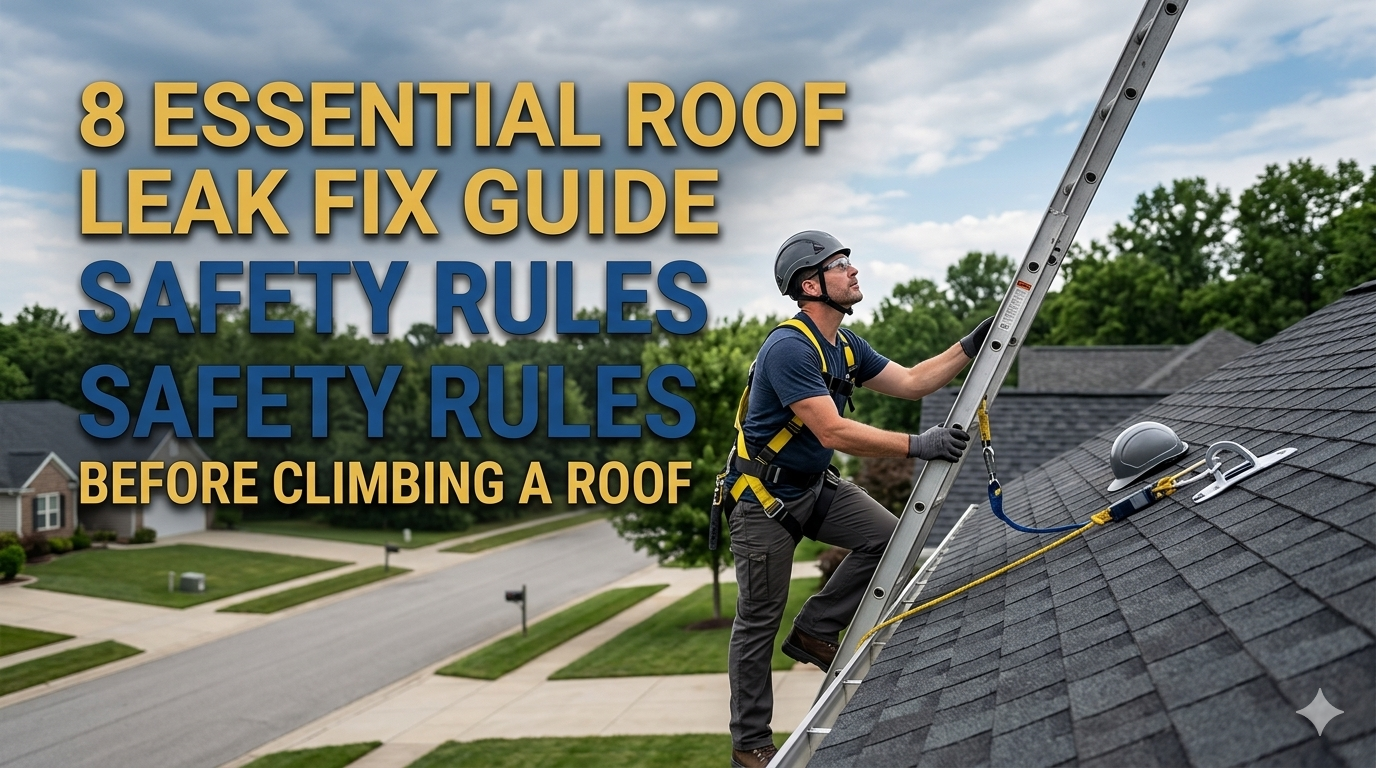
8 Essential Roof Leak Fix Guide Safety Rules Before Climbing a Roof
Meta Description: Roof leak fix guide safety rules are essential before you ever climb up top. Learn 8 must-follow safety rules to protect yourself and fix leaks the right way.
Top 8 Safety Rules Every Roof Leak Fix Guide Should Follow Before Getting on a Roof
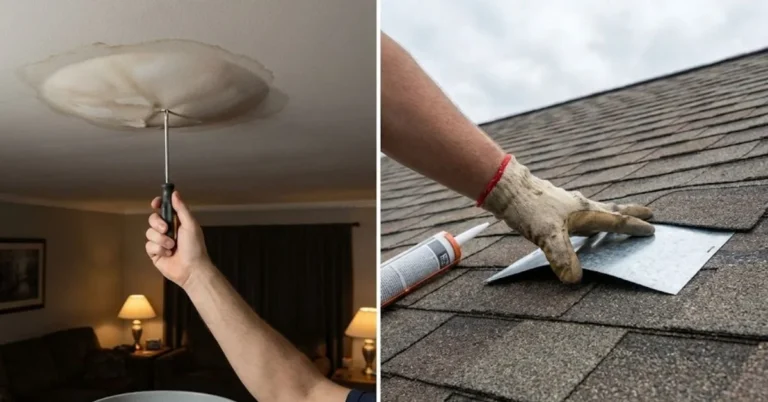
Do-it-yourself roof leak repairs are responsible for thousands of homeowner injuries every year. Some fall. Some slip. Some make the damage worse. The reality is that unless you have the proper safety knowledge, climbing a roof without training can be one of the most dangerous tasks around your home.
But here’s the silver lining — with the right preparation, you can be safe and still get it done.
This roof leak fix guide addresses 8 critical safety rules that you need to follow before even thinking about putting one foot up there. Whether you are faced with a minor drip or a larger issue following a storm, these rules could be a lifesaver.
Let’s give it to you straight in a simple way.
Why Roof Safety Is Not Optional
Many people imagine roof work as routine — like any other home repair. You get a ladder, go up top, and sort it out. But roofs are unpredictable. The surface may be slippery, the angle disorienting, and one misstep could mean plummeting 10 to 20 feet to the ground.
Falls are the number one cause of work-related deaths in construction, according to the CDC, and most fall deaths involve roofs. The risk is equally real for homeowners making do-it-yourself repairs.
Respect the material you’re working with before you even pick up a hammer or a tube of roofing sealant. Use this guide as your entry point.
Rule #1 — Always Check the Weather First
Never Scale a Wet or Windy Roof
It sounds obvious, but you’d be surprised how many people go up on a cloudy morning thinking it’ll be fine. It won’t.
Wet shingles are incredibly slippery — more so than you realize. A light morning dew might be slippery enough. If it rained the previous night, wait a few hours for the roof to dry completely before climbing.
Here’s what to avoid:
- Rain or drizzle — Zero tolerance. Never climb in wet conditions.
- Wind over 20 mph — Wind makes you unsteady and makes carrying tools dangerous.
- Extreme heat — Asphalt shingles soften on hot days and may give way under your weight or make your feet slip.
- Cold conditions — Frost or ice patches are almost undetectable and lethal on a slope.
Best Time to Climb
The safest time window is a calm, dry morning or early afternoon. No work past mid-afternoon, when temps drop and dew can begin to come back.
| Condition | Safe to Climb? |
|---|---|
| Sunny and dry | ✅ Yes |
| Light clouds, no rain | ✅ Yes |
| After rain (roof still wet) | ❌ No |
| Wind over 20 mph | ❌ No |
| Frost or ice present | ❌ No |
| Extreme heat (95°F+) | ⚠️ Caution |
Rule #2 — Check Your Ladder Before You Use It
A Bad Ladder Is a Disaster Waiting to Happen
Your ladder is your lifeline. If it fails, you fall. It’s that simple.
Inspect your ladder completely before each and every use. It takes less than two minutes, and it could prevent a serious injury.
Check for:
- Bent or cracked rails
- Loose or missing rungs
- Missing feet or rubber grips on the bottom
- Damaged locking mechanisms on extension ladders
If something seems off, don’t use it. Fix it or borrow a better one.
Set It Up the Right Way
No matter how perfect a ladder is, it becomes dangerous if placed incorrectly.
The basic guideline is the 4-to-1 ratio: for every 4 feet of height, the base of the ladder should be 1 foot away from the wall. That means if your roof is 16 feet off the ground, your ladder base should be no more than 4 feet away from the house.
Be sure the ladder extends at least 3 feet above the roofline so you have something to hold as you step on and off.
Always place the ladder on a hard, level surface. Never on soft soil, gravel, or uneven surfaces without stabilizers.
Rule #3 — Dress Head to Toe Appropriately
Your Clothing and Footwear Matter More Than You Realize
This isn’t about fashion. What you have on your body can mean the difference between a safe day and a wipeout.
Footwear: This is the most essential piece of gear. Wear rubber-soled shoes or boots with good traction. Sneakers with worn soles are a safety hazard. Flip flops, dress shoes, or boots with smooth soles are absolutely forbidden.
Clothing: Wear fitted, comfortable clothes. Loose shirts or baggy pants can get caught on things or throw off your movement. Long sleeves shield your arms from coarse shingles.
Gloves: Roofing gloves provide grip when handling materials and protect your hands from sharp edges.
Eye protection: Safety glasses are a must if you’re using any tools or removing old materials. Debris flies.
Helmet: Most DIYers skip this. Don’t. A hard hat will protect you if you bang your head on a fascia board or drop a tool from above.
Sun Protection
Working on a roof for more than 30 minutes, the sun takes its toll. Sunscreen, a hat (under your helmet), and staying hydrated are all part of working safely on a roof.
Rule #4 — Set Up a Safety Harness System
Don’t Even Think About Skipping This One
A safety harness is the most effective tool to prevent death on a roof. It connects you to the framework so that if you slip, you don’t fall to the ground.
Most homeowners forgo harnesses because they consider it overkill for a small patch job. That mindset has taken people to the hospital.
What you need:
- A roof safety harness (rated for your weight)
- A roof anchor (screwed into a rafter for strong hold)
- A lifeline rope
- A rope grab or shock-absorbing lanyard
How it works: The anchor attaches to the roof structure. The rope connects to your harness. If you slip, the system catches you before you go over the edge.
You can rent full harness kits at most hardware stores for a very low daily price. If you plan to do any roof work more than once, buying your own kit is worth every dollar.
| Harness Component | Purpose |
|---|---|
| Safety harness | Worn on your body to hold you |
| Roof anchor | Screwed into structural wood |
| Lifeline rope | Connects you to the anchor |
| Lanyard/rope grab | Controls slack and absorbs shock |
Rule #5 — Never Work Alone on a Roof
Always Have a Ground Person
No rule is violated more often than this one. People say, “It’s a quick job, I’ll just run up and do it myself.” But if something goes wrong when you’re alone, there’s no one to call for help or call 911.
Your ground partner has a few key roles:
- Stabilize the ladder — They hold the base while you climb up and down.
- Pass up tools and materials — This avoids you carrying too much while climbing.
- Watch for hazards — They may be able to see things you cannot from the roof, such as a weak section or incoming weather.
- Get assistance quickly — If you take a spill or are injured, they are there to react immediately.
Your ground person does not need to be a professional. Anyone — family, neighbor, friend — will do. What matters is that someone is there, paying attention, and knows what to do if something goes wrong.
Rule #6 — Know the Roof Before You Step On It
Not All Roofs Are Safe to Walk On
At this point, a lot of DIYers get into real trouble. They think the roof is fine because it appears good from the ground. But looks can be deceiving.
Before you climb, ask:
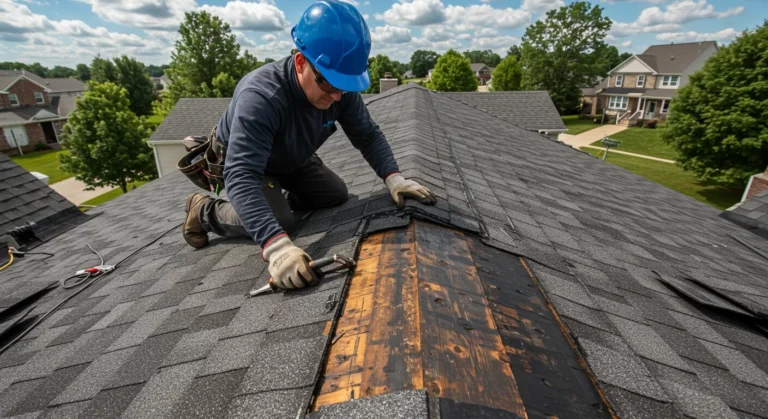
- How old is the roof? Old roofs (20+ years) can have soft or rotted decking under the shingles.
- Has there been water damage? Cases of leakage typically have damaged wood beneath.
- What type of roofing material is it? Certain materials — such as clay tile, slate, or metal — need special footwear and techniques to walk on safely.
How to Test as You Go
Once up on the roof, be gentle and deliberate. Step with caution and test for any bounce or give before planting your full weight down on a spot. If a place seems spongy, walk around it. That’s a symptom of rotted decking below.
Stick close to the ridge (the peak) or directly over rafters whenever you can. These areas are the most structurally sound.
Never crawl across a flat, unsupported area of decking.
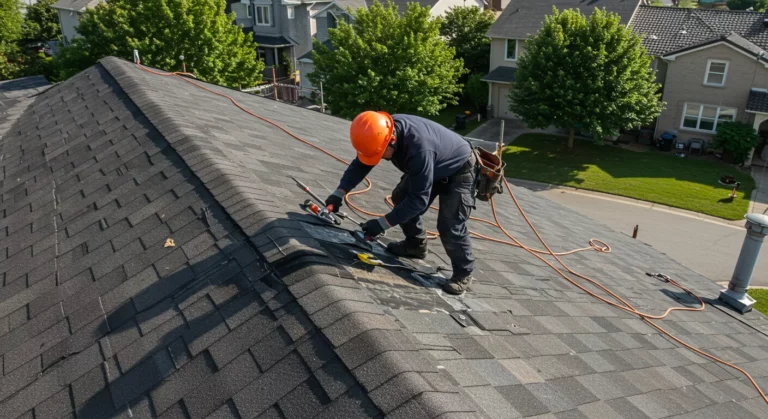
Rule #7 — Keep Your Tools Organized and Secure
Dropped Tools Are a Serious Danger
If you drop a hammer when you’re 15 feet up, it’s not simply falling to the ground — it might hit your ground partner, a neighbor, or just someone else passing through. And a tool that rolls off the roof edge quickly reaches a dangerous speed.
Tool safety on the roof:
- Use a tool belt to keep things on your hip and secure.
- Use tool lanyards — these are short tethers that attach your tools to your belt or wrist.
- Never lay tools flat on the roof surface where they can roll.
- Set up a toe board (a plank nailed across the slope) to create a flat resting surface for tools and materials.
- Bring only what you need. More tools mean more weight and increased risk.
Roofing Buckets and Staging
When bringing up materials such as shingles, sealant, and flashing, use a roofing bucket with a hook that hangs over the ridge. This keeps supplies secure and frees your hands for climbing and moving.
Plan your material trips carefully. Every time you go up and down the ladder increases your risk.

Rule #8 — Know When to Call a Professional
Some Jobs Are Just Too Dangerous to Do Yourself
This is possibly the most important rule in this entire guide. Not every roof leak is a good DIY repair candidate. Recognizing your limits is a mark of intelligence, not weakness.
Call a licensed roofing contractor if:
- The roof pitch (steepness) is more than 6:12 — that is, it rises more than 6 inches for every 12 inches of horizontal run. Steep roofs require specialized safety equipment.
- You’re not comfortable with heights at any stage of your prep.
- The damage is widespread, not limited to one place.
- The decking underneath feels soft or damaged in several areas.
- You have no access to a proper harness system.
- You’re working near power lines.
There’s no shame in calling a pro. Hiring a roofing contractor means employing someone who has the training, equipment, and insurance to perform the job safely. The cost of a professional repair is always cheaper than the cost of a bad fall.
Quick-Reference Safety Checklist
Use this right before every roof climb:
| Safety Check | Done? |
|---|---|
| Checked weather forecast | ☐ |
| Inspected and correctly set up ladder | ☐ |
| Wearing rubber-soled shoes | ☐ |
| Wearing gloves and eye protection | ☐ |
| Harness system in place and tested | ☐ |
| Ground partner present | ☐ |
| Assessed roof from ground level | ☐ |
| Tools secured in belt or bucket | ☐ |
| Told someone where you’re working | ☐ |
Print this out or take a screenshot. Run through it every single time.
The Biggest Mistakes Most People Make About Roof Leak Repairs
A roof leak fix guide isn’t all about patching the leak — it’s about bringing you home safely after the job. Most DIY blunders fit a few familiar patterns.
Mistake 1: Going up unprepared. Grabbing a caulk gun and going up without any of the steps above is where accidents happen.
Mistake 2: Rushing the job. Roofing is slow, careful work. The pressure to outrun the weather or finish before nightfall leads to bad decisions.
Mistake 3: Overconfidence. Thinking to yourself, “I’ve done this before” is dangerous. Every roof climb carries risk. Treat each one seriously.
Mistake 4: Not wearing good shoes. More than any other single factor, this causes falls. The right shoes matter enormously.
Mistake 5: Skipping the harness. One slip is all it takes. The harness is not optional.
FAQs About Roof Leak Fix Guide Safety Rules
Q: Do I actually need a harness for a small repair job? Yes. Even a short time working at height carries a risk of serious fall. A 10-foot fall can be deadly. If you are working on a sloped roof, always use a harness.
Q: What kind of shoes are best for walking on a roof? Rubber-soled shoes with good grip are best. Good choices include brands that make hiking boots or work boots with non-slip soles. Stay away from anything with smooth soles or heels.
Q: How do I know if my roof is too steep to walk on safely? A roof with a pitch of greater than 6:12 is considered steep, and it isn’t usually safe to walk on without professional equipment and training. You can measure pitch with a level and tape measure from the attic or ladder.
Q: Can I fix a roof leak from inside my house? For temporary relief, yes. Inside, you can temporarily halt water intrusion with roofing tape or hydraulic cement. But this is a short-term fix. You’ll still need to seal the leak point from the outside eventually.
Q: What should my ground person do if I fall? They should not attempt to catch you or climb up. They should call 911 right away and remain with you until help arrives. Do not try to move an injured person unless in immediate danger.
Q: How long should I wait after rain before getting on the roof? At the very least, wait until the surface appears and feels absolutely dry. That is typically at least two to four hours after rain has stopped, depending on temperature and sun exposure. If unsure, wait another hour.
Q: Is it safe to go up on the roof at night? Definitely not. Poor visibility in the dark makes it very risky. Always work in clear daylight.
Q: What if I find a weak or soft spot when I’m already on the roof? Stop moving. Gently redistribute your weight to a solid-feeling area. Walk slowly toward the ladder and get off the roof. Do not proceed with work until the decking issue has been assessed.
Wrapping It All Up
A roof leak can feel urgent. When water is coming into your home, the instinct is to make things right quickly. But those who have rushed onto roofs without proper safety preparation have been seriously hurt — and killed — while simply trying to protect their homes.
This roof leak fix guide safety checklist isn’t about standing in your way. It’s there so you can return to the ground safely.
Follow all 8 rules every single time:
- Check the weather
- Properly inspect and set up your ladder
- Wear proper protective gear
- Use a safety harness
- Never work alone
- Know your roof before stepping on it
- Secure your tools
- Know when to call a pro
Do those things consistently, and you’ll reduce your risk drastically every time you go up. Your home needs to be fixed. But your family deserves to have you here for it.
Stay safe. Take your time. Do it right.