8 Essential Roof Leak Fix Guide Safety Tips for DIY Beginners
Let me be straight with you — the first time I climbed onto my roof to fix a leak, I nearly slipped off the edge within the first five minutes. No exaggeration. It had rained the night before, the shingles were still slightly damp, and I was wearing old sneakers with almost zero grip. That experience changed everything about how I approach roof repairs now.
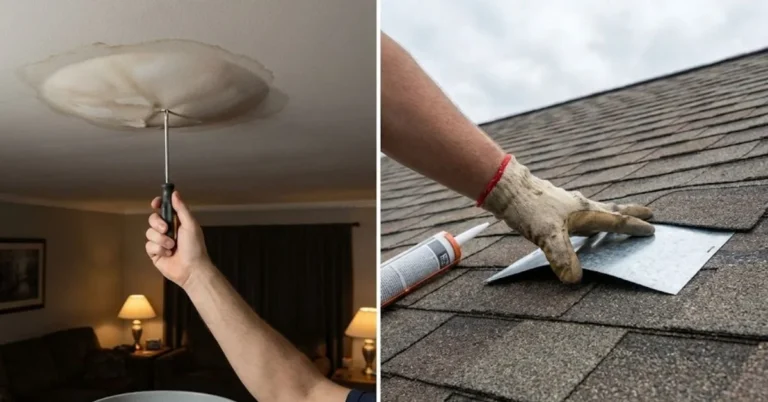
If you’re reading this because you’ve got a drip coming through your ceiling and you’re thinking “how hard can it be?” — I get it. But please, read this first. Not because I want to scare you off DIY repairs (they’re totally doable and can save you serious money), but because the safety side of roof work is something most beginner guides gloss right over.
So here are the 8 essential safety tips I wish someone had actually explained to me before I climbed up there with a tube of roofing sealant and a prayer.
1. Never Work on a Wet or Damp Roof — Seriously, Never
This sounds obvious until you’re standing in your kitchen watching water drip into a pot and you’re desperate to just fix it already. Trust me, I’ve been there. But wet roofing material — whether it’s asphalt shingles, metal panels, or flat membrane — becomes incredibly slippery.
Even morning dew is enough to make a pitched roof feel like an ice rink. After my near-slip moment, I started checking not just the current weather but also what happened the night before. A dry, sunny morning after overnight rain is still dangerous for a couple of hours.
What I do now: I use the Weather Underground app (it gives hyperlocal hourly forecasts) and wait until at least 2–3 hours of direct sunlight have hit the roof before I go up. If there’s any wind above 15–20 mph in the forecast, I reschedule.
A simple rule: If you wouldn’t confidently walk on it barefoot without holding something, don’t go up there with tools in your hands.
2. Wear the Right Footwear — Your Life Depends on Your Grip
After that first near-fall, I threw out those sneakers. Now I only go up in rubber-soled work boots specifically designed for roofing. Brands like Timberland PRO, KEEN Utility, or Caterpillar make boots with slip-resistant soles that make an enormous difference.
What you’re looking for:
| Footwear Feature | Why It Matters |
|---|---|
| Soft rubber outsole | Molds to roof surface for grip |
| Low heel | Keeps your center of gravity stable |
| Ankle support | Prevents rolling on uneven surfaces |
| Waterproof upper | Keeps you safe even in light morning moisture |
Avoid: running shoes, flip-flops (yes, people do this), work boots with hard leather soles, or anything worn-out with smooth patches.
Also — no socks on bare roof ever. Some people think going barefoot gives “feel” for the surface. It doesn’t give you grip; it just gives you cuts.
3. Set Up Proper Fall Protection Before You Do Anything Else
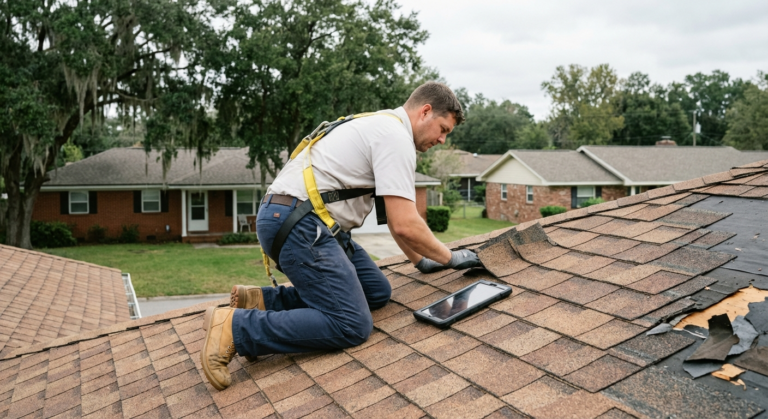
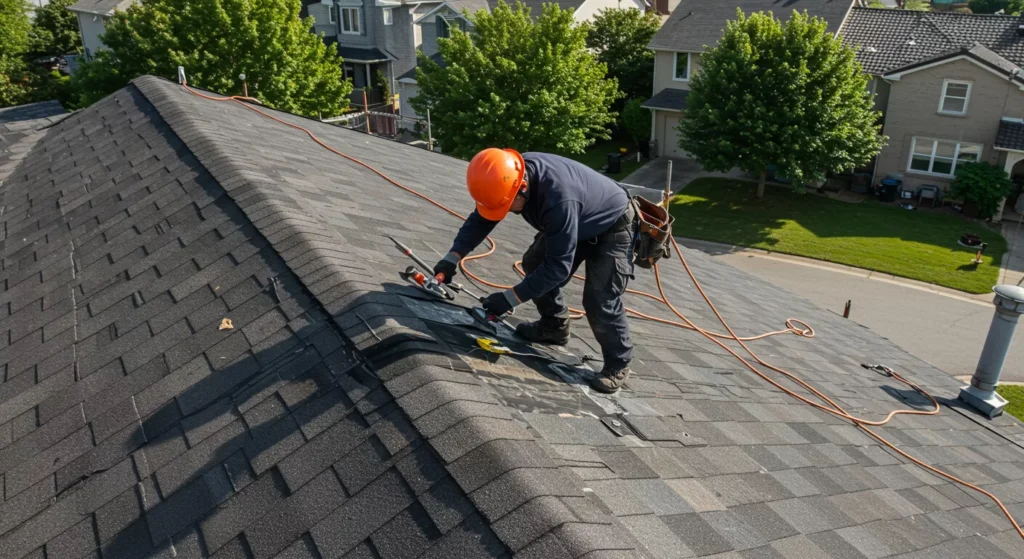
This is the big one. In many places, OSHA requires fall protection for any work done at heights over 6 feet — and residential roofs are almost always higher than that.
For a beginner DIYer, the minimum you should have is:
- A roofing harness (I use the Werner Fall Protection Kit — around $60–80 on Amazon)
- A roof anchor that attaches under a shingle or to a ridge board
- A rope lanyard or self-retracting lifeline
I know it sounds like overkill for patching one small leak. But think about it — roofers fall every year, and they do this professionally. A harness kit is a one-time investment that you’ll use every single time you go up.
When I first set mine up, it felt awkward and I kept thinking “I won’t fall, I’ll be careful.” That’s exactly the mindset that leads to accidents. The harness is there for the moment your foot slides without warning — which is always the moment you least expect it.
Check out this guide on 8 Fast Roof Leak Fix Guide Repair Tricks That Saved My Roof for more on how to approach repairs systematically once you’re safely up there.
4. Use the Right Ladder — And Position It Correctly
A lot of roof accidents don’t happen on the roof. They happen on the ladder. Either getting up, or worse, getting down when you’re tired and carrying tools.
Here’s what actually matters with ladders for roof access:
Ladder type: For most residential roofs, you want an extension ladder — at least 3 feet taller than your roofline. This way the top of the ladder extends above the gutter, giving you something to hold while you transition onto the roof.
Angle: The classic rule is the 4-to-1 ratio — for every 4 feet of height, the base should be 1 foot away from the wall. Too steep and it tips backward; too shallow and it slides out.
Securing the base: On soft ground, use ladder feet with rubber pads or stake them down. On hard surfaces like concrete, I place the ladder against a non-slip mat. I’ve also started using a ladder stabilizer/standoff — it hooks around gutters and prevents the ladder from sliding sideways.
What I messed up the first time: I leaned the ladder against the gutter itself. Gutters are not structural. Mine bent slightly under the pressure. Now the standoff hooks around the roofline, not into the gutter.
5. Tell Someone Where You’re Going (Seriously)
This one sounds almost too simple to include, but hear me out. If you fall and you’re alone, and your phone is on the kitchen counter, and your neighbors are at work — that’s a real problem.
Before any roof work, I text my wife or a neighbor: “Going on the roof for about an hour, check on me if you don’t hear from me.” It takes ten seconds and it’s saved me from a couple of moments of minor panic (not falls, thankfully, but once I got my harness line tangled and couldn’t move freely for a few minutes).
Even better: have someone physically present to stabilize the ladder base while you climb. A person at the base of the ladder adds significant stability, especially when you’re coming back down with dirty gloves and tired legs.
6. Clear Your Work Zone and Keep Tools Secured
One thing nobody tells you about roof safety is that the danger isn’t just you falling — it’s tools falling onto people below.
A dropped hammer from a 20-foot roof has enough force to seriously injure someone on the ground. Before I start any job, I:
- Rope off or mark the area directly below where I’m working
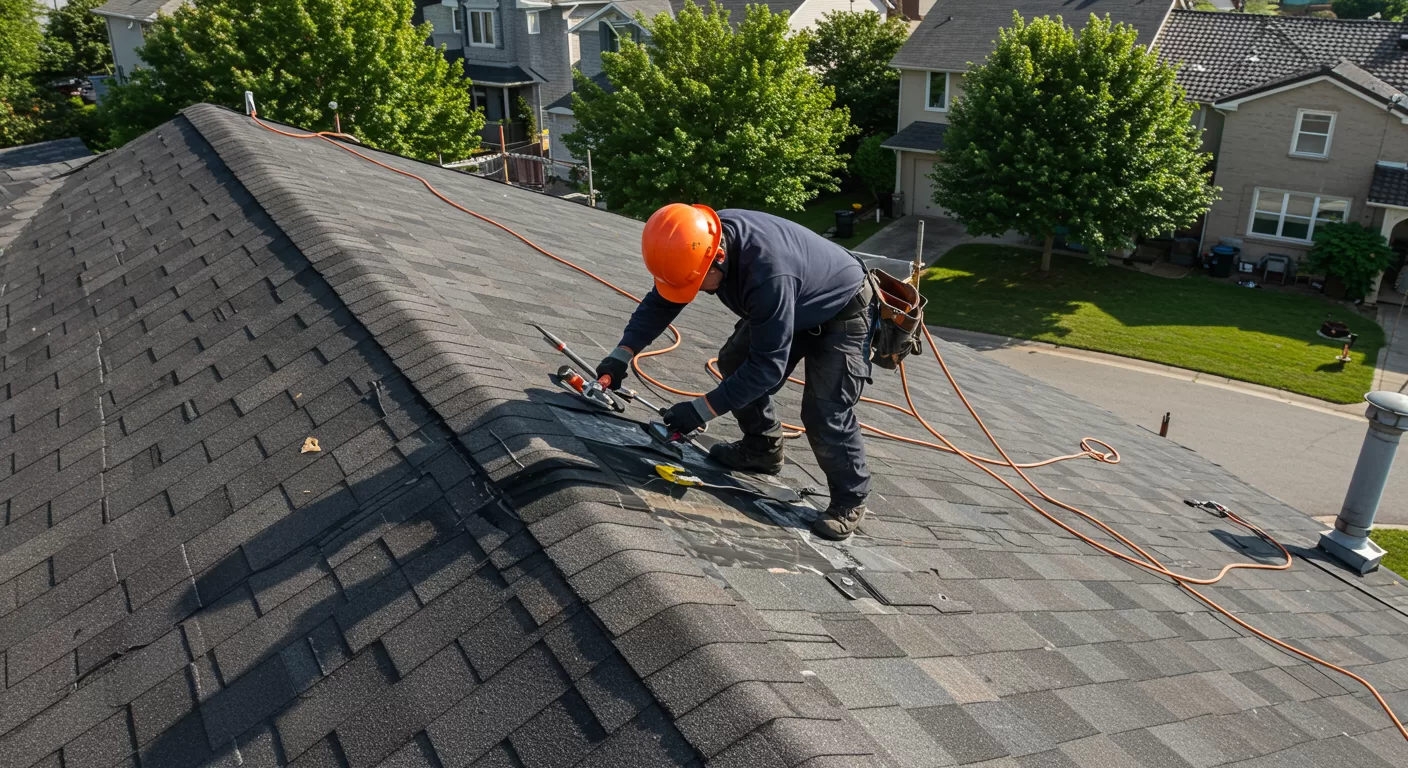
- Use a tool belt or apron so nothing is loose in my hands unnecessarily
- Attach frequently-used tools to the belt with caretakers or lanyards
- Keep a bucket with a hook on the ridge for storing materials so nothing rolls down the slope
Also clear the roof surface itself before you start. Leaves, small branches, old fasteners — any of these become slip hazards when you step on them unexpectedly. I do a quick sweep with a stiff brush before I do anything else.
For a detailed walkthrough on what repairs you can actually tackle yourself, 6 Easy Roof Leak Fix Guide Repairs You Can Do in 15 Minutes is worth a read before you head up.
7. Know Your Roof’s Load Limits and Your Own Physical Limits
Not all roofs are built the same, and not all of them can handle you walking wherever you want. This is especially true for:
- Older homes (30+ years) where decking may be rotted in spots
- Flat or low-slope roofs with membrane material that can crack under pressure
- Any area directly over a leak — the decking underneath is likely water-damaged and weakened
Here’s a quick guide to roof walking safety by type:
| Roof Type | Safe to Walk On? | Tips |
|---|---|---|
| Asphalt shingles (good condition) | Yes, with care | Step on the lower half of each shingle |
| Metal roofing | Moderate — can be slippery | Use soft-soled boots, walk on ridges |
| Flat membrane (EPDM/TPO) | Caution — can crack in cold weather | Distribute weight, avoid sharp turns |
| Clay or concrete tile | High risk — tiles crack easily | Step only on the overlap areas |
| Rotted or soft decking | Do not walk | Shore it up or call a pro |
And your personal limits matter too. If you’re not comfortable with heights, if you have a knee or balance issue, or if you’re just exhausted from a long day — reschedule. Fatigue is one of the leading causes of DIY roof accidents. A leaking roof is a problem; a fall from a roof is a crisis.
8. Know When to Stop and Call a Professional
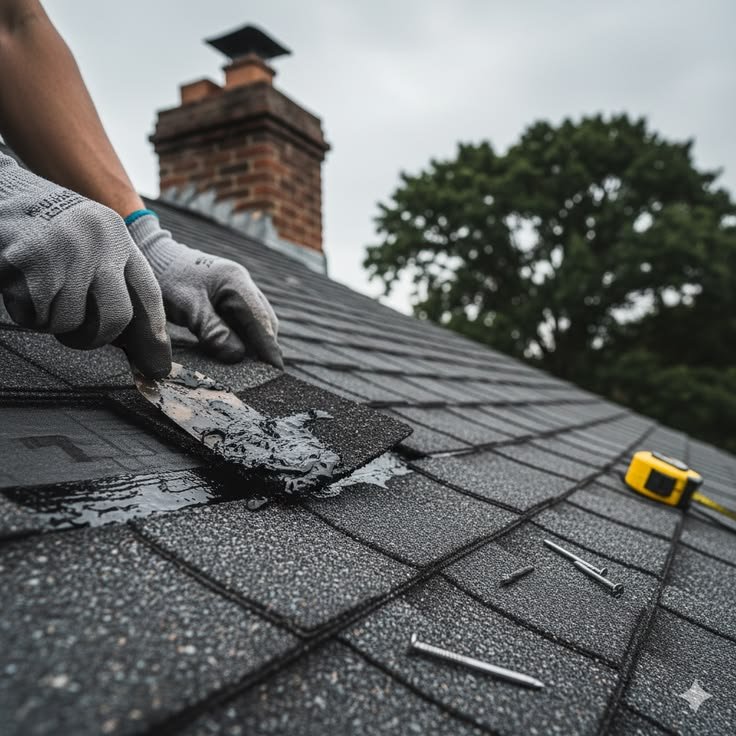
I’m all for DIY. I’ve patched shingles, re-sealed flashing, cleared clogged valleys, and fixed gutters myself. But there’s a line, and knowing where it is might be the most important safety tip of all.
Call a pro if:
- The leak source isn’t obvious and the damage looks widespread
- You find significant soft spots or visible rot in the decking
- The roof pitch is steep (above 6:12 ratio — meaning 6 inches of rise per 12 inches of run)
- You don’t have fall protection equipment
- The repair requires removing and replacing multiple shingles or flashing sections
- You’re in an area with frequent rain and can’t wait for a safe dry window
There’s no shame in it. I’ve called professionals twice in the last four years — once when I found a 4-foot section of rotted decking under a seemingly minor leak, and once when my roof pitch was just too steep for me to safely work on that section without proper scaffolding.
The money you save on DIY isn’t worth it if the repair requires gear or expertise you don’t have.
A Few Quick Mistakes I’ve Seen (and Made)
- Going up alone without telling anyone
- Using an old, cheap ladder that wobbled
- Skipping the harness “just this once” for a quick 10-minute job
- Working in the afternoon heat without water — got dizzy up there once, which is terrifying
- Bringing too many tools up at once and not being able to grip the ladder properly on the way down
That last one taught me to use a rope and bucket system — tools go up and come down separately, not in your arms.
What Good Preparation Actually Looks Like
Before any roof job, here’s my actual checklist now:
- ✅ Check weather — dry for at least 3 hours, wind under 15 mph
- ✅ Harness and anchor set up before I step on the roof
- ✅ Right boots on, tool belt loaded
- ✅ Ladder positioned and secured at the correct angle
- ✅ Someone notified or present
- ✅ Ground area below cleared and marked
- ✅ Roof surface swept
- ✅ Phone in my pocket (not on the kitchen counter)
It sounds like a lot, but the whole prep process takes about 15–20 minutes. That 15 minutes is the difference between a safe, productive repair and an emergency call.
For more practical guidance once you’re ready to actually get up there safely, check out 9 Essential Roof Leak Fix Guide Prevention Tricks Homeowners Swear By — it pairs really well with what we covered here.
Getting on your roof is totally manageable as a beginner, but only if you respect the risks. The repair itself — patching, sealing, replacing a shingle — is usually the easy part. The safety setup is where most people cut corners and where most accidents happen.
Start slow, gear up properly, and don’t let urgency push you into bad decisions. Your roof will still be there tomorrow if the weather isn’t right today.
Also worth reading: 7 Smart Roof Leak Fix Guide Prevention Tips That Actually Work — great follow-up once you’ve got the safety side sorted out.
About the Author