5 Scary Roof Leak Fix Guide Safety Mistakes I Made Once
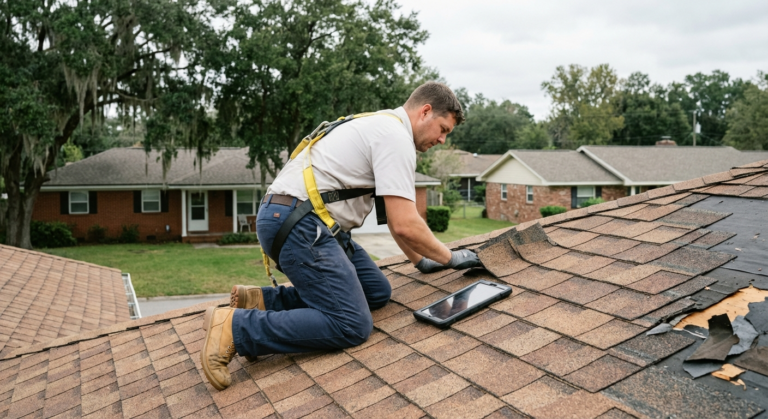
Let me be honest with you — the first time I climbed onto my roof to fix a leak, I had absolutely no idea what I was doing. I had YouTube open on my phone, a tube of roofing sealant in one hand, and way too much confidence for someone standing on a wet, sloped surface in flip-flops.
Yeah. Flip-flops.
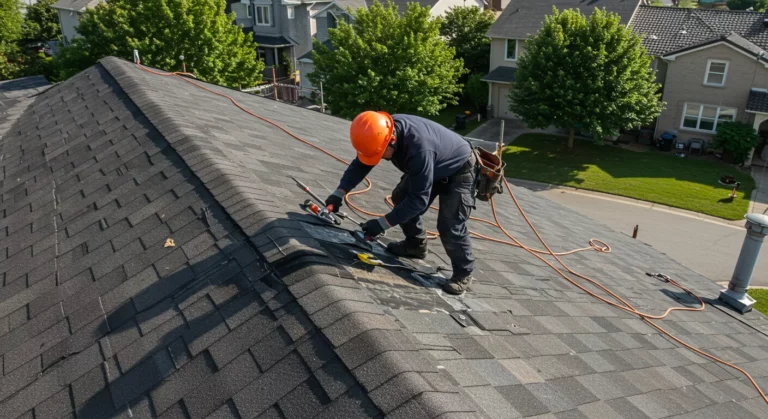
That day didn’t end in disaster — but it easily could have. And over the next couple of repair attempts, I made a handful of genuinely scary mistakes that taught me more about roof safety than any article I’d read beforehand. So if you’re planning a DIY roof repair, please read this first. These aren’t just tips — they’re lessons I learned the hard way, and some of them nearly cost me a lot more than a leaky ceiling.
1. I Climbed the Roof Without Checking the Weather — and Almost Slid Off
This sounds obvious in hindsight. But at the time, I figured “it’s not raining right now, so I’m fine.” What I didn’t account for was morning dew. I went up around 7 a.m. thinking I’d beat the heat. The shingles were still damp from overnight moisture, and the moment I shifted my weight to reach over a ridge, my foot slid out.
I caught myself. Barely.
The thing about wet roofing surfaces is that they don’t look slippery. They look completely normal. Asphalt shingles, metal panels, even clay tiles — they all become practically frictionless when there’s even a thin layer of moisture on them.
What I do now before every single climb:
- Check the weather for at least 24 hours prior — not just the morning of
- Run my hand along a shingle near the ladder before committing to the climb
- Wait until at least 10 a.m. when the sun has had a chance to dry things out
- If it rained within the last 6 hours, I don’t go up. Period.
A non-slip rubber-soled shoe makes a difference too. I switched to a pair of Timberland Pro work boots with a lug sole and the grip improvement was night and day compared to regular sneakers. Some roofers swear by crepe-soled boots — either way, footwear is not the place to cut corners.
2. I Used a Ladder That Was Too Short and Set It Up Wrong
My second big mistake came from using a 6-foot step ladder propped against the gutter. This is one of the most common — and most dangerous — things DIYers do. I’d see guys in videos just lean a ladder against the fascia board and scamper up. Looked easy enough.
What nobody showed me was what happens when the gutter flexes under the weight. Mine bent inward at the top, the ladder shifted sideways, and I grabbed the edge of the roof with both hands like a cartoon character. I had about half a second of pure terror before I stabilized myself.
The right way to set up a ladder for roof access:
| What to Do | Why It Matters |
|---|---|
| Use an extension ladder (at least 3 ft above the roofline) | Gives you a safe handhold when transitioning onto the roof |
| Set the base at a 75-degree angle (roughly 1 ft out per 4 ft of height) | Prevents the ladder from kicking out or tipping forward |
| Use ladder standoffs/stabilizers | Keeps weight off the gutters and adds lateral stability |
| Have someone foot the ladder | Especially important on uneven ground |
| Never use a step ladder against a structure | Step ladders are for flat-surface use only |
I ended up buying a Werner 28-foot aluminum extension ladder with a stabilizer bar attachment. It cost more than I wanted to spend, but after the gutter incident, it was non-negotiable.
Check out 8 Essential Roof Leak Fix Guide Safety Rules Before Climbing a Roof — there are some additional ladder setup tips in there that I wish I’d read before my second attempt.
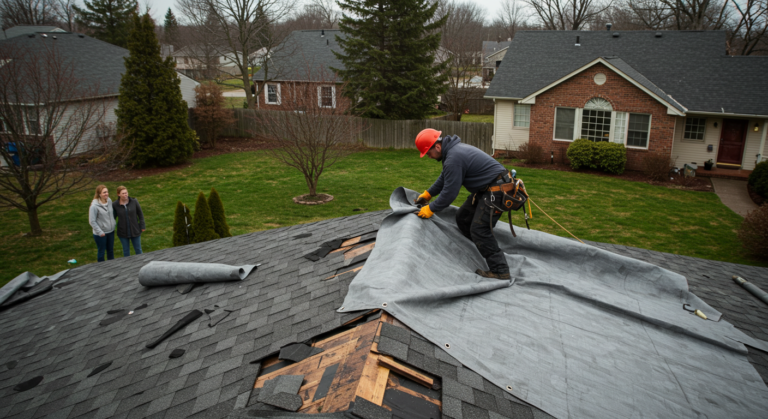
3. I Worked Alone on a Two-Story Roof with No Safety Rope
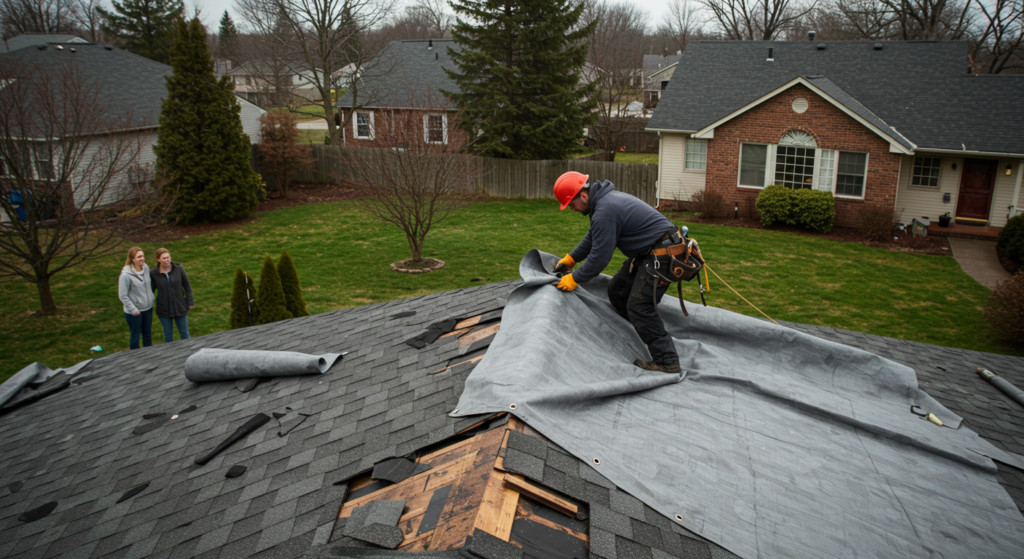
This one is the mistake I’m most embarrassed about — not because it’s unusual (lots of people do it), but because I knew better and still talked myself into it. My thinking was: “I’ll be careful. I’ll move slowly. It’s just a small section near the edge.”
That “small section near the edge” was about 18 inches from a 22-foot drop onto a concrete driveway.
The truth is, working alone on any roof above single-story height without fall protection is genuinely reckless. OSHA requires fall protection at heights of 6 feet or more in the construction industry — and while that doesn’t legally apply to homeowners, the physics of falling certainly does.
What proper fall protection looks like for a DIYer:
A basic DIY roof safety kit includes:
- Roof anchor — screws into the decking through a shingle, provides a solid tie-off point
- Safety harness — a full-body harness, not just a belt
- Rope grab/lanyard — connects you to the anchor and limits fall distance
- Roof brackets — flat platforms you can stand on while working on a slope
I picked up a DBI-SALA roof anchor kit from a local hardware store for around $60. The harness was another $80. That’s $140 total to dramatically reduce the chance of dying. Honestly a bargain.
Also — and this cannot be overstated — always tell someone before you go up. I started texting my neighbor every time I go on the roof. If she doesn’t hear back from me within 30 minutes, she knows to check. It’s a simple system and it costs nothing.
4. I Ignored Electrical Hazards Near the Roofline
I live in an older home, and the utility lines come in pretty close to one corner of my roof. When I had a leak near that corner — naturally — that’s exactly where I needed to work.
I figured the lines had insulation on them, so touching them briefly wouldn’t be a big deal. What I didn’t know (and learned from an electrician friend afterward) is that the insulation on older service drop lines degrades over time. What looks like a fully insulated wire can have exposed sections you can’t see from a distance.
I came within about a foot of a power line while reaching to apply sealant. My electrician friend turned white when I told him.
Electrical safety on rooftops:
- Call your utility company before working near service lines — many will temporarily de-energize them for free or low cost
- Maintain at least a 10-foot clearance from any power line while working
- Never lean a metal ladder against or near electrical lines
- If the leak is near where lines attach to the house, hire a pro for that section specifically
6 Smart Roof Leak Fix Guide Safety Tips Every DIYer Should Know has a section on working near utilities that breaks this down in more detail — worth a read before you get anywhere near that corner of your house.
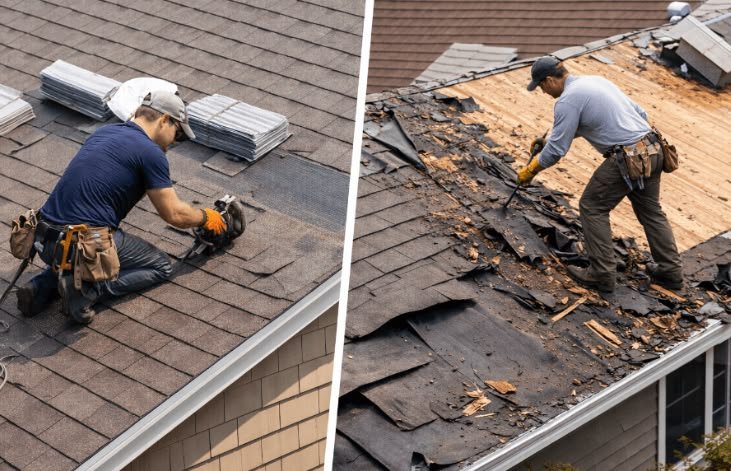
5. I Didn’t Inspect the Roof Decking Before Putting My Full Weight on It
This one is the sneakiest danger of all because you can’t always see it coming.
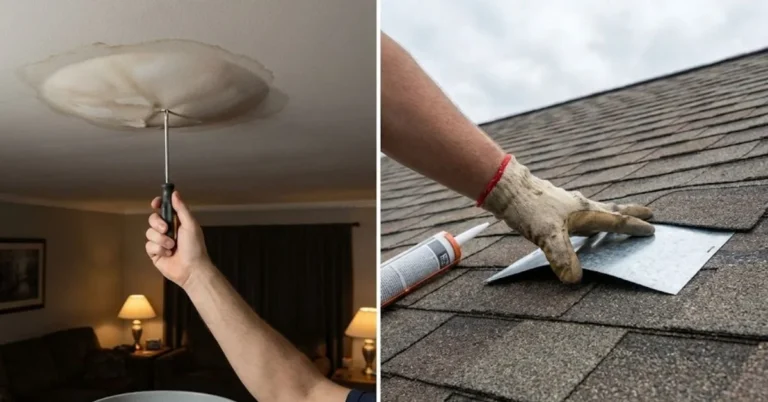
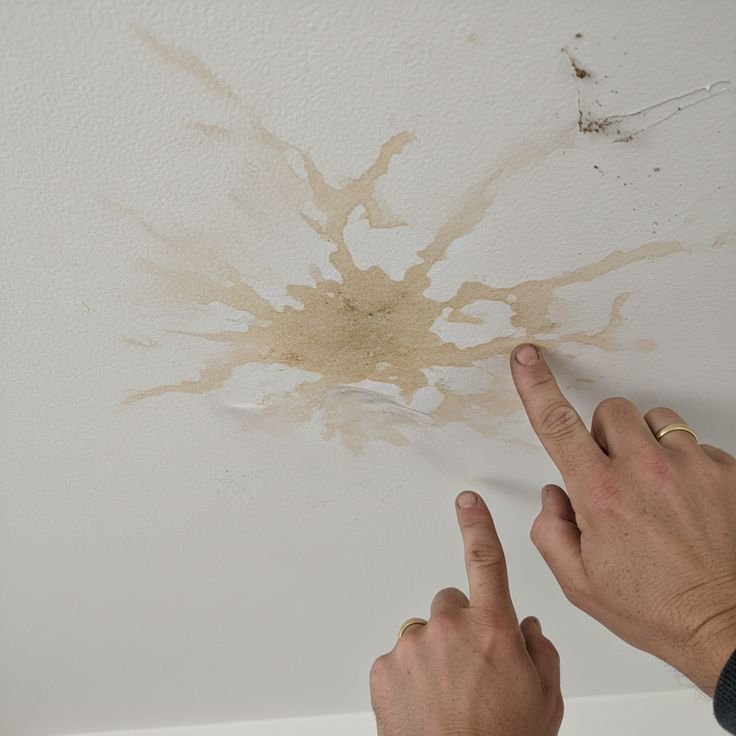
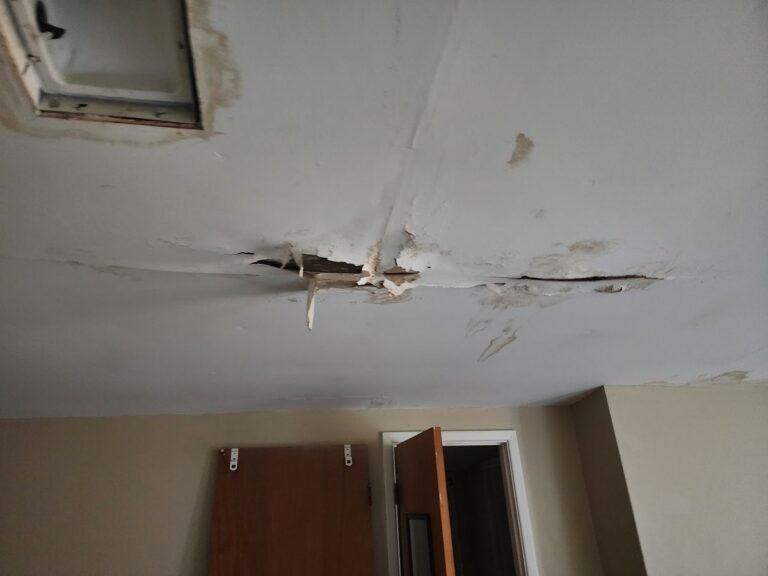
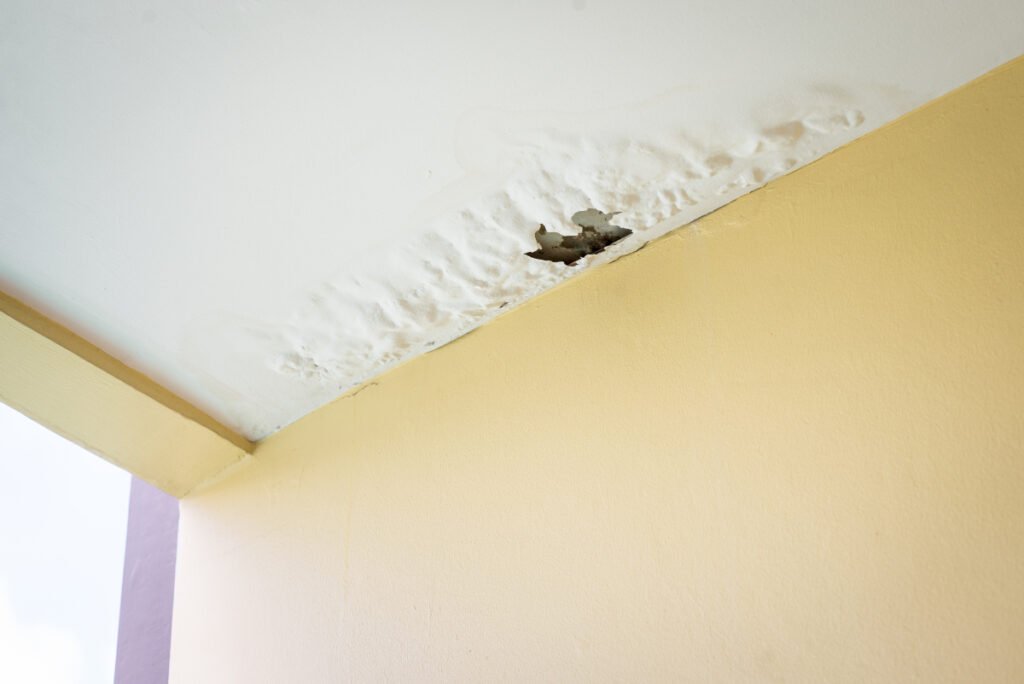
I had a leak that had apparently been going on longer than I realized — maybe a slow drip for a whole season before it showed up as a water stain on my ceiling. By the time I got up there, the water damage had spread well beyond where the leak was visually obvious. The shingles looked perfectly fine from the outside. But underneath, the OSB decking had soaked through and partially rotted.
I found out when I put my foot down and it went through.
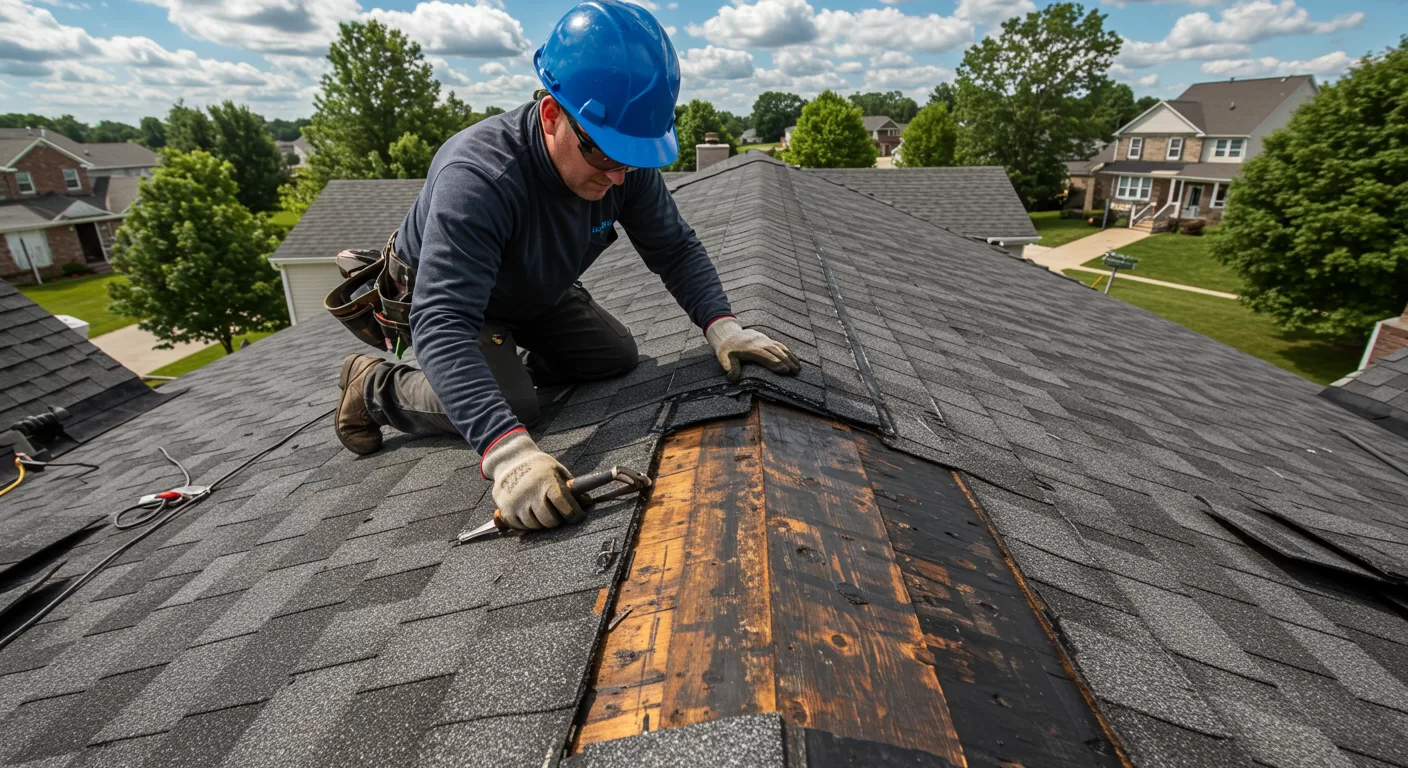
Not completely through — I was wearing boots and caught myself — but my foot sank maybe three inches into what should have been a solid surface. Standing on rotted decking is like walking on soggy cardboard. It can give way without any warning.
How to check roof decking before walking on it:
Here’s a simple inspection process I now do every single time:
- Start from the attic — go up into the attic space before climbing the roof and look for dark staining, soft spots, or visible sagging in the decking from below
- Use a probe or screwdriver — gently press into the decking from the attic side; good wood resists firmly, rotted wood gives
- On the roof surface, use a rubber mallet or your knuckle to tap-test shingles — a hollow or soft sound suggests compromised decking underneath
- Walk on the high points — rafters and trusses are the strongest areas; stay near the ridge and step carefully toward the edges
- If in doubt, get a flashlight into the attic first — water damage almost always shows up there before it’s visible from outside
I also started using a simple roof moisture meter — you can find basic models for under $30 on Amazon. It doesn’t replace a physical inspection but it gives you a quick read on whether an area is holding moisture before you commit your full weight to it.
A Quick Visual: The Risk Level of Each Mistake
Here’s how I’d rank these five mistakes by actual danger level, in hindsight:
| Mistake | Risk Level | Consequence Potential |
|---|---|---|
| Wet roof surface / no grip | 🔴 High | Slip and fall injury |
| Wrong ladder / poor setup | 🔴 High | Fall from height |
| No fall protection, solo work | 🔴 Very High | Fatal fall |
| Ignoring electrical lines | 🔴 Extreme | Electrocution |
| Walking on rotted decking | 🟠 High | Fall through roof |
Every single one of these is preventable. That’s what makes it frustrating to look back on. None of this requires specialized training — it just requires slowing down and thinking before you climb.
What My Pre-Repair Safety Checklist Looks Like Now
After all of these experiences, I put together a simple checklist I run through before every single roof repair. It takes about 10 minutes and has saved me from multiple close calls:
- ☐ Weather check — no rain in past 6 hours, none expected
- ☐ Footwear — rubber-soled work boots, no exceptions
- ☐ Extension ladder set up correctly with stabilizer
- ☐ Second person present or neighbor notified
- ☐ Harness and roof anchor for anything above one story
- ☐ Attic inspection done — decking checked for soft spots
- ☐ Electrical lines located and clearance confirmed
- ☐ Phone charged and in pocket
- ☐ First aid kit near the base of the ladder
Boring? Maybe. But I’ve done probably a dozen repairs since my scary early days, and I’ve had zero incidents. That’s the whole goal.
The Mistake That Cost Me the Most (Bonus Thought)
There’s actually a sixth mistake I made that I almost left out — and it’s not a safety mistake in the physical sense, but it cost me real money.
I did a repair without understanding why the leak was happening. I sealed over a symptom without finding the source. Three weeks later, the ceiling stain was back and bigger. I had to go up again, this time finding that the actual problem was a failed boot seal around a plumbing vent pipe — not the section of cracked shingles I’d patched.
If you fix the wrong thing, you’re not just wasting money — you’re going back up on that roof again. And every trip up is another chance for something to go wrong.
Roof repairs don’t have to be terrifying. But they do deserve serious respect. Take your time, use the right gear, and don’t let “it’ll only take a minute” turn into a story you tell from a hospital bed.
Also worth reading before your next repair: 9 Roof Leak Fix Guide Safety Mistakes I Made My First Repair — covers some additional blind spots that’ll save you a headache (or worse).
About the Author