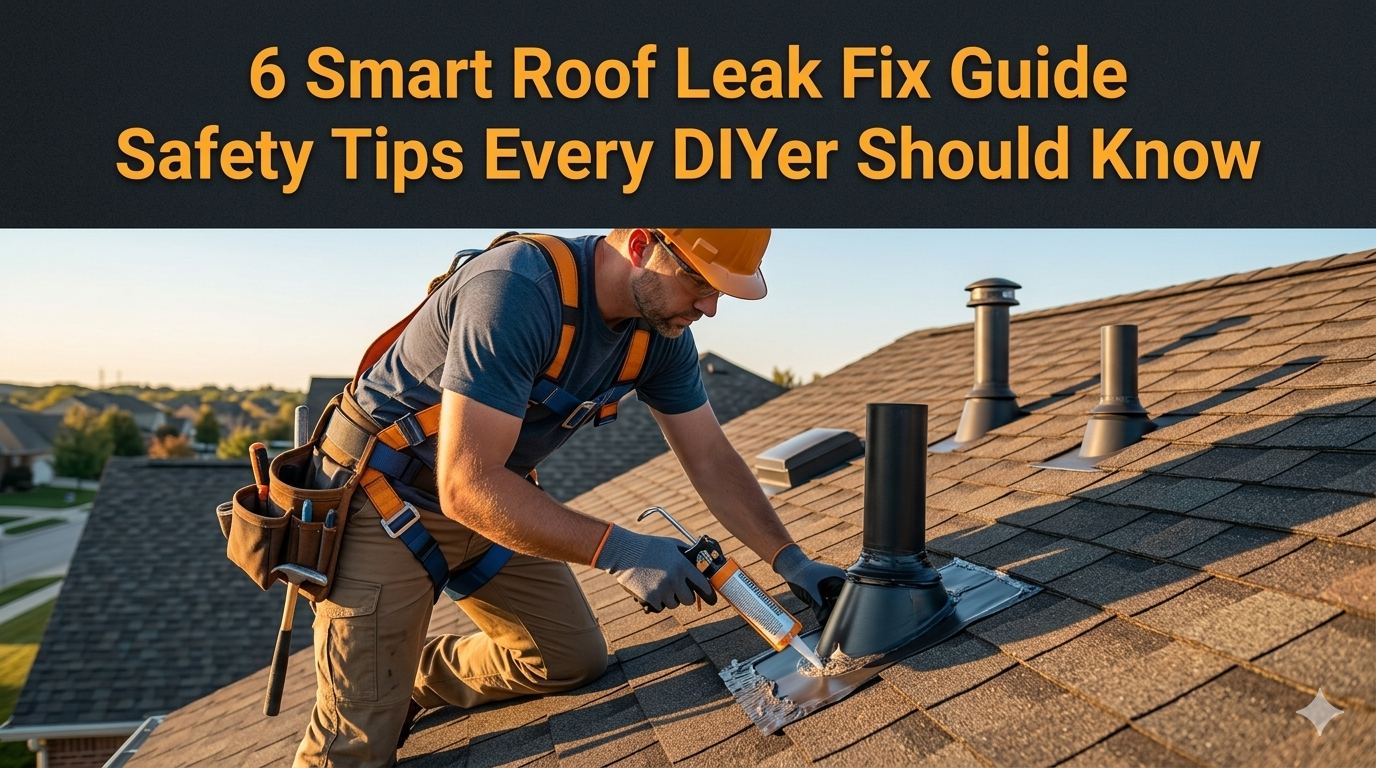
6 Smart Roof Leak Fix Guide Safety Tips Every DIYer Should Know
Meta Description: Roof leak fix guide safety tips every DIYer needs before climbing up. Learn 6 smart strategies to patch leaks safely, avoid injuries, and protect your home.
Before Climbing Up: Roof Leak Fix Guide Safety Tips Every DIYer Must Know
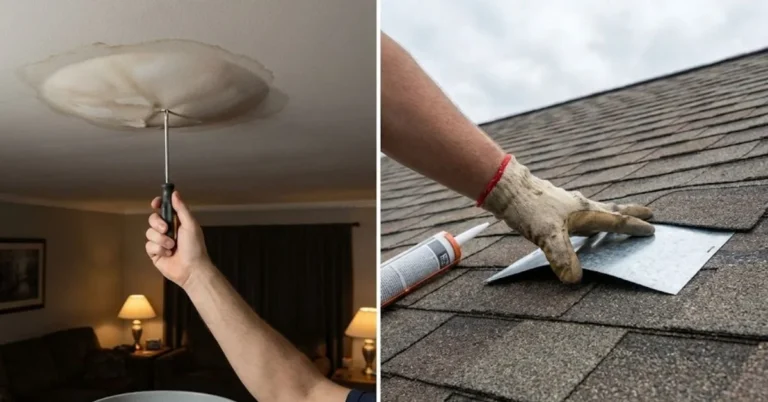
Rain is pouring. You see a brown stain growing on your ceiling. Your stomach sinks.
A leak in your roof is one of those home problems that needs protecting against — and fast. Left untreated, even a small drip can lead to mold, rotted wood, damaged insulation, and costly structural repairs. No wonder so many homeowners want to repair it on their own.
But roofing stands out as one of the most dangerous DIY jobs. Each year, thousands of people arrive in emergency rooms after falling from ladders and roofs. The work itself isn’t necessarily complicated, but having the right safety know-how makes all the difference between a small repair and a life-changing accident.
This roof leak fix guide isn’t all about patching shingles. It’s about working smarter — keeping safe while producing real results. Whether you’re a weekend warrior or a first-timer with a caulk gun, here are six safety tips to get you through that leak without becoming a statistic.
Let’s get into it.
Tip #1 — Weather Check Before You Even Pick Up a Ladder
This sounds obvious. But you’d be amazed how many people get on a wet roof in an effort to stop an active leak.
Don’t do it.
Wet roofing surfaces — shingles, metal panels, rubber membranes — are extremely slippery. Even a slight incline feels like an ice rink when it’s wet. Wind adds a separate layer of risk, particularly if you’re carrying materials or tools.
The Right Weather Conditions for Working on Roofs
Take a long look at your local forecast before any repair. You want:
- Dry weather at least 24–48 hours before you go up
- Mild temperatures — too much heat makes shingles soft and gooey; too much cold makes them brittle and easy to break
- Low wind speeds — anything above 20 mph is a danger sign
- No rain predicted on the working day and for at least one day thereafter
| Condition | Safe to Work? | Notes |
|---|---|---|
| Sunny, dry, calm | ✅ Yes | Ideal conditions |
| Cloudy but dry | ✅ Yes | Fine if no rain expected |
| Windy (20+ mph) | ❌ No | Risk of losing footing |
| Light drizzle | ❌ No | Surface becomes slippery |
| Post-rain (same day) | ❌ No | Roof still wet |
| Freezing temps | ⚠️ Caution | Shingles can crack; ice risk |
| Extreme heat (100°F+) | ⚠️ Caution | Heat exhaustion risk; shingles soft |
If you have an active, significant leak during a storm, your only safe move is to manage the damage from within. Set down buckets, lay down plastic sheeting, and call a professional roofing company. The roof repair itself must wait until the storm blows over.
Emergency Tip
If water is already coming in and you need to act immediately, a heavy-duty tarp secured from inside the attic can buy you time. Roofing tape or waterproof patch kits can also be applied as a temporary fix once conditions improve — but never risk your life to plug a drip.

Tip #2 — Your Ladder Setup Is Either Your Best Friend or Your Worst Enemy
Ladder falls account for more DIY injuries than nearly anything else. And most of those tumbles happen as a result of bad setup — not equipment failure.
Getting your ladder right is non-negotiable in any roof leak repair guide worth reading.
Choosing the Right Ladder
First, ensure that your ladder is rated for your weight in addition to the weight of your tools and materials. The weight ratings are printed on ladders — do not disregard this.
An extension ladder is all you need for most roof work. Step ladders are not meant to be used to access the roof. Here’s a quick breakdown:
| Ladder Type | Best Use | Roof Access? |
|---|---|---|
| Step ladder | Indoor work, short reach | ❌ Not suitable |
| Extension ladder | Reach roof edge | ✅ Yes |
| Roof ladder/hook | Moving on roof itself | ✅ Best option |
| Articulating ladder | Versatile, multi-position | ⚠️ Depends on design |
Setting Up the Ladder Correctly
Apply the 4-to-1 rule: for every 4 feet of height, the base of the ladder should be at least 1 foot away from the wall. So if the roof edge is 16 feet up, the base of your ladder should sit 4 feet out from the house.
Make sure your feet are on solid, even ground. Steer clear of soft soil, mulch, or uneven pavement. Use ladder levelers if needed.
The top of the ladder must extend at least 3 feet above the edge of the roof. This gives you something to grab as you step on and off the roof.
Always have someone on the ground while you’re on the ladder — a spotter can hold the base, hand you tools, and call for help if something goes wrong.
Tip #3 — Gear Up Like You Mean It
Professional roofers wear specific safety equipment for a reason. You should too.
This portion of the roof leak repair guide is where most DIYers take shortcuts. They think they’ll be careful, they’ll go slow, they know what they’re doing. And sometimes that turns out fine. But sometimes it doesn’t.
The Non-Negotiables
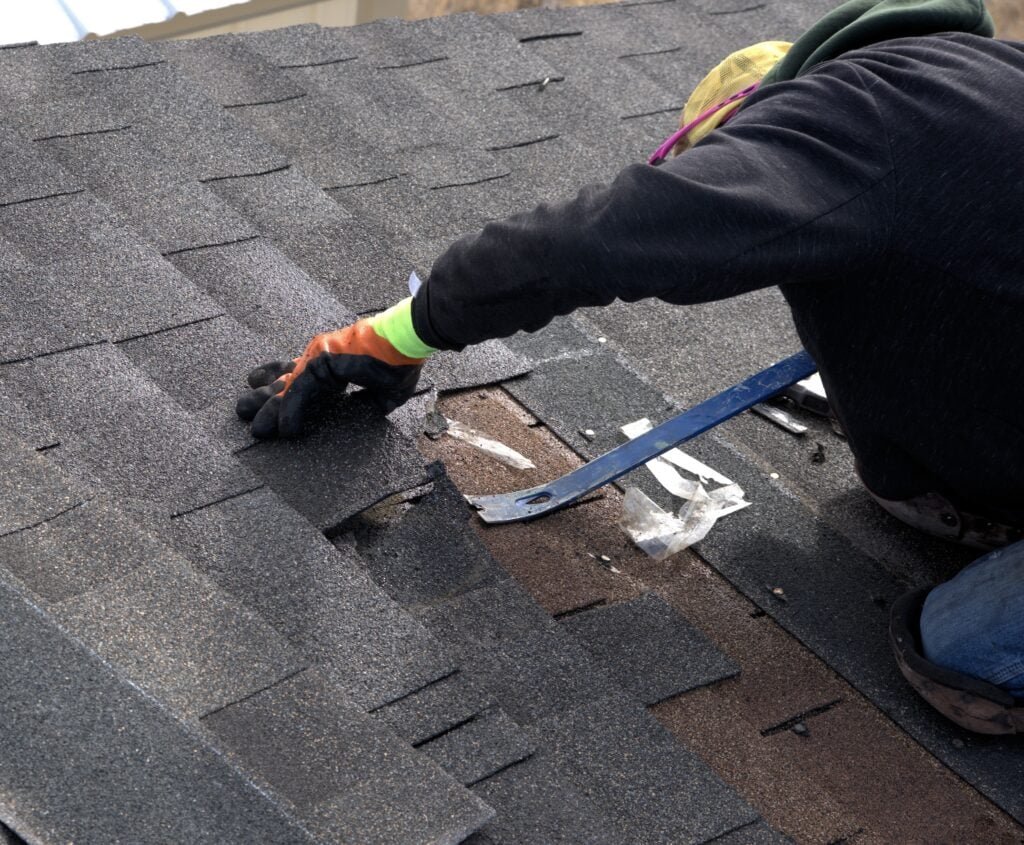
Footwear: Wear rubber-soled boots that support the ankle. No sneakers, sandals, or dress shoes on the roof. Rubber soles grip shingles much more effectively than any other material. Look for boots with a slip-resistant rating.
Gloves: Protect your hands from sharp shingle edges, roofing nails, and hot surfaces. Leather work gloves provide a nice balance of grip and protection.
Safety harness: If the pitch (slope) of your roof is greater than a 4:12 ratio — meaning it rises more than 4 inches for every 12 horizontal inches — a harness isn’t optional. It’s essential.
Hard hat or helmet: Debris falls. Tools get dropped. A blow to the head can be very serious.
Safety glasses: Cutting shingles, chipping away old caulk, or using a nail gun all send debris flying. Protect your eyes.
What Does a 4:12 Roof Pitch Look Like?
Not sure what your roof pitch is? Here’s a simple guide:
| Roof Pitch | Look From Ground | Harness Needed? |
|---|---|---|
| 2:12 or less | Nearly flat | ⚠️ Use caution |
| 3:12 – 4:12 | Gentle slope | ⚠️ Strongly recommended |
| 5:12 – 7:12 | Moderate slope | ✅ Yes |
| 8:12 and above | Steep slope | ✅ Absolutely required |
You can estimate pitch with a simple level and tape measure. Place a 12-inch level horizontally on the roof surface. Measure the vertical distance from the end of the level down to the roof. That number is the “rise” for every 12 inches of “run.”
Setting Up an Anchor for Your Harness
A safety harness is only as good as what it’s clipped onto. Use a roof anchor — a metal plate that nails into the roof deck — installed near the ridge. Make sure it’s secured into a rafter, not just the sheathing.
Thread your rope through a rope grab and attach it to your harness with a locking carabiner. Test the setup before trusting your life to it.
Tip #4 — Find the Real Source of the Leak (It’s Rarely Where You Think)
Here is where so many DIYers waste time, money, and energy: they repair the wrong location.
Water is sneaky. It seeps in through one spot and travels — sometimes many feet — before dripping through your ceiling. The wet spot on your ceiling may be 10 feet away from where it actually entered the roof.
This roof leak fix guide puts source detection front and center because patching the wrong spot achieves nothing but delays the real repair.
Start From the Inside
Before you step foot on the roof, take a flashlight into your attic.
Look for:
- Water stains on the rafters or sheathing
- Mold or mildew spots
- Daylight coming through gaps
- Damp insulation
Trace the stain upward and toward the ridge as much as possible. The leak source is almost always higher on the roof than where the water eventually lands.
Common Roof Leak Locations
| Leak Location | What to Look For |
|---|---|
| Around chimneys | Cracked flashing, missing mortar |
| Around skylights | Failed sealant, cracked glass seals |
| Roof valleys | Damaged or missing valley flashing |
| Vent pipes | Cracked rubber boots |
| Shingle damage | Curled, missing, or cracked shingles |
| Ridge cap | Lifted or missing ridge cap shingles |
| Gutters/fascia | Overflow causing water backup |
The Hose Test
If you can’t find the source from the attic, do a hose test on a dry day with a helper inside the attic watching.
Start low on the roof and work your way up slowly. Soak one area for a few minutes before moving higher. When your helper sees water appear, you’ve found the zone.
Don’t rush this step. A 15-minute hose test beats an hour of patching the wrong shingles.
Tip #5 — Use the Right Materials for a Repair That Actually Lasts
A roof leak fix guide that doesn’t talk about materials is only half helpful.
Using the wrong products — or skimping on quality — means you’ll be back up on that roof in six months doing the same job again. Worse, a poor patch might give you false confidence while water continues to seep in.
Matching Materials to Your Roof Type
Different roofing materials require different repair products. Using asphalt roofing cement on a metal roof won’t work. Using the wrong tape on a flat rubber membrane will fail fast.
| Roof Type | Common Repair Materials |
|---|---|
| Asphalt shingles | Roofing cement, replacement shingles, roofing nails |
| Metal roofing | Metal patch, self-tapping screws, metal roof sealant |
| Flat/rubber (EPDM) | EPDM patch kit, lap sealant, primer |
| Tile roofing | Replacement tiles, roofing cement, tile adhesive |
| Wood shake | Replacement shakes, roofing nails, sealant |
Key Products Every DIY Roofer Should Know
Roofing cement (asphalt mastic): Great for sealing around flashing, filling cracks in shingles, and spot repairs. Apply with a putty knife or trowel.
Roofing tape (butyl or foil-backed): Quick, waterproof, and sticks to most surfaces. Ideal for emergency patches or sealing seams.
Flashing: Metal strips (usually aluminum or galvanized steel) that seal joints around chimneys, vents, and skylights. Replacing or re-sealing bad flashing fixes a huge percentage of roof leaks.
Roof sealant/caulk: Use a product specifically rated for outdoor, UV-resistant applications. Standard indoor caulk will crack and fail quickly on a roof.
According to the National Roofing Contractors Association (NRCA), proper material selection and application are among the top factors in determining how long a roof repair will last — making it one of the most important steps any DIYer can get right.
One Common Mistake to Avoid
Don’t just pile on roofing cement and hope for the best. More goop doesn’t equal better waterproofing. Apply materials according to instructions, in the right thickness, and make sure surfaces are clean and dry before applying anything.
Dirt, moss, or loose granules will prevent adhesion. Brush or scrape the area clean before you start patching.
Tip #6 — Know When to Stop and Call a Professional
This might be the most important tip in the entire roof leak fix guide.
DIY has real limits. And on a roof — where falls, structural damage, and improper repairs can all have serious consequences — knowing those limits could save your life and your home.
Signs This Job Is Beyond DIY Territory
Widespread damage: If more than a few shingles are damaged, or if the roof deck (the wood underneath) is rotted or sagging, this is a professional job. Patching surface materials on a compromised structure is dangerous and ineffective.
Steep or high roofs: If your roof pitch is 8:12 or steeper, or if the eave height is more than one story, the fall risk becomes serious. Professional roofers have the training and equipment to work safely in these conditions.
Active mold or major water intrusion: If water has gotten into the walls, insulation, or electrical systems, you need professional assessment. Mold remediation is a specialized field.
You’re not comfortable: This one matters. If you get up on that roof and feel unsafe — whether due to the slope, the surface condition, or just a gut feeling — trust that feeling. No repair is worth a fall.
The Real Cost Comparison
People often assume DIY saves money. Sometimes it does. But consider:
| Scenario | Estimated Cost |
|---|---|
| DIY small shingle repair | $20–$100 in materials |
| DIY gone wrong (bad patch, leak continues) | $20–$100 + future water damage costs |
| Professional small repair | $150–$400 |
| Water damage from delayed/improper repair | $1,000–$10,000+ |
| ER visit from roof fall | $5,000–$50,000+ |
A professional repair on a simple job might cost $200–$400. That’s a reasonable investment for safety and peace of mind — especially when the alternative could mean a hospital bill or a structural repair.
Quick-Reference Safety Checklist Before You Go Up
Before any roof work, run through this checklist:
- ☐ Weather is dry, calm, and safe
- ☐ Ladder is rated for your weight and set up at the correct angle
- ☐ Someone is on the ground as a spotter
- ☐ Slip-resistant boots are on
- ☐ Work gloves are on
- ☐ Safety glasses are on
- ☐ Safety harness is attached to a solid anchor (for pitched roofs)
- ☐ Phone is charged and accessible
- ☐ You’ve located the leak source before climbing up
- ☐ All materials and tools are ready to avoid multiple trips up and down
Wrapping It All Up
A leaking roof is stressful. The urge to grab a ladder and fix it fast is completely understandable. But jumping into roofing work without proper preparation leads to poor repairs, wasted money, and — worst of all — serious injuries.
This roof leak repair guide has walked you through six smart, practical safety tips:
- Only work in safe weather conditions
- Set up your ladder correctly every single time
- Wear the right protective gear for the job
- Find the actual source of the leak before repairing anything
- Use the right materials for your specific roof type
- Know when to put down the tools and call a pro
Follow these steps and you’ll approach your repair with confidence — not just optimism. Take your time, work methodically, and never skip a safety step to save five minutes.
Your roof protects everything under it. Give the repair the attention and care it deserves.
Frequently Asked Questions (FAQs)
Q: Can I repair a roof leak from inside the house? A: For a permanent fix, no. You have to treat the source on the outside of the roof. But as a stopgap during a storm, you can minimize interior water damage with buckets, plastic sheeting, and waterproof tape applied inside the attic. These are stop-gap solutions only.
Q: How can I tell if my roof leak is serious? A: Serious leaks can often be identified by water stains covering large ceiling areas, sagging drywall or plaster, mold growth, multiple drip points, and visible daylight coming through in the attic. If any of the above applies, call a roofing professional immediately.
Q: Is walking on my roof safe? A: It depends on the pitch, surface condition, and your equipment. A low-slope asphalt shingle roof on a dry day with the right boots is manageable for most adults. Steep roofs, wet surfaces, or deteriorating shingles make the roof significantly more dangerous. Use a harness for anything steeper than a 4:12 pitch.
Q: How long will a DIY roof patch last? A: With quality materials and proper application, a small DIY patch can last 2–5 years. It does heavily depend on the type of repair, which materials are used, and the initial condition of your roof. Temporary fixes (tape or roofing cement alone) may only last one season.
Q: What is the most common cause of roof leaks? A: Flashing failures are the leading culprit — the metal strips that surround chimneys, skylights, and vents. Other common causes include missing or cracked shingles, backed-up water due to clogged gutters, and aging rubber pipe boots around vent stacks.
Q: Do I need a permit to repair my roof? A: For minor repairs like replacing a few shingles or patching a small area, most jurisdictions don’t require a permit. Full roof replacements usually do require one. Check with your local building department before starting any larger project.
Q: What time of year is best for a roof repair? A: In most climates, late spring through early fall offers the best conditions — mild temperatures, lower rainfall, and longer daylight hours. Avoid working in freezing temperatures, which can crack shingles and make surfaces dangerously icy.