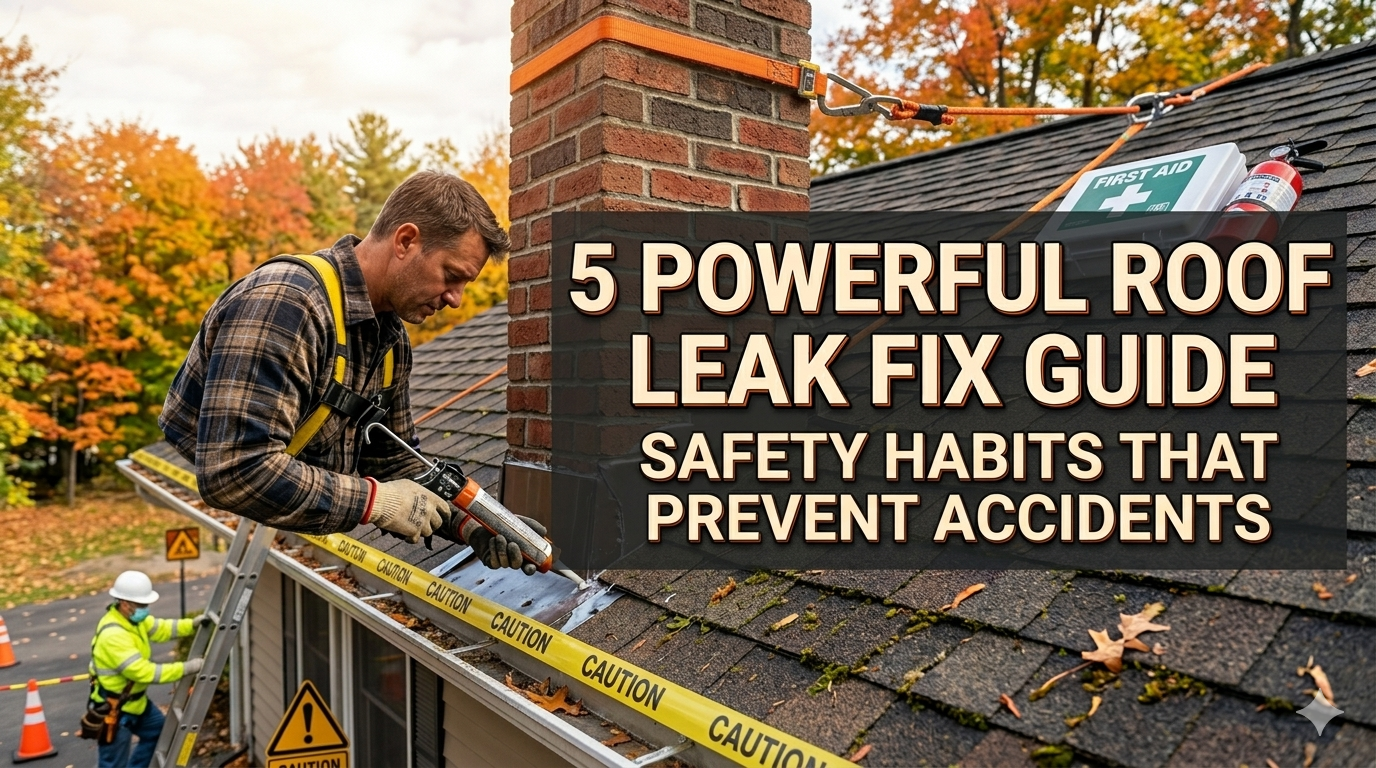
5 Powerful Roof Leak Fix Guide Safety Habits That Prevent Accidents
Meta Description: Roof leak fix guide safety habits can save your life. 5 Essential Habits Every Homeowner Needs To Follow When Fixing Roof Leaks.
5 Safety Habits That’ll Prevent Roof Leak Fix Guide Accidents
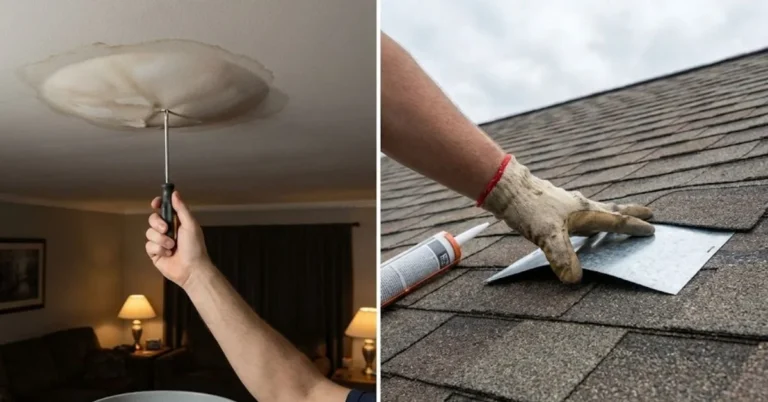
Sounds easy, right — fixing a roof leak? You climb up, patch the hole, come back down. Done.
But the reality? Work on a roof is among the most dangerous types of home repair that you can do. Each year, thousands are injured — or worse — from falls and accidents while repairing their roofs.
The frightening part is that nearly all of these incidents are entirely preventable.
Not all roof leak repair is a “shingle them up” gig. It’s about returning to safety every time you come back down. Whether you’re a homeowner embarking on a quick DIY fix or helping out your neighbor, these 5 safety habits can make the difference between a successful repair and an emergency room visit.
So let’s dissect it — step by step, habit by habit.
Why Roof Safety Should Command More Respect Than It Does
Most people underestimate how dangerous a roof really is.
A standard home roof is positioned 10 to 20 feet above the ground. At that elevation, a fall is not just painful — it can mean broken bones, spinal injuries, or death. According to the CDC, falls are the leading cause of injury-related death for people working in construction and home repair.
And the thing is: wet roofs, mossy shingles, and impossible angles make everything 10 times harder.
People rush. They skip safety steps. They say, “I’m only going to be up there for five minutes.” Those few minutes are when the accidents happen.
That’s why developing real safety habits — not just knowing the rules, but following them 100 percent every single time — is critical.
Habit #1 — Always Inspect the Roof Before You Get On It
The Ground Inspection Comes First
Before you step on a single shingle, you should conduct a thorough ground inspection.
Grab a pair of binoculars if you have them. Walk around the entire perimeter of your home. Examine the roof from every angle.
Here’s what you’re looking for:
- Sagging areas — That could mean the roof deck underneath has rotted away or become saturated with water. If you step on a sagging spot, you may break through.
- Missing or curled shingles — These create uneven, slippery surfaces.
- Moss or algae growth — Green or black splotches are incredibly slippery, especially when wet.
- Visible damage near gutters — Damaged gutters are sometimes a sign of weakened fascia boards nearby.
Check the Weather — Non-Negotiable
Never step foot on a roof if rain may fall in the next few hours. Even a light rain makes shingles dangerously slick.
Check conditions before every repair job. Wind is another major threat. Winds over 20 mph can knock you off balance when you are carrying tools or materials.
Safe weather conditions for roof work:
| Condition | Safe to Work? |
|---|---|
| Sunshine, no wind | ✅ Yes |
| Light breeze (less than 15 mph) | ✅ Yes (with caution) |
| Overcast but dry | ✅ Yes |
| Windy (over 20 mph) | ❌ No |
| After recent rain | ❌ No |
| Rain or thunderstorm | ❌ Absolutely Not |
Inspect the Roof Structure From Inside the Attic
Crawl into your attic with a flashlight before you step outside.
Scan for soft spots in the decking, water stains, and daylight shining through gaps. If the decking feels spongy from the bottom up, it’s even more treacherous from above. Mentally mark those areas so you can steer clear of them.
This five-minute habit might even save your life.
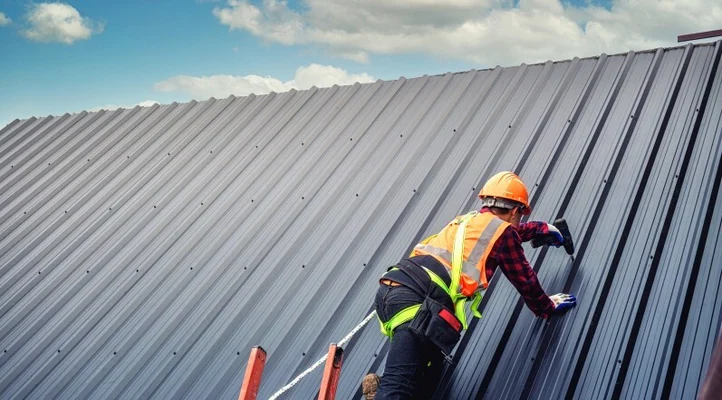
Habit #2 — Always Wear Appropriate Safety Equipment
Never Take Shortcuts on Personal Protective Equipment
This is where many DIYers mess up. They have the gear but skip it because they assume the job will take just a few minutes.
Don’t do that.
It’s necessary to wear the appropriate gear anytime you’re headed up on a roof — even just for a “quick look.” The complete roof leak fix guide covers everything you need to know about personal safety gear and proper repair techniques.
A Complete List of Roof Safety Gear Essentials
1. Non-Slip Footwear Wear rubber-soled shoes or boots with excellent tread. Do not wear sneakers, flip-flops, or work boots with worn-down soles. Roofing boots with soft rubber soles cling to shingles far better than hard-soled shoes.
2. Fall Arrest System (Harness + Rope + Anchor) This is the most critical piece of equipment. A fall arrest harness goes around your body and attaches to a rope that anchors to a secure point on the roof or ridge. If you fall, the system catches you before you hit the ground.
Look for a harness rated to OSHA standards — at least 5,000 lbs. of tensile strength.
3. Hard Hat Falling tools and debris are a very real hazard, especially if you have a helper passing things up to you.
4. Work Gloves Shingles have granules that are similar to sandpaper. Gloves keep your hands safe from injury and help you grip things better.
5. Safety Glasses Dust, granules, and debris go flying whenever you are cutting or tearing shingles.
6. Roof Jacks and Plank Roof jacks are metal brackets that attach to the roof with nails and hold a plank. That provides you with a flat, stable platform on which to stand or kneel while working on a steep slope.
Remember the Ladder Safety Fundamentals
Your ladder also belongs in your safety gear.
- Always use a ladder that is rated to hold your weight, plus tools.
- Angle it correctly — about 75 degrees, or the “1-in-4” rule (for every 4 feet high, move out the base by 1 foot).
- If possible, secure the top of the ladder to the roof edge or gutter.
- Do not haul heavy materials up a ladder. Hoist them up separately using a rope or bucket.
Habit #3 — Always Create a Plan Before You Start Working
Rushing Is the No. 1 Factor in Roof Accidents
The majority of accidents do not happen because someone was intentionally careless. They happen because someone was rushed.
They didn’t consider where they would be standing. They did not plan where to place their tools. They were moving too quickly and miscalculated a step.
Slow planning prevents fast accidents.
Draft a Simple Work Plan Before Climbing
Answer these questions before you go up:
- Where exactly is the leak area? Note it on a rough sketch so you’re not wandering around searching for it once you get up there.
- Where will you set up your roof jacks? Select two stable zones on each side of the repair zone.
- Where will you anchor the harness rope? The ridge (the peak of the roof) is typically the strongest anchoring point.
- What tools do you need? Move everything at once so you’re not running up and down.
- What’s your exit route? Plan exactly how you are going to move from the repair area back to the ladder.
The Two-Point Contact Rule
Professional roofers use a simple mental rule: always keep two points of contact with the roof at all times.
That means two hands and one foot, or two feet and one hand. Never let go of both hands at once. Do not stand completely upright on a steep slope unless you are gripping something.
This rule alone stops a great many falls.
Buddy System — Don’t Go Solo
Whenever possible, have someone on the ground with you.
They don’t need to climb. Their job is to:
- Hold the base of the ladder
- Hoist tools up with a rope and bucket
- Call for help right away if anything goes wrong
- Watch for changes in weather
Working alone on a roof is a big risk. If you fall and lose consciousness, nobody is around to help.
Habit #4 — Place Tools and Materials Correctly on the Roof
Tools on a Roof Behave Differently Than on the Ground
On flat ground, dropping a hammer is an annoyance. On a rooftop, a dropped hammer slides off the edge and becomes a projectile that could hit someone below — or cause you to lunge for it and lose your balance.
Every tool you take onto the roof has to be controlled.
Smart Tool Management on the Roof
Use a tool belt or pouch. Keep your most-used tools within reach without having to set them down. A hammer, utility knife, pry bar, and roofing nails should all find their place on your belt.
Never set tools down freely on the slope. It takes only a small tilt for a tool to roll off the edge. Use a flat bucket with a hook that can hang over the ridge, or use your roof jack plank as a staging area.
Secure everything before you move. Before you shift position — even just a few feet — check that all your tools are secured. Tucked in your belt, in the bucket, or attached to your harness.
Moving Materials Safely
Carrying bundles of shingles or rolls of roofing felt up a ladder is truly dangerous. These materials are heavy and unwieldy.
Here’s the right way to do it:
- Use a roofing conveyor or shingle lift if you can rent one. This machine lifts materials up to the roof for you.
- If using a rope-and-pulley system, leave the lifting to your ground partner while you guide it from above.
- Never carry a full bundle of shingles on your shoulder as you climb a ladder. If you must hand-carry shingles, carry one or two at a time.
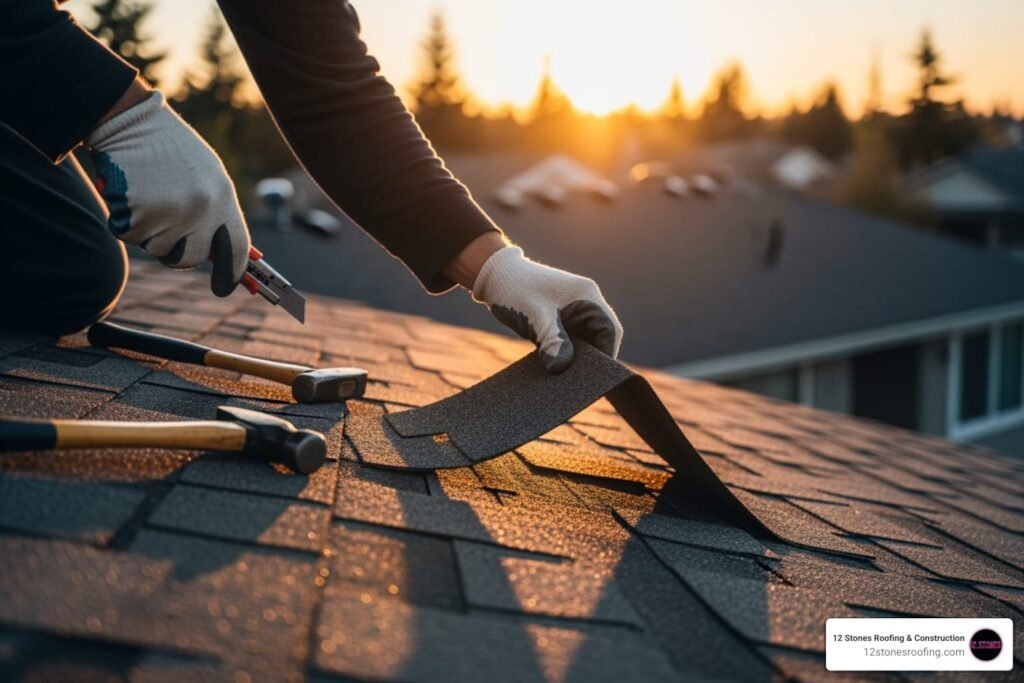
The Right Tools for a Roof Leak Fix
Using the wrong tools slows you down and leads to risky workarounds. Here’s what a proper roof leak fix guide recommends for common leak repairs:
| Tool | Purpose |
|---|---|
| Flat pry bar | Prying up shingles without cracking them |
| Roofing hammer or nail gun | Installing replacement shingles |
| Utility knife | Cutting shingles to size |
| Caulking gun with roofing sealant | Sealing around flashing and small cracks |
| Roofing felt/underlayment | Protecting the deck underneath your shingles |
| Flashing (aluminum or lead) | Sealing around chimneys, vents, and valleys |
| Tin snips | Cutting metal flashing |
Habit #5 — Stop When Necessary and Call a Professional
The Ego Trap in DIY Roof Repair
There’s a pride to doing things yourself. That’s not a bad thing. But up on a roof, ego can really get you hurt.
Some roof issues may seem easy from the outside but involve complicated structural problems below. Certain repairs entail getting too close to hazardous edges or into spaces where a harness system can’t adequately safeguard you.
Knowing your limits isn’t weakness. It’s wisdom.
Signs That You Should Put Down the Tools and Call a Pro
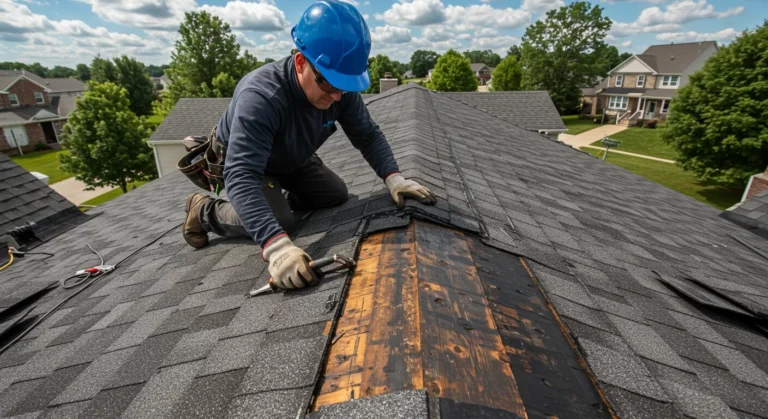
1. The leak covers a large area. If there’s water damage or missing shingles that cover more than a few square feet, the job has become more than just a patch. More complex repairs need scaffolding, several anchor points, and professional-grade equipment.
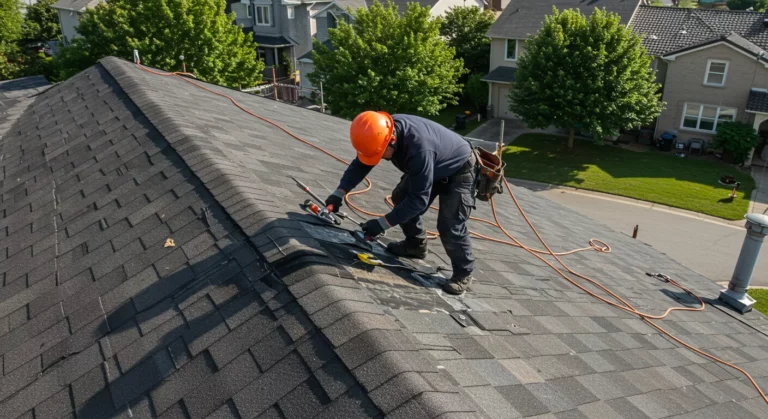
2. The roof pitch is very steep. A roof with a pitch greater than 6:12 (meaning 6 inches of rise for every 12 inches of run) is considered high-pitch. Such roofs need specialized equipment and experience. Falls on steep pitches are faster and more serious.
3. The decking is soft or spongy. If the roof deck beneath the shingles is rotted, a professional must evaluate the entire structure. Walking on rotted decking is like walking on a trapdoor.
4. The repair is at the roof edge. Being near an edge — particularly with no adequate edge protection system in place — drastically increases the risk of falling.
5. You feel anxious or unsure. Trust your instincts. If something doesn’t feel right, it likely isn’t. There’s no shame in stopping.
How to Find a Good Roofing Contractor
When you do seek out a pro, ensure they:
- Are properly licensed and insured in your state
- Provide a written estimate in advance of the work
- Have verifiable reviews or references
- Use fall protection systems on the job (a sign of professionalism)
- Offer a warranty on their work
A reputable contractor will never pressure you into performing unnecessary repairs.
Quick Reference: Safety Habit Checklist
Use this before any roof repair project.
| Safety Step | Done? |
|---|---|
| Ground inspection completed | ☐ |
| Weather checked and clear | ☐ |
| Attic inspection done | ☐ |
| Non-slip footwear on | ☐ |
| Harness and anchor set up | ☐ |
| Ladder secured and angled correctly | ☐ |
| Work plan mapped out | ☐ |
| Tools secured in belt or pouch | ☐ |
| Ground helper in place | ☐ |
| Exit route identified | ☐ |
Print this or save it on your phone. Go through it every single time.
Things You Should Know About Common Roof Leak Causes
Knowing why leaks occur lets you work more efficiently — and safely — when fixing them.
| Leak Cause | Where to Look |
|---|---|
| Cracked or missing shingles | Anywhere on the slope |
| Damaged flashing | Around chimneys, skylights, vents |
| Clogged gutters causing backup | Along the eaves |
| Worn pipe boot seals | Around plumbing vent stacks |
| Valley damage | Where two roof slopes meet |
| Ice dams (cold climates) | Along the lower edge in winter |
Having an idea of the source of the leak before you head up means less time spent on the roof — which, by extension, reduces your risk.
Frequently Asked Questions
Q: Can I repair a roof leak myself, or must I always call a professional? Small, localized leaks — a damaged pipe boot seal or a few missing shingles, for example — can often be safely addressed by a careful DIYer with the right tools. You should always leave larger, complex, or structurally compromised roofs to a licensed professional.
Q: What is the safest time of year to do roof work? The best time is late spring and early fall. Temperatures are moderate, the chances of rain or ice are lower, and shingles are flexible enough to work with (extreme cold makes shingles brittle and susceptible to cracking).
Q: How do I know if my harness is set up correctly? The harness must be form-fitting, with no excess slack at the chest or leg straps. The anchor must have a minimum rating of 5,000 lbs. and be set above whatever you’re working on. If you’re in doubt, check the setup videos specific to your make and model, or consult a professional prior to going up on the roof.
Q: Is it safe to walk on wet shingles if I have rubber-soled shoes? No. Even the best rubber-soled footwear does not achieve much grip on wet shingles. Wet roofs can be very dangerous and should never be walked on. It is necessary to wait until the surface is completely dry.
Q: How long does it take to repair a small roof leak? Even a small repair — swapping out a few shingles or resealing flashing — typically takes 1 to 3 hours if you’re experienced. Allow 3 to 4 hours including setup and cleanup for a first-timer working carefully with safety properly set up.
Q: What is my ground helper supposed to do while I repair? Their main tasks are to support the base of the ladder, look out for hazards (changes in weather, falling tools), bring materials up safely with a rope and bucket, and — above all else — immediately call emergency services if anything goes wrong. They should never leave the area as long as you’re on the roof.
Wrapping It All Up
A roof leak is stressful. The water cascading through your ceiling, the damage extending to walls and insulation — it feels urgent. And that urgency is precisely what makes people hurry, forgo safety steps, and get hurt.
This roof leak fix guide has given you five powerful habits that don’t slow down your repair — they help get the fix done safely and let you return to normal life.
To recap those five habits:
- Always inspect before you step foot on the roof — from the ground, the attic, and with a weather check.
- Always wear the appropriate safety gear — every time, no exceptions, no “just this once.”
- Plan your moves before you climb — know your anchor point, your work zone, and your exit.
- Handle tools and materials the right way — secure everything, don’t hurry, use a buddy system.
- Know your limits and call a pro when needed — the job isn’t worth your life.
Roof work doesn’t need to be terrifying. With the right habits, the right gear, and the right mindset, you can tackle common roof leaks with confidence.
Stay safe. Fix smart. Come back down in one piece.