5 Quick Roof Leak Fixing Guide Fixes I Tried During a Storm
It was 2 AM on a Tuesday when I heard that dreaded dripping sound.
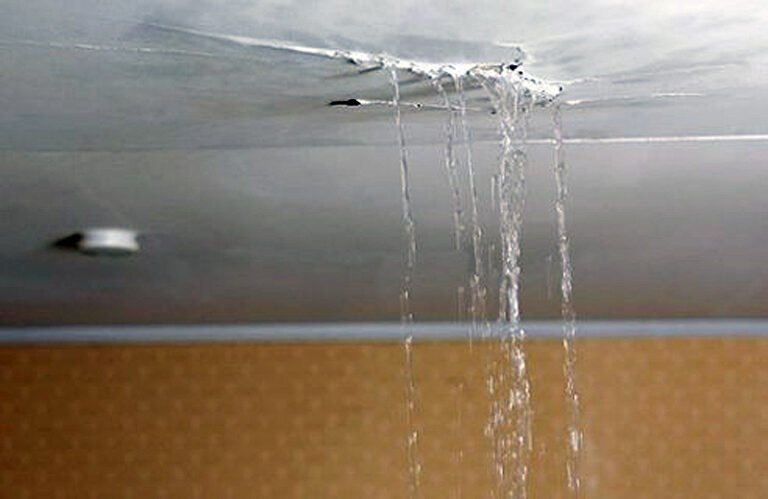
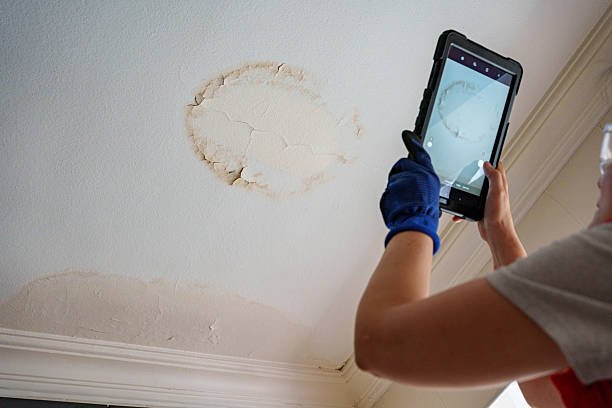
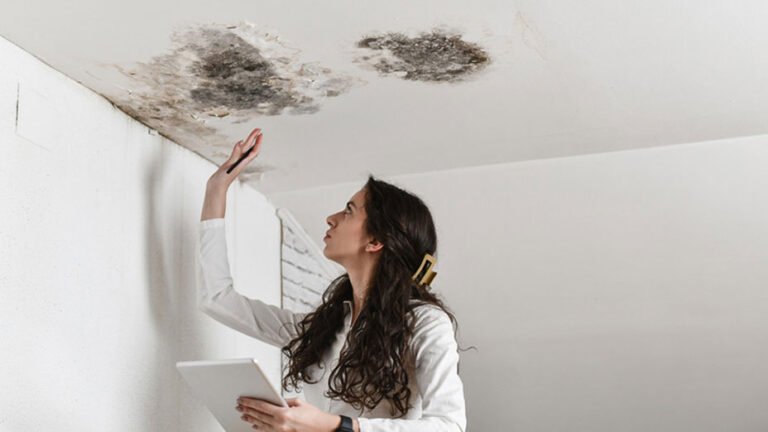
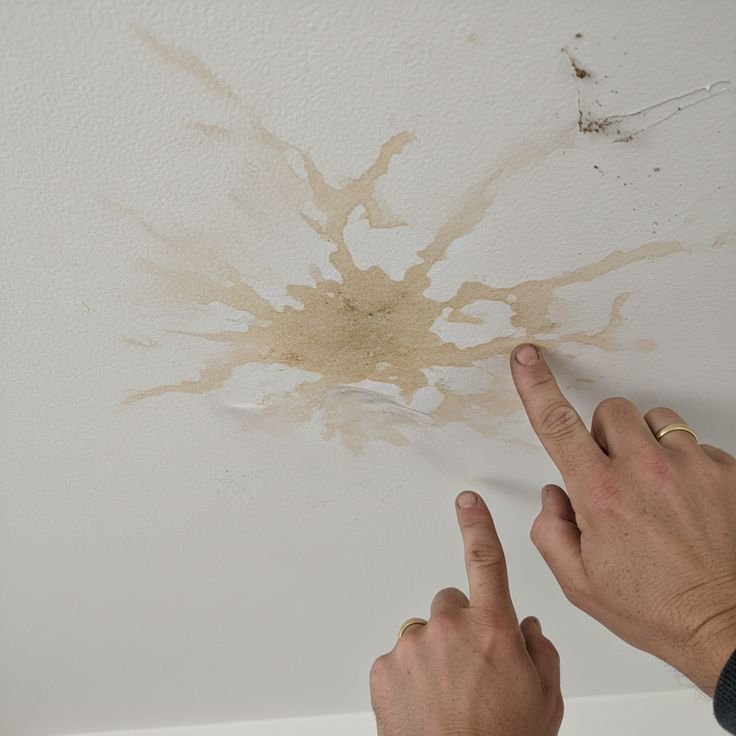
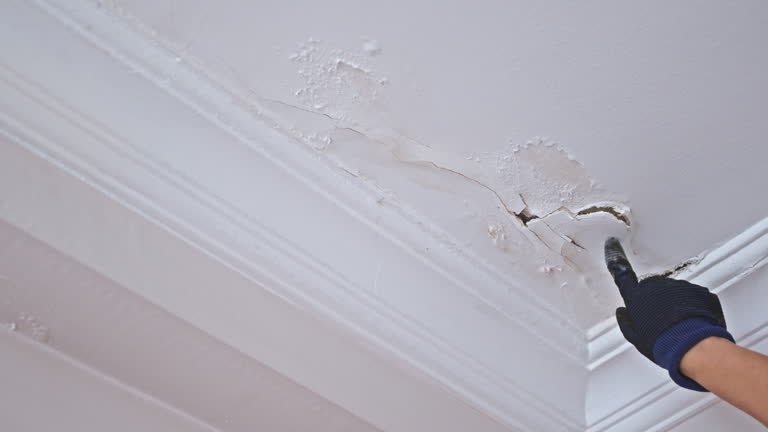
Not rain on the window. Not a leaky faucet. That hollow, rhythmic drip-drip-drip coming from somewhere above the ceiling. I grabbed my phone’s flashlight, walked into the hallway, and sure enough — there was a dark wet patch spreading across the ceiling like a bad omen.
Outside? A full-on thunderstorm. Wind, heavy rain, the whole drama.
I had two choices: panic and call an emergency roofer at midnight (which, trust me, costs a small fortune), or roll up my sleeves and try to contain the damage myself until morning.
I chose the second option. And honestly? I learned more about roof leaks in those six hours than I had in ten years of homeownership. So here’s what I actually tried, what worked, what flopped, and what I’d do differently.
1. Find the Leak Source First — Don’t Just Chase the Drip
Here’s the mistake almost everyone makes, including me that first time: you see water dripping from a spot on the ceiling, and you assume the leak is directly above it. Nope. Water is sneaky. It travels along roof beams, insulation, and rafters before it ever finds a low point to drip from.
So before doing anything else, I grabbed a flashlight and went into the attic. Even in the middle of a storm, this is the most important step. I was looking for:
- Wet insulation (it gets darker and clumps together)
- Water trails or stains on the rafters
- Any light peeking through the roof boards (bad sign)
- Wet spots that were clearly uphill from where the ceiling was dripping
I traced the water back about four feet from the ceiling drip point. The actual entry point was near a flashing seam close to a small roof valley. If I had just patched directly above the ceiling drip, I would’ve fixed nothing.
Lesson: Spend 10 minutes finding the real source before touching anything. It saves hours of frustration.
2. Roofing Tape as an Emergency Indoor Fix (Better Than You’d Think)
Once I knew roughly where the water was entering, I needed to stop the bleeding — literally. Water was still actively dripping through the roof decking into the attic.
I didn’t have professional roofing cement on hand at 2 AM (does anyone?), but I did have a roll of Gorilla Waterproof Patch & Seal Tape I’d bought for a gutter project months ago. This stuff is thick, rubberized, and incredibly sticky. I pressed it firmly over the wet area on the underside of the roof decking from inside the attic.
Did it fully stop the leak? No. The water found another path about six inches away. But it slowed the main drip by about 80%, which was enough to stop the ceiling damage from getting worse overnight.
A few tips if you’re doing this:
- Dry the surface as much as possible with an old rag before applying the tape
- Press firmly from the center outward to avoid air pockets
- Use a wider tape if you have it — 4-inch is better than 2-inch for coverage
- Don’t rely on this as a permanent fix. It’s a “buy yourself time” solution.
This bought me until morning when I could safely get on the roof.

3. Plastic Sheeting on the Roof — Ugly But Effective
When the storm finally broke around 5 AM and there was a brief dry window, I grabbed my extension ladder, a roll of 6-mil polyethylene plastic sheeting, and some sandbags I use in the garden. This is a classic emergency fix that roofers themselves use when they can’t get to a full repair immediately.
The idea is simple: you’re creating a temporary waterproof barrier over the damaged section.
Here’s how I did it step by step:
- Waited for wind to die down completely — roof work in any wind is dangerous, period
- Unrolled a section of plastic big enough to overlap the ridge by at least 4 feet and hang 3–4 feet down each side of the slope
- Weighted down the upper edge by folding it over a 2×4 piece of wood and nailing that to the roof (this prevents wind from lifting it)
- Used sandbags along the lower edges and sides to keep everything flat
- Made sure the plastic overlapped any existing roofing material, not just floating over open air
The key thing is getting the plastic over the ridge if possible. If it stops at the peak, rainwater from the other side can still push underneath it.
This held up through two more rainstorms over the following week while I waited for my roofer to schedule the permanent fix. Not pretty, but genuinely effective.
If you want to go deeper on what holds up long-term versus what’s just a band-aid, check out these 8 proven roof leak fix guide steps that saved my roof — there’s some solid practical detail in there about layering and overlap that lines up with what I figured out the hard way.
4. Roofing Cement for Flashing Gaps (The Real MVP)
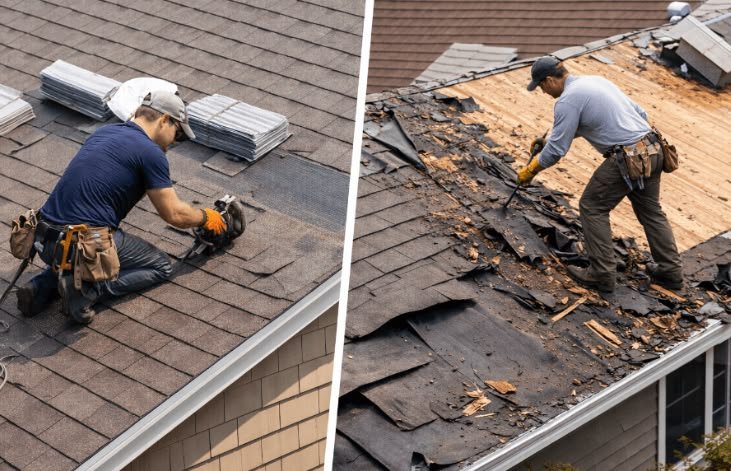
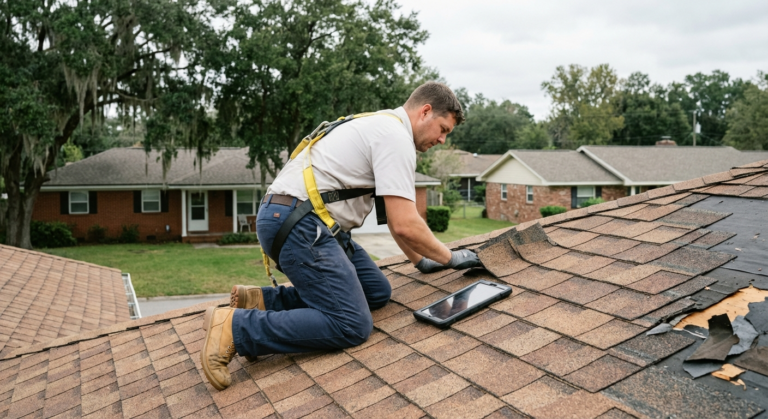
Once daylight hit and I could actually see what I was dealing with, I climbed up to inspect the area I’d flagged from the attic. The problem was immediately obvious: the metal flashing around a small roof valley had pulled away from the shingles. There was a gap of maybe half an inch — tiny visually, catastrophic in a heavy rainstorm.
This is one of the most common leak causes and also one of the most fixable DIY repairs if you catch it early.
What I used:
- Henry 208R Rubberized Wet Patch Roofing Cement (this is the stuff in the black can — works on wet surfaces, which is important)
- A putty knife or old spatula
- Gloves (seriously, this stuff is a nightmare to get off your hands)
The process:
- Clean out any debris, dirt, or loose shingle bits from the gap
- Press the flashing back toward the shingles as much as possible
- Pack roofing cement generously into the gap — don’t be stingy
- Smooth it out so water will run over it, not pool against it
- Press a piece of the flashing down into the cement while it’s still wet for better adhesion
- Let it cure — I gave it 24 hours before the next rain (thankfully the weather cooperated)
This fix lasted two full seasons before my roofer eventually replaced the flashing properly during a larger repair job. For a $10 can of cement and 20 minutes of work, that’s a solid return.
One thing I wish I’d known: if the flashing has actually cracked or corroded, cement is only a temporary patch. You’re covering the symptom, not fixing the cause. Eventually you need new flashing. But as a storm survival fix? It’s excellent.
5. Interior Ceiling Puncture to Release Pooled Water
This one sounds counterintuitive. I know. You’re trying to stop water from coming in, not poke new holes in your ceiling. But hear me out.
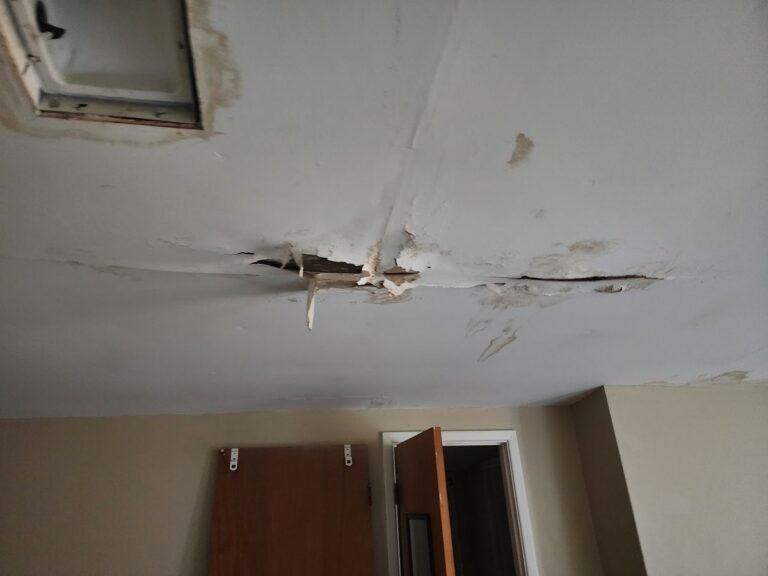
By the time I got the roof temporarily secured, I had a section of ceiling that was visibly bulging — a water blister basically. That bubble was probably holding a gallon or more of water, and the weight of it was stressing the drywall. If it collapsed on its own, I’d have a massive mess, damaged flooring, and potentially a much bigger drywall repair job.
The fix: grab a screwdriver or a thin nail, place a bucket directly underneath the bulge, and puncture the lowest point of the bubble deliberately. This releases the water in a controlled way rather than waiting for a catastrophic blowout.
I made one small hole, held my breath, and a steady stream of brownish water drained into the bucket over about 20 minutes. No ceiling collapse. No spray. Just a controlled drain.
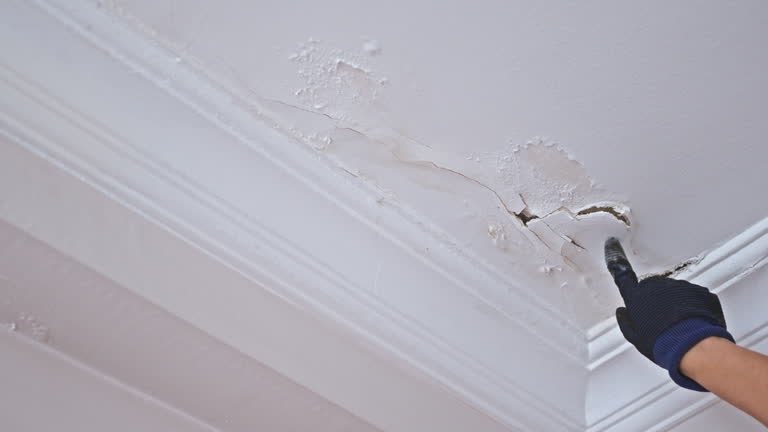
After it emptied, I blotted the area dry with towels, set up a box fan pointed at the ceiling to accelerate drying, and let it sit for 48 hours before assessing the drywall damage. The drywall was soft but hadn’t crumbled, so I got away with a patch-and-repaint rather than a full panel replacement.
For anyone dealing with recurring issues after storms, this guide on 9 essential roof leak fix guide prevention tricks homeowners swear by is worth reading when you’re in a calmer headspace — a lot of the ceiling damage stuff resonated with my experience.
The Mistakes I Made (So You Don’t Have To)
| Mistake | What Actually Happened | What I Should’ve Done |
|---|---|---|
| Climbed the roof during active rain | Slipped on the first step, barely caught myself | Wait for a dry window, even a short one |
| Skipped attic inspection first | Patched the wrong area, leak continued | Always trace water to actual entry point |
| Used regular duct tape as a patch | It peeled off within an hour in the wet | Use rubberized waterproof tape only |
| Only patched the visible gap | Found two more gaps nearby the next day | Inspect the entire flashing run, not just one spot |
| Ignored a small ceiling stain for weeks | It got much worse in the next storm | Investigate any new stain immediately |
The duct tape one still embarrasses me. I genuinely thought it would hold. It did not. There’s something humbling about watching your “fix” fail in real time while rain keeps pouring in.
What Tools to Have Ready Before Storm Season
I now keep a small “roof emergency kit” in the garage. Nothing fancy — this whole setup cost me under $60:
- Roll of Gorilla Waterproof Patch & Seal Tape (4-inch width)
- One can of Henry Rubberized Roofing Cement
- 10×20 ft roll of 6-mil poly sheeting
- A box of roofing nails and a hammer
- Two sandbags
- A cheap pair of rubber-grip gloves
- Old putty knife
Having these on hand means that when a leak happens at midnight in a storm (and eventually, it will), you’re not scrambling. You already know what to grab.
For maintenance routines that can prevent you from needing that emergency kit in the first place, this breakdown of smart roof leak fix guide maintenance habits that prevent leaks is practical and actually actionable rather than generic advice.
One Thing Roofers Told Me Afterward
When my roofer finally came out for the permanent flashing repair, I showed him everything I’d done. He nodded at most of it and said something that stuck with me:
“Most people wait too long. The damage from the water sitting is usually three times worse than the original leak.”
That’s the real takeaway from all of this. The fixes I described above aren’t permanent solutions — they’re damage limiters. The goal during a storm isn’t to perfectly repair your roof. It’s to minimize water intrusion and protect the interior until a proper repair can happen safely.
If you can stop 80% of the water with tape and plastic sheeting at 2 AM, you’ve won. You’ve saved drywall, insulation, flooring, and potentially structural wood from prolonged water exposure. That’s hundreds or thousands of dollars in secondary damage avoided.
Don’t wait for the “perfect moment” to act. Do what you can, safely, with what you have. Then get a professional in as soon as the weather clears.
Final Thoughts
Roof leaks during storms are one of those homeowner experiences that nobody warns you about properly. You think you’ll call someone and it’ll be handled. Then it’s midnight, raining sideways, and you’re standing in the attic with a flashlight and a prayer.
Having gone through it a couple of times now, I genuinely feel more confident. Not because I’m a roofer — I’m absolutely not — but because I know what to look for, what products actually work under pressure, and when to stop and wait for daylight.
The most important thing? Don’t panic. Work methodically. And get on a ladder only when it’s safe to do so.
Also worth reading: 7 Essential Roof Leak Fix Guide Safety Checks Before You Start — especially if this is your first time doing any kind of roof work. The safety stuff isn’t dramatic, but it’s real, and a few of those points I genuinely hadn’t considered before my first repair.
About the Author