12 Ultimate Roof Leak Fixing Guide Tips Pros Don't Share
Let me tell you about the worst Tuesday morning of my homeowner life.
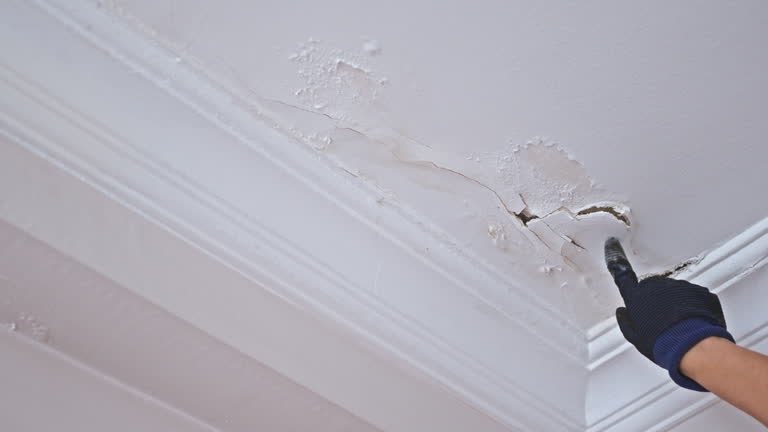
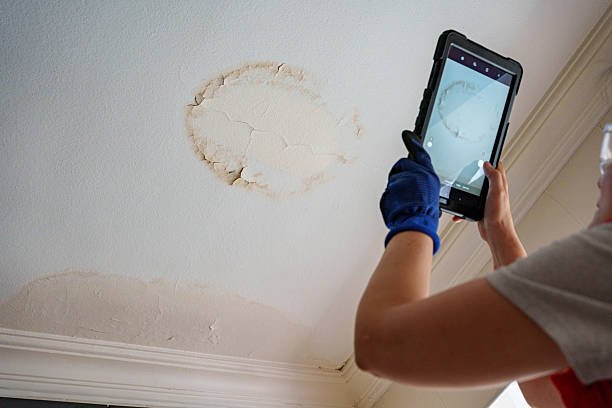
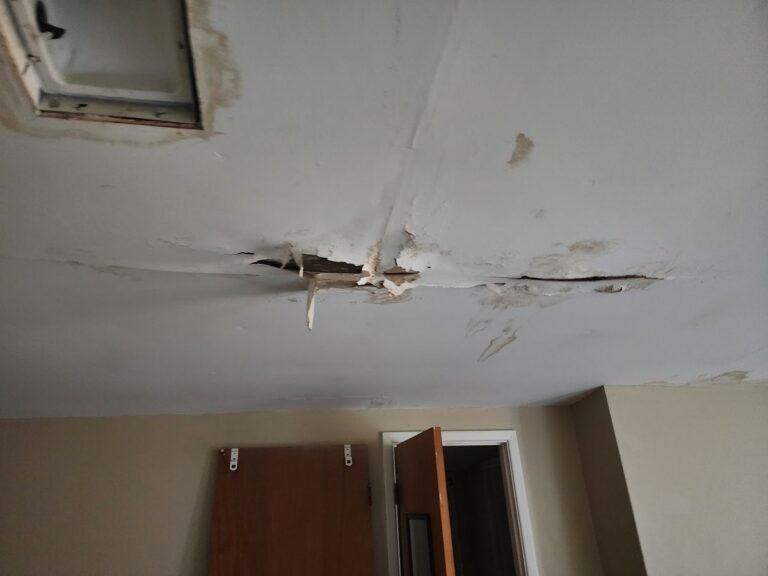
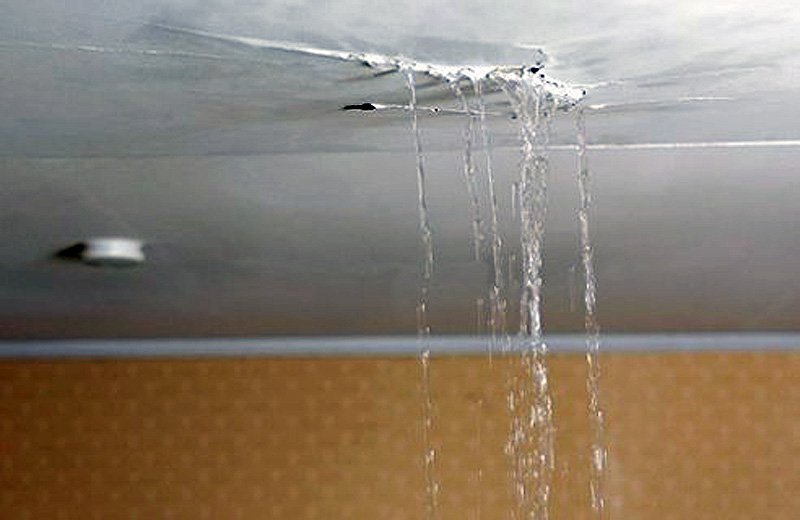
I woke up to the sound of dripping water — not outside, but inside my bedroom. A slow, steady drip landing right on my wooden floor, already starting to warp. My first instinct was to grab a bucket. My second was to panic. My third — and this took an embarrassing amount of time — was to actually figure out where it was coming from.
That was three years ago. Since then, I’ve fixed four different leaks on my own roof, talked to two professional roofers extensively, watched more YouTube videos than I care to admit, and learned things the hard way that most guides completely skip over.
This isn’t one of those “call a professional” articles. This is the real stuff. The tips that pros quietly use but rarely spell out for homeowners. Let’s get into it.
1. The Leak Rarely Starts Where You See It
This was my biggest rookie mistake. I saw water dripping from a spot near my bedroom window and immediately assumed the issue was right there. Spent two hours patching that area. Leak came back in a week.
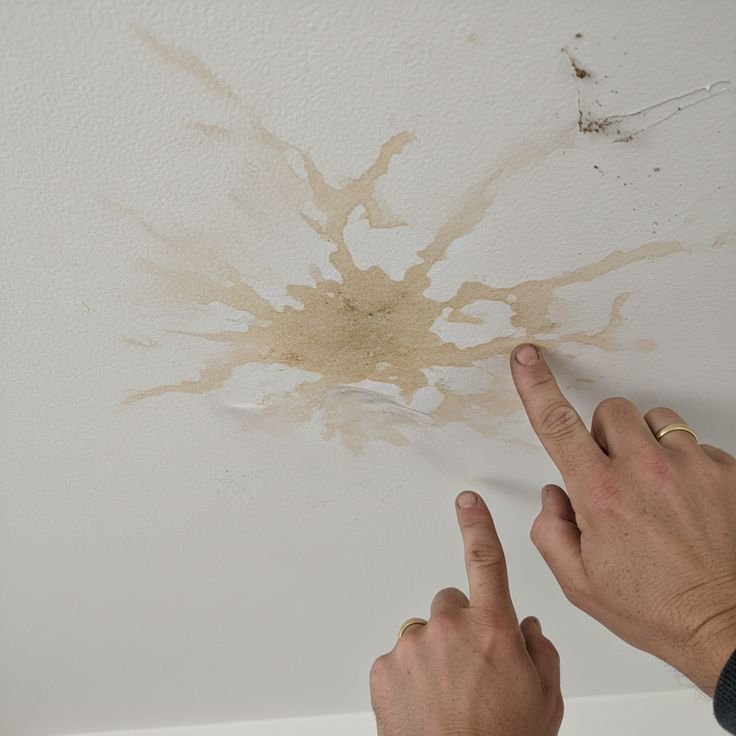
Water travels. It enters through one spot, runs along rafters or decking, and drips somewhere completely different. Before you touch anything, go into your attic during daylight — turn off all lights and look for where light is coming through. That’s your actual entry point, not the wet ceiling spot downstairs.
Pro move: Use a chalk line or marker to trace the water stain back to its source in the attic. Follow the trail upward, not downward.
2. Roofing Cement Is Not a Long-Term Fix (But It Buys You Time)
Every homeowner has a tube of roofing cement somewhere. It’s the duct tape of roof repairs. It works — temporarily — but if you’re slapping it on expecting a 5-year solution, you’re setting yourself up for a bigger mess.
Roofing cement is great for emergency situations. Found a crack on a Sunday during a storm? Cement it. But within the next dry week, you need to go back and do a proper repair with the right materials for your roof type — whether that’s replacing a shingle, resealing flashing, or applying a compatible sealant.
I once used roofing cement over an old flashing seal without cleaning the surface first. It held for about three weeks, then peeled off and made the gap worse. Always clean and dry the surface before applying anything.
3. Flashing Is Responsible for More Leaks Than Shingles
Ask most homeowners what causes roof leaks and they’ll say “broken shingles.” Ask a roofer, and they’ll say flashing — almost every time.
Flashing is the thin metal (usually aluminum or galvanized steel) installed around chimneys, vents, skylights, and where your roof meets a wall. Over time it lifts, corrodes, or the sealant around it dries and cracks.
Here’s what to check:
| Flashing Location | Common Problem | Quick Fix |
|---|---|---|
| Chimney base | Cracked mortar or lifted metal | Roof sealant + remortar |
| Pipe boots (vent collars) | Rubber collar cracked | Replace rubber boot |
| Skylights | Sealant dried out | Recaulk with silicone roof sealant |
| Roof-to-wall junction | Flashing pulled away | Re-nail and reseal |
| Valley flashing | Rust or holes | Replace or patch with metal |
I replaced the rubber boot around one of my vent pipes for about $8 and solved a leak I’d been chasing for months. Eight dollars.
4. Dry Days Are Non-Negotiable for Repairs
I know this sounds obvious, but hear me out. I once tried patching a small area during what looked like a “clear enough” afternoon. There was surface moisture I couldn’t see. The sealant didn’t bond properly, the patch failed, and I was back up there two weeks later.
Wait for at least 24–48 hours of dry weather before any repair. The surface needs to be completely dry — not just visually dry. If you live somewhere humid (I’m talking about you, coastal homeowners), wait even longer or use a heat gun to dry the area right before application.
If you absolutely must work after rain, use a product specifically rated for wet-surface application. Henry’s 209 and Karnak 19 are two that actually work in damp conditions, though nothing beats a truly dry surface.
5. The Hose Test Is Underrated
Can’t find the leak source? Grab a garden hose and a helper.
Have your helper go into the attic with a flashlight. Start at the lowest part of your roof with the hose and slowly work your way upward, section by section, soaking each area for a few minutes while your helper watches for where water appears.
It’s slow, methodical, and kind of tedious — but it works every single time. This is literally what professional leak tracers do on high-end home inspections. No fancy equipment needed.
Tip: Start low and work high. If you start at the top, water runs down and you can’t tell where it actually entered.
If you’re looking for more structured approaches to finding the source, check out 9 Smart Roof Leak Fix Guide Basics for Quick Repairs — it breaks down the detection process really clearly.
6. Ice Dams Are a Whole Different Beast
If you live somewhere that gets cold winters, ice dams might be your actual enemy. They form when heat escapes through your roof, melts snow at the top, and that water refreezes at the colder eaves — building up a wall of ice that forces water backward under your shingles.
Signs you have an ice dam problem:
- Leaks only happen in winter or early spring
- Icicles forming along your roof edges
- Water stains appear near exterior walls, not the center of your ceiling
The real fix is improving your attic insulation and ventilation — not hacking at the ice with a shovel (which I tried and immediately regretted when I scratched up three shingles). A roof rake to remove snow after storms helps a lot in the short term.
7. Nail Pops Are Sneaky Little Leaks
This one took me a long time to understand. Nails in your roof sheathing can work their way upward over time due to thermal expansion and contraction. When a nail pops up, it creates a tiny gap that lifts the shingle slightly — just enough to let water in.
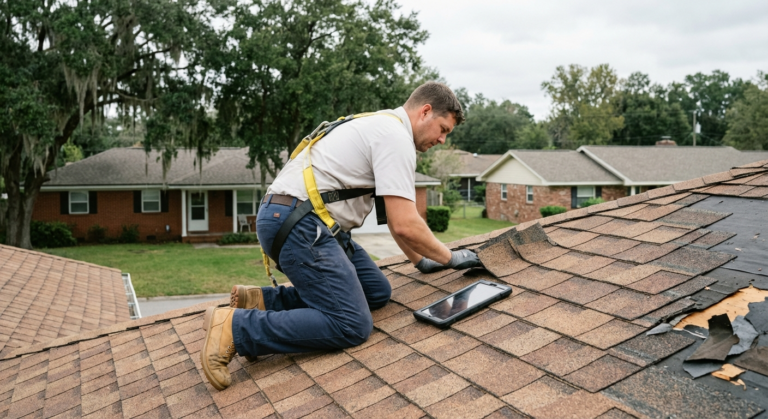
They’re almost invisible from ground level. You need to actually get up there and run your hand over shingles. Any shingle that feels slightly raised or that you can wiggle is suspect.
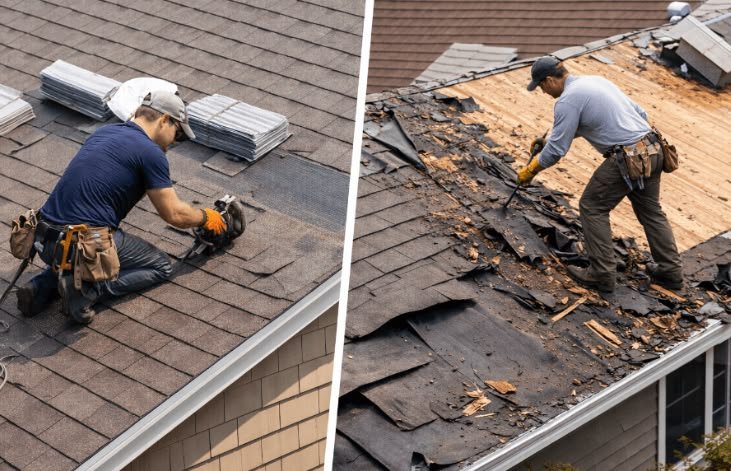
Fix: Push the shingle down, drive a new roofing nail nearby (not into the same hole), and seal both the old and new nail heads with roofing cement or sealant. Takes about 3 minutes per nail once you know what you’re looking for.
8. Gutters Can Cause Roof Leaks (Yes, Really)
Clogged gutters are a roof leak waiting to happen. When gutters overflow, water backs up under your drip edge and soaks the fascia board and roof decking. Over time, that leads to rot — and rot leads to leaks that have nothing to do with your shingles at all.
I have a neighbor who spent $800 fixing what turned out to be a rot-caused leak that started because his gutters hadn’t been cleaned in four years. Four years of leaves caused an $800 repair.
Clean your gutters twice a year minimum. If you have a lot of trees, do it three times. And make sure your downspouts are actually directing water away from the house — at least 6 feet out.
For a full maintenance checklist that covers this and more, 8 Proven Roof Leak Fix Guide Maintenance Ideas That Save Money is worth a read.
9. Attic Ventilation Problems Destroy Roofs From the Inside
Here’s something almost no DIY guide mentions: poor attic ventilation causes condensation, which causes moisture damage to your roof deck, which eventually leads to leaks — even if your shingles are perfectly fine.
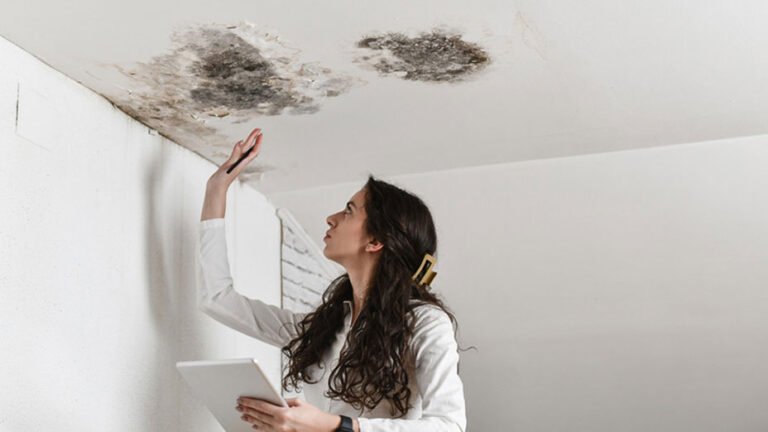
If you go up into your attic and notice black staining on the wood, frost in winter, or a musty smell, your ventilation is the problem. You might be fixing shingles while the real issue is literally inside your house.
Signs of poor attic ventilation:
- Black or dark staining on rafters
- Frost on the underside of the roof deck in winter
- Unusually high energy bills (heat trapped in summer)
- Premature aging of shingles (granule loss)
The fix involves checking that your soffit vents aren’t blocked by insulation and that you have adequate ridge venting. Sometimes it’s as simple as pulling back insulation that’s been pushed too far toward the eaves.
10. The Right Sealant for the Right Surface
Not all sealants are created equal, and using the wrong one is a really common (and expensive) mistake. Here’s a quick breakdown:
| Sealant Type | Best For | Not For |
|---|---|---|
| Roofing cement (asphalt) | Asphalt shingles, flashing | Metal roofs, EPDM |
| Silicone sealant | Around flashing, metal, skylights | Painted surfaces |
| Polyurethane sealant | Areas needing flex + adhesion | Extreme UV exposure |
| EPDM liquid rubber | Flat/low-slope roofs, rubber roofs | Steep asphalt roofs |
| Butyl tape | Flashing seams, metal roof seams | Vertical applications |
I once used standard silicone caulk (the bathroom kind) on a flashing seam. Peeled off in less than two months because it wasn’t UV-rated. Roof-specific silicone is a different product — read the label and make sure it says “UV resistant” and is rated for exterior roofing use.
11. Document Everything Before and After
This sounds like overkill but trust me on this one. Before you do any repair, take photos — detailed ones. The problem area, the surrounding area, your materials, each step.
Why? Three reasons:
Insurance claims: If your leak was caused by storm damage, you need documented evidence. Insurers will ask when the damage occurred and what it looked like before repair.
Warranty issues: If you have a roofing warranty (especially on newer homes), undocumented DIY repairs can void it. Photos and notes showing exactly what you did protect you.
Your own memory: You’d be surprised how fast you forget exactly where a repair was made. Six months later when something leaks nearby, you’ll want to know whether it’s a new issue or the old one.
I keep a simple folder in Google Photos labeled “House — Roof” with dated images. Takes two minutes per repair and has saved me multiple times.
For more before-you-start preparation tips, this guide on 6 Essential Roof Leak Fix Guide Safety Rules Before Climbing a Roof is genuinely good for safety-prepping your whole process.
12. Know When It’s Genuinely Over Your Head
I’m a big advocate for DIY roof repair. I’ve done it successfully multiple times and saved real money. But I’ve also learned to recognize when a problem is beyond what a homeowner should handle alone.
You should call a professional if:
- The leak involves structural damage (sagging decking, rotted rafters)
- Your roof is steep enough that you can’t safely walk it
- The damage covers a large area (more than a few square feet)
- You’ve tried a repair twice and it keeps coming back
- Your roof is more than 20 years old and showing widespread granule loss
The cost of a professional repair is almost always less than the cost of a larger repair you made worse by tackling it without the right skills or equipment. There’s no shame in it. Getting three quotes before hiring anyone is always smart — prices vary wildly.
Common Mistakes That Cost Homeowners Money
Here’s a condensed version of the most expensive errors I see (and have personally made):
- Patching over old sealant without removing it first
- Using indoor caulk on exterior/roofing applications
- Working on a wet or cold roof when materials won’t bond
- Ignoring small leaks because they seem minor (they never stay minor)
- Only patching the visible spot without tracing to the actual source
- Skipping attic inspection before going up on the roof
- Not cleaning debris from valleys and around flashing before sealing
One Last Thing
The biggest shift in how I approach roof maintenance happened when I stopped thinking of it as emergency repair and started thinking of it as regular inspection. Twice a year — spring and fall — I spend about 30 minutes doing a visual inspection from the ground with binoculars, clear a gutter or two, and poke my head in the attic.
That’s it. That habit has prevented two leaks that I caught as minor issues before they became major ones.
Your roof is working hard every single day. A little attention goes a long way.
If you found this helpful and want to go deeper on staying ahead of problems before they become expensive, check out 12 Ultimate Roof Leak Fix Guide Prevention Strategies That Work — it’s one of the most comprehensive prevention-focused guides I’ve come across and pairs really well with everything covered here.
About the Author