7 Easy Roof Leak Fixing Guide Tricks That Actually Work Fast
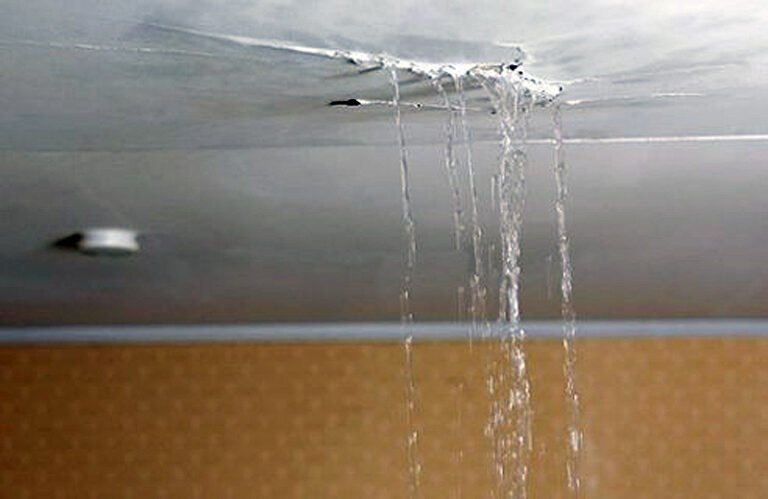
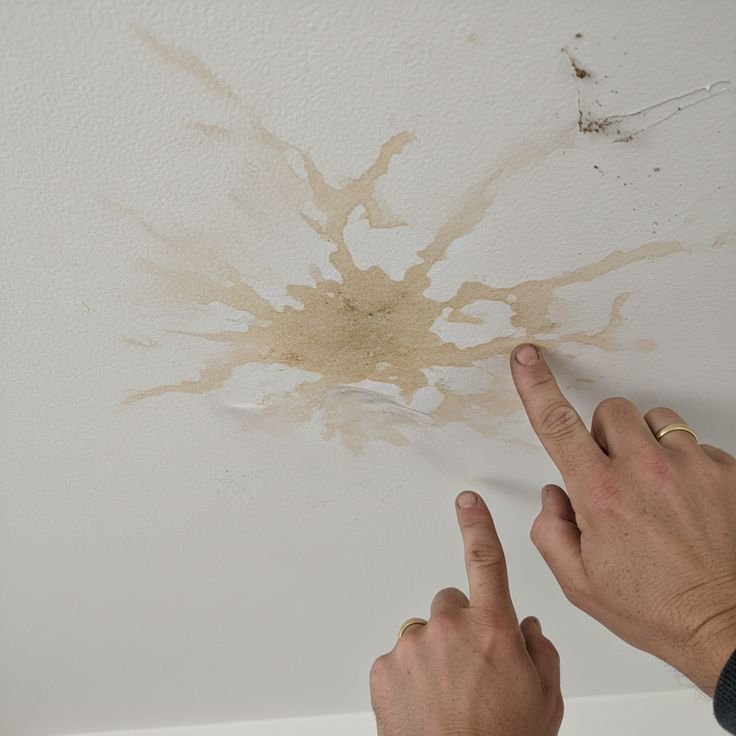
Let me tell you something embarrassing. The first time I discovered a roof leak, I was sitting in my living room during a heavy rainstorm, watching a small puddle slowly form on my hardwood floor. My first instinct? Grab a bucket. My second instinct? Panic.
I had no idea where to even start. I climbed up there the next morning, poked around for about 20 minutes, saw nothing obviously wrong, and climbed back down feeling completely useless. A week later, the same spot was wet again.
If you’ve ever been in that situation — or you’re in it right now — this is for you. I’ve fixed roof leaks on three different houses at this point, made some genuinely stupid mistakes along the way, and learned a few tricks that actually make a difference. No fancy roofing credentials here, just real-world experience and a few cuts on my hands to prove it.
Let’s get into it.
1. Stop Guessing — Find the Actual Source First
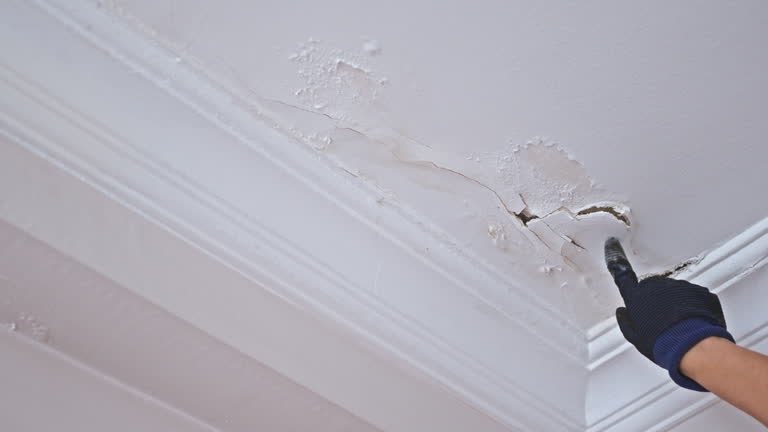
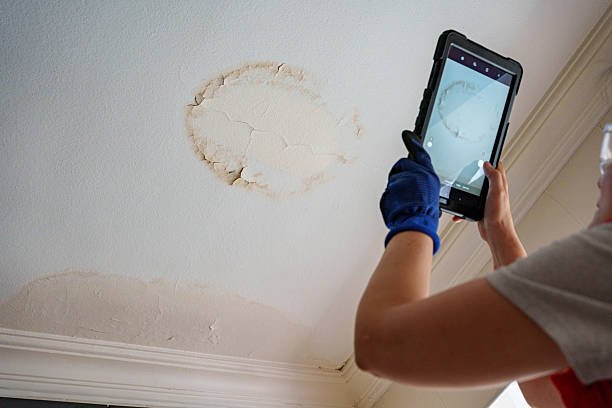
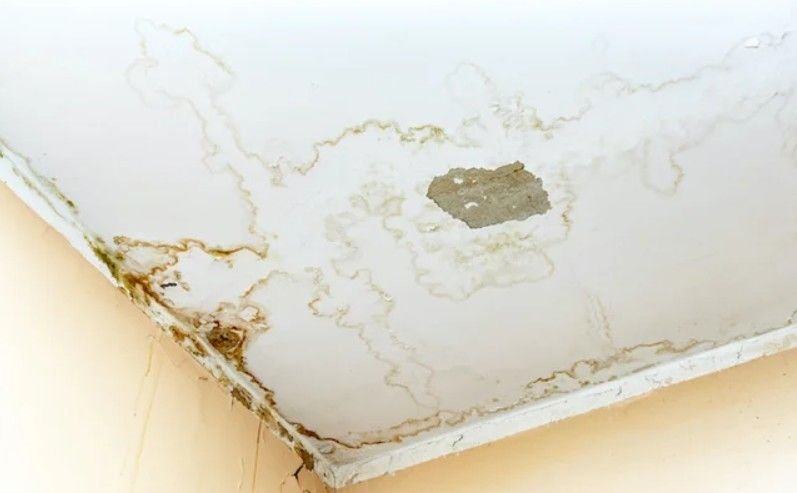
Here’s the mistake I made every single time in the beginning: I assumed the leak was directly above the water stain on the ceiling. Almost never true.
Water is sneaky. It enters through a gap, travels along a rafter or roof deck, and drips down somewhere completely different. I once spent two hours sealing a spot near my chimney, only to find out the actual entry point was about four feet away near a nail hole.
The trick: Go into your attic during the day with the lights off. Look for light coming through. Even a tiny pinhole of light means a gap water can exploit. Mark those spots with chalk.
If you can’t do it during the day, have someone run a garden hose on the roof while you watch from inside the attic with a flashlight. Start low on the roof and work upward in sections, waiting a few minutes at each spot. The moment you see a drip appear — you’ve found your culprit.
This step alone saves hours of frustrating, pointless patching.
2. Dried and Cracked Flashing is Usually the Real Villain
I’d say 70% of the roof leaks I’ve dealt with came down to flashing. Not missing shingles, not giant holes — just old, cracked, or improperly sealed flashing around chimneys, skylights, vents, or where the roof meets a wall.
Flashing is that metal strip (usually aluminum or galvanized steel) that seals the joints and edges. Over time, the sealant around it dries out, cracks, and peels. Once that happens, water has a direct highway into your home.
What to do:
- Inspect all flashing points visually — look for gaps, rust, lifted edges, or dried caulk
- Remove old sealant completely with a putty knife (don’t layer new over old — it never holds)
- Clean the area with a wire brush to remove rust and debris
- Apply roofing caulk or roofing cement and press the flashing back down firmly
- Use a quality product like Henry 208 Wet Patch or Loctite PL Roof and Flashing sealant — these actually stick
One thing I learned the hard way: don’t use regular bathroom caulk or general-purpose silicone on flashing. It doesn’t bond properly to metal in outdoor conditions and will peel off within one season. Roofing-specific sealants exist for a reason.
You can find more detail on 7 Smart Roof Leak Fix Guide Prevention Tips That Actually Work to understand how preventing flashing failures early can save you hundreds.
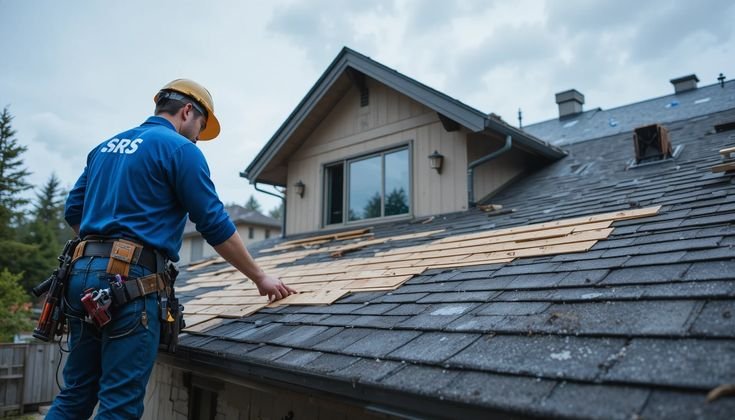
3. Replace Damaged Shingles — It’s Easier Than You Think
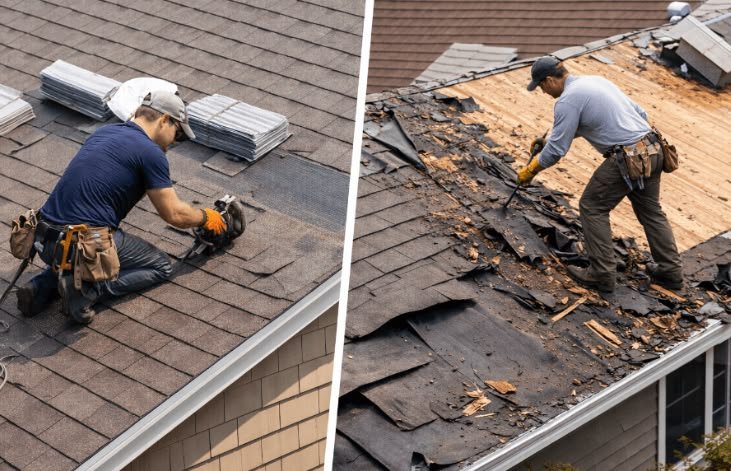
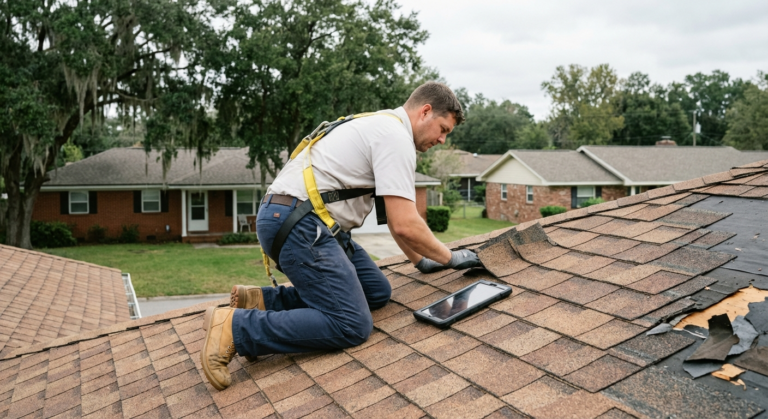
A cracked, curled, or missing shingle is an open invitation for water. The good news? Replacing a few shingles is genuinely something most homeowners can handle on a Saturday morning.
Here’s what I use:
- Flat pry bar (or a cat’s paw)
- Roofing nails
- Replacement shingles (bring a sample to the hardware store for matching)
- Roofing cement
- Caulking gun
Steps that actually work:
- Slide the pry bar under the damaged shingle and lift to pop the roofing nails
- Remove the old shingle by sliding it out
- Slide the new shingle into place — make sure it lines up with the shingles on either side
- Nail it down with four roofing nails, about 1 inch from each edge
- Apply a small dab of roofing cement under the corners of the overlapping shingles above to seal them back down
The common mistake I see people make here is not nailing in the right spots. Nail too high or too low, and the shingle won’t sit flat, creating a gap. The nails should sit right at the nail line (there’s usually a marked strip on the shingle — use it).
4. Roof Cement and Patch Tape for Quick Emergency Fixes
Sometimes you need to stop a leak right now and you can’t do a proper repair until the weekend. That’s where roofing cement and self-adhesive patch tape come in.
I keep a tube of Henry 208 and a roll of Gorilla Waterproof Patch & Seal Tape in my garage at all times now. Both of these have saved me from a wet ceiling more than once while I waited for better weather or a free afternoon.
For small cracks or holes:
- Dry the area as much as possible (a heat gun on low helps)
- Apply roofing cement generously over the crack, extending 2 inches on each side
- Press a piece of fiberglass mesh into the wet cement
- Apply another layer of cement over the mesh
- Smooth it out with a putty knife
For pipe boots and vent collars (those rubber boots around pipes sticking out of your roof — they crack constantly), the easiest fix is a replacement boot. Slips right over the old one. You can get a universal boot cover at any hardware store for about $10–15. Took me 20 minutes to install the first time, 8 minutes the second.
5. Don’t Ignore the Valleys
Roof valleys — those angled channels where two roof planes meet — are one of the most vulnerable spots on any roof. Water rushes down them at high volume during rain, and if the valley flashing or valley liner is compromised, you’ll get leaks.
I once had a recurring leak that stumped me for two full years. Patched everything I could think of. Turned out it was the valley lining that had a small split right where I couldn’t see it easily from ground level.
What to check:
- Metal valley flashing that’s lifted, rusted, or has gaps at the seams
- Open valleys (where you can see the metal) with debris buildup — leaves and sticks trap moisture and accelerate corrosion
- Woven or closed-cut valleys where shingles cross over — look for cracked or missing shingles right at the center line
For a temporary fix, roofing cement spread carefully along the valley seam works well. For a permanent fix, the flashing usually needs to be replaced — which is a slightly bigger job but still DIY-able if you’re comfortable on a roof.
Also worth reading: 6 Essential Roof Leak Fix Guide Basics Before the Rainy Season — there’s solid guidance there on valley prep before monsoon or rainy season hits.
6. Check Your Gutters — Seriously, It Matters More Than You Think
I used to think gutters were just a cosmetic thing. Then I had water pooling along my fascia board and eventually wicking under the drip edge and rotting out my roof decking. A $200 repair turned into a $900 repair because I didn’t clean my gutters for two years.
Clogged gutters cause water to back up and sit against the roof edge. In winter, this creates ice dams. In any season, it causes moisture to creep under the shingles at the eaves.
Quick checklist:
| Task | Frequency | Why It Matters |
|---|---|---|
| Clean gutters | Twice a year (spring & fall) | Prevents overflow and backups |
| Check for sagging sections | Annually | Sagging gutters pool water and pull away from fascia |
| Inspect downspouts | Twice a year | Blockages cause overflow near the foundation and eaves |
| Check gutter guards | Annually | They can hold debris on top and still cause issues |
| Look at drip edge | After storms | Bent or missing drip edge lets water sneak under shingles |
The fix here is mostly prevention: clean gutters, ensure proper slope (gutters should angle toward downspouts at about 1/4 inch drop per 10 feet), and make sure your downspouts are directing water away from the foundation and the roofline.
One product I genuinely like for keeping gutters clear is the Amerimax Home Products gutter guards — they’re cheap, easy to cut to size, and dramatically reduce how often I need to clean.
7. Know When to Call a Pro (and When You’re Wasting Money Doing So)
I’m a big advocate for DIY roof repairs. But I’ve also learned through experience that there are situations where patching it yourself is just delaying the inevitable and potentially making the underlying problem worse.
DIY-able situations:
- Missing or cracked shingles (less than 10)
- Cracked flashing sealant
- Damaged pipe boot
- Small nail holes or punctures
- Clogged or misaligned gutters
- Minor valley sealant cracks
Call a professional when:
- You see widespread granule loss across large sections of shingles (your roof is aging out)
- Multiple leaks in different locations
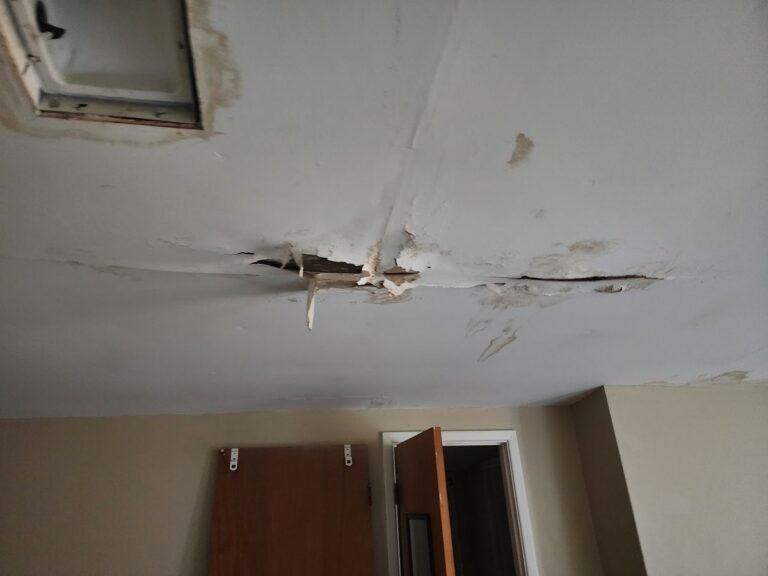
- Water has reached your roof decking and caused rot or soft spots
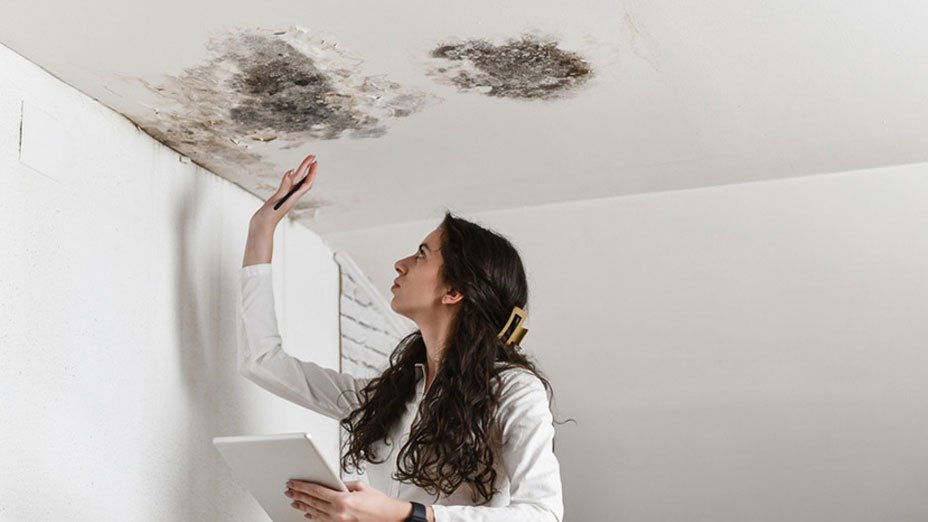
- You find mold or dark staining across large areas of your attic insulation
- The leak is near your electrical systems in the attic
The way I think about it: if the repair needs me to remove and replace more than a small section of roofing, or if there’s structural damage to the deck or rafters, I call someone. The risk of making it worse (and the safety risk of working on a compromised roof structure) isn’t worth saving a few hundred dollars.
Also, check 9 Smart Roof Leak Fix Guide Basics for Quick Repairs for a solid breakdown of repair scope and what each type of fix actually involves before you commit to tackling it yourself.
Common Mistakes I Made (So You Don’t Have To)
A few hard-learned lessons worth mentioning:
Patching in wet weather. Most roofing cement and sealants need dry conditions to bond properly. I once applied roofing cement during a light drizzle thinking it would be fine. It wasn’t. The whole patch peeled off within a month. Wait for at least 24–48 hours of dry weather before sealing anything.
Using the wrong sealant. As mentioned earlier — general silicone caulk is not roofing caulk. Also, not all roofing cements are the same. Some are meant for below-surface application, some for surface. Read the label.
Not checking the attic ventilation. Sometimes what looks like a roof leak is actually condensation from poor attic ventilation. If your attic is poorly ventilated and warm air from inside your home hits the cold roof deck in winter, moisture forms and drips down just like a leak. I spent a solid week trying to find a “leak” that didn’t exist until a friend suggested I check my attic vent situation.
Rushing the repair. I know, when water is coming in you want to fix it instantly. But a rushed repair that doesn’t address the real source means you’ll be up on that roof again in two weeks. Take the extra time to actually find where water is entering before you start spreading cement everywhere.
A Few Tools Worth Having on Hand
You don’t need a truck full of equipment. Here’s what I keep in a small bin specifically for roof repairs:
- Roofing cement (Henry 208 or similar)
- Roofing caulk (Geocel or Loctite brand)
- Self-adhesive flashing tape (Grace Ice & Water Shield strips work great)
- Putty knife and stiff brush
- Replacement shingles (keep a few from your original installation if possible)
- Roofing nails (1.75 inch galvanized)
- Non-slip rubber-soled shoes specifically for roof work
- Safety harness — not optional, please
Final Thoughts
Roof leaks are one of those things that feel catastrophic in the moment but are usually very fixable once you know what you’re looking at. The single most important shift in my thinking was going from “where is the ceiling wet” to “where is water actually getting in” — those are almost never the same location.
Most of what I’ve described here can be done in a few hours on a dry weekend. The tools are cheap. The techniques aren’t complicated. And the cost savings compared to calling a roofer for every minor issue are real.
Just take your time, work safely, and don’t skip the diagnosis step. Fix the actual problem, not just the symptom.
Also worth reading before your next repair: 8 Fast Roof Leak Fix Guide Repair Tricks That Saved My Roof — a practical walkthrough of repair techniques from someone who learned most of them the hard way, just like I did.
About the Author