
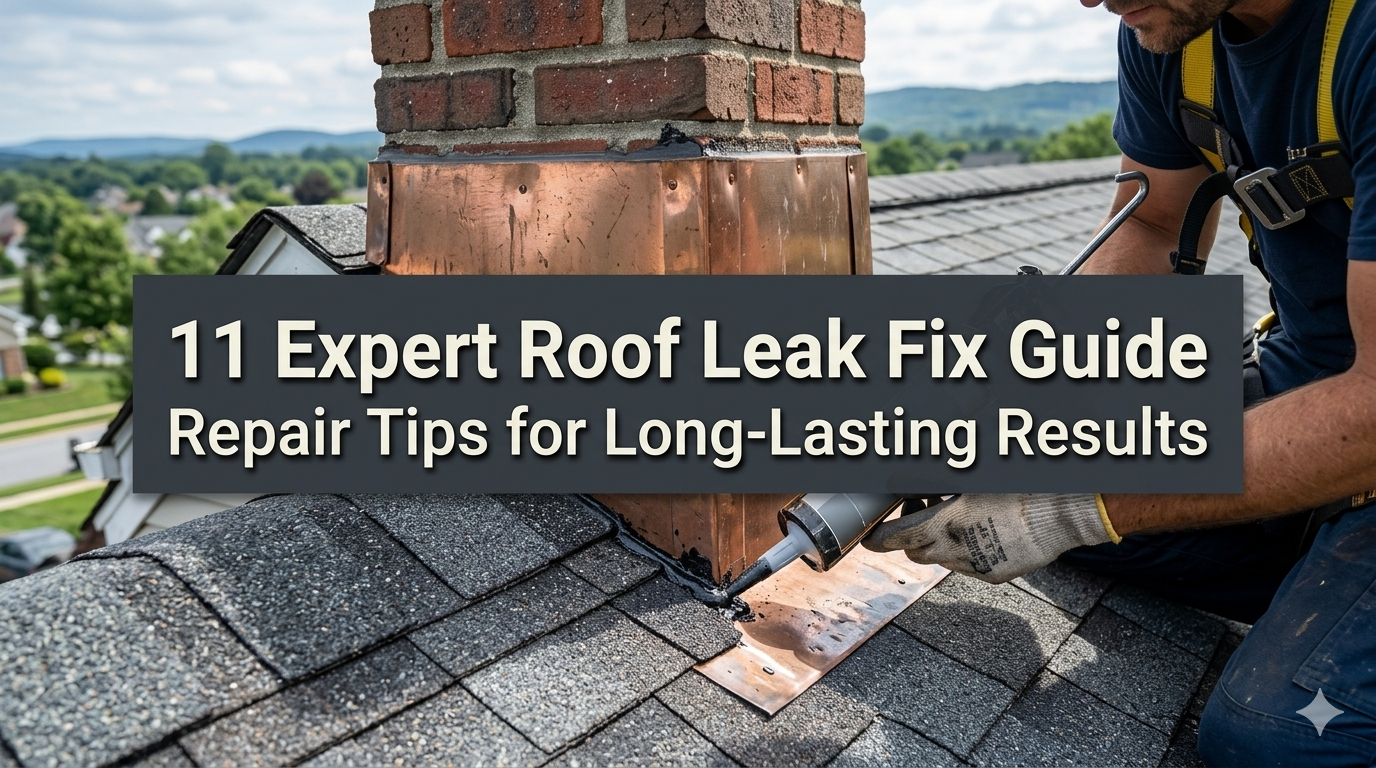
11 Expert Roof Leak Fix Guide Repair Tips for Long-Lasting Results
Meta Description: Roof leak fix guide you can trust — discover 11 expert repair tips that stop water damage fast and deliver long-lasting results for any roof type.
Roof Leak Fix Guide for Your Peace of Mind – 11 Pro Tips to Repair the Damage Fast and Make Sure It Stays Cheap
The Ultimate Roof Leak Repair Process to Make Your Roof Last Longer
Few things are more stressful for a homeowner than water dripping from your ceiling. It starts out pretty innocently — perhaps a small stain on the ceiling — and next thing you know, there are buckets on the floor and ruined drywall.
The good news? Most roof leaks can be fixed. And if you do it right, the repairs can actually last.
This roof leak repair guide covers 11 tips from the pros, including locating the leak and making solid, weather-tight repairs. If you’re the DIY type or simply curious as to what a roofer should be doing, this guide will help.
Why Timely Roof Leak Repairs Are Important
A tiny leak today can turn into a huge problem tomorrow. Here’s what happens when you neglect roof leaks:
- Wood rot in rafters and decking
- Mold and mildew growth in interior walls
- Damaged insulation
- Ceiling collapses in extreme cases
- Increased energy expenses from lost insulation value
The longer you wait, the costlier the repair is. Moving quickly saves money and protects your home’s structure.
Tip #1 — Be a Detective to Identify the Actual Source
Here’s the tricky thing about roof leaks: The places where water drips inside your home are seldom where the leak actually begins.
Water gets in through a seam in the roof, then flows along rafters or sheathing before dripping down. It can travel a couple of feet before you recognize it.
How to Locate the Real Entry Point
Start in the attic. Bring a flashlight, and look for:
- Signs of water on rafters or plywood
- Dark, damp spots on insulation
- Mold or mildew patches
- Daylight peeking through gaps
Follow the damp trail up and to the highest point you can find. That’s probably where the water is coming in.
Pro tip: Grab someone on a dry day to spray water over various sections of the roof while you lie in the attic and watch. Begin on the ground and gradually rise until you find the entry point.
Tip #2 — Inspect the Roof Thoroughly Before Doing Any Work
Don’t just patch that and say “done.” A proper inspection avoids all problems in one go.
What to Check for During Your Inspection
| Area to Inspect | Warning Signs |
|---|---|
| Shingles | Curling, cracking, missing pieces |
| Flashing | Rust, gaps, lifted edges |
| Valleys | Debris buildup, cracked sealant |
| Chimney | Cracked mortar, damaged cap |
| Vents & Skylights | Broken seals, cracked boots |
| Gutters | Granule buildup (sign of shingle wear) |
Walk the outside of your home and look up. Use binoculars if needed. Identify every problem area before you head up there.
Always put safety first: A wet or steep roof is no place to go without proper footwear and fall protection. If you have any doubt, call a professional.
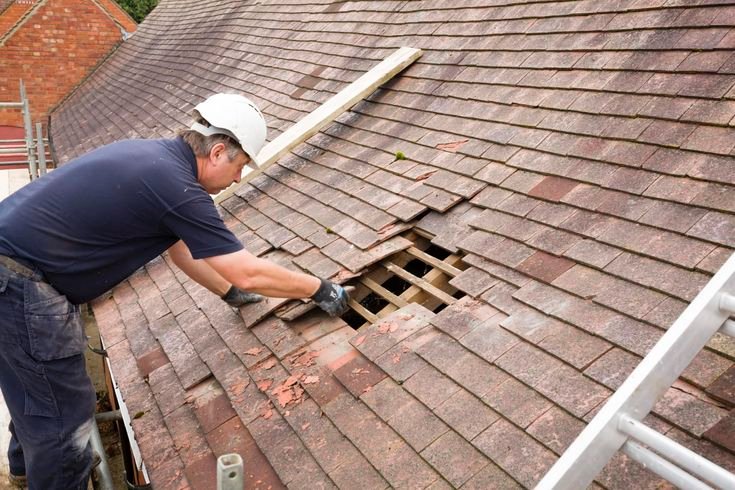
Tip #3 — Properly Replace Damaged or Missing Shingles
Shingles are the first line of defense for your roof. A cracked, curled, or missing shingle is an open invitation to water.
Step-by-Step Shingle Replacement
- Insert a flat pry bar beneath the damaged shingle
- Pop out the roofing nails
- Gently wiggle the old shingle out
- Fit the new shingle in place, making sure it’s level with adjacent shingles
- Nail it down at the top edge with roofing nails
- Apply roofing cement to seal nail heads
- Re-bond it with a dot of sealant under the tab above
Use the closest matching shingle type and color. Asphalt shingles are the most common and easiest for a homeowner to replace yourself.
Common Mistake To Avoid: Using regular nails instead of galvanized roofing nails. Regular nails rust fast and create new leaks.
Tip #4 — Correct Flashing Failures Quickly
Flashing is the thin metal (normally aluminum or galvanized steel) placed around chimneys, vents, skylights, and where the roof joins a wall. It is one of the most frequent sources of leaks.
Why Flashing Fails
- Sealants are prone to drying out and cracking over time
- Metal expands with heat and contracts as it cools
- Improper installation leaves gaps
- Metal is weakened by rust and corrosion
How to Repair Flashing
For small tears or lifted edges:
- Clean the area thoroughly
- Insert roofing caulk or flashing sealant into the gap
- Press firmly and smooth out
For corroded or bent flashing:
- Remove the old flashing completely
- Add new metal flashing, making sure edges are overlapped properly
- Seal all seams using roofing cement
Don’t put new sealant over old sealant. Remove the old material first for a clean and long-lasting bond.
Tip #5 — Pay Extra Attention to Roof Valleys
Roof valleys are V-shaped channels that occur when two slopes of a roof meet. These areas are high-risk for leaks because water rushes through during heavy rain.
Signs of Valley Problems
- Cracked or missing shingles at the valley line
- Dark marks running down the valley
- Visible gaps in the valley lining
Valley Repair Options
Open metal valleys use a continuous strip of metal. Replace the metal strip if it’s rusted or bent and reseal the edges.
Closed-cut valleys have shingles layered over each other. When replacing cracked shingles here, do so carefully so as not to disturb the layering pattern underneath.
Lay a wide bead of roofing cement down both sides of the valley, where the shingles meet the metal or underlayment.
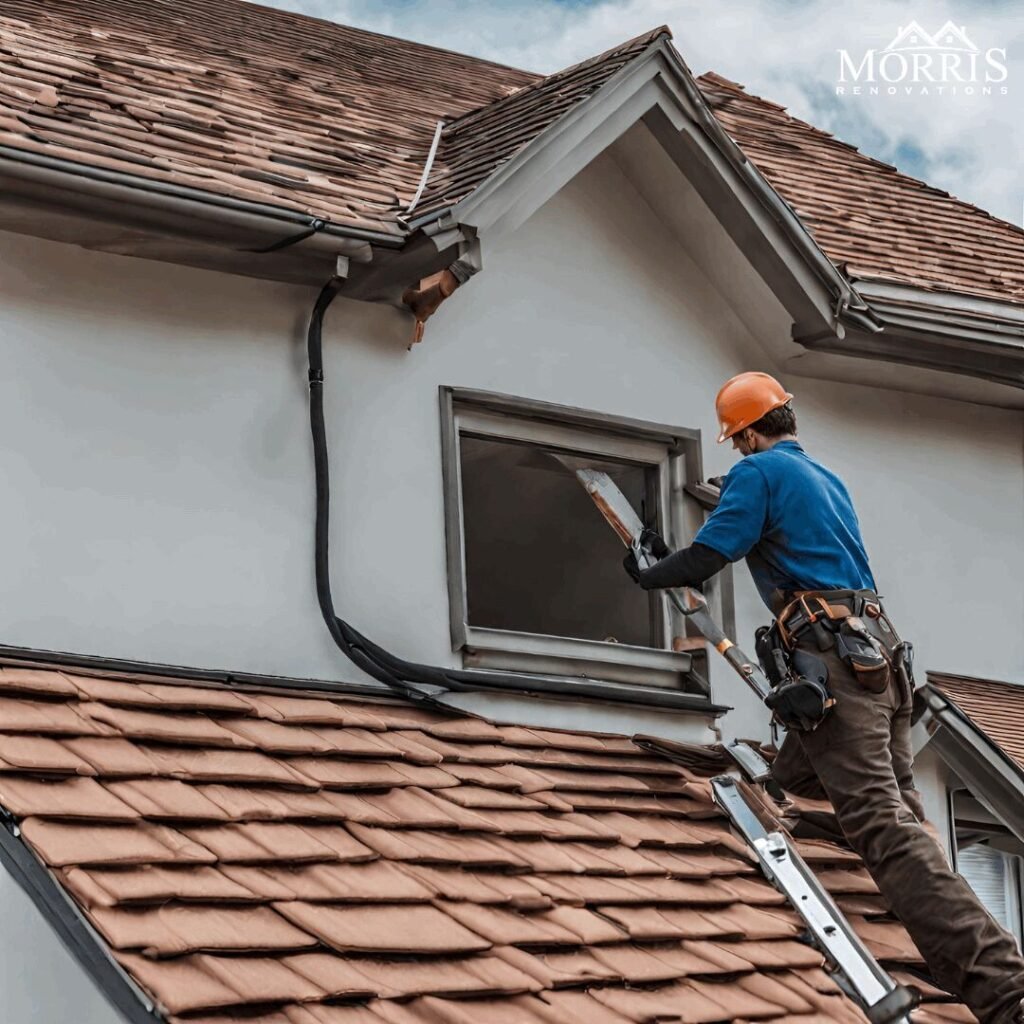
Tip #6 — Keep Pipe Boots and Vent Flashing in Mind
Every pipe that sticks through your roof — from plumbing vents to exhaust stacks — has a rubber or metal boot that seals the gap. These boots split and worsen over time.
How to Inspect a Pipe Boot
Look for:
- Cracks in the rubber collar
- Gaps between the boot and the pipe
- Rust at the base of the metal flashing
Replacing a Pipe Boot
This is among the simplest DIY roof repairs:
- Gently pry up shingles around the boot
- Pull back nails holding the old boot in place
- Slide the old boot off the pipe
- Feed the new boot down the pipe
- Nail the base flange under adjacent shingles
- Apply roofing cement around the edges
- Re-lay shingles and seal nail heads
Replacement boots are inexpensive and this fix takes less than an hour. Yet it solves a surprisingly high number of leaks.
Tip #7 — Attack Chimney Leaks at Several Angles
Chimneys are infamous leak sources since they go through the roof at multiple points and have several potential failure areas.
4 Common Spots for Chimney Leaks
| Location | Problem | Fix |
|---|---|---|
| Top flashing (counter flashing) | Pulled away from mortar | Re-seal with polyurethane caulk |
| Step flashing (sides) | Rust or gaps | Replace individual pieces |
| Chimney cap | Cracked or missing | Replace the cap |
| Mortar joints | Cracking or crumbling | Tuckpoint with new mortar |
About Chimney Cricket Flashing
If your chimney is wider than 30 inches, it should have a “cricket” — a small peaked roof structure behind the chimney that directs water around it. Without one, or if yours is broken, water puddles up behind the chimney and eventually leaks in. This is a task best performed by a professional roofer.
Tip #8 — Use the Right Sealants and Materials
Not all roof sealants are made the same. Using the wrong product is a cause of repairs that fall apart in just months.
Roof Repair Product Guide
| Product | Best Used For | Lifespan |
|---|---|---|
| Roofing cement (asphalt) | Shingle repair, flashing | 5–10 years |
| Polyurethane caulk | Gaps around flashing, chimneys | 10–20 years |
| Silicone caulk | Metal and glass (skylights) | 10–20 years |
| Butyl tape | Flat roof seams, underlayment | 10–15 years |
| Elastomeric coating | Flat roofs, overall waterproofing | 10–15 years |
Always make sure the surface is clean and dry before applying any sealant. The majority of products will not adhere correctly to wet, dirty, or oily surfaces.
Tip #9 — Treat Flat Roof Leaks Differently
Repairing flat roofs (or low-slope roofs) requires a different approach than pitched roofs. Water doesn’t run off — it stagnates. That changes everything.
Common Flat Roof Problems
- Ponding water: Accumulated water breaks down roofing material over time
- Membrane tears: Pinhole punctures or seam separations allow water to enter
- Blisters: Trapped air or moisture beneath the membrane creates bubbles that eventually break
Flat Roof Repair Steps
For membrane (TPO, EPDM, or modified bitumen) roofs:
- Clean the damaged area thoroughly
- Cut a patch of matching membrane material (at least 6 inches bigger than the damage on each side)
- Apply the right adhesive or heat-weld a patch
- Press firmly and roll out all air bubbles
- Seal the edges with lap caulk
For built-up roofs (BUR):
- Fill cracks and seal seams with hot rubberized asphalt compound or cold-applied bitumen
An elastomeric coating applied every few years as a preventive measure works wonders on flat roofs.
💡 Need more in-depth guidance on every type of roof repair? Visit Roof Leak Fix Guide for detailed resources, product recommendations, and step-by-step repair walkthroughs tailored to every roof type.
Tip #10 — Make Sure to Repair the Interior Damage Too
The majority of homeowners patch the roof and ignore the damage inside. That’s a mistake.
Leftover moisture in your attic or walls can lead to mold problems, wood rot, and odor issues — even after the roof is repaired.
Interior Repair Checklist
- Dry out the space: Get moisture out of attic and wall cavities with fans or a dehumidifier
- Replace wet insulation: Wet insulation is ineffective and breeds mold — it has to go
- Treat mold spots: Use a mold-killing spray or a diluted bleach solution on affected wood
- Replace water-stained drywall: If the drywall is soft or moldy, cut it out and replace it
- Repaint once thoroughly dry: Use a stain-blocking primer before painting so that old water stains do not bleed through
Don’t rush this step. Allow 24–48 hours for the interior to completely dry before closing up walls or replacing insulation.
Tip #11 — Know When to Call a Pro
DIY repairs can handle a lot. But some cases call for a professional roofer.
Call a Pro When You See:
- Extensive damage: Many missing shingles, widespread granule loss, or sagging sections
- Structural damage: Decayed rafters, compromised decking, or a sagging roof line
- A leak you can’t track down: If you’ve inspected thoroughly and still can’t find the source
- Steep or complicated rooflines: High pitches, multiple valleys, and dormers are risky without professional equipment
- Age-related wear: If your roof is over 20 years old and has a leak, repairs might only be a temporary fix — a full replacement may make more sense financially
Getting multiple quotes is always a smart move. Have each contractor thoroughly explain what they discovered and why they’re recommending their particular repair plan.
How Long Do Roof Repairs Last?
It’s a question that all homeowners ponder. The honest answer varies with the repair type, materials used, and quality of work done.
| Repair Type | Average Lifespan |
|---|---|
| Shingle replacement | 15–25 years |
| Flashing repair (caulk) | 5–10 years |
| Flashing replacement (metal) | 20–30 years |
| Pipe boot replacement | 10–15 years |
| Flat roof patch | 5–10 years |
| Full elastomeric coating | 10–15 years |
Quality materials + correct installation = repairs that last. Skimping on either results in the same leak returning in one or two years.
According to the National Roofing Contractors Association (NRCA), regular roof inspections and timely maintenance are among the most effective ways to extend the life of your roof and avoid costly emergency repairs.
How to Avoid Problems: Roof Leak Prevention
The best roof repair is the one you never have to make. These habits will help keep your roof in top shape all year long.
Annual Roof Maintenance Checklist
- ✅ Clean gutters and downspouts every spring and fall
- ✅ Prune branches that overhang the roof
- ✅ Check your roof after every major storm
- ✅ Inspect for moisture in the attic every few months
- ✅ Reseal flashing and caulking every 5–7 years
- ✅ Remove moss or algae growth as soon as possible
- ✅ Get a professional assessment every 2–3 years
A little basic upkeep can do wonders. Most leaks don’t happen overnight — they emerge slowly from small issues that could have been detected early.
FAQs About Roof Leak Repair
Q: Can I repair a roof leak myself? Yes, there are a lot of roof leaks that you can handle yourself — especially if it’s just replacing a few shingles, resealing flashing, or replacing a pipe boot. But steep roofs, large damage areas, and structural issues are best left to professionals.
Q: What is the cost to repair a roof leak? Minor repairs, such as resealing flashing, can be as little as $150–$400. The cost to replace damaged shingles is usually $300–$1,500 depending on the size of the area. Major repairs for structural damage or entire sections can cost $2,000 and up.
Q: Why does my roof leak only during heavy rain? Torrential rain fills small gaps that drier weather would never reveal. This happens frequently with cracked flashing, worn valley sealant, or slightly lifted shingles. It may have been a small gap, but high water volume pushes through.
Q: How can I determine whether my roof needs to be repaired or completely replaced? If damage is confined to a small area and the rest of the roof looks good, repair is a no-brainer. If the roof is 20-plus years old, has widespread granule loss, or has needed a lot of repairs, replacement is usually the more prudent long-term investment.
Q: How long will it take to fix a roof leak? Simple repairs like replacing a few shingles or resealing a boot take 1–3 hours. More complicated jobs, such as chimney flashing and flat roof membrane repair, can take a full day. Structural damage repairs could take several days.
Q: Will a roof leak lead to mold? Absolutely. If conditions are right, moisture from a roof leak can lead to mold growth within 24–48 hours. That’s why it’s so crucial to dry out the interior and treat any wood that has been affected after the repair is made.
Q: Is it safe to stay home during a roof leak? For small leaks, yes — but set out buckets to catch drips and use caution near any electrical fixtures close to the leak. If water is near electrical panels or the leak is serious, it’s best to evacuate and contact a professional immediately.
Wrapping It Up
A leaky roof doesn’t have to become a disaster. After reading through this roof leak fix guide, you now have a clear, expert-driven plan for tracking down leaks, making lasting repairs, and protecting your home for good.
The key takeaways:
- Always find the real source before making any repair
- Use the right materials for each specific repair type
- If you fix the roof, don’t skip the interior cleanup
- Maintain your roof regularly to avoid future leaks
- Know your limits — some jobs should be left to the professionals
Whoever does this for you, knowing what’s involved puts you in control. A solid roof over your head is one of the biggest investments you need to protect. Take action today before that little drip turns into a big charge.


