6 Proven Roof Leak Fix Guide Safety Rules You Should Never Ignore
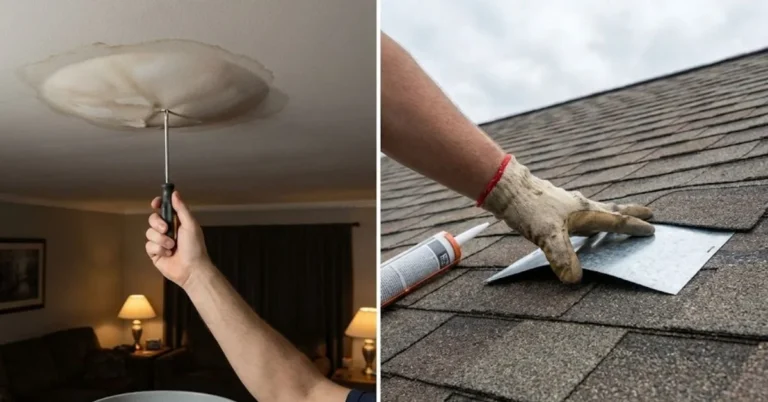
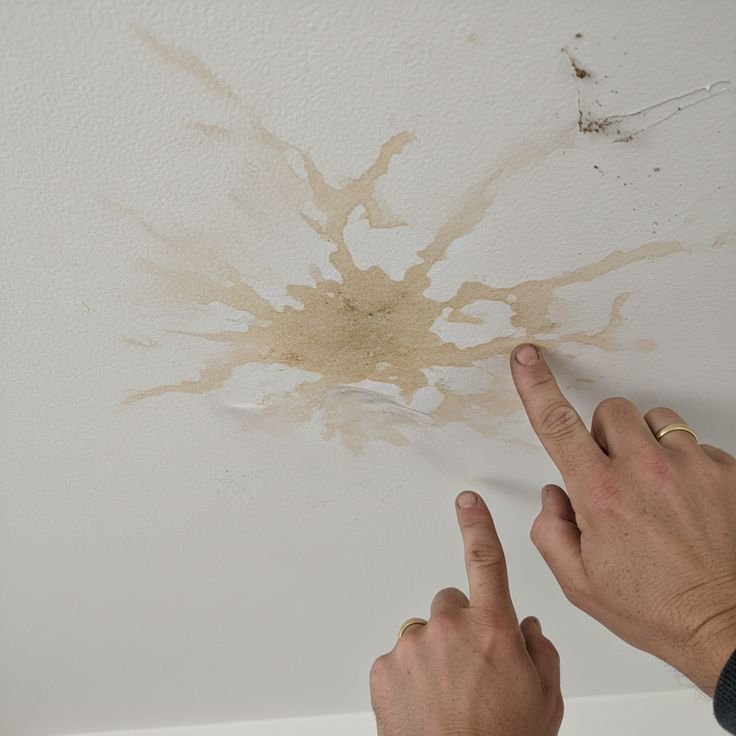
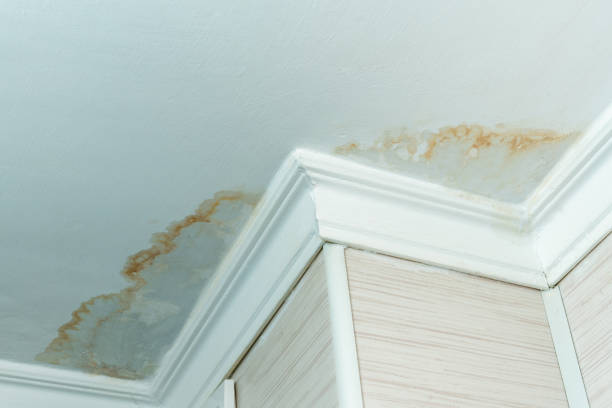
I still remember the first time I climbed onto my roof to fix a leak. It was a Saturday morning after a night of heavy rain, my ceiling had a wet patch the size of a dinner plate, and I was already mentally calculating how much a roofer would charge. So I grabbed my old sneakers, a tube of roofing sealant, and headed up the ladder like I knew what I was doing.
I did not know what I was doing.
Within ten minutes, I’d nearly slipped twice, grabbed a TV antenna to catch myself (bad idea), and was standing on a section of roofing that creaked in a way that made my stomach drop. That day ended without injury — but only barely. Since then, I’ve fixed three different roof leaks on my own, helped two neighbors with theirs, and learned more about roof safety than I ever expected to.
Here’s the thing most DIY guides skip over: the repair itself is the easy part. What’s actually dangerous is everything around it — how you get up there, where you stand, what the weather’s doing, and whether you’ve thought through your exit plan. These six safety rules aren’t just “safety tips” you skim past. Ignoring them is genuinely how people get seriously hurt.
1. Never Get on a Wet or Damp Roof — Not Even “Just to Check”
This is the one I broke that first time, and I’m lucky it didn’t cost me more than a scare.
After rain, roofing surfaces — whether asphalt shingles, metal, or flat membrane — become dangerously slippery. Even shingles that look dry on top can have moisture underneath from overnight humidity. The slope of your roof multiplies the risk significantly. A surface that seems manageable at 15 degrees becomes a slip-and-fall waiting to happen when it’s damp.
The rule I follow now: wait at least four to six hours after the last rainfall before getting up there. If it rained overnight, I don’t go up until midday at the earliest — and only if it’s been sunny.
This also applies to morning dew. Early mornings, especially in spring and autumn, can leave a thin film of moisture across your entire roof that’s nearly invisible. I learned this the hard way during a spring repair when a neighbor’s roof looked bone dry at 7 AM. He slipped and sprained his wrist. Not worth it.
Quick check before climbing: Run your hand along the bottom edge of a shingle near the gutter. If it feels cool and slightly damp, stay down.
2. Use the Right Footwear — Your Regular Sneakers Are a Liability
The first time I wore old running shoes on the roof. The second time I wore rubber-soled work boots. The difference was remarkable — almost like going from ice skates to hiking boots.
For roof work, you want shoes with:
- Soft rubber soles with good grip pattern (not smooth-bottomed)
- Low heel — high heels shift your center of gravity
- Ankle support — uneven shingle surfaces will twist your foot if you’re not supported
Dedicated roofing boots exist (brands like Tingley or KEEN Utility make good ones), but if you’re doing occasional DIY repairs, a pair of quality rubber-soled work boots or trail running shoes with deep tread work well.
What you absolutely should NOT wear: flip flops (yes, people do this), smooth-soled dress shoes, or worn-out sneakers where the tread is basically flat. I once watched a guy on YouTube attempting a roof repair in Crocs. I had to stop the video.
| Footwear Type | Grip | Safety Rating | Recommended? |
|---|---|---|---|
| Roofing Boots | Excellent | ⭐⭐⭐⭐⭐ | Yes |
| Trail Running Shoes | Good | ⭐⭐⭐⭐ | Yes |
| Work Boots (rubber sole) | Good | ⭐⭐⭐⭐ | Yes |
| Regular Sneakers | Moderate | ⭐⭐ | Avoid |
| Smooth-sole Shoes | Poor | ⭐ | Never |
| Flip Flops / Sandals | None | ✗ | Absolutely Not |
3. Set Up Your Ladder Correctly — Most Falls Happen Here, Not on the Roof
Statistically, more roof-related injuries happen on ladders than on the roof itself. The climb up and down is when most accidents occur — either because the ladder wasn’t secured, the angle was wrong, or the person was carrying too much in their hands.
Here’s the setup process I follow now, every single time:
Step 1: Place the ladder on firm, flat ground. If your ground is soft (like a garden bed), use a ladder leveler or place a wide board under the feet.
Step 2: Follow the 4-to-1 rule — for every four feet of height, move the base one foot away from the wall. So if your roof edge is 16 feet up, the base should be 4 feet from the house.
Step 3: The top of the ladder should extend at least 3 feet above the roofline. This gives you something to hold onto when stepping onto and off the roof.
Step 4: Have someone hold the base of the ladder while you climb — especially when carrying tools. If you’re working alone, use ladder stabilizers or tie the top to a roof anchor.
Step 5: Never carry tools in both hands. Use a tool belt or a bucket with a hook. Your hands are for the ladder.
I started using a Louisville FE3232 fiberglass ladder with standoff stabilizers a couple of years ago — the stabilizers alone make a huge difference in wobble and confidence. They also keep the ladder off your gutters, which protects them from bending.
If you want to understand the repair side of things once you’re safely up there, 7 Essential Roof Leak Fix Guide Repair Steps for Beginners has a solid breakdown of what to actually do once you’re on the roof.
4. Always Use a Safety Harness on Roofs With Any Significant Slope
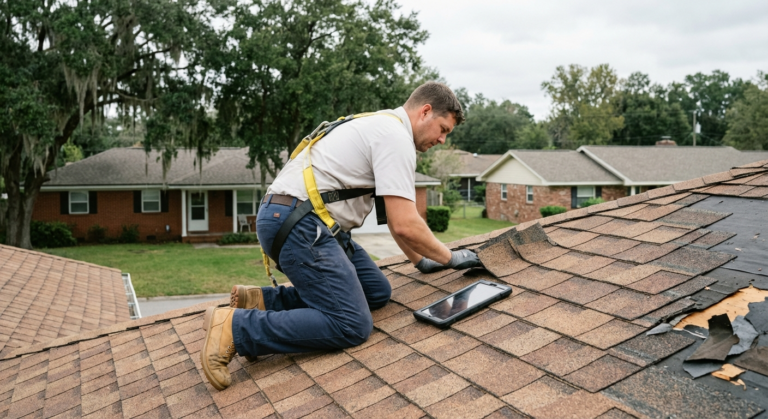
I resisted this one for a long time. Harnesses feel overkill when you’re just patching a small section of shingles for twenty minutes. Then I talked to a roofer friend of mine who’d been doing this professionally for eleven years. He told me he never goes up without one — not even for a five-minute job.
His reasoning stuck with me: “It’s not about whether you’ll fall. It’s about what happens if you do.”
A roof safety harness kit typically includes:
- A body harness (adjustable straps around your torso and thighs)
- A rope grab or lanyard
- A roof anchor (screws into a rafter through your shingles — you seal it after)
For most homeowners doing occasional repairs, something like the 3M DBI-SALA or Werner Fall Protection Kit is plenty. These run around $60–$120 and are available at most hardware stores.
The general rule: if your roof pitch is 6:12 or steeper (meaning 6 inches of rise for every 12 inches of horizontal run), a harness isn’t optional. At that angle, once you start sliding, there’s almost nothing you can do to stop yourself.
If you’re not sure about your roof’s pitch, you can measure it with a simple pitch gauge tool or even a smartphone app like Pitch Gauge (iOS/Android) — you just hold your phone against the roof surface and it reads the angle.
5. Never Work Alone — And Tell Someone Where You’ll Be
This sounds like something your mum would say, but hear me out.
When I was fixing a leak above our back extension, I went up without telling anyone in the house. I’d been up there maybe thirty minutes when I shifted my weight wrong while reaching across to apply sealant. I caught myself — but in those two seconds of scrambling, the thought that hit me was: nobody knows I’m up here.
If you slip and fall on the side of the house away from the street, you could be lying there for a while before anyone notices. That’s not being dramatic — it’s just reality.
The minimum standard:
- Tell someone where you are and how long you expect to be up there
- Ideally have someone at the base of the ladder while you climb and descend
- Keep your phone in a pocket (not just sitting somewhere on the roof surface — it WILL slide off)
- If working alone, set a check-in timer: if you haven’t come back inside in X minutes, someone should check
For longer repair jobs, a two-way radio clipped to your belt is genuinely useful if the other person is inside or in the garden. Old-school, yes. But practical.
8 Essential Roof Leak Fix Guide Safety Rules Before Climbing a Roof goes deeper into the pre-climb checklist — worth reading before your next repair.
6. Know When to Stop and Call a Professional — This Is a Safety Rule Too
This one is uncomfortable to admit, but it’s probably the most important.
There’s a version of DIY confidence that crosses into stubbornness, and on a roof, stubbornness can be seriously dangerous. I’ve been guilty of it — pushing on with a repair when the conditions were borderline because I’d already committed the time and driven to the hardware store.
Here are the situations where you should genuinely call a professional instead of continuing:
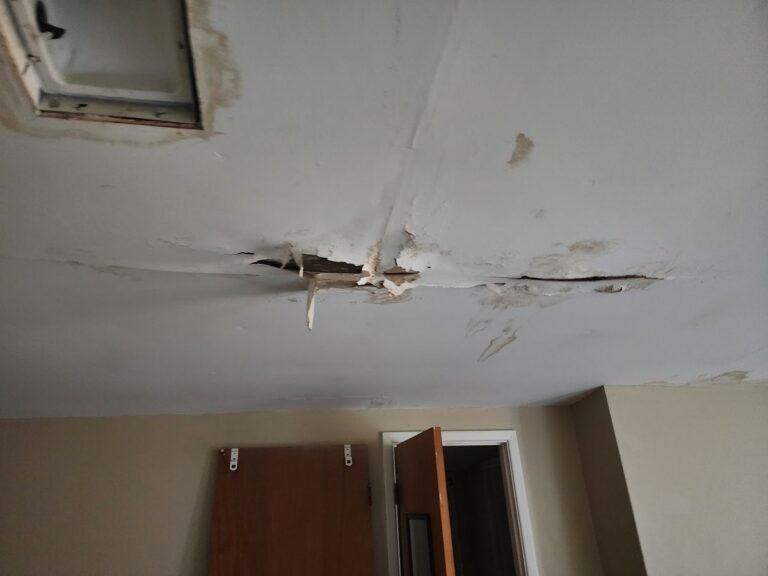
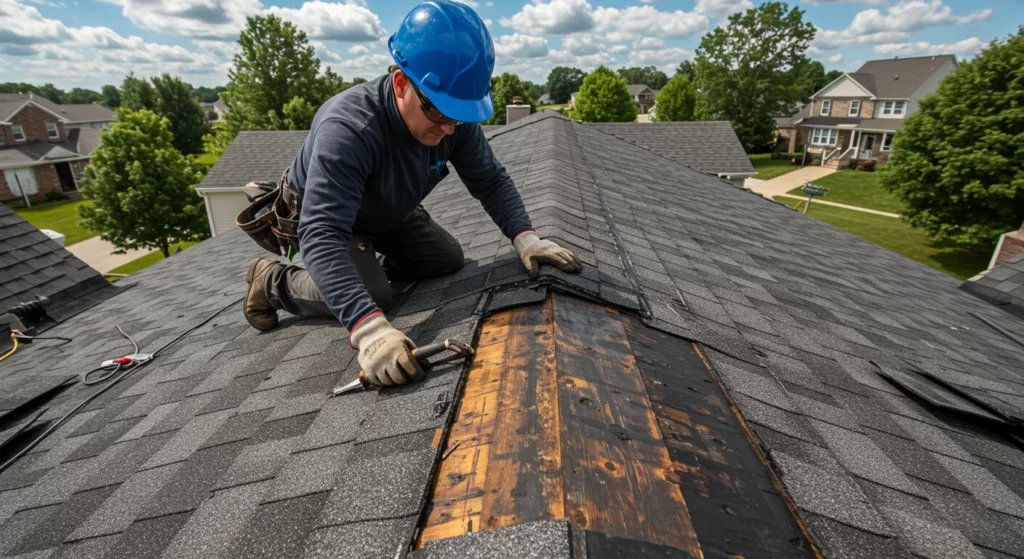
The damage is structural. If you’re finding soft, spongy spots in your decking when you walk across the roof, that’s rot. Walking on rotted decking is how people fall through roofs — not just off them.
You can’t identify the source of the leak. Roof leaks are notoriously deceptive — water enters in one place and travels along rafters before dripping through your ceiling somewhere completely different. If you’ve been up twice and still can’t find it, a roofer with thermal imaging equipment will find it in ten minutes.
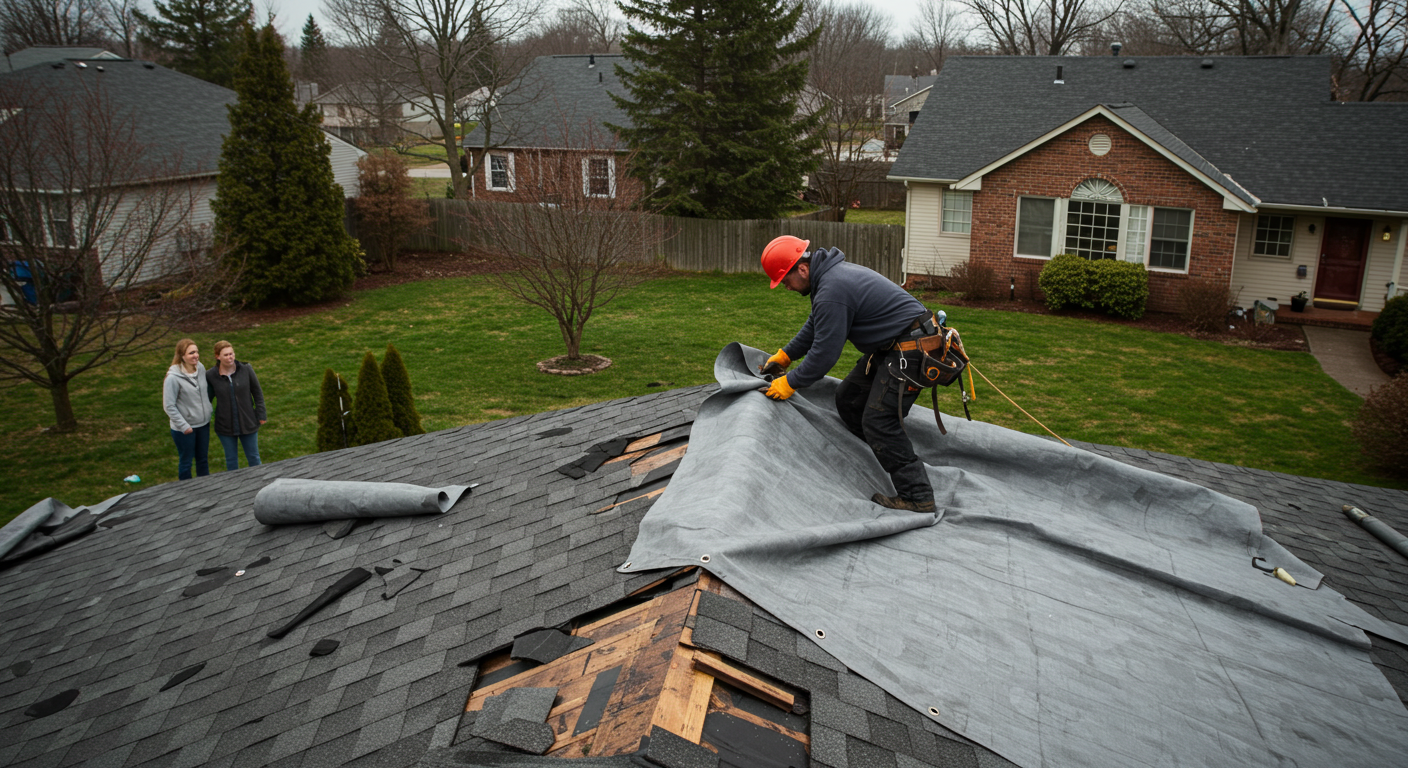
The weather is changing. If there’s wind picking up, a storm forecasted, or you can see dark clouds building — get down. Seriously. A $200 repair job is not worth being caught on a roof in a sudden downpour with wind gusts. Those conditions kill experienced roofers.
You’re not comfortable. This sounds obvious, but adrenaline and pride can override your common sense. If you’re up there and something just feels off — your hands are shaking, your footing doesn’t feel secure, you’re not thinking clearly — it’s okay to come down and either try again another day or call someone.
| Situation | DIY Safe? | Call a Pro? |
|---|---|---|
| Missing or cracked shingles | ✅ Usually | Only if widespread |
| Flashing around chimney loose | ✅ With care | If base is damaged |
| Soft/spongy roof deck | ❌ | ✅ Yes |
| Leak source unidentified after 2 attempts | ❌ | ✅ Yes |
| Steep pitch (over 8:12) without harness | ❌ | ✅ Yes |
| Approaching storm or strong wind | ❌ | Come back later |
| You feel unsure or anxious | ❌ | ✅ Trust the feeling |
A Few Bonus Things I Wish Someone Had Told Me Earlier
Don’t kneel on the ridge to get a better view. The ridge feels stable but it’s actually one of the most structurally vulnerable points to put weight on directly.
Bring everything you need in one trip. Going up and down the ladder repeatedly to grab tools is how fatigue accidents happen. Lay everything out before you climb: sealant, putty knife, replacement shingles, roofing nails, hammer, and any waterproofing membrane strips you’ll need.
Mark your anchor points. When you first get on the roof, mentally (or physically with chalk) identify the rafters below you — those are your safe standing zones. Between rafters, you’re relying on the decking alone, which may not support your full weight if it’s older.
Check your tools before going up. A hammer with a loose head, a putty knife with a cracked handle — these things matter more on a roof than at ground level.
And finally — don’t skip the inspection just because the leak seems to have “stopped.” Roof leaks often stop temporarily after rain ends, then return with the next storm. A dry ceiling doesn’t mean a fixed roof. Get up there, find the entry point, and seal it properly. 9 Essential Roof Leak Fix Guide Prevention Tricks Homeowners Swear By has some really good guidance on making sure your fix actually holds long-term.
Roof repairs are one of those home maintenance tasks that genuinely reward preparation. The actual fix — applying sealant, replacing a shingle, reseating flashing — takes maybe fifteen to thirty minutes once you know what you’re doing. Everything around it, the safety setup, the assessment, the right conditions, takes longer. That’s the part most people rush, and that’s exactly where things go wrong.
If you take these six rules seriously, you’re already doing better than I was on that first rainy Saturday morning with my old sneakers and misplaced confidence.
Also worth reading before your next DIY roof project: 6 Roof Leak Fix Guide Safety Essentials Most People Forget
About the Author