
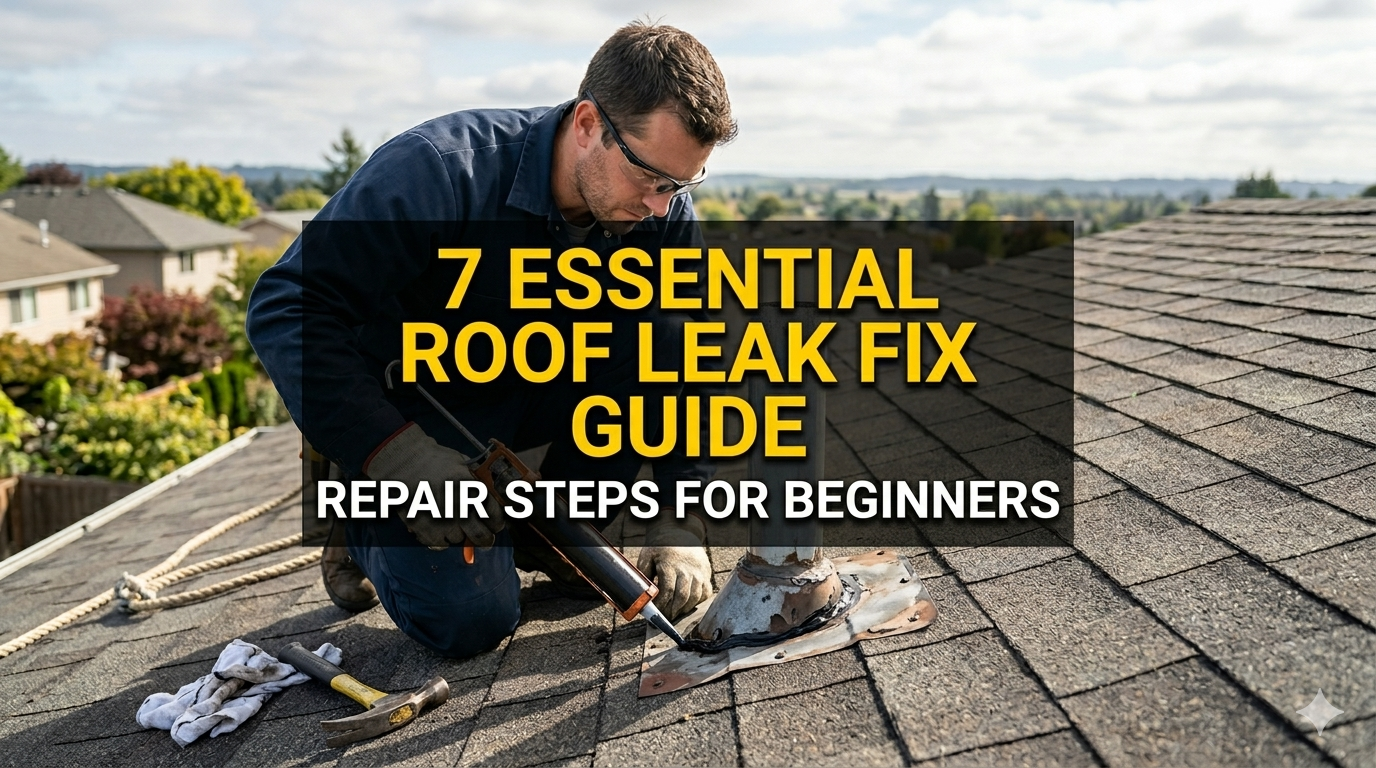
7 Essential Roof Leak Fix Guide Repair Steps for Beginners
Meta Description: Roof leak fix guide for beginners — discover 7 essential repair steps to stop leaks fast, protect your home, and save money before damage spreads.
7 Essential Roof Leak Fix Guide Repair Steps for Beginners
A drop from your ceiling can become a nightmare quickly. Water stains, mold, damaged insulation and rotting wood — all from a tiny leak. The good news? You don’t need to be a professional roofer to do simple repairs.
This roof leak guide takes you through exactly what to do, step-by-step. Whether you’ve recently discovered a wet stain on your ceiling or simply want to prepare for the next storm, this article runs through everything a novice should know.
Let’s get into it.
What Happens When You Ignore a Roof Leak
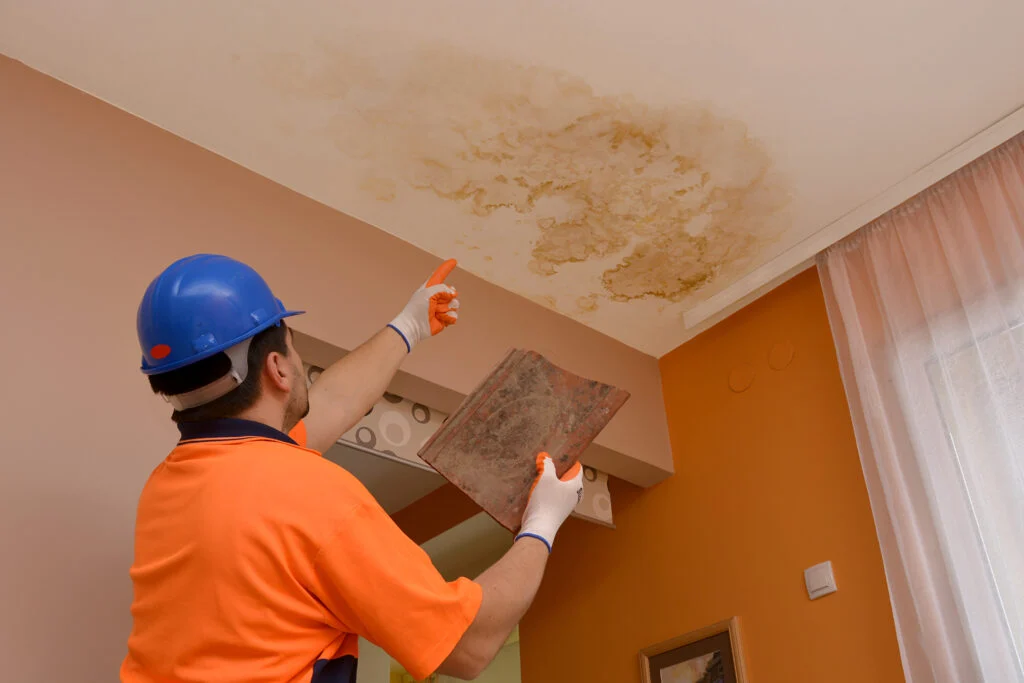
The biggest mistake many homeowners make is waiting. They perceive a small stain on the ceiling and assume that it will disappear by itself. It won’t.
Here’s what any small leak that is ignored can become:
| Problem | Timeline | Estimated Repair Cost |
|---|---|---|
| Water stain on ceiling | Days | $50–$150 |
| Mold growth | 1–2 weeks | $500–$3,000 |
| Rotted roof deck | 1–3 months | $1,000–$5,000 |
| Structural damage | 3–12 months | $5,000–$20,000+ |
| Full roof replacement | 1–3 years | $8,000–$25,000+ |
Acting fast saves money. Period.
What Causes Roof Leaks in the First Place?
Before you can fix anything, it helps to know why roofs leak. There are a few usual suspects that crop up over and over.
Oftentimes, damaged or missing shingles is the culprit. Over time, shingles break down thanks to wind, hail and age. Then, when one shingle cracks or disappears, the water has a direct line inside.
Flashing failures occur around chimneys, skylights and vents. Flashing is the thin strips of metal that seal joints. When it rusts, bends or pulls away, water seeps in.
Clogged gutters may not seem to relate at all, but actually contribute by trapping water under your roofline. This is winter ice damming, and it pushes water back under your shingles.
Old boot seals surrounding pipes and vents dry out with age. The rubber fissures and rain creeps through.
Heat and moisture accumulate as a result of poor attic ventilation. That moisture, over time, compromises your roof from the inside out.
Now that you know the enemy, here are the 7 steps to defeating it.
Step 1 — Locate the Leak Before You Repair Anything
Don’t Skip This Part
The biggest rookie error is covering the wrong area. Water is sneaky. It comes into your roof in one spot and then runs along rafters before drizzling somewhere else entirely. That wet spot on your ceiling could be 10 feet from the actual source of the leak.
How to Trace a Leak Indoors
Start in your attic on a rainy day or immediately after rain. Bring a flashlight and look for:
- Wet insulation
- Dark stains on wood
- Mold or mildew patches
- Daylight coming through cracks
Follow the dampness up to the roof deck. Mark the spot with chalk.
The Garden Hose Method
If it’s not raining, have a helper go inside the attic while you spray down the roof with a garden hose. Begin lower down, closer to the gutters, and gradually move along. Use it section by section and wait a few minutes. Your helper shouts when they spot water pouring in.
It takes patience, but it does work.
Measure and Mark
Once you locate the leak from inside, measure how far it is from a fixed point of reference — like the ridge or wall. Then use those measurements to find the same spot on top of the roof.
Step 2 — Collect the Required Tools and Materials
What You Need Before You Head Up
Not preparing before going up on a roof wastes time and creates danger. Here’s a general breakdown of what most beginner roof repairs involve:
Tools:
- Pry bar or flat bar
- Hammer
- Utility knife
- Caulk gun
- Putty knife
- Tape measure
- Chalk line
Materials:
- Roofing nails
- Roofing cement or roofing caulk
- Replacement shingles (to match your existing ones)
- Roof flashing (if needed)
- Roofing tape or self-adhesive membrane
- Rubber gloves
Safety Gear:
- Non-slip rubber-soled shoes
- Safety harness (recommended for high pitch rooftops)
- Safety glasses
- Sturdy ladder with stabilizers
Matching Your Shingles
Bring an old shingle with you to your local hardware store. The colors may fade through the years, but do your best to find their closest match. A slightly off-shade shingle trumps a leaking roof, every time.
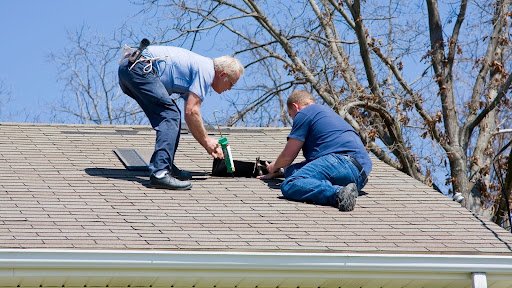
Step 3 — Prioritize Safety Above All Else
Roof Work Is Serious Business
Each year, thousands of people are hurt when they fall off roofs. This step isn’t optional.
Before you go up:
- Check the weather. Don’t do any work on a roof that’s wet or windy.
- Tell someone you’re going up. Have them check on you.
- Position your ladder on level and solid ground. Use a ladder stabilizer.
- Wear shoes with rubber soles. No sandals, no bare feet.
On the roof:
- Move slowly and deliberately.
- Three points of contact at all times — always have two feet and one hand, or two hands and one foot.
- Avoid walking near the edge.
- If your roof is pitched 6:12 or steeper (that is, it rises 6 inches for every 12 inches of horizontal distance), use a harness.
When to stop and call a pro:
- If the roof pitch is more than you can handle
- If you notice general rotting or structural damage
- In case you are confused about what you’re looking at
There’s no shame in bringing in a roofer. Safety first, always.
Step 4 — Repair Broken or Missing Shingles
The Most Common Repair You’ll Make
Shingles are your roof’s first line of defense. When they split, curl or fall off, everything beneath is in danger.
How to Replace a Damaged Shingle
Step 1: Work a pry bar under the damaged shingle. Peel it up gently to reveal the nails holding it down.
Step 2: Remove the nails. Pull the shingle out carefully. Take care not to harm adjacent shingles.
Step 3: Insert your new shingle into position. Align it with the other shingles around it.
Step 4: Nail it down. Use four roofing nails, one in each corner, about 1 inch from the edge. Don’t over-drive the nails.
Step 5: Push down on the shingle above to seal over the nail heads.
Step 6: Spread a dab of roofing cement beneath the raised edges and press them down.
What About Curled Shingles?
If the shingle is curled but not completely severed, you can usually save it. Put roofing cement under the curled part. Press it flat. Put a heavy object (like a brick) on top of it for 24 hours.
This works best in warmer weather when shingles are more pliable.
Step 5 — Seal and Fix Flashing
What Is Flashing, and When Does It Fail?
Flashing is the thin metal (typically aluminum or galvanized steel) that seals the joints where your roof meets other structures — chimneys, vents, skylights and dormers. It is often the stealthy instigator of leaks that appear to have no obvious source.
Flashing fails when it:
- Rusts through
- Pulls away from the surface
- Develops gaps at seams
- Was badly installed from the start
How to Repair Flashing
For small gaps and cracks: Use roofing caulk or roofing cement. Clean the area first with a wire brush. Run a thick, continuous line of caulk along the gap. Press hard, and smooth down with a putty knife. Wait for it to cure completely before rain arrives.
For pulled-away flashing: Slide the flashing back into position against the roof or chimney. Spread a lot of roofing cement under it. If necessary, nail it back into place and cover nail heads with additional cement.
For very rusted or damaged flashing: This needs full replacement. Use a pry bar to pull off old flashing. Cut new flashing to size and form it to fit. Fasten with roofing nails and caulk all edges.
Chimney Flashing: A Special Case
Chimney flashing consists of two layers — step flashing down the sides and counter flashing that is integrated into mortar joints. If the counter flashing is pulling away, you might need to re-seal the mortar joint with a masonry caulk or hire a mason.
Step 6 — Deal With Roof Vents, Boots, and Skylights
The Overlooked Leak Spots
These little features on your roof cause an astonishing amount of leaks — particularly in older homes.
Pipe Boot Seals
The rubber at the base of your pipes that go through your roof is called a “pipe boot.” This boot seals out water. The rubber cracks and shrinks with time.
To fix a damaged pipe boot:
- Buy a new pipe boot at any home improvement store. They cost around $10–$20.
- Pry back the shingles around the old boot, then unscrew or pry off the old boot.
- Slide the new boot over the pipe.
- Re-nail the surrounding shingles and seal their edges with roofing cement.
Some homeowners skip full replacement and instead use a product known as “pipe boot repair tape” — a heavy-duty, self-adhesive wrap that seals around the existing boot. It serves as a stopgap solution.
Roof Vents
Inspect the sealant around metal roof vents. If the caulk appears cracked or peeling, scrape it off with a putty knife, clean the surface and apply fresh roofing caulk all around the base of the vent.
Skylight Leaks
Skylights are notorious leakers. First, ensure the water is coming from the skylight seal versus condensation on the inside. Real leaks tend to manifest during rain. Condensation appears in cold weather.
For seal leaks, apply clear silicone caulk around the skylight frame from the outside. The flashing surrounding the skylight likely needs to be replaced for persistent leaks.
Step 7 — Apply a Temporary Fix When You Can’t Do a Full Repair Right Away
When a Quick Fix Is the Right Call
Sometimes you find a leak at 9 PM before a storm. Or perhaps you need to wait a week for supplies to arrive. In those instances, a stopgap buys you time without allowing more water to leak in.
Roofing Tape
Heavy-duty, self-adhesive roofing tape (also known as flashing tape or leak barrier tape) can be a lifesaver for temporary repairs. Peel it and stick it right over cracks, gaps or exposed nail holes. It’s waterproof, pliable, and stands up to multiple rain events.
Roofing Tarp
For larger damaged areas — such as when a tree branch pierces through shingles — a roof tarp is the best option. Cover the damaged area with the tarp and make sure it extends at least 4 feet in all directions. Secure at the ends with wooden boards and screws. Do NOT nail directly through the tarp — it creates more holes.
Roofing Cement Patch
With a putty knife, apply roofing cement over small cracks or holes. If necessary, build it up layer by layer. This is not a permanent solution but will get you by until the proper repair can be done.
For more step-by-step repair guides, product recommendations, and beginner-friendly tips, visit Roof Leak Fix Guide — your go-to resource for stopping leaks and protecting your home.
Prevent Roof Leaks Before They Even Happen
Maintenance Is Cheaper Than Repair
The best roof leak repair is a repair that you never have to make. Here are easy habits that help keep your roof in shape:
Twice-a-year inspections: Once every spring and once every fall, walk around your home and look up at your roof from the ground. Check for missing shingles, sagging areas or lifted flashing.
Clear your gutters: Clogged gutters lead to water backing up underneath shingles. Clean them each fall — more often if trees are near your home.
Trim hanging branches: Branches scour shingles and drop debris that retains moisture. Trim trees away from your roofline.
Check your attic: Every few months, take a look in the attic with a flashlight. Check for stains, wet spots or light shining through. Find a problem early, save thousands.
After each significant storm: Go outside and visually inspect the perimeter. If you had hail or high winds, check for obvious damage and call your insurance company if necessary.
According to the Insurance Information Institute, wind and hail damage is one of the most common homeowner insurance claims — making regular roof inspections one of the smartest things you can do as a homeowner.
Quick Comparison: DIY Repair vs. Hiring a Pro
| Situation | DIY or Pro? | Reason |
|---|---|---|
| 1–2 damaged shingles | DIY | Simple repair with low risk |
| Flashing caulk cracked | DIY | Easy sealant job |
| Pipe boot replacement | DIY | Low cost and manageable for a beginner |
| Large section of missing shingles | Pro | Too large a scope for beginners |
| Sagging roof deck | Pro | Structural issue |
| Persistent leak with unknown source | Pro | Complex diagnosis needed |
| Roof over 20 years old | Pro | Full inspection recommended |
Common Mistakes Beginners Make with Roof Leaks
Despite their best intentions, beginners make these mistakes:
Patching from inside the attic only. Injecting foam or sealant on the underside of your roof deck isn’t solving the problem — it’s just masking it temporarily.
Using the wrong sealant. Roofing caulk is different from interior caulk. Always use products rated for outdoor roofing use.
Skipping the dry-out period. When sealants or cements are applied to wet surfaces, they fail more quickly. Do not patch before everything is fully dry.
Walking in the wrong spots. Avoid walking in the middle of shingles. Walk near rafters instead. Center sections may crack under weight.
Ignoring the bigger picture. A single shingle repair is fine, but if you have a 25-year-old roof and are replacing shingles every season, it’s time to have the full replacement conversation rather than just another patch.
FAQs About Roof Leak Repair
Q: How can I tell if my roof leak is serious? When you see sagging ceilings, widespread mold or multiple wet spots, that’s a serious condition. You should call a pro to inspect immediately.
Q: Is it possible to fix a roof leak myself, even though I have no experience? Yes — for minor repairs such as replacing a shingle or re-sealing flashing. This roof leak fix guide is written especially for novice homeowners. But if you’re not comfortable with heights, or the damage is serious, hire a pro.
Q: How long do DIY roof repairs last? Shingle replacements and flashing repairs, when done correctly, can last 10+ years. Temporary fixes such as roofing tape or tarp last weeks to months — long enough to plan a permanent fix.
Q: What’s the best way to temporarily stop a roof leak? The best options are heavy-duty roofing tape and roofing cement. For larger areas to protect, a roofing tarp works great until full repairs can be done.
Q: Is a roof leak covered by homeowner’s insurance? It depends on the cause. Wind or hail damage from storms is generally covered. Leaks from wear and tear or lack of maintenance usually are not. Verify your policy and document everything with photos.
Q: What is the cost to repair a roof leak? Basic DIY repairs cost $20–$100 in materials. Professional repairs cost $150 and up for small jobs, to more than $1,500 for bigger ones. The trick is to take action early, before small issues turn into big ones.
Q: When is the best time to get roof repairs done? Late spring to early fall is the best time. Warm weather helps seal shingles better. Do not repair in freezing temperatures or when it is wet.
Q: Can I safely walk on my own roof? Yes, with proper precautions. Wear rubber-soled shoes; use a harness on steep roofs; avoid walking on wet or icy surfaces; and make sure you tell someone where you are.
Wrapping It All Up
When a roof leaks, it doesn’t have to be a catastrophe. With the right information, the correct tools and a little patience, many beginners can tackle common repairs themselves.
This roof leak fix guide covered everything from locating the source of a leak, replacing broken shingles, sealing flashing and repairing pipe boots — right through to emergency temporary patches that give you breathing room.
The most important lesson? Don’t wait. What is a small drip today becomes a significant structural issue months down the road. Grab a ladder, follow these seven steps and regain control of your home.
If the damage is more than you want to risk, there’s no shame in calling a licensed roofing contractor. What really matters is that the problem gets solved — safely and correctly.
Your roof shelters everything inside your house. Protect it, and it will protect you.


