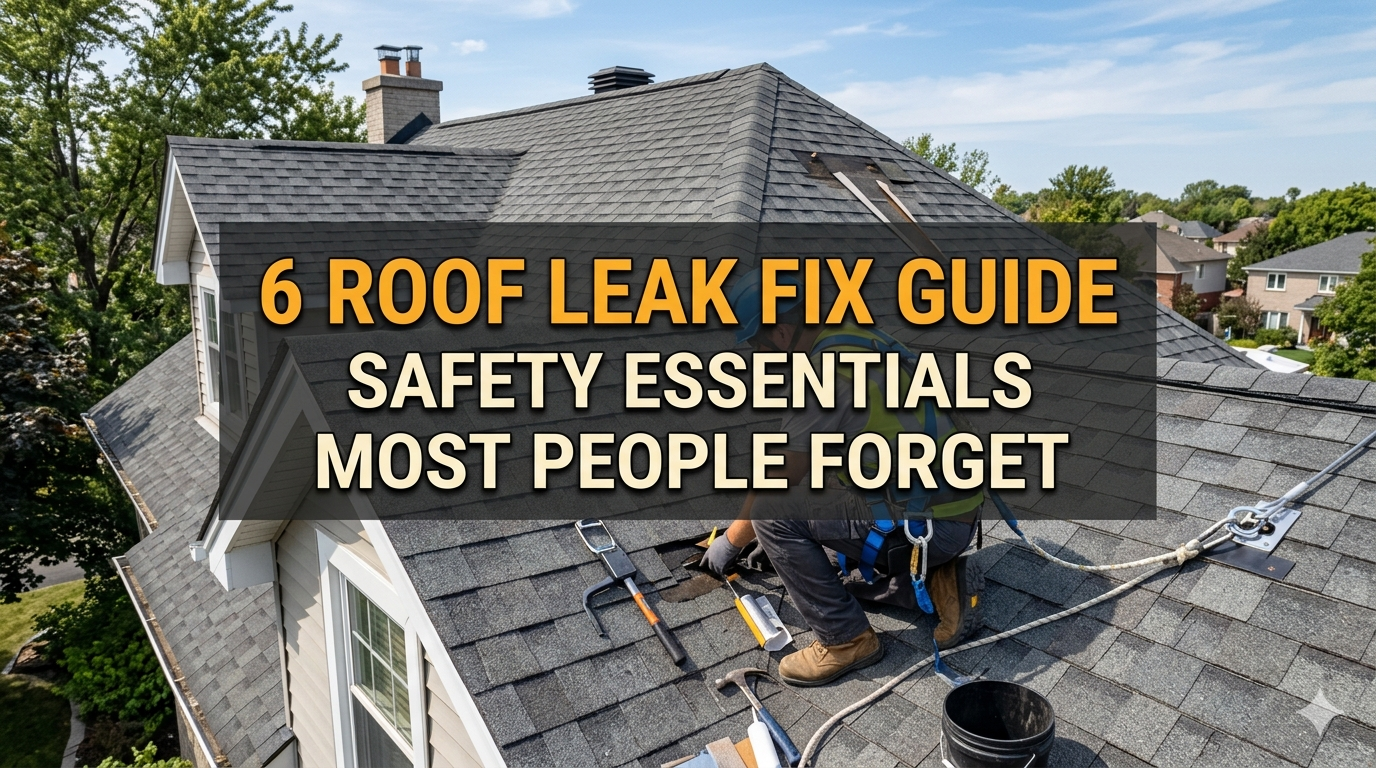
6 Roof Leak Fix Guide Safety Essentials Most People Forget
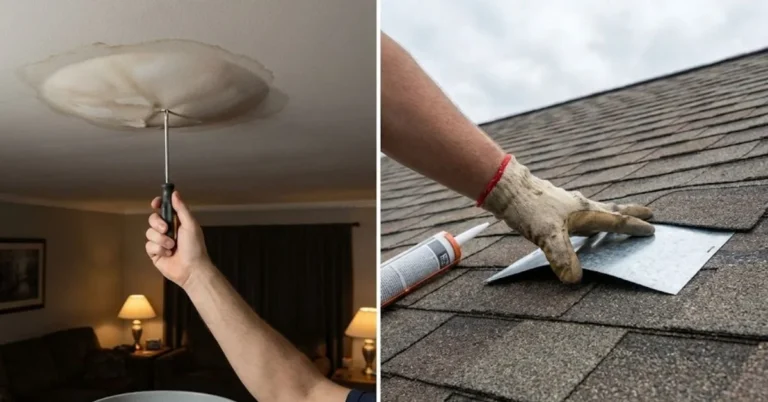
When I first got into tinkering with my own house repairs back in the early days of homeownership, roof leaks seemed like one of those weekend warrior jobs you could knock out in an afternoon. Grab a ladder, some sealant from the hardware store, climb up, slap it on, and done. Boy, was I wrong. One rainy Tuesday a few years back, I was up there patching what I thought was a small drip around the chimney flashing on my old bungalow. The shingles were slick from the morning dew, my boots didn’t have the grip I assumed they did, and before I knew it, my foot slid and I was hanging by one arm from the gutter. That split-second panic taught me something no YouTube video ever could: fixing a roof leak isn’t just about stopping water from coming in. It’s about not becoming a statistic on the way down.
Most folks who tackle these repairs skip right over the safety stuff because it feels like extra hassle. They figure if the leak is small, the risk is small too. But every year, thousands of homeowners end up in emergency rooms or worse because they forgot the basics that pros treat like religion. That’s why I put together this no-nonsense guide. We’re going to walk through a complete roof leak fix process, but the real meat is the six safety essentials that almost everyone overlooks. I’ll weave them into real steps you can actually use, share some stories from my own mistakes and what I’ve seen happen to neighbors, and keep it practical for anyone with a basic tool kit and a healthy respect for gravity.
Let’s start with the big picture before we dive into those six. Roof leaks don’t announce themselves with a neon sign. Sometimes it’s a brown stain on the ceiling that grows after every storm. Other times it’s water dripping into a light fixture or that musty smell in the attic. Before you even think about climbing up, you have to find the source from inside. Grab a flashlight, poke around the attic on a dry day, and look for water stains on rafters or black mold spots. Mark the spot with chalk or tape directly below where you think the leak is coming from. Then go outside and measure from the edge of the roof or a chimney to line it up. This inside-out approach saves you from guessing and crawling around up top longer than necessary. But here’s the kicker—none of that matters if you ignore safety. So let’s get into the six things most people forget.
First off, proper fall protection isn’t optional, it’s the foundation. I know, you’re thinking “I’m just going up for ten minutes, what could go wrong?” That’s exactly what my neighbor Dave said last summer when he patched a leak on his two-story colonial. He had a basic harness from the big box store but never bothered anchoring it correctly. One gust of wind caught his tarp and he slid twenty feet before the rope caught him. Ended up with a broken collarbone and a hospital bill that could have paid for a pro. The truth is, even on a low-slope roof, momentum builds fast. Most people forget that you need a dedicated roof anchor point, not just looping rope around a vent pipe.
Here’s how you do it right. First, inspect your roof for solid spots—never anchor to a vent, chimney cap, or anything that isn’t nailed into a rafter. Buy a certified roof anchor kit rated for at least 5,000 pounds. Screw it straight into the rafter using the manufacturer’s lag bolts and a torque wrench so it doesn’t strip. Then attach your full-body harness with a shock-absorbing lanyard that limits your fall distance to under six feet. Adjust the straps so tight that you can barely slip two fingers underneath—loose gear rides up and can break ribs on impact. I always run a quick test pull before I start working: lean back like I’m sitting in a chair and make sure the system holds. Takes thirty seconds, saves your life.
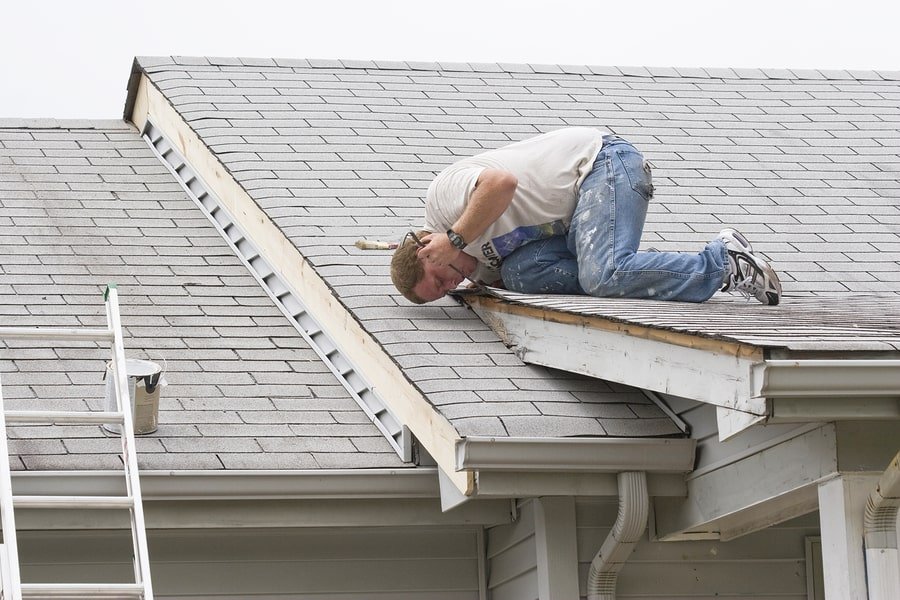
When you’re actually fixing the leak, keep that tether short enough that you can’t reach the edge. If you’re patching shingles, work from the bottom up so you’re never standing on loose material. For flashing around a skylight or vent, stay anchored the whole time even if it feels like overkill. And never, ever work alone. Have someone on the ground who knows how to lower you or call for help if the harness engages. I’ve seen guys who thought they were “quick” skip this and regret it when their phone is out of reach at the bottom of the ladder. Fall protection isn’t sexy, but it’s the one essential that turns a scary slip into nothing more than a bruised ego.
Second essential that gets ignored every single time: checking and respecting the weather like it’s your boss. People see a small leak and think “I’ll just run up there real quick before the next storm.” That’s how roofs become crime scenes. Wet shingles are like ice skates. Wind over twenty miles an hour turns your tarp into a sail that can yank you off balance. And lightning? Forget it. I once watched a buddy climb up during what he called “light drizzle” only to get caught in a sudden downpour. The water turned his sealant into soup, he lost footing, and the ambulance took twenty minutes because the driveway was flooded.
Do this instead. Check the forecast at least twenty-four hours out—apps like Weather Underground give you hour-by-hour wind speeds and precipitation chance. Anything over fifteen percent rain or sustained winds above fifteen mph and you stay on the ground. Early morning on a clear day is ideal because the roof is dry and the sun hasn’t baked it yet. If you’re dealing with a flat roof or EPDM membrane, heat makes the material soft and slippery, so wait for cooler temps.
While you’re up there, keep an eye on clouds. If you feel the wind pick up or hear thunder even far off, pack it in immediately. I keep a small battery radio clipped to my harness just for weather alerts. Sounds paranoid? It’s not when you’re thirty feet up. And here’s something most forget: after rain, wait at least forty-eight hours for the surface to dry completely. Residual moisture hides in valleys and under flashing, making every step a gamble. I ruined a good pair of boots once because I rushed it and slipped on invisible film. Respect the sky, and your repair will actually last.
Third one is ladder safety done the boring but correct way. Everyone owns a ladder, right? But most treat it like a toy instead of the only thing between you and the concrete. My cousin tried fixing a valley leak with an old aluminum extension ladder he found in the garage. He didn’t secure the base, didn’t extend it three feet past the roof edge, and sure enough it kicked out halfway up. Sprained ankle and a cracked rib later, he admitted he “didn’t think it was that big a deal.”
Proper setup starts on the ground. Place the ladder on firm, level soil or use wide stabilizer feet if you’re on grass. Angle it one foot out for every four feet of height—that’s the magic 75-degree rule. Tie the top to a secure point with rope or use ladder hooks that grip the ridge. Never lean it against gutters; they bend like tin foil. If your roof is steep, switch to a roof ladder with hooks that sit over the peak. I always test the setup by bouncing my full weight on the bottom rung before climbing. If it moves even an inch, start over.
While climbing, face the ladder, keep three points of contact at all times—two hands and one foot or two feet and one hand. Tools go in a bucket tied to the side, not in your pockets. When you step onto the roof, move slowly and stay low until you clip into your harness. Coming down is just as dangerous; people get cocky and rush. I’ve made it a habit to talk myself through each step out loud—“left foot down, right hand shift”—because it forces focus. One more thing almost nobody does: have a spotter on the ground holding the base until you’re fully on the roof. It costs nothing and prevents ninety percent of ladder accidents.
Fourth essential: electrical hazards that hide in plain sight. You think power lines are only a problem on utility poles, but they run closer to roofs than you realize. Plus, if your leak is near a vent or antenna, you might be working close to live wires feeding outdoor lights or solar panels. I knew a guy in the next town over who was sealing around a bathroom exhaust fan outlet on the roof. He didn’t notice the nearby power line until his metal pry bar touched it. One flash and he was in the burn unit for weeks.
Before you climb, walk the perimeter and look up. Any wires within ten feet? Call the utility company to mark or de-energize them. If you have solar panels, shut off the inverter and use a voltage tester on any metal parts you might touch. Wet conditions turn everything conductive, so never use power tools without a GFCI outlet or extension cord rated for outdoor wet locations. I wrap all connections in waterproof tape and keep the cord routed away from water runoff paths.
When patching near flashing or metal roofs, use non-conductive tools—plastic pry bars, rubber mallets. If you’re using a nail gun, make sure it’s double-insulated. And here’s a tip most forget: remove jewelry and watches. Metal conducts, and rings can get caught or heat up fast. I keep a small non-contact voltage tester in my tool pouch and sweep the area every time I move to a new section. Electricity doesn’t give second chances, so treat every wire like it’s live.
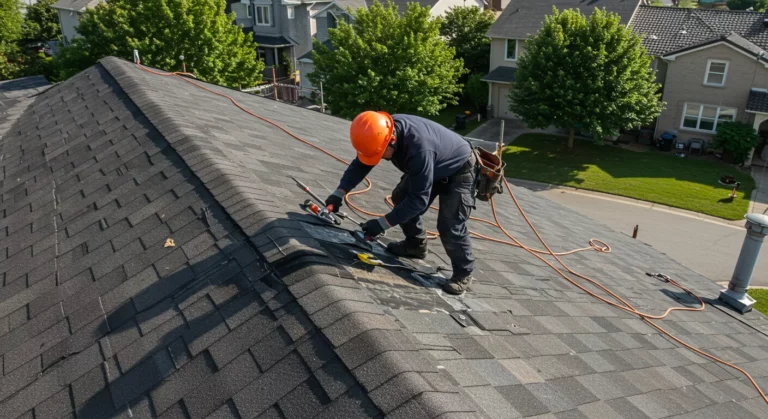
Fifth is personal protective equipment that actually fits and does more than look the part. Hard hat, gloves, and boots are obvious, but most people grab whatever’s in the garage and call it good. Wrong size or wrong type and you’re worse off. I once lent my spare harness to a friend fixing a dormer leak. The helmet was too big, slid forward, and when he bumped his head on a branch it didn’t protect his forehead. Minor cut, but it could have been a concussion.
Start with a Type II hard hat rated for side impacts—roof work has falling debris. Adjust the suspension so it sits level and snug. Gloves need to be roofing-specific: leather palms with reinforced fingertips for grip on wet surfaces, not thin garden gloves. Boots are non-negotiable—rubber soles with deep lugs and ankle support. I add steel toes because dropped hammers hurt. Eye protection is another forgotten gem; sealant splatter or fiberglass particles from old shingles can blind you in seconds.
Don’t forget sun and heat protection. Long sleeves, neck gaiter, and SPF 50 even on cloudy days. Dehydration sneaks up fast on a roof. I carry a small backpack with two liters of water, electrolyte packets, and salty snacks. Every hour I force myself to drink and sit in the shade for two minutes. Hearing protection if you’re using loud tools. And a high-visibility vest if your roof is near roads. The goal is to feel slightly over-prepared because under-prepared on a roof ends careers.
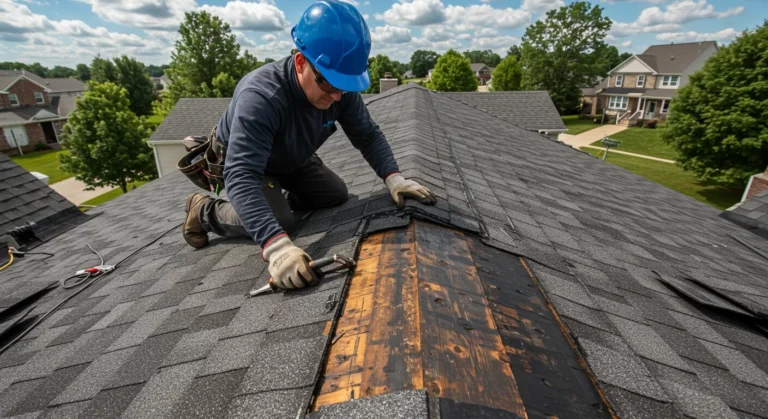
Sixth and maybe the most overlooked: knowing when to stop and call in the professionals. Ego gets more people hurt than slippery shingles. You might fix a small shingle tear yourself, but if the leak is from a cracked ridge vent, sagging rafters, or ice dam damage, you’re out of your depth. I learned this the hard way when I tried to replace a section of flashing on an older home. Halfway through I realized the decking underneath was rotten and spongy. One wrong step and I would have gone straight through into the living room.
Before any repair, poke the area gently with a screwdriver. Soft spots mean structural issues—stop immediately. If the leak is larger than a dinner plate or you see mold spreading in the attic, call a licensed roofer. Same for tile or slate roofs; those materials are heavy and brittle. Insurance companies love when homeowners attempt big jobs because claims skyrocket after DIY disasters. Get three quotes, ask for proof of insurance and workers’ comp, and watch them work the first time so you learn.
Even for small jobs, if you feel tired, dizzy, or just not confident, pack up. Pride isn’t worth a broken back. I keep a checklist on my phone: weather clear? Harness secure? Ladder stable? No soft spots? If any answer is no, I reschedule. That simple habit has saved me more than once.
Now that we’ve covered the six essentials that most people forget, let’s walk through an actual roof leak repair from start to finish so you can put them into practice. First, gather materials based on your roof type. For asphalt shingles you’ll need matching shingles, roofing cement, flashing, nails, and a pry bar. Metal roofs need compatible sealant and patches. Flat roofs require EPDM or TPO patch kits. Always buy a little extra; nothing worse than running out halfway up.
Identify the leak precisely. From inside, push a wire or nail through the ceiling at the exact wet spot so it pokes out on the roof. That’s your bullseye. Clear the area of debris with a soft brush—never a pressure washer unless you know what you’re doing. Now apply the safety checklist: harness anchored, ladder secured, weather perfect, PPE on.
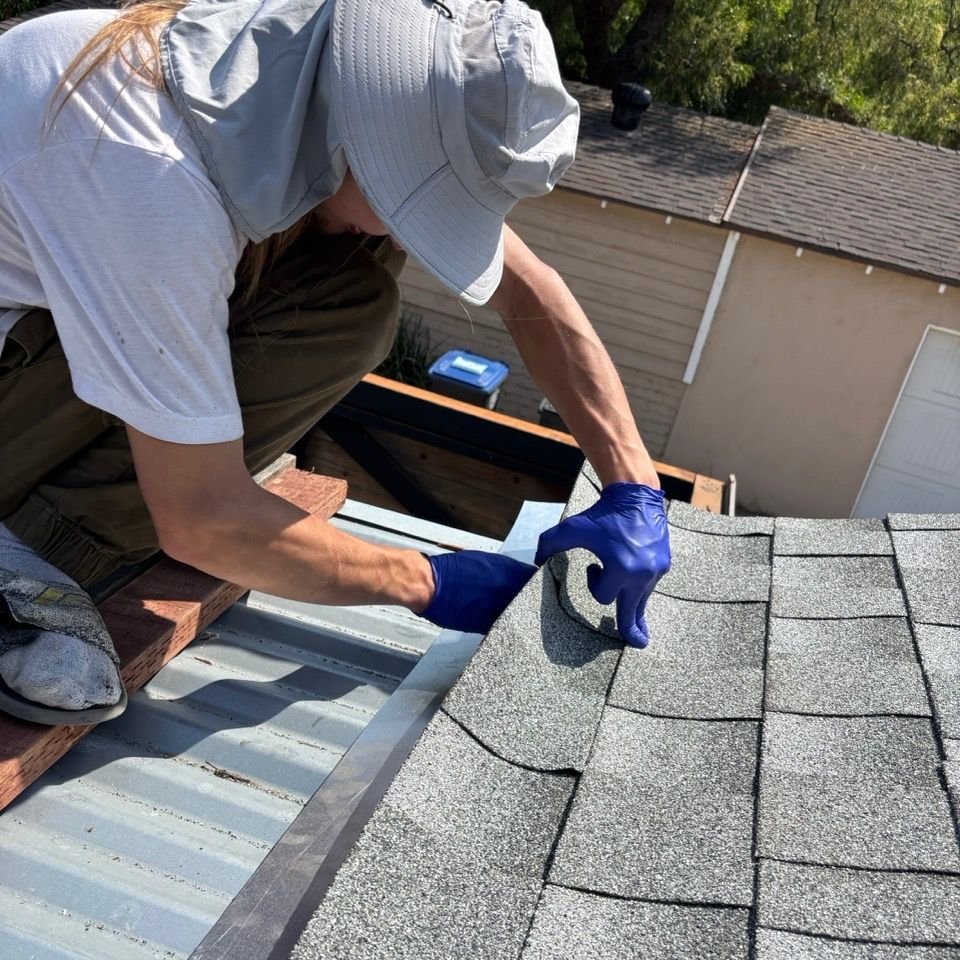
For a typical shingle leak, start by removing damaged shingles above the leak point, working up in a stair-step pattern so water sheds properly. Slide the pry bar under the nails above and pop them gently. Save the nails if they’re still good. Clean the area thoroughly—no old tar or grit left. Cut a piece of new flashing or self-adhering underlayment and slide it under the row above. Seal the edges with roofing cement, then replace the shingles, staggering the seams. Nail only in the correct spots—never through the adhesive strip. Finally, cover all nail heads with a generous dab of cement.
On metal roofs, the process is different. Locate the seam or screw hole that’s leaking. Clean with acetone, apply butyl tape or lap sealant designed for metal, and press a new patch over it. For standing seam, use specialized clips so you don’t puncture the panel. Flat roofs need a bigger patch—cut EPDM larger than the damaged area, apply contact cement to both surfaces, and roll it flat with a heavy roller.
Whatever the material, take your time. Rushing leads to sloppy seals that leak again next season. After you finish, run a garden hose test from the top down while someone inside watches for drips. If it passes, great. If not, you’ll know exactly where to go back.
Different roof types bring their own quirks. Tile roofs look beautiful but are heavy and fragile. Never walk directly on tiles—use roof jacks and boards to distribute weight. Leaks often happen at the underlayment, so you may need to remove several rows. Concrete tiles crack easily; replace any broken ones immediately. Slate is even trickier and usually best left to specialists.
Asphalt shingle roofs are the most common for DIY. They’re forgiving but age fast in hot climates. If granules are washing off, the whole roof might need replacement soon—don’t waste time on spot fixes. Metal roofs last forever if sealed right but expand and contract with temperature, so use flexible sealants.
Prevention is cheaper than repair. Clean gutters twice a year. Trim tree branches at least six feet from the roof. Inspect flashing every spring and fall. Install ice and water shield in valleys if you’re in a cold area. And consider a roof coating every ten years on flat surfaces. Small maintenance keeps big leaks from ever starting.
One more real story to drive it home. Last winter my friend Sarah ignored every safety step on this list. She saw a leak in her kids’ bedroom ceiling, grabbed a ladder in the rain, no harness, old sneakers, and climbed up at dusk. The ladder slipped on wet leaves, she fell twelve feet, and broke her wrist in three places. The leak was still there because she never finished. Two months of recovery, physical therapy, and a pro who charged double because it was an emergency. All because she forgot the six things we just covered.
If you’re still on the fence about doing it yourself, run the numbers. A professional leak repair usually runs between three hundred and eight hundred dollars depending on access and materials. Hospital visits for falls average twenty thousand and up. Insurance might cover the pro but not your DIY accident. Plus, a good roofer guarantees their work.
Bottom line: respect the roof. It’s not just shingles and nails up there; it’s height, weather, electricity, and your body all working together. Use the six essentials every single time—fall protection, weather timing, ladder setup, electrical awareness, full PPE, and knowing your limits—and you’ll fix that leak safely and permanently. I’ve been doing this for fifteen years now, and these habits have kept me intact through dozens of repairs.
Take it slow, double-check everything, and when in doubt, call the pros. Your family, your wallet, and your future self will thank you. And next time it rains, you can sit inside dry and comfortable knowing you did it right. That feeling is worth every extra minute of preparation. Stay safe up there.