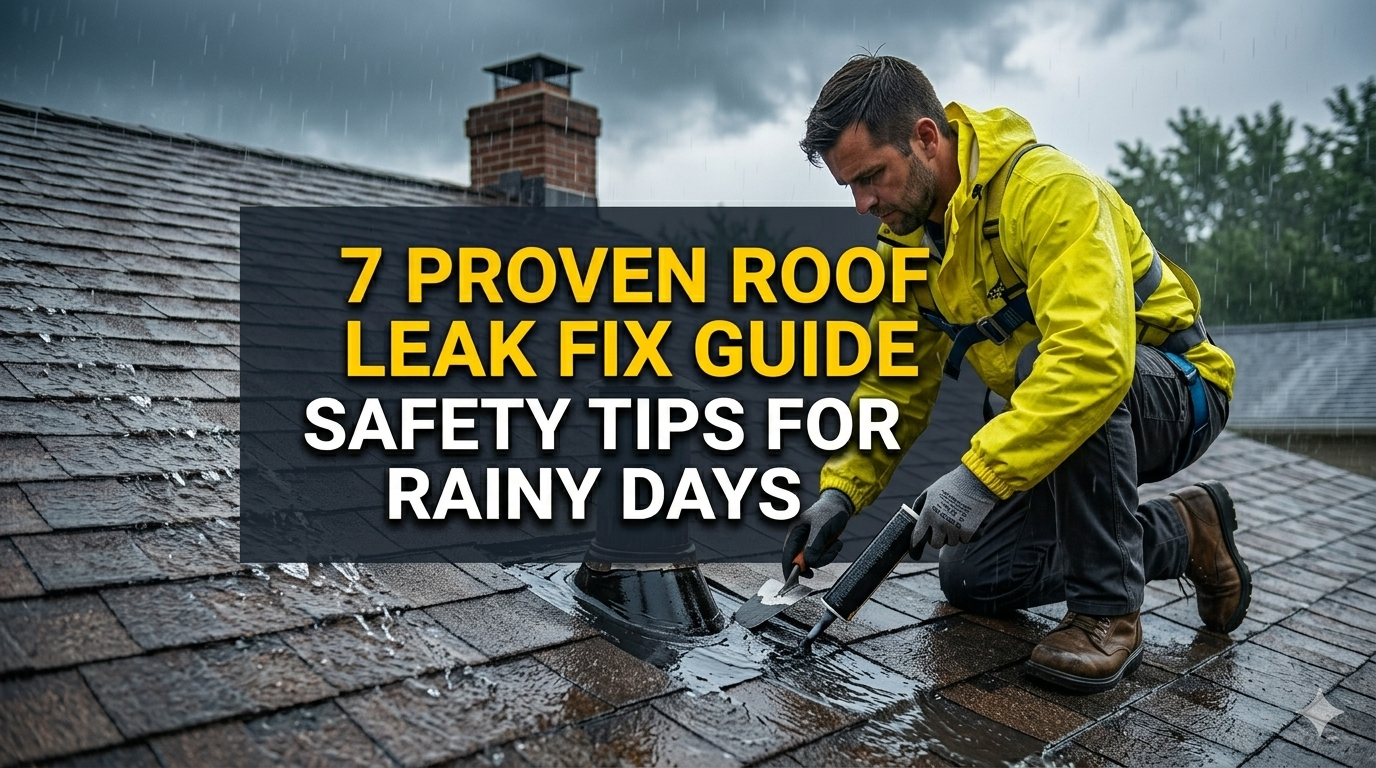
7 Proven Roof Leak Fix Guide Safety Tips for Rainy Days
Meta Description: Roof leak fix guide safety tips for rainy days that you can trust — your home deserves protection from water damage using 7 proven methods to stop leaks safely.
7 Tested Safety Tips: Roof Leak Fix Guide for Rainy Days
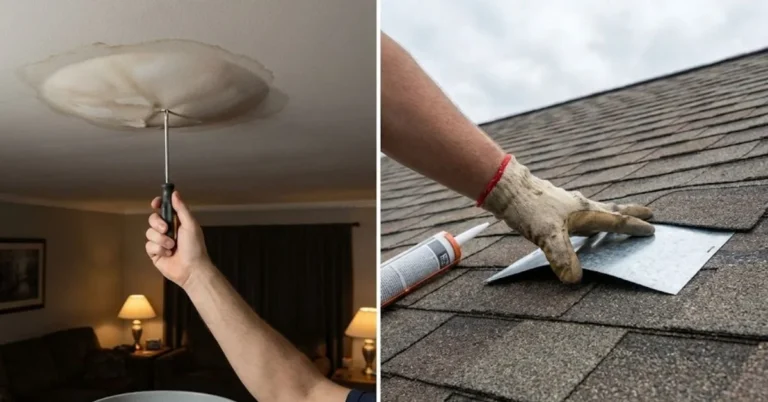
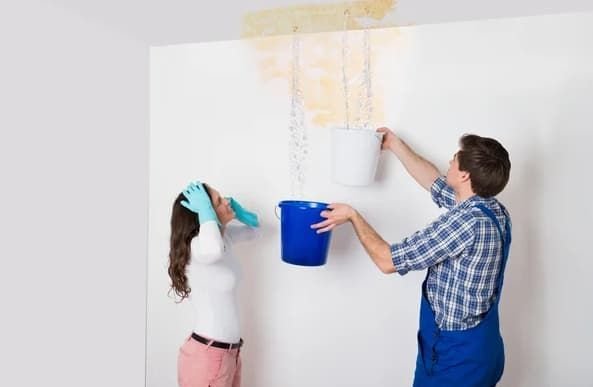
Rain is wonderful — until it begins to dribble through your ceiling.
A roof that is leaking can go from a minor inconvenience to a full-blown disaster in just a few hours. Ignore a small leak and real consequences will follow: water damage, mold growth, damaged insulation, ruined furniture. And when it’s pouring rain outside, that pressure to act quickly is very real.
But here’s the predicament: going onto a slippery roof without the proper plan is dangerous. Thousands of people get injured attempting to repair roof leakage on their own during or soon after a storm every year.
So this roof leak fix guide safety tips article exists — to provide you the insight you need to work smart, stay safe and halt damage before it escalates.
Whether you’re temporarily patching a leak, or applying a full repair, these 7 tried and tested tips take you step by step through all the process.
Why Roof Leaks Will Get Worse in Rainy Weather
Before diving into fixes, it helps to grasp why rain makes leaks so tricky.
Water doesn’t always drip straight down. It snakes through rafters, insulation and ceiling boards before it manifests as a drip inside your home. What this means is that the wet spot on your ceiling can be several feet away from where the actual crack or hole is.
Rain makes roofs slippery and treacherous as well. Moss, algae, wet shingles, and standing water all heighten your chances of slipping.
Heavy precipitation can hide new damage, too. Wind-driven rain attacks parts of your roof that regular rain doesn’t — including vents, chimneys and edges.
Knowing this will help you cover bases when doing repairs.
Tip 1 — Identify the Leak Before Trying to Fix Anything
Don’t Guess. Trace It.
One of the largest errors homeowners make is going straight to repairs without searching for what really is causing the leak. You could patch one area and still wake up to a wet ceiling because the water was getting in from some other place.
Start from inside your home. Climb into the attic during daylight hours and look for:
- Water stains on the wood
- Dark streaks or discoloration
- Wet or compressed insulation
- Mold or mildew growth
- Actual drips or puddles
Grab a flashlight and follow the trail up. Water moves, so follow it as high as it goes.
Mark It and Measure It
Once you identify the general location of where the water is penetrating through, mark it clearly. Use chalk, tape, or a marker. Then measure the distance from that point to a fixed reference point — the edge of the roof or a vent pipe, for example.
This makes matching the same spot much easier when on the roof.
Common Leak Sources
| Leak Location | Likely Cause |
|---|---|
| Around chimney | Flashing failure or cracked sealant |
| Near roof vents | Broken boots or cracked collars |
| Along valleys | Debris buildup or damaged underlayment |
| Flat areas | Pooling water or membrane cracks |
| Ridge line | Missing or lifted shingles |
| Skylights | Failed gaskets or cracked frames |
Tip 2 — Know When It’s Safe to Go Up There
Wet Roofs Are Slip Zones
This is not an exaggeration. A wet roof — especially an asphalt-shingled one or a mossy one — can be as slippery as ice. The wrong step and you start to fall.
Never climb on a roof during active rain or a storm. If the leak is making you lose your mind, bear with it until the rain fully stops.
Wait at least 30–60 minutes after the rain has stopped for the surface to dry before climbing up.
Check the Slope
The steeper your roof, the more treacherous it is to walk on — particularly when wet. If your roof has a steep pitch (greater than 6:12, meaning it rises 6 inches for every 12 horizontal inches), hire a professional.
Weather Conditions to Avoid
- Rain or drizzle — clear slip hazard
- Strong winds — can knock you off balance
- Lightning — never go on a roof in a storm
- Freezing temps — frost can be invisible on shingles
- Night or low light — reduced visibility makes it riskier
When It’s Okay to Work
The best conditions for roof work are:
- Clear, dry weather
- Temperatures in the mild range (not too hot and not too cold)
- Low wind
- Daytime with good visibility
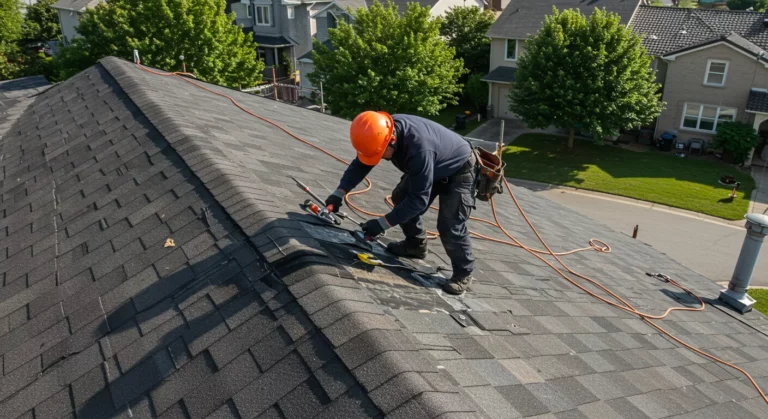
Tip 3 — Equip Yourself with the Right Safety Gear
Don’t Skip the Safety Step
No repair is worth a visit to the emergency room. Make sure to have the appropriate safety gear before heading up.
The Essential Roof Safety Kit
Non-slip shoes are your first line of defense. Wear boots with rubber soles and ankle support. Sneakers and sandals are never appropriate while working on the roof.
A safety harness is highly recommended for any roof that has a steep slope or if you’re working near the edge. Attach one end to a roof anchor and ensure that it fits snugly.
A roof ladder or chicken ladder hangs over the ridge of the roof and allows you to move around without shifting your full weight onto the shingles.
Work gloves protect the hands against sharp edges, nails and roofing materials.
Safety glasses or goggles protect your eyes from debris, particularly if you’re using tools or applying sealant.
A hard hat might seem extreme, but it protects against falling objects in case anyone is working above you.
Ladder Safety Basics
| Safety Rule | Why It Matters |
|---|---|
| Set ladder at 75-degree angle | Keeps it from tipping |
| Extend 3 feet above roof edge | Gives you something to hold as you step off |
| Use a spotter | Someone has to hold the base |
| Never stand on top two rungs | High instability zone |
| Keep three points of contact | Two feet and one hand always |
Tip 4 — First Apply a Temporary Fix to Stop the Water Now
Buy Yourself Time
There are times you can’t do a complete repair immediately — perhaps the roof is still too wet, supplies aren’t on hand, or professional help is en route. In those cases, a temporary fix may prevent significant water damage in your home.
Roof Tarps Work Fast
A heavy-duty polyethylene tarp is one of the most useful emergency tools you can own. Used properly, it channels water away from the damaged spot until permanent repairs are made.
Here’s how to apply one safely:
- Spread a tarp over the damaged area, going at least 4 feet beyond all sides.
- Drape one edge over the peak of the roof.
- Use 2×4 lumber boards to secure the edges along tarp edges.
- Nail or screw the boards to the roof decking (not the shingles alone).
- Make sure the tarp extends over the ridge so water does not get underneath.
Apply Roofing Tape for Small Cracks
Self-adhesive roofing tape (also known as flashing tape) can be placed directly over small cracks, gaps or holes. It adheres strongly to most roofing materials and provides a watertight seal.
Clean the surface before applying. Remove dirt, debris, and moss. Firmly press the tape and smooth out air bubbles.
Roofing Cement as a Quick Patch
You can seal gaps around flashing, vents or cracked shingles with roofing cement (also called plastic roof cement). Spread with a trowel or putty knife. It performs well in wet conditions.
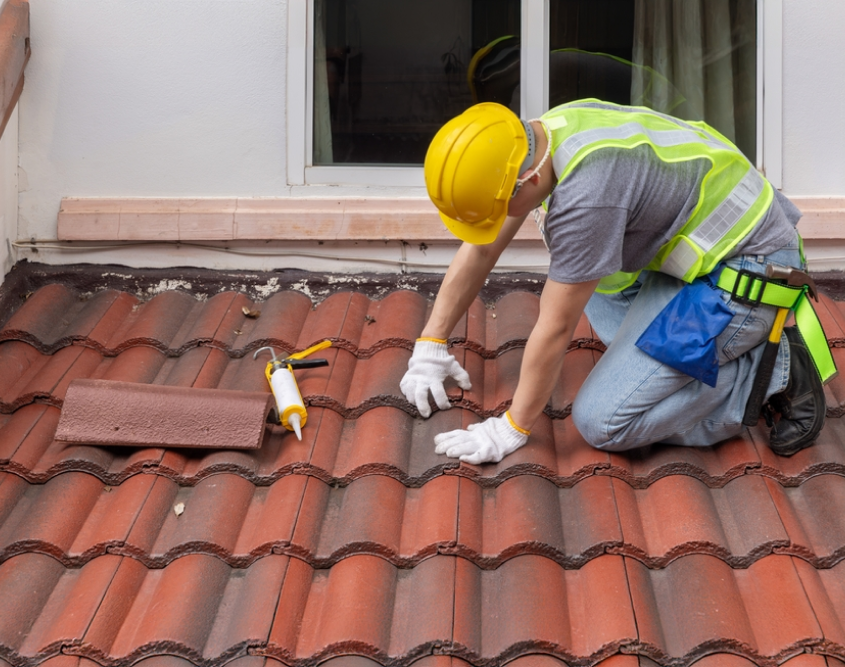
Tip 5 — Know the Most Common Roof Repairs and How to Make Them
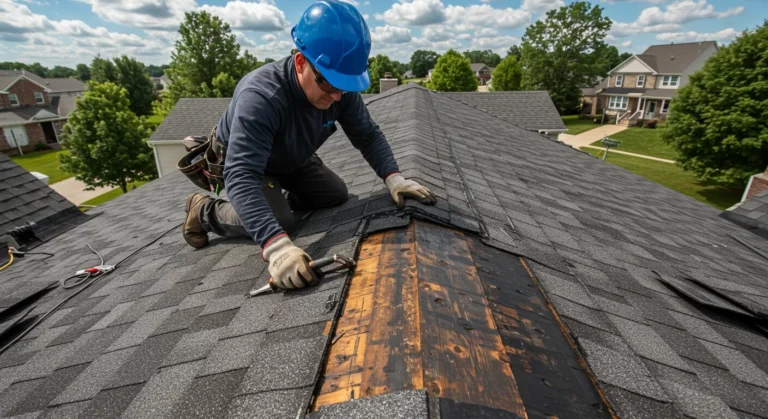
Replace a Damaged Shingle
The most common cause of roof leaks is cracked, curled or missing shingles. It’s not difficult to replace them, but it takes a little care.
What you need:
- Replacement shingles (same style and color)
- Pry bar
- Roofing nails
- Hammer or nail gun
- Roofing cement
Steps:
- Put the pry bar underneath the bad shingle and lift it up gently.
- Take out the nails holding it in place.
- Slide the damaged shingle out.
- Insert the new shingle, keeping its edges aligned with adjacent shingles.
- Nail it down — usually four nails per shingle, about 1 inch in from each edge.
- Put a dab of roofing cement under the edges of the shingle above to reseal.
Repair Flashing Around Chimneys and Vents
Flashing is the thin metal strip that waterproofs the junction of your roof to vertical surfaces, such as chimneys, vents and skylights. When it corrodes, lifts or cracks, water enters quickly.
Signs of flashing failure:
- Rust stains around the chimney
- Visible gaps between the metal and the roof
- Missing caulk or sealant
- Bent or lifted metal edges
Quick fix: Clean the area, slip roofing cement under lifted sections, press down firmly, and then seal edges with roofing caulk. For heavily corroded flashing, complete replacement is the better long-term choice.
Seal Roof Vents and Pipe Boots
Rubber boots around vent pipes harden and develop cracks with age. That allows water to slide directly down the pipe and into your home.
To replace a pipe boot: take off the old boot, slip the new one over the pipe and nail it to the roof. Seal the edges with roofing cement or caulk.
Tip 6 — Handle Water Damage Inside Your Home Too
Don’t Just Fix the Roof
A lot of people only think about the roof and don’t account for the damage that has already occurred inside. Water can lurk in your walls, insulation and attic for days — leading to mold, rot and structural damage.
Dry It Out Fast
The 48-hour rule is critical. Within 24–48 hours of water exposure, mold begins to grow. Once you’ve fixed the leak, dry out the affected area as soon as possible.
Use:
- Box fans or industrial blowers
- Dehumidifiers
- Open windows if weather allows
- Wet-dry vacuums for removing standing water
Check Your Insulation
Wet insulation does not dry out well. Its effectiveness diminishes, and it becomes a hotbed for mold. If your attic insulation became waterlogged, it typically must be pulled out and replaced.
Signs of Persistent Damage to Watch For
| Warning Sign | What It Means |
|---|---|
| Yellow or brown ceiling stains | Old or ongoing water intrusion |
| Peeling paint or bubbling drywall | Moisture trapped in walls |
| Musty smell | Mold beginning to develop |
| Soft spots in ceiling | Structural damage from saturation |
| Visible mold | Immediate remediation needed |
Document Everything for Insurance
Photograph everything — inside and out — before you clean up or make repairs. Take pictures of the roof damage as well. That’s especially important if you intend to make a homeowner’s insurance claim.
Tip 7 — Know When to Call a Professional
Some Jobs Are Too Big for DIY
This roof leak fix guide safety tips article is meant to empower you — but there are also moments when the best thing you can do is pick up the phone and call in a licensed roofing contractor.
Signs You Need a Pro
Widespread shingle damage — A patch job simply won’t do if large portions of your roof are damaged. You might require a full or partial roof replacement.
Sagging roof deck — A sagging deck indicates that the structural plywood beneath has been damaged by water. This is serious and has to be professionally assessed.
Multiple leak points — If you find leaks in three or more locations, the roof may have reached the end of its useful life.
Mold in the attic — Mold remediation often requires professionals before roof repairs make sense.
You’re uncomfortable on the roof — This is a perfectly acceptable reason. Your safety is more important than saving on labor costs.
How to Choose a Good Roofer
- Make sure they have a valid contractor’s license in your state
- Verify they carry liability and workers’ compensation insurance
- Request a written estimate before agreeing to any work
- Research recent reviews on Google, Yelp, or the BBB
- Steer clear of anyone demanding full payment upfront
- Obtain a minimum of two or three quotes for comparison
For more expert guidance, tools, and product recommendations, visit Roof Leak Fix Guide — a trusted resource for homeowners dealing with roof leak repairs and rainy day emergencies.
Quick Reference: Rainy Day Roof Leak Repair Checklist
| Step | Action | Tools Needed |
|---|---|---|
| 1 | Identify leak from inside attic | Flashlight, chalk |
| 2 | Check weather before getting on roof | Weather app |
| 3 | Put on safety gear | Harness, boots, gloves |
| 4 | Install temporary tarp or tape | Tarp, 2x4s, nails |
| 5 | Replace damaged shingles | Pry bar, nails, shingles |
| 6 | Seal flashing and vent boots | Caulk, roofing cement |
| 7 | Dry out interior damage | Fans, dehumidifier |
| 8 | Call a pro if needed | Phone, contractor info |
Preventing Roof Leaks Before They Happen
Maintenance Beats Repairs Every Time
The best roof leak fix guide safety tips are the ones that help you prevent leaks in the first place. A little maintenance each year can save thousands of dollars in damage.
Clean your gutters twice a year. Clogged gutters cause water to pool under your shingles. This is among the most common causes of roof leaks that most people ignore.
Trim overhanging branches. Branches scrape shingles and drop debris that retains moisture.
Check your roof after every major storm. Use binoculars from the ground if necessary. Look for missing shingles, lifted flashing or built-up debris.
Check your attic every season. Look for signs of moisture, light peeking through the roof boards, or pest activity.
Have it professionally inspected every 2–3 years. According to the National Roofing Contractors Association (NRCA), regular professional inspections can catch early problems that the untrained eye would miss — potentially saving thousands in avoidable repairs.
FAQs: Roof Leak Fix Guide Safety Tips
Is it possible to fix a roof leak without any experience?
Yes — for small repairs such as replacing a single shingle or sealing a vent boot. But bigger jobs need experience and the right tools. Always prioritize safety. If you aren’t confident, hire someone who is.
Can I walk on my roof when it’s wet?
No. Wet roofs — particularly asphalt shingles — are very slippery. Do not walk on the surface until it is completely dry.
How long will a temporary tarp fix last?
A well-secured polyethylene tarp can easily last a few weeks to a couple of months. It’s not a long-term fix, but it buys you time to schedule appropriate repairs.
What usually causes roof leaks the most?
The leading two culprits are damaged or missing shingles and failed flashing. Clogged gutters and cracked vent boots are also extremely common.
How can I tell if I need to fully replace my roof or if a repair is enough?
Age is a big factor. Most asphalt shingle roofs last 20–30 years. If your roof is that old and has widespread damage, replacing it is probably more economical than doing repairs over and over.
Does homeowner’s insurance cover roof leaks?
It depends on the cause. Damage caused by a sudden storm is typically covered. Leaks resulting from age, neglect or lack of maintenance usually are not. Always document damage and contact your insurer right away.
How much does it cost to get a roof leak fixed by professionals?
Minor repairs typically run $150–$500. More complex repairs that require flashing, multiple shingles or structural damage can run $500–$2,500 or more. Replacing a roof in its entirety can average $8,000–$20,000 based on size and materials.
Conclusion
A leaky roof on a rainy day seems urgent — and it is. But panicking causes errors, and mistakes are dangerous on a wet roof.
This roof leak fix guide safety tips breakdown gives you a clear, step-by-step approach. Find the leak first. Gear up properly. Use a temporary fix when required. Make smart repairs. Dry out the damage inside. And know when to ask for help.
Your roof is the first line of defense for your home. Treat it as such — with care, patience and respect for safety.
Better to make a small repair correctly than a big one in haste.