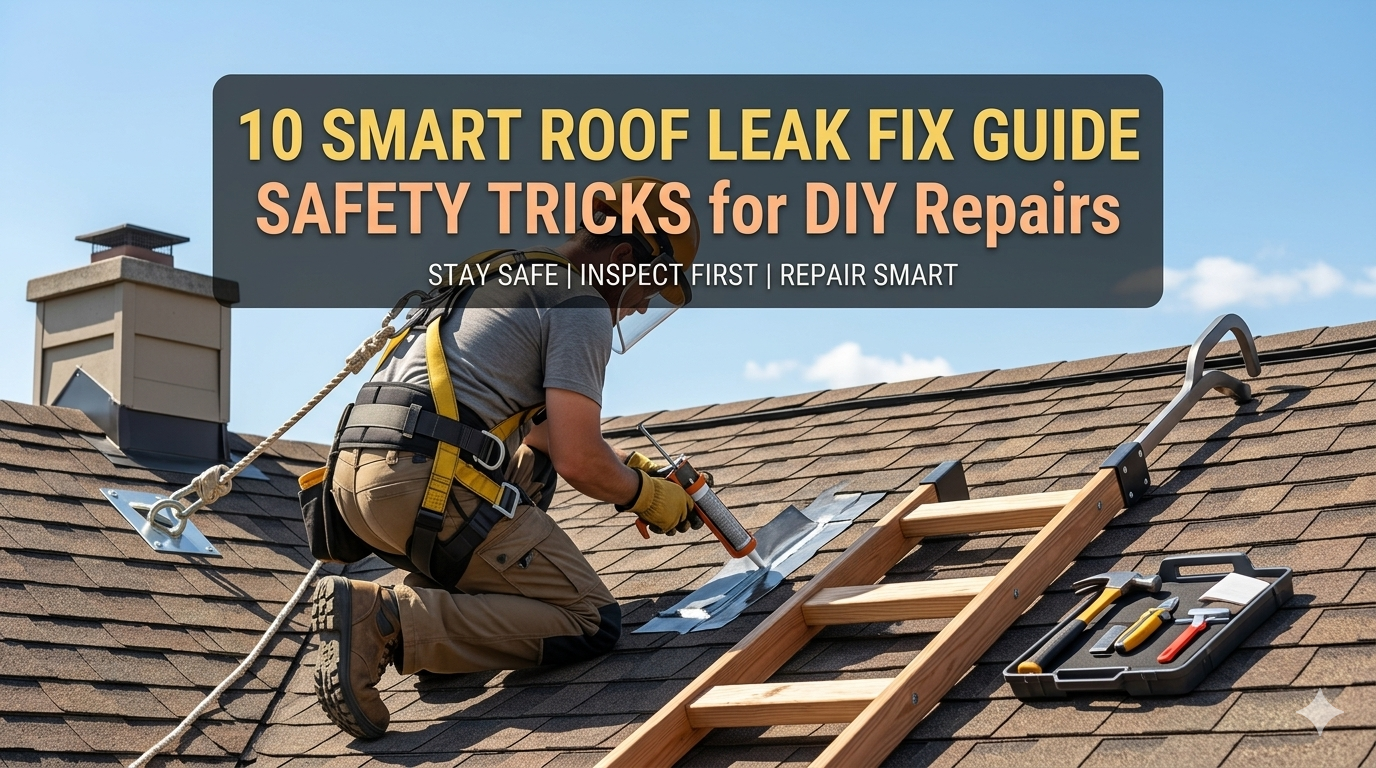
10 Smart Roof Leak Fix Guide Safety Tricks for DIY Repairs
Meta Description: Roof leak fix guide safety tricks every DIY homeowner needs — discover 10 smart, proven methods to safely repair leaks and protect your home from water damage.
Roof Leak Fix Guide: Safety Tricks You Gotta Know as a DIY Homeowner — 10 Smart Ways to Safely Stop the Leaking and Protect Your Home from Water Damage
DIY Roof Leak Repair and Safety Tips for Home Solutions
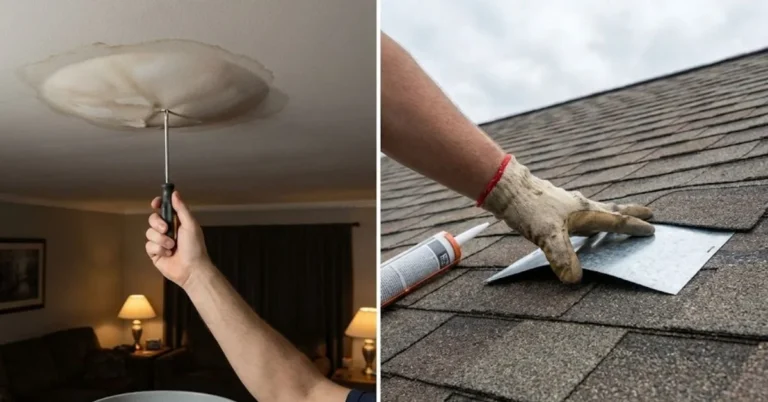
Water stains on your ceiling. Dripping sounds during a rainstorm. A damp smell in your attic. These are all signs that your roof has sprung a leak — and if you ignore them, little problems can mushroom into costly disasters.
The good news? Most roof leaks can be repaired without the help of a professional. And, before you go ahead and grab a ladder to head up there, you should know how to do so safely and effectively.
The following guide to roof leak fixes covers 10 smart safety tricks that will help you repair leaks like a pro — without risking harm to yourself or your home.
Dangerous Pitfalls of DIY Roof Repairs (And Tips on How to Avoid Them)
Of all home improvement jobs, roofing work can be one of the most dangerous. Every year, thousands are sent to the emergency room for roof falls. Add wet surfaces, steep slopes, and heavy tools to that mix, and you have a recipe for serious injury.
But danger doesn’t mean impossible. That just means you should prepare accordingly.
With the right know-how, tools, and safety practices, you can fix common roof leaks yourself — and save hundreds or even thousands of dollars in contractor fees.
Dive in with us to the 10 smart tricks that make DIY roof repair effective, and protect your safety.
Tip #1 — Locate the Leak Before Entering the Roof
This may be obvious, but a lot of homeowners will go right onto the roof before knowing exactly where the leak is coming from. That takes time and adds extra risk.
How to Find an Indoor Roof Leak First
Start inside your attic. Bring a flashlight and watch for:
- Water stains on the wooden beams
- Mold or dark spots
- Wet insulation
- Daylight peeking through cracks
Water travels. The wet spot on your ceiling might be nowhere near where the actual leak is. Trace the water route up and toward the peak of the roof.
Use the Garden Hose Method
If you can’t find the leak from inside, have a helper go up into the attic while you run a garden hose over the roof — section by section. Start low and move up from there. When your helper screams “there it is,” you’ve found the leak location.
Pro tip: Before climbing up, chalk the spot. It saves time.
Tip #2 — Do Not Work on a Wet or Icy Roof
This is a safety rule you cannot negotiate with. A wet roof is like an ice rink — you will slip. Period.
Best Weather to Be Working on Roofs
| Condition | Safe to Work? |
|---|---|
| Sunny and dry | ✅ Yes |
| Overcast but dry | ✅ Yes |
| Light dew in morning | ⚠️ Wait until dry |
| After rain (same day) | ❌ No |
| Windy (15+ mph) | ❌ No |
| Icy or snowy | ❌ Absolutely not |
Do not step onto any roof surface at least 24 hours after it rains. There will still be moisture trapped underneath even dry-looking shingles.
Before scheduling your repair day, consult the forecast. Choose a morning where the wind is low and rain is not expected for at least 6–8 hours.

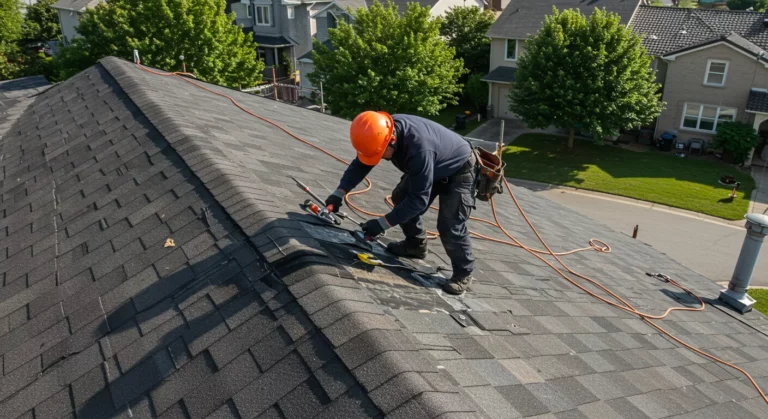
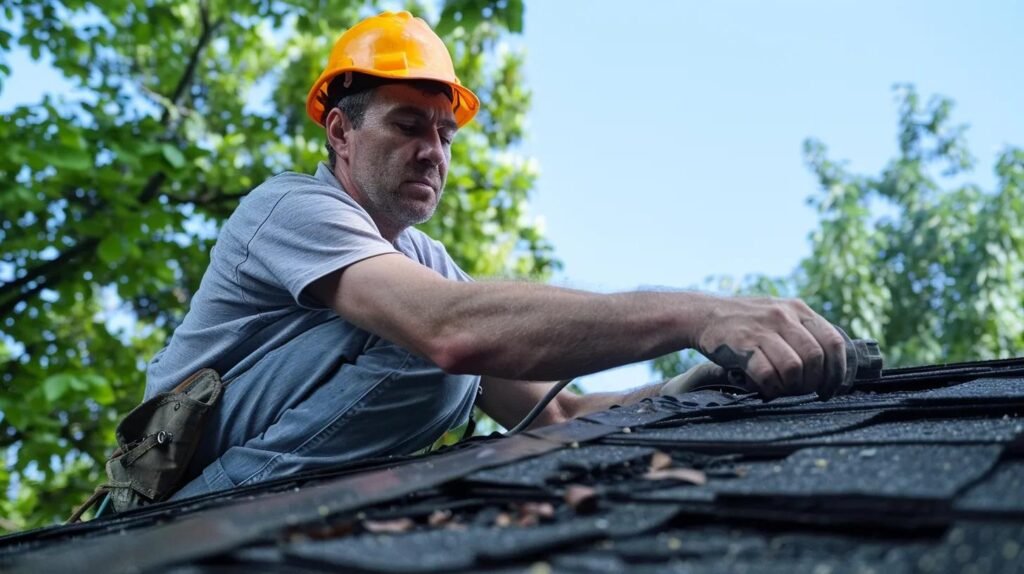
Tip #3 — Get Pro-Strapped Before You Climb
The proper safety equipment can mean the difference between a well-executed repair and a visit to the hospital. Don’t skip this step.
Must-Have Safety Equipment
Roofing boots or rubber-soled shoes — They grasp shingles much more securely than sneakers or work boots. Sloped surfaces require soft rubber soles.
Safety harness and rope — If your roof has a pitch steeper than 4:12 (rising 4 inches for every 12 inches of horizontal run), then wearing a harness is strongly advised. Secure the rope to a stable ridge anchor.
Non-slip gloves — These protect your hands from tools and surfaces slipping out of your grip. Don’t use thick gloves that take away your feel and control.
Hard hat — Head injuries are also a concern if one or two people are working nearby and dropping tools or debris.
Safety glasses — Small pieces of roofing material, nails, and debris can fly up toward your eyes when you make repairs.
Ladder Safety Rules
- Always use a ladder rated for your weight and tools
- Place the ladder at the correct angle (1 foot out for each 4 feet high)
- Do not lean sideways when on a ladder
- Have someone else hold the bottom of the ladder while you climb
Tip #4 — Address Any Flashing Issues First — 90% of Leaks Are Due to Poor Flashing
Here’s a roof leak statistic that amazes most homeowners: failing or poorly sealed flashing accounts for most roof leaks.
Flashing is the thin metal (typically aluminum or galvanized steel) that is installed around chimneys, vents, skylights, and roof valleys. It channels water away from those delicate joints.
Signs Your Flashing is the Problem
- Rusted or corroded metal strips
- Holes or gaps between the flashing and the chimney or vent
- Cracked caulk or dried-out sealant
- Bent or lifted metal sections
How to Repair Flashing Safely
- Use a wire brush to clean the area to eliminate rust and debris
- Seal any gaps with roofing caulk or urethane sealant
- Press the flashing flat and tack down loose pieces with roofing nails
- Seal nail heads with more caulk
Severely damaged flashing is better replaced than repaired. New flashing costs $10–$30 and can be snipped to size with tin snips.
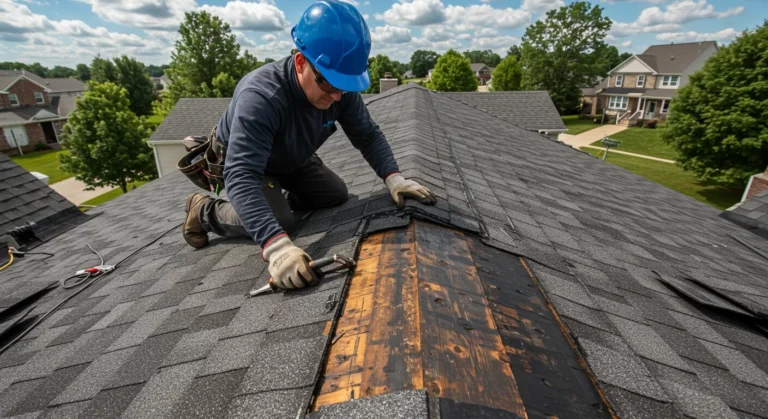
Trick #5 — Replace Damaged Shingles Properly
Cracked, curled, or missing shingles are a big invite for water. Replacing them is one of the key skills highlighted in any roof leak fix guide you come across.
How to Spot Problem Shingles
Take a stroll around your home and look up. You’re looking for:
- Cracked or broken shingles that are visible
- Bald areas where granules have been removed
- Curled shingles at the edges
- Areas where shingles are completely missing
Step-by-Step Shingle Replacement
Step 1: Slide a pry bar under the damaged shingle and gently lift it up. Remove the roofing nails that are holding it in.
Step 2: Gently slide the old shingle up and out. Do not break the ones next to it.
Step 3: Insert the new shingle. Fit it in with the surrounding shingles.
Step 4: Hammer in four roofing nails to hold it — one inch from each side.
Step 5: Add a roofing cement application under the edges of the shingles above it so that the overlap is properly sealed.
Tip: Always purchase several more shingles at the same time and from the same batch to ensure a match in color and texture.
Trick #6 — Proper Application of Roofing Cement (Most People Do It Wrong)
Roofing cement (also known as mastic or flashing cement) is one of the most underrated products in your repair toolkit. But excessive use or applying it to the wrong areas can make things worse.
When to Use Roofing Cement
- Sealing the edges of flashing
- Patching small cracks in shingles
- Securing lifted shingle edges
- Sealing around vent pipes
When NOT to Use It
- Instead of replacing the shingles entirely
- On damp or dirty surfaces (it will not adhere)
- In wide gaps or holes (use a proper patch instead)
The Right Way to Apply It
Use a caulk gun or putty knife depending on the type of product. Apply a thin, even layer — not a blob. Thicker applications crack and flake more quickly.
Smooth the edges with a wet finger or putty knife so water won’t catch on the edge and pool.
Tip #7 — Be Extra Careful When Sealing Roof Valleys
The valleys of your roof — where two slopes come together — channel more water runoff than anywhere else. They’re also among the most frequent points of leaks.
Two Types of Roof Valley Sealing
Open valley: The metal flashing is left uncovered. Check for gaps, rust, and lifted edges. Re-seal with roofing caulk where necessary.
Closed or woven valley: Shingles overlap in the valley. Look for cracked or missing shingles in that center line.
Valley Repair Tips
- Never walk directly in a valley — it can crack or dent the flashing
- New sealant should always be applied bottom to top, as upper layers overlap the lower ones
- Don’t just patch rusted valley flashing — replace the whole section if it’s severely rusted
Tip #8 — Inspect and Seal Roof Vents and Roof-Mounted Pipes
Each pipe, exhaust vent, and attic fan that rises through your roof can be a crevice through which water could seep. These penetrations have rubber or plastic boots surrounding them, which can dry out and crack over time.
How to Inspect Vent Boots
Note the rubber collar (called a boot) that encircles the bottom of each pipe. If you see:
- Rips or cracks in the rubber
- Gaps between the boot and the pipe
- Missing pieces of rubber
…then that’s probably where water is getting in.
Repair or Replace the Boot?
| Damage Level | Ideal Fix | Price Range |
|---|---|---|
| Small cracks | Silicone sealant | $5–$10 |
| Moderate cracking | Rubber boot repair kit | $15–$25 |
| Boot completely split | Full boot replacement | $20–$40 |
| Pipe collar rusted | Metal collar + new boot | $30–$60 |
Vent boot replacement is an extremely easy DIY roof fix. Just pull out the nails securing the shingles around the boot, slide off the old boot, slide on a new one, reattach the shingles, and seal with caulk.
Trick #9 — Use a Temporary Patch Until You Can Make the Full Fix
At times, weather, time constraints, or budget don’t allow you to do a full repair immediately. In such cases, a temporary patch can help prevent the damage from worsening.
Best Temporary Patching Materials
Roofing tape (butyl tape) — Peel-and-stick waterproof tape that adheres to shingles, metal, and wood. Suitable for cracks and small holes.
Roof patch spray — A rubberized spray sealant that forms a flexible waterproof coating. Good for hard-to-reach areas.
Heavy-duty tarp — If roof damage is significant, use this thick material and secure it with nails or bricks to cover the damaged area until permanent repairs are done.
Important Note on Temporary Repairs
A patch is not a fix. It buys you time — often a few weeks to a few months depending on the product. Book your permanent repair as soon as you can.
Do not allow a temporary fix to turn into a forgotten emergency patch. According to the Insurance Information Institute, water damage is one of the most common and costly homeowner insurance claims — so acting quickly is always in your best interest.
Tip #10 — Survey Your Roof Twice a Year to Prevent Future Leaks
Preventing leaks is the smartest thing you can do for your roof. Routine inspection prevents small issues from becoming big ones.
When to Inspect
- Spring: After storms, ice, and freeze-thaw cycles of winter
- Fall: Before winter sets in, to ensure the roof can withstand heavy rain and snow
What to Look for During an Inspection
You don’t have to walk onto the roof every time. Do a basic visual inspection from the ground using binoculars.
From the ground:
- Missing or damaged shingles
- Sagging areas
- Moss or algae growth
- Debris accumulated in valleys or gutters
From the attic:
- Water stains or discoloration
- Rotten or damp areas on the decking
- Mold growth
- Gaps where daylight comes through
Simple Roof Health Checklist
| Area | What to Look For | Frequency |
|---|---|---|
| Roof shingles | Cracks, curling, missing pieces | Every 6 months |
| Flashing | Rust, gaps, lifted edges | Every 6 months |
| Gutters | Clogs or sagging; granule buildup | Every 3 months |
| Attic | Stains, mold, and wet spots | After heavy rain |
| Vent boots | Cracking or gaps around pipes | Once a year |
| Valleys | Debris, rust, missing sealant | Every season |
When Should You Contact a Pro?
While this roof leak repair guide is designed for DIY repairs, some circumstances are well beyond what a homeowner should handle on their own.
Call a licensed roofer if:
- Your roof is over 20 years old and suffering numerous signs of damage
- The decking (the wood under the shingles) is soft, rotten, or sagging
- The leak is large and affecting multiple rooms
- You don’t feel comfortable working at height
- The damage involves structural components
A professional inspection is also a good idea before purchasing a home or following a major storm event.
Quick Look at Common Roof Leak Causes
| Leak Cause | How Common | DIY Fix? |
|---|---|---|
| Damaged flashing | Very common | ✅ Yes |
| Broken or missing shingles | Very common | ✅ Yes |
| Cracked vent boots | Common | ✅ Yes |
| Clogged gutters causing backup | Common | ✅ Yes |
| Ice dams in winter | Seasonal | ⚠️ Partially |
| Cracked chimney crown | Less common | ⚠️ Partially |
| Rotted roof decking | Less common | ❌ Call a pro |
| Structural sagging | Rare | ❌ Call a pro |
Frequently Asked Questions (FAQs)
Q: How do I know if my roof leak is serious? A: If water is dripping into living spaces, if the ceiling is stained in many places, or if wood in your attic feels soft or spongy, then it’s a serious leak. Repair it promptly so you don’t get mold and structural issues.
Q: Can I repair a roof leak from indoors? A: You can apply a temporary seal from the attic side with roofing tape or spray sealant, but the real fix always has to happen from the outside. Indoor patches don’t hold long-term.
Q: What is the best sealant for leaking roofs? A: Use urethane or polyurethane roofing caulk for flashing and joints. Apply roofing cement for cracks in shingles. Silicone sealant is great for pipes and boots. Choose the product appropriate for the material you are sealing.
Q: What is the lifespan of a DIY roof repair? A: A properly done shingle replacement should have a 10–20 year life. If installed properly, flashing repairs and sealant applications have a lifespan of 5–10 years. Temporary patches may last for weeks to several months.
Q: Is it safe to walk on a roof alone? A: It’s safer to have someone else there — at least to steady the ladder and call for help if something goes wrong. But no matter what surface you’re working on, always wear a safety harness if the roof is steep.
Q: How much does it cost to make a roof leak repair if you do it yourself? A: For basic repairs — sealing flashing, replacing a few shingles — the cost of materials is usually between $20 and $150. Depending on your location and extent of damage, hiring a contractor for the same job could be $300–$1,000 or more.
Q: Will homeowners insurance cover a roof leak? A: It depends on the cause. Damage from a storm or a falling tree is generally covered. Leaks based on wear and tear or lack of maintenance are generally not. Check your specific policy.
Conclusion — Stay Safe and Do It Right
A leaking roof doesn’t have to be a nightmare. The right approach, the right tools, and a safety-minded attitude enable you to tackle most routine repairs yourself.
This roof leak repair guide has given you 10 smart tricks that encompass everything from locating the leak to sealing vent boots to arranging routine inspections. The key takeaways are simple:
- Safety first. Never work on a wet roof. Always use the right gear.
- Find the source. Don’t just patch what’s visible — follow the water upstream.
- Fix it properly. Use appropriate materials for the proper function.
- Stay ahead of problems. Get twice-yearly inspections and don’t wait to address issues.
As your home’s first line of defense, your roof is important. Respect it, and it will serve you well for decades.