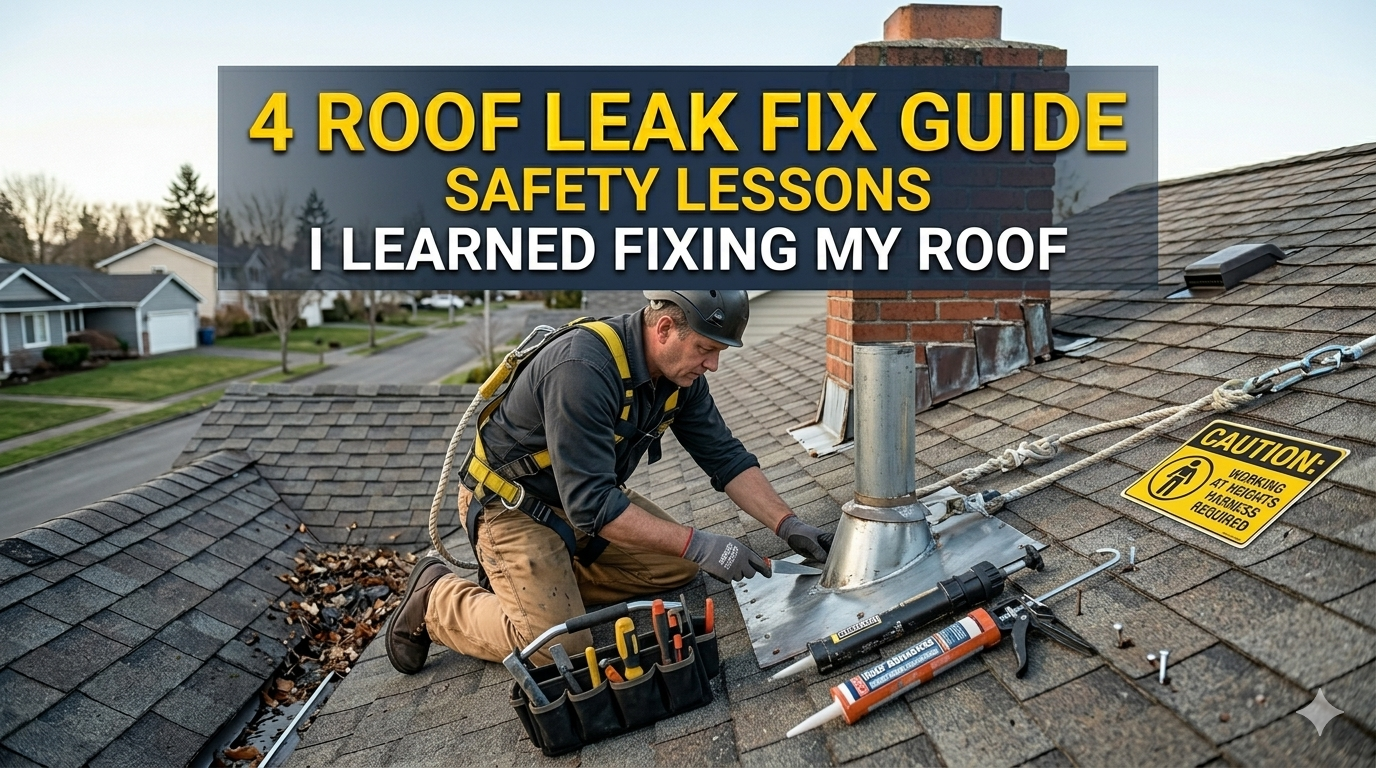
4 Roof Leak Fix Guide Safety Lessons I Learned Fixing My Roof
Meta Description: Roof leak fix guide safety lessons homeowners need to know — learn 4 hard-learned tips that help protect you from falls, electric shock, mold damage and expensive mistakes.
Safety Lessons I Learned While Fixing My Roof — Part 4 of Roof Leak Repair Guide
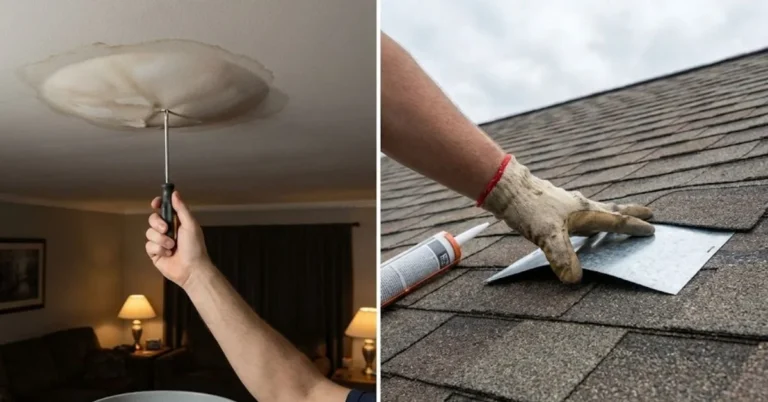
Nothing compares to the sinking feeling of seeing a little water stain on your ceiling.
I know that feeling firsthand. A few years back, after a vicious storm blew through, I noticed a dark brown stain spreading across the roof of my living room. My first instinct? Grab a ladder, climb up there and fix it myself. How hard could it be?
Turns out — very hard. And extremely dangerous if you don’t know what you’re doing.
At the end of repairing that roof leak (and a few other ones since) I learned four safety lessons that would have been great if someone had shared with me before I ever stepped foot on a shingle. This roof leak fix guide is my honest way of walking you through those lessons learned. It’s intended for average homeowners, not professional roofers.
From a minor drip to a major gusher, these safety tips could save your life, health, and savings.
The Dangers of Repairing a Roof Leak Without Knowledge of Safety
The average person believes roof repair is all just a ladder-and-caulk job. Just get some roofing tar, slap it on, done.
But roofs are among the most dangerous places a homeowner can work. Falls are the leading cause of unintentional injury deaths in the U.S., according to the National Safety Council. Many of those are from falling off ladders and rooftops.
Apart from falling, there are other threats lurking:
- Electrical wires live near or under the broken shingles
- Mold and rot lurking inside damp insulation
- Structural weakness due to years of water damage
- Bad repairs that worsen the leak
This guide is more than simply filling a void. It’s about doing it without visiting the emergency room.
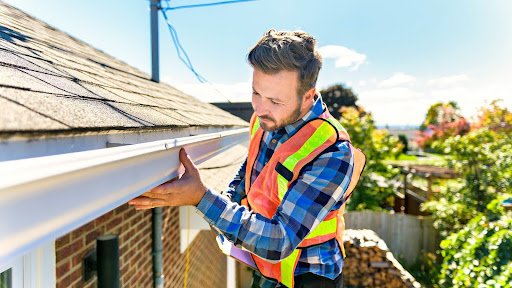
How to Set Up My Workspace the Right Way Before You Climb
I had no plan the first time I climbed onto my roof. All I had was a caulk gun, a pair of old sneakers, and too much confidence.
Somehow, I didn’t topple over. But I did slip — twice.
I spent some time thereafter researching proper roof safety setup. What I discovered revolutionized the way I look at any roof repair project.
Check the Weather First (Seriously)
This sounds obvious. But I’ve witnessed neighbors get onto their roofs after a light rain, convinced the surface had dried. It hadn’t.
Wet shingles are slippery. Period.
Never walk on any roof for at least 24 hours after rain. Even morning dew can be enough for a slip. Consult the forecast for a two-day dry window before you schedule your repair.
Wind also matters. A 15 mph gust can throw you off balance while carrying materials or leaning to one side.
A good general rule: If you wouldn’t feel comfortable standing in socks on a wet tile floor, don’t step onto a wet roof.
The Right Footwear Changes Everything
It was my old sneakers that were the issue on Day 1. On a 6:12 pitched roof, I had practically no grip with the smooth rubber soles.
For work on roofs, you need shoes made for traction on sloped or hard surfaces. Look for:
- Soft rubber soles with deep grooves
- Firm ankle support to prevent rolling
- Flat, non-slip base without heels
Work boots with rubber-soled treads work best. Some roofers like sneakers with gum rubber soles. The key is grip, not style.
Ladder Setup: The Most Underrated Safety Step
Your ladder is your lifeline. Most roofing injuries begin with an improperly placed ladder.
Here’s what I do every single time now:
| Step | What to Do | Why It Matters |
|---|---|---|
| 1 | Position the base 1 foot away for every 4 feet of height | Prevents forward tipping |
| 2 | Extend ladder at least 3 feet above roof edge | Gives you something to hold as you get on/off |
| 3 | Use a ladder stabilizer bar | Keeps it from sliding sideways |
| 4 | Have someone hold the base | Adds stability on soft or uneven ground |
| 5 | Check for level ground | Uneven surface creates wobble |
Do not lean a ladder against a gutter. Gutters are not load-bearing and can give way under weight.
Safety Lesson #1 — Fall Protection Is Always Mandatory
This was the most difficult lesson for me to learn.
I kept reminding myself: “I’m careful. I won’t fall.” That sort of thinking gets people killed.
The reality is that falls happen in a matter of seconds. A flash of distraction, a shift in a shingle, a lurch too far to one side — off the edge you go before your mind grasps what happened.
What I Use Now Every Time
After my second roof fix, I purchased a simple personal fall arrest system (PFAS). It sounds scary, but it’s not hard.
For the average homeowner, a basic setup includes:
- Roof anchor — a bracket that you temporarily screw into the roof decking near the ridge
- Safety harness — like a vest with straps, fits around your torso and thighs
- Rope grab and lifeline — attaches the harness to the anchor, permits movement but arrests a fall
A basic homeowner kit will run around $80–$200. That’s nothing compared to an ER bill — or worse.
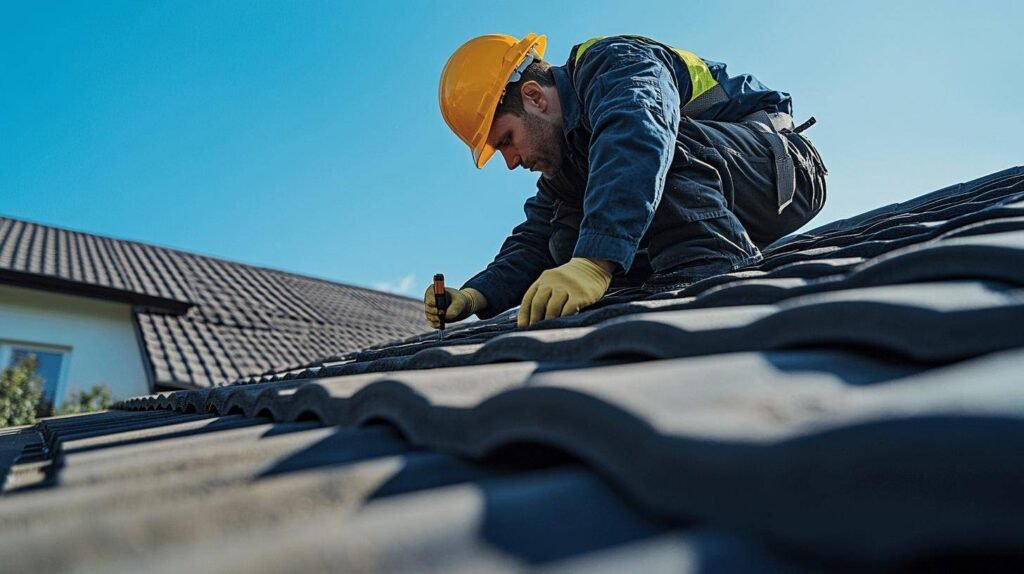
Roof Jacks: The Underutilized Tool for DIY Roofing
If a full harness rig seems like overkill for a small repair, at the very least use roof jacks.
Roof jacks (also known as roof brackets) are metal platforms that you nail into the roof to make a temporary working shelf. They give you a flat surface to stand on and something to brace your feet against.
They’re especially effective on slopes steeper than 4:12 (meaning the roof rises 4 inches for every 12 inches horizontally).
Personal note: The first time I used roof jacks, I immediately understood why professional roofers use them without a second thought. It’s the difference between walking a tightrope and walking a sidewalk.
Safety Lesson #2 — Electricity and Water Make for a Dangerous Mix Up There
I nearly had to learn this lesson the hard way.
While tracking a leak along the fascia near my roofline, I discovered a thin black wire running under the eave. I figured it was cable TV wiring. I picked it up to move it out of the way.
It was a live outdoor lighting circuit.
I felt a jolt, released the wire, and stepped back quickly. I got lucky. The circuit breaker tripped fast. But if that wire had been higher voltage, or if I had been standing in water, the story might have ended very differently.
What to Check Before Doing Anything Near Wiring
Here is the procedure I now follow prior to any roof work near the eave line, fascia, or anywhere close to the home structure:
Step 1: Identify any exterior electrical fixtures near your work zone (lights, outlets, junction boxes).
Step 2: Head to your breaker panel and turn off the circuits feeding those fixtures.
Step 3: Use a non-contact voltage tester (available for $15–$25 at any hardware store) to confirm the wires have no power before you touch or work around them.
Step 4: Place a piece of tape over those breakers so no one accidentally flips them back on while you’re working.
The entire process takes five minutes. Five minutes that may save your life.
Look Out for Damaged Wiring Beneath Shingles
Roof leaks and water infiltration can also damage electrical wiring that runs through the attic or along the roof decking. Rodents also enjoy gnawing on wire insulation in attic spaces.
Before you start any repair that requires lifting shingles or cutting into the decking, take a look in the attic first. Look for:
- Frayed or melted wire insulation
- Burn marks near junction boxes
- Wires that look wet or corroded
If you see any of this, get a licensed electrician to check it out before doing roof repairs.
Safety Lesson #3 — Mold Hides Where You Can’t See
This one struck me in the wallet — big-time.
Three weeks after I thought I had done a successful roof patch job, I detected a musty smell in one of the bedrooms. I opened up some insulation in the attic above that room and found a black, fuzzy growth covering an area about as big as a beach towel.
Mold.
The leak had been going on longer than I knew. The insulation had been wet for weeks, maybe months. I repaired the exterior before the interior damage was even visible.
Why Roof Leaks Create Perfect Conditions for Mold
For mold to grow, it requires three things:
- Moisture
- Organic material (wood, insulation, drywall)
- Warm temperatures
A leaking roof offers all three. Water pours in, saturates wood decking and insulation batts, and sits in a warm, dark attic. Mold can start growing in as little as 24 to 48 hours.
The trouble is, you rarely notice it from below until the colony has grown large.
How to Screen for Mold Before and After a Repair
| When | What to Do |
|---|---|
| Before the repair | Inspect the attic with a flashlight; look for dark staining on rafters and decking |
| During the repair | Check for soft, spongy wood — this signals rot and hidden moisture |
| After the repair | Re-inspect the attic 1–2 weeks later to confirm no new moisture is appearing |
When Mold Is Present, Protect Yourself
If you uncover mold during a roof repair, don’t continue working as if nothing was discovered.
Mold spores are airborne. Disturbing a mold colony without protection sends those spores into your lungs — and they can lead to respiratory problems, allergy symptoms, or even serious illness in some cases.
At minimum, wear:
- An N95 respirator mask (not a simple dust mask)
- Safety goggles
- Disposable gloves
For large mold infestations (any area larger than 10 square feet), the EPA advises hiring a professional mold remediation service. This is not where to cut corners.
Safety Lesson #4 — Knowing When to Call a Pro
This was the hardest lesson for me personally. I am the sort of person who despises admitting I’m in over my head.
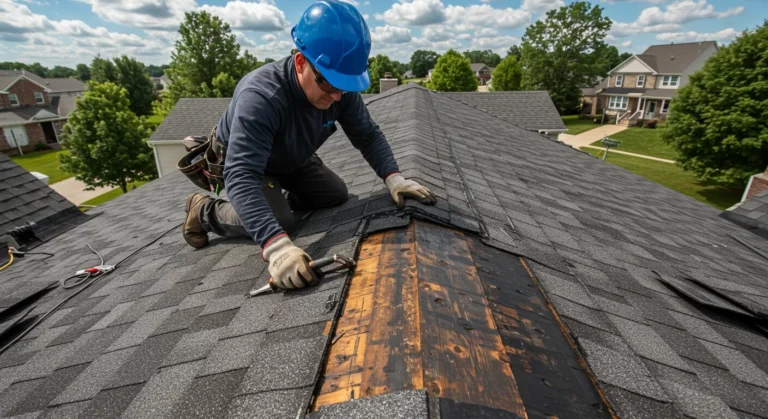
But there was a moment in one repair when I realized the leak wasn’t coming from a single damaged shingle. It was coming from a compromised valley flashing — the metal channel where two roof planes converge. And below that, the roof decking was soft and beginning to rot.
It wasn’t a $40 tube of roofing cement repair. It was a licensed roofer situation.
Red Flags That Signal You Should Call a Pro
Not all roof leaks can be solved with a simple patch. Here are the warning signs I now watch for:
🔴 Stop Immediately If You See:
- Sagging or soft spots in the roof deck
- Multiple leak points across a large area
- Obvious structural damage to rafters or trusses
- Signs of major mold infestation
- Damage around a chimney, skylight, or roof valley
🟡 Proceed With Caution If:
- Your roof pitch is greater than 6:12
- The damage occurs around electrical penetrations
- You have never worked on a roof before
- You’re working alone with nobody nearby
🟢 Generally DIY-Friendly:
- A single lifted or cracked shingle
- Small sealant failure around a vent boot
- Small visible gaps in a flat roof membrane
The Real Cost Comparison
| Scenario | DIY Cost | Pro Cost | Risk of Getting It Wrong |
|---|---|---|---|
| Single shingle replacement | $10–$30 | $150–$300 | Low |
| Vent boot resealing | $15–$40 | $100–$200 | Low |
| Valley flashing repair | $50–$100 | $400–$800 | High (water damage) |
| Roof deck rot repair | $100–$300 | $800–$2,500+ | Very High (structural) |
| Full leak diagnosis | Time-consuming | $150–$300 | High if misdiagnosed |
The math isn’t always in favor of DIY — especially when a botched repair results in more significant water damage, mold, or structural problems down the road.
Quick Reference: Roof Leak Fix Safety Checklist
Before stepping on any roof, run through this checklist:
- [ ] Clear weather for a minimum of 24 hours
- [ ] Shoes with non-slip soles
- [ ] Ladder set up properly with stabilizer
- [ ] Fall protection gear on (harness or at least roof jacks)
- [ ] Relevant breakers shut off and tested
- [ ] Non-contact voltage tester on hand
- [ ] N95 mask if mold is suspected
- [ ] Someone knows you are on the roof
- [ ] Phone fully charged and within reach
- [ ] Clear plan for the repair before climbing
What a Typical Roof Leak Repair Looks Like Step by Step
Once you’ve handled safety, here’s a general rundown of what the actual repair process looks like for the most common DIY-friendly leak — a damaged shingle or flashing seal.
Step 1: Find the Leak From the Inside First
Take a flashlight into the attic. Look uphill from the water stain. Water runs along rafters and sheathing before dripping, so the actual entry point may be several feet away from where you see the stain below.
Step 2: Mark and Measure Before Climbing
Once you’ve identified the likely entry point from below, measure the distance from the ridge and from a known reference point (such as a vent pipe). This helps you find that same spot on the exterior.
Step 3: Examine the Suspected Area on the Roof
Look for:
- Cracked, curled, or missing shingles
- Lifted shingle edges
- Damaged or missing sealant around flashing
- Rust or gaps in metal flashing
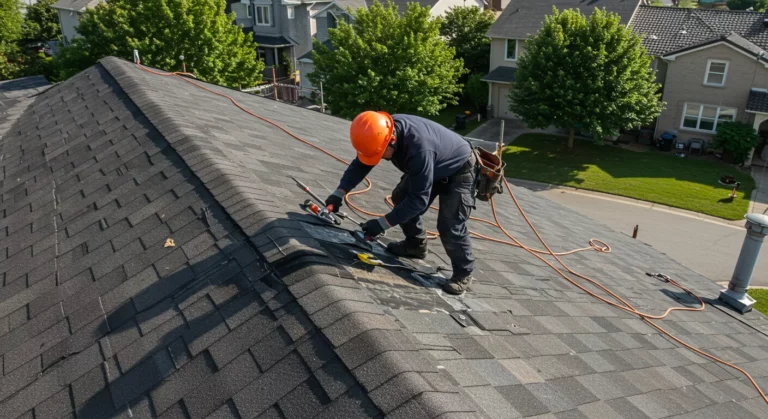
Step 4: Make the Repair
For a cracked shingle: Apply roofing cement beneath the crack, press it flat, and add a thin bead of sealant along the edges.
For lifted shingles: Apply roofing cement underneath, press down firmly, and secure with roofing nails if necessary.
For flashing gaps: Clean the area with a wire brush, apply roofing cement or flashing sealant, and smooth it out with a putty knife.
Step 5: Test and Monitor
From below the suspected area, use a hose to simulate rain while a helper watches from inside the attic. Check again after the next real rainstorm.
FAQs — Roof Leak Fix Guide Safety
Q: How can I tell if my roof leak is serious or minor? A small leak typically originates from a single damaged shingle or a failed sealant bead around a vent or flashing. A serious leak involves multiple entry points, structural rot, sagging decking, or interior water damage in more than one room. When in doubt, get a professional assessment.
Q: Is there a way to repair a roof leak from inside the house without climbing onto the roof? You can use interior waterproofing spray or a tarp from inside the attic for temporary protection during active rain. But that is never a long-term solution. The exterior source must be repaired to stop ongoing damage.
Q: Is it safe to walk on my own roof alone? Any time you work on a roof, it’s best to have someone else present — even just at ground level nearby. If you fall and are incapacitated, you need someone to call for help. Always let someone know you’re working on the roof.
Q: What is the best caulk or sealant for roof leaks? Roofing cement (also known as plastic roof cement) does the job for most shingle repairs. For flashing and metal surfaces, use a polyurethane-based roofing sealant. Don’t use standard silicone caulk on roofing surfaces — it won’t properly bond to asphalt.
Q: How long will my DIY roof patch last? A properly applied patch with the right materials on a small leak can last 1–3 years. But patches are not permanent solutions. If your roof is old or has extensive damage, a full professional inspection and possible replacement is a better long-term investment.
Q: Do I need a permit to repair my roof myself? For minor repairs, such as replacing a few shingles, you typically don’t need a permit. For bigger jobs involving structural changes, a full re-roof, or changes to flashing systems, permit requirements vary by local jurisdiction. Consult your local building department.
Q: What time of year is best for fixing a roof leak? Late spring to early fall is ideal — dry weather, mild temperatures, and long daylight hours. Roofing cement and sealants also bond more effectively at temperatures above 40°F (4°C). Stay away from cold or rainy seasons if possible.
To Sum It All Up: What I Paid for These Lessons and What They Can Save You
The honest truth about DIY roof repairs is that they can save you serious money and are completely achievable by a cautious homeowner. But the safety component is not negotiable.
The four lessons I covered in this roof leak fix guide were drawn from real experiences — a close call with a live electrical wire, a mold discovery that cost me $1,400 to remediate, two slips on a wet roof, and one repair job I had to walk away from because the damage exceeded my skill level.
None of those lessons had to be learned the hard way. You now have the benefit of knowing them before you ever take that first step up.
To recap:
- Fall protection is not optional — wear a harness, use roof jacks, and wear proper footwear every time
- Electricity is deadly and silent — always shut off circuits and test wires before working near them
- Mold takes root in wet insulation — inspect your attic before and after every repair
- Know your limits — a $300 professional repair beats a $3,000 water damage claim
Stay safe up there. Your roof is fixable. You are not replaceable.
Always consult a licensed roofing contractor for major repairs, structural issues, or if you have any doubt about the safety of a DIY repair.