11 Expert Roof Leak Fix Guide Safety Tips That Protect Your Home
Meta Description: Roof leak fix guide safety tips every homeowner needs — discover 11 expert strategies to stop leaks fast, protect your home, and stay safe during repairs.
11 Expert Roof Leak Fix Guide Safety Tips That Protect Your Home
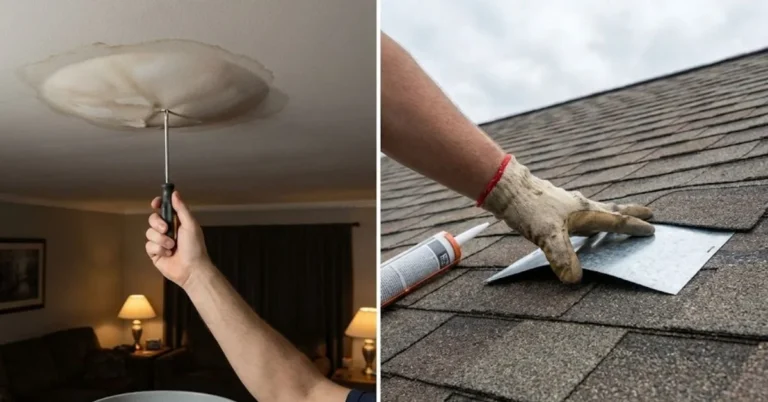
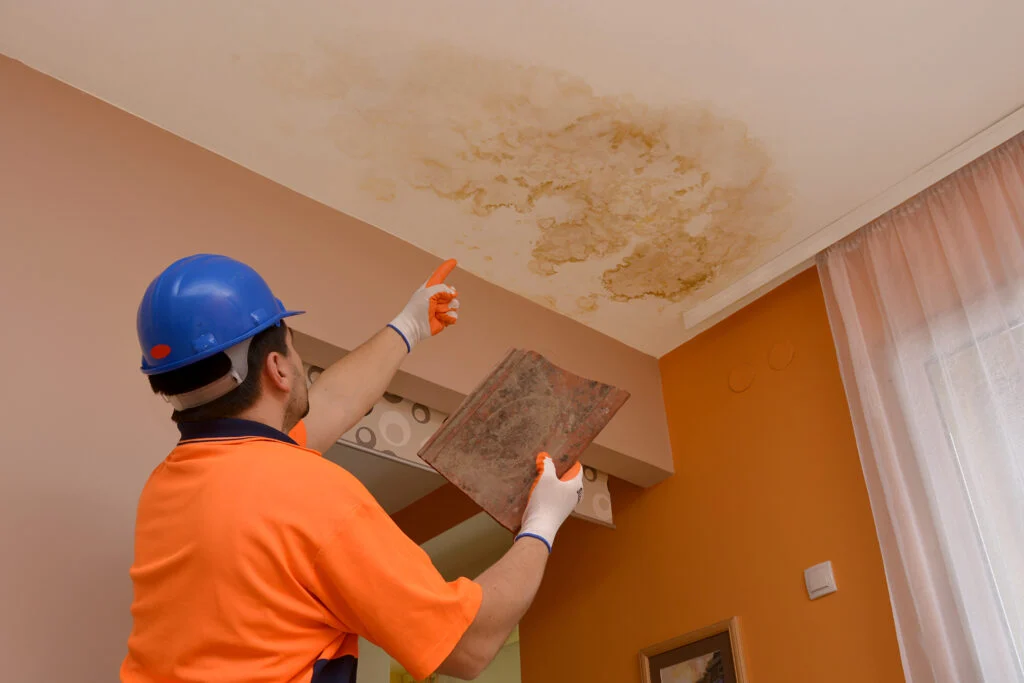
A leaky roof is one of the most stressful things a homeowner can endure. Water seeping through the ceiling, wet walls, and ruined insulation can compound into serious issues if unrepaired. But hurrying to repair a leaking roof without proper safety training can be just as hazardous as ignoring the problem.
This roof leak fix guide safety tips article gives you 11 expert-backed strategies that help keep you protected while also getting the job done right. Whether you are a first-time homeowner or have gotten up on a ladder before, these tips can help you work smarter, not harder.
Let’s dive in.
Roof Safety Is One Thing You Can And Should Not Ignore
Thousands of people are injured each year in falls from roofs and ladders. Falls are the No. 1 cause of construction deaths, according to the CDC. Even on a single-story roof, serious injury is possible.
Beyond falling, there are other risks as well — electrical hazards and rotting wood that can give way beneath your feet, and mold or asbestos in older homes. Just as it’s important that you know how to fix the leak with a roof repair, you also need to know how to safely handle your roof.
That’s precisely what this guide is meant to assist you with.
Tip 1: Check the Weather Before You Even Contemplate Climbing Up
Never Work On A Roof In Severe Weather
That may seem obvious, but it is not something that people always follow. It is highly dangerous to work on a wet, windy, or icy roof. Even a drizzle makes roof surfaces so slick that you can fall hard.
Check the weather forecast for at least 48 hours ahead before making any repair. You need:
- Dry conditions with no rain in the forecast
- Wind speeds below 20 mph
- Temperatures above freezing
Clear days tend to be best in the morning hours. Dew from overnight will have time to dry, and the midday heat won’t make the surface too soft or slippery.
Quick Weather Check Table:
| Condition | Safe to Work? |
|---|---|
| Clear, dry day | ✅ Yes |
| Light overcast, no rain | ✅ Yes |
| Wind over 20 mph | ❌ No |
| After rain (surface still wet) | ❌ No |
| Freezing temperatures | ❌ No |
| Thunderstorm nearby | ❌ Absolutely Not |
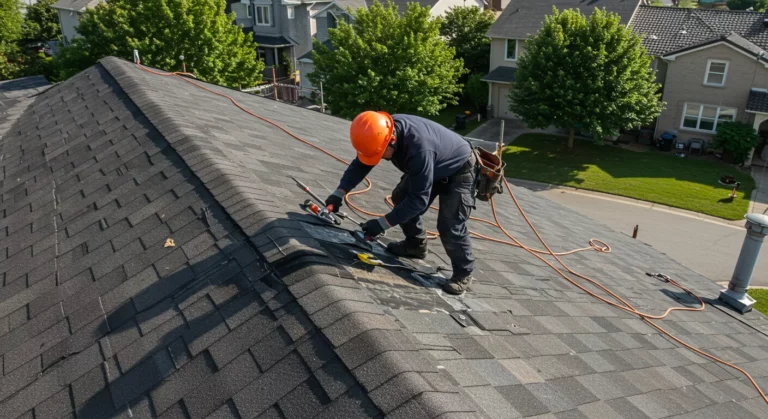
Tip 2: Put On the Right Gear Before You Go Out
Your Protective Gear Could Be the Difference Between Life and Death
The first line of defense is proper gear. This is not an area where you want to cut corners. A complete set of personal protective equipment (PPE) for roof work includes:
- Non-slip rubber-soled boots — ordinary sneakers or work boots with smooth soles are a slip and fall hazard
- Safety harness and rope system — secured to a safe ridge or structural beam
- Safety helmet — protection against falling debris
- Work gloves — increase grip and shield hands from sharp materials
- Safety glasses — debris and dust during work can blind you
- Knee pads — minimize fatigue and guard joints over extended work
Do not skip the harness. Professionals wear them every single time, and so should you. A good roof anchor kit runs around $50 to $150 and can be found at most hardware stores.
Tip 3: Choose the Right Ladder — and Set It Up Properly
A Rickety Ladder Is a Recipe for Disaster
Falls often occur not on the roof itself but during the climb up or down. Ladder safety is a big part of any roof leak fix guide safety tips discussion.
Here is what matters most:
- Use a fiberglass or aluminum extension ladder rated for your weight plus your tools
- Set the base at the right angle — for every 4 feet of height, the base should be 1 foot away from the wall (the 4:1 ratio)
- Extend the ladder at least 3 feet above the roof edge so you have something to hold when getting on and off
- Have someone hold the base whenever possible
- Never climb holding heavy tools in your hands — use a tool belt or bucket hoist
Be sure to check your ladder before using it. Look for bent rungs, loose bolts, or cracks. Do not use a ladder that has been damaged.
Tip 4: Find the Real Source of the Leak Before You Touch Anything
Water Travels — Don’t Get Tricked by Where It Drips
One of the most common mistakes homeowners make is repairing the wrong area. Water that drips through your ceiling may have entered the roof 10 feet away and traveled along rafters before leaking down.
To find the true source:
- Start by going inside your attic during or after rain
- Check for water stains, wet insulation, or moldy spots on the rafters and roof sheathing
- Follow the water trail back to the highest point of entry with a flashlight
- Look outside for broken shingles, cracked flashing, or gaps near chimneys and vents
A useful trick: have someone run a garden hose over small areas of the roof while you look from inside. Begin at the bottom and work your way up. Once the drip starts, you’ve found your zone.
Common Leak Source Locations:
| Area | What to Look For |
|---|---|
| Chimney | Cracked flashing or missing mortar |
| Vents and pipes | Damaged rubber boot seals |
| Valleys | Cracked or missing flashing |
| Ridge cap | Lifted or missing shingles |
| Skylights | Failed caulk or sealant |
| Gutters | Backed-up water that overflows under shingles |
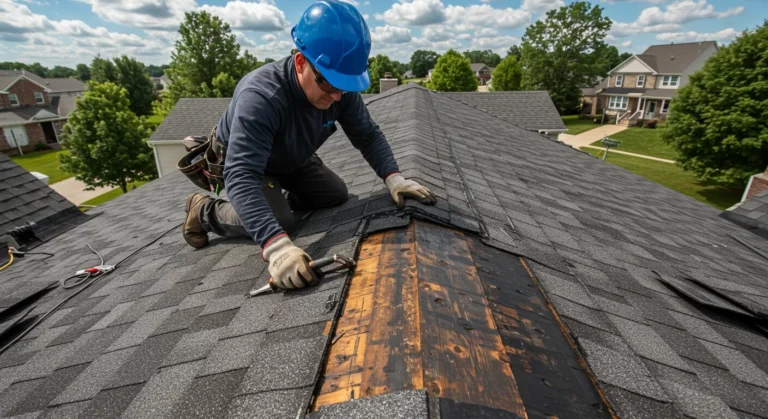
Tip 5: Check for Structural Weakness Before You Walk On It
Soft Spots on a Roof Can Give Way Without Warning
You have to examine the condition of the decking beneath the shingles before you walk across a roof. Older or water-damaged roofs can have weak spots that appear fine from above but may give way underfoot.
Signs of structural weakness include:
- A “spongy” feel when you press down with your foot
- Visible sagging or dipping sections
- Sunken or uneven shingles
- Brown staining on the edges of shingles (a sign of rot)
If you find soft spots, do not walk on them. If you have to work nearby, lay down roof boards or plywood sheets to distribute your weight. And if the damage is extensive, call a professional — this goes beyond a DIY roof leak repair.
Tip 6: Partner Up Whenever Possible
A Second Person on the Ground Makes All the Difference
Roof work should never be a one-person job. Having a partner — even one who remains on the ground — noticeably improves your safety.
Here is what your ground partner can do:
- Keep the base of the ladder stable
- Pass tools and materials up so you don’t have to make constant trips up and down
- Monitor changing weather and alert you of incoming storms
- Call for help right away if something goes wrong
- Keep children and pets away from the work area
If you really have to work alone, at least tell someone where you are and what you are doing. Establish a check-in time so that someone knows to call for help if they don’t hear from you.
Tip 7: Use Roofing-Specific Materials for Any Temporary or Permanent Fix
Getting the Wrong Product Will Only Create a Different Problem
When people rush to repair a leak, they sometimes just grab whatever sealant or patch material is available. This is a mistake. Using the wrong product can actually make the leak worse or cause new damage.
What to use for common roof leak fixes:
- Roofing cement / asphalt patching compound — for cracked or lifted shingles
- Roof flashing tape (butyl rubber) — for temporarily sealing around pipes, vents, and chimneys
- Silicone-based roofing caulk — for small gaps and joints around flashings
- Replacement shingles — match the style of existing (asphalt, architectural, etc.)
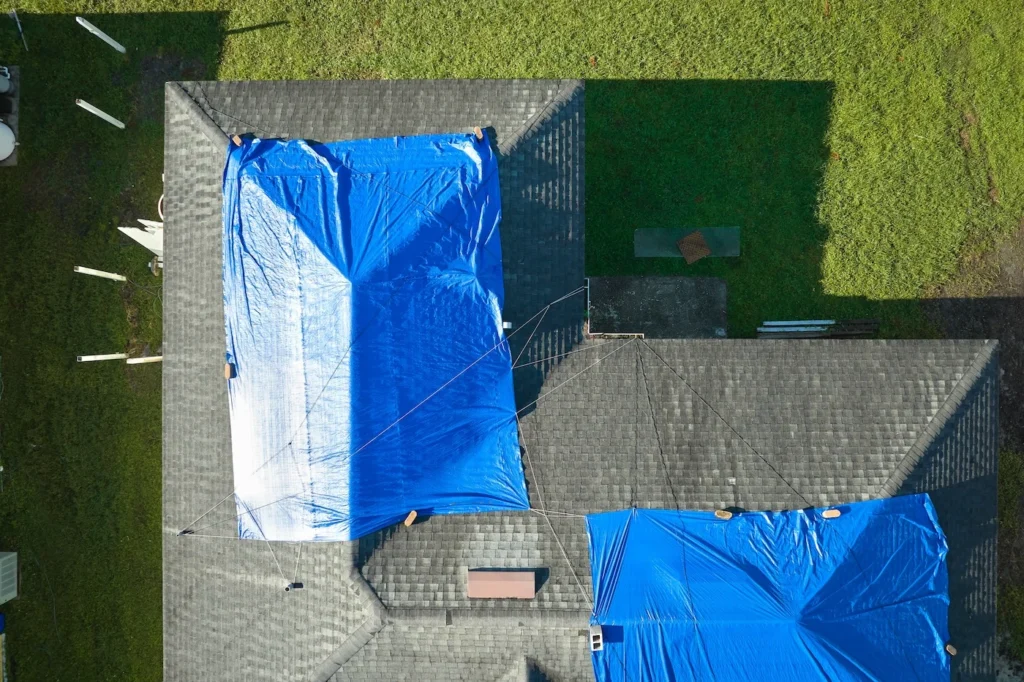
- Emergency tarps — for covering larger damaged sections until proper repair
Never use standard duct tape, house wrap, or interior caulk on a roof. Under UV exposure and temperature changes, they break down rapidly.
Tip 8: Handle Flashing Issues With Precision
Most Leaks Happen at the Flashing — Not the Shingles
Here is a fact most homeowners don’t realize: most roof leaks are caused by failing or improperly installed flashing, not the shingles. Flashing is the metal that goes around chimneys, vents, and skylights, as well as where different roof sections meet.
Water gets in quickly when flashing fails.
How to safely inspect and repair flashing:
- Check for rust, cracks, or visible gaps where flashing meets the roof surface
- Ensure that the flashing is overlapping properly and not lifted at the edges
- Reseal small gaps with roofing caulk or cement
- For extensive flashing damage, replace the entire piece — partial fixes rarely hold
Always wear gloves when working with metal flashing. The edges can be sharp enough to cause serious cuts.
💡 Need more detailed repair walkthroughs? Visit Roof Leak Fix Guide for step-by-step resources, product recommendations, and expert advice on handling all types of roof leak repairs safely.
Tip 9: Know When to Stop and Call a Professional
Certain Repairs Are Just Beyond DIY Range
This roof leak fix guide safety tips article is designed to help you deal with manageable repairs — but knowing your limits is also a key safety tip.
Call a licensed roofing contractor when:
- The damaged area is larger than 10 square feet
- You discover extensive rot, mold, or structural damage
- The roof pitch is steep (more than a 6:12 slope)
- Your roof is more than 20 years old and showing widespread wear
- You are not confident or comfortable working at height
A professional quote isn’t binding on you. The majority of roofing companies provide complimentary inspections. Almost always, the cost of a proper repair is less than that of the water damage to your home’s interior, insulation, and structure.
Tip 10: Document Everything Before, During, and After
Photos and Records Protect You for Insurance and Future Repairs
This is a very valuable but often overlooked tip. Before you touch a single thing on your roof, pull out your phone and take detailed photos of:
- The damaged area from multiple angles
- Water staining inside the attic or ceiling
- Materials used in the repair
- The date the work was done
Why does this matter?
- Insurance claims require photographic evidence of damage
- Future contractors can see what was done previously
- Warranty documentation for materials may require proof of proper installation
- Resale transparency — buyers frequently ask about previous roof repairs
Maintain a simple folder on your phone or computer called “Roof Repairs” with dates and photos. It takes five minutes and can save you a lot of headaches down the road.
Tip 11: Do Seasonal Roof Inspections to Catch Issues Early
The Best Roof Leak Fix Is Stopping It Before It Starts
The best entry in any roof leak fix guide safety tips list is prevention. Most leaks don’t happen suddenly — they develop slowly through small cracks, worn sealant, and minor damage that grows over time.
Schedule a basic roof inspection twice a year:
- Spring — inspect for winter damage from ice, snow, and wind
- Fall — clear debris, inspect flashings, and prepare for wet weather
Seasonal Roof Inspection Checklist:
| Area | What to Check |
|---|---|
| Shingles | Cracked, curling, missing, or lifting |
| Gutters | Clogs, sagging, or pulling away from fascia |
| Flashing | Rust, gaps, or separation |
| Roof vents | Damaged screens or boots |
| Attic | Moisture, mold, or daylight coming through |
| Chimney | Cracked crown, loose mortar, deteriorating cap |
You don’t always have to climb onto the roof to perform a basic inspection. A decent pair of binoculars from the ground can reveal a lot. Save the hands-on inspection for specific concerns or professional visits.
According to the National Roofing Contractors Association (NRCA), regular preventive maintenance is the single most effective way to extend the life of your roof and avoid costly emergency repairs.
The Big Picture: Roof Safety Is Home Safety
A dripping roof is more than a nuisance. Left untreated, water damage migrates into walls, compromises structural wood, promotes mold growth, and destroys insulation. The longer it sits, the worse and more costly it becomes.
But an unsafe roof repair puts you personally at risk. Falls, electrical hazards, and structural collapses are real dangers that claim lives every year.
This roof leak fix guide safety tips article has taken you through 11 expert strategies — from wearing the right gear and checking the weather, to finding the real source of the leak and knowing when to call for help. Each tip builds on the last to provide you with a comprehensive framework of safety.
The objective is straightforward: protect your home without risking your own life. With the right knowledge and the right approach, you can do both.
FAQs: Roof Leak Fix Guide Safety Tips
Q1: Can I fix a roof leak by myself, or do I always need a professional? Small leaks — like a cracked shingle or a minor flashing gap — can often be addressed as a DIY project if you take proper safety precautions. However, larger damage, steep roof pitches, or structural problems should always be handled by a licensed roofing contractor.
Q2: How can I tell if a roof leak is an emergency? If water is actively pouring in, if you see a sagging ceiling, or if the leak is near wiring or electrical fixtures, treat it as an emergency. Place buckets to collect water, switch off power to affected areas if it is safe to do so, and contact a roofing or restoration professional without delay.
Q3: What is the best temporary fix for a roof leak? A heavy-duty waterproof tarp secured with roofing screws or sandbags is one of the safest temporary fixes. For smaller areas, roofing-grade butyl tape can also work. These are stopgap measures — a permanent solution is needed as soon as possible.
Q4: How often should I inspect my roof? At least twice a year — once in spring after winter weather and once in fall before the rainy season. Also inspect after any major storm with high winds, hail, or heavy snow.
Q5: What causes most roof leaks? The most common causes are damaged or missing shingles, cracked or improperly sealed flashing around chimneys and vents, clogged gutters causing water backup, and aged roofing materials that have dried out or cracked over time.
Q6: Is roof walking dangerous even with safety gear? Yes, there is always some level of risk when walking on a roof. Safety gear significantly reduces it, but it does not eliminate it. Always move slowly, stay on solid surfaces, avoid wet conditions, and use a harness whenever possible.
Q7: How much does it typically cost to fix a roof leak professionally? Minor leak repairs range from $150 to $500, while more complex repairs involving flashing replacement, large shingle sections, or structural damage can cost $500 to $2,000 or more. Getting two or three quotes from reputable local contractors is always a smart move.
Wrapping It Up: Stay Safe, Stay Dry
A solid roof over your head is one of the most important protections your home provides. When that protection fails, acting quickly and safely is what separates a minor repair from a major disaster.
By following the 11 roof leak fix guide safety tips covered in this article, you’re giving yourself and your home the best possible outcome. Gear up properly, work smart, find the true source of the problem, use the right materials, and never hesitate to call a professional when the job is beyond your comfort level.
Your safety is paramount — always. A patched roof isn’t going to help you if you’re not here to live underneath it.