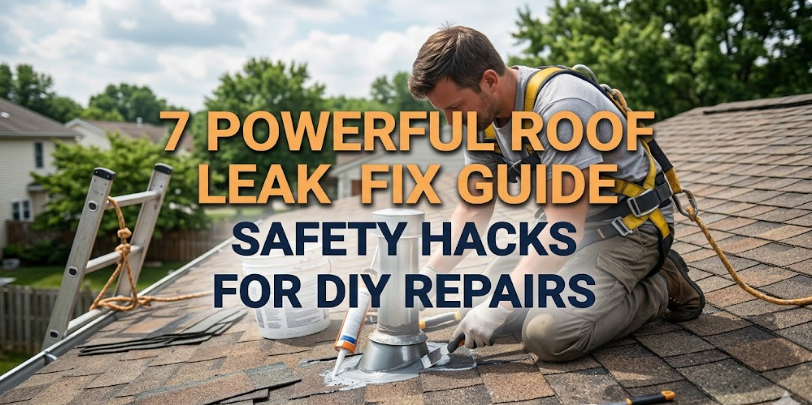
7 Powerful Roof Leak Fix Guide Safety Hacks for DIY Repairs
7 powerful roof leak fix guide safety hacks for DIY repairs
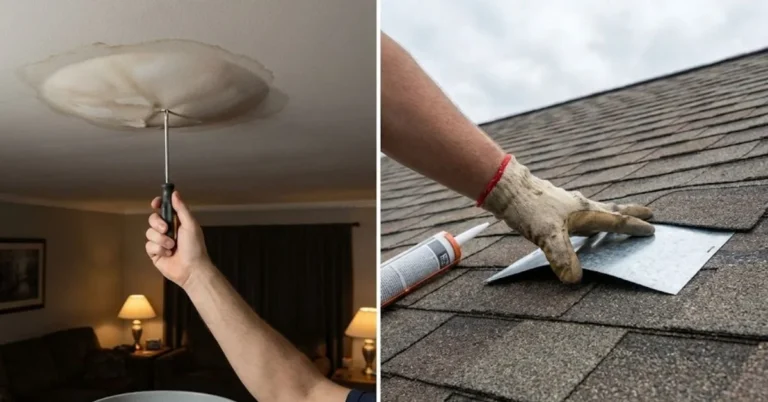
There is something strangely humbling about discovering a roof leak. It rarely announces itself with drama. Instead, it creeps in quietly—through a faint discoloration on the ceiling, a slow drip in the corner of a room, or a musty smell that seems to appear overnight. Many homeowners ignore it at first, hoping it will somehow resolve itself. It never does. What starts as a minor inconvenience can quickly evolve into structural damage, mold growth, and expensive repairs.
Fixing a roof leak yourself can be a satisfying and cost-effective solution, but it is not something to approach casually. The roof is one of the most dangerous areas of a home to work on, and small mistakes can lead to serious injuries. This guide is not just about fixing leaks—it is about doing so intelligently, safely, and with confidence. The hacks you’ll read here are drawn from practical experience, common sense, and a deeper understanding of how roofs behave under stress.
hack 1: master the art of observation before action
Before you grab tools or climb a ladder, pause. Most DIY repairs fail not because of poor execution but because of incorrect diagnosis. A roof leak does not always originate directly above the visible damage. Water is patient. It travels along beams, insulation, and even electrical wiring before revealing itself.
Start inside your home. Look at the shape and spread of the stain. Is it circular? Irregular? Does it grow after rain or only during storms with wind? These clues matter. If possible, visit your attic during daylight hours. Turn off the lights and let your eyes adjust. Small pinholes of sunlight can reveal entry points. Damp insulation, dark wood patches, or a faint smell of mildew can guide you toward the source.
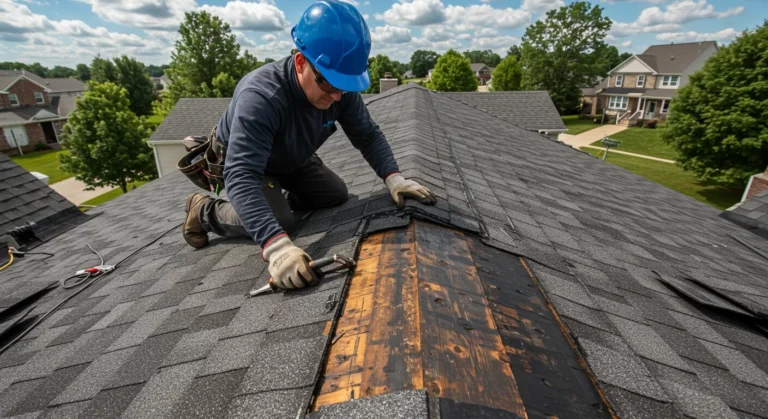
Once outside, resist the urge to rush. Walk slowly and deliberately. Notice areas where shingles appear curled, cracked, or missing. Check around chimneys, vents, and skylights. These are common weak points. A careful observer will often solve half the problem before lifting a single tool.
The safety element here is subtle but crucial. By understanding the exact problem, you minimize the time spent on the roof. Less time up there means fewer chances of slipping, misstepping, or making rushed decisions.
hack 2: choose timing like a professional
One of the most overlooked aspects of roof repair is timing. Many DIYers make the mistake of climbing onto the roof immediately after discovering a leak, often during or right after rain. This is dangerous and counterproductive.
A wet roof is a slippery surface, even if it doesn’t appear so at first glance. Morning dew can be just as hazardous. The best time to work on a roof is during a dry, mild day with minimal wind. Late morning to early afternoon is ideal, as any moisture from the night has evaporated.
Temperature also plays a role. Extremely hot surfaces can soften shingles, making them more prone to damage when stepped on. On the other hand, very cold conditions can make materials brittle and easier to crack.
Planning your repair window does more than improve safety—it enhances the quality of your work. Sealants adhere better in dry conditions. Shingles settle properly. You can move confidently, rather than cautiously fighting the elements.
hack 3: create a stable access system, not just a ladder setup
A ladder leaning against a wall might seem sufficient, but this is where many accidents begin. Stability is everything when working at height.
Start by placing your ladder on firm, level ground. If the surface is uneven, use a ladder stabilizer or levelers rather than makeshift solutions like bricks or wood scraps. The ladder should extend at least three feet above the roof edge, giving you a secure handhold when stepping on and off.
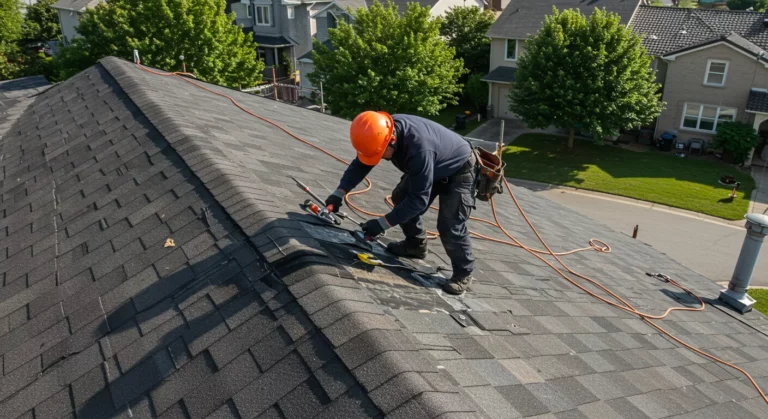
But don’t stop there. Consider how you will move once you are on the roof. Wearing proper footwear with good grip is essential. Soft rubber soles often provide the best traction. Avoid shoes with worn-out treads.
For added safety, use a harness if the roof is steep or if you are inexperienced. While many DIYers skip this step, professionals rely on fall protection for a reason. A simple slip can have life-altering consequences.
Think of your setup as a system rather than a single tool. Ladder, footwear, and body positioning all work together. When one element fails, the others must compensate—and that is a risky gamble.
hack 4: use temporary fixes strategically, not permanently
Not every leak can be fixed immediately, and that’s okay. Temporary solutions can buy you time, but only if used correctly.
A common mistake is applying a quick patch and forgetting about it. Temporary fixes are not meant to last. They are designed to prevent further damage until a proper repair can be carried out.
One effective method is using roofing tape or a tarp secured over the affected area. When placing a tarp, ensure it extends well beyond the damaged section and is anchored securely. Water should be directed away, not trapped underneath.
Inside the attic, placing a bucket under active drips can prevent water from spreading. Puncturing a bulging ceiling spot may seem counterintuitive, but it can relieve pressure and prevent a larger collapse.
The safety angle here involves restraint. Knowing when not to attempt a full repair is just as important as knowing how to perform one. If conditions are unsafe or the damage is extensive, a temporary fix can prevent you from taking unnecessary risks.
hack 5: understand flashing and why it often fails
Flashing is one of the most critical yet misunderstood components of a roof. These thin pieces of metal are installed around joints, edges, and protrusions to direct water away from vulnerable areas. When flashing fails, leaks often follow.
Common failure points include rust, improper installation, and sealant breakdown. Over time, even well-installed flashing can loosen due to temperature changes and structural movement.
When inspecting flashing, look for gaps, corrosion, or lifted edges. A simple reseal using roofing cement can sometimes solve the issue. In other cases, sections may need to be replaced.
Working around flashing requires patience. These areas are often near edges or awkward angles, increasing the risk of slips. Move slowly, maintain three points of contact whenever possible, and avoid overreaching.
Understanding flashing transforms your approach from guesswork to precision. Instead of randomly sealing areas, you target the root cause with confidence.
hack 6: respect the limits of DIY and know when to step back
There is a fine line between being resourceful and being reckless. DIY repairs can save money, but they are not suitable for every situation.
If the roof has widespread damage, structural issues, or multiple leak points, it may be beyond the scope of a safe DIY project. Similarly, if you feel unsure at any point—whether due to height, tools, or complexity—it is wise to pause.
Fatigue is another hidden danger. Working on a roof requires focus and physical effort. As you tire, your judgment and coordination can decline. Taking breaks is not a sign of weakness; it is a safety measure.
Stepping back does not mean failure. It means you are making a rational decision to protect yourself and your home. Sometimes, the smartest move is to call in a professional and observe, learning for future tasks.
hack 7: build a habit of prevention after repair
Fixing a leak is only part of the journey. Preventing future issues is where long-term value lies.
Regular roof inspections can catch problems early. You don’t need to climb up every time. Binoculars from the ground can reveal missing shingles or debris buildup. Cleaning gutters is another simple yet effective step. Clogged gutters can cause water to back up under shingles, leading to leaks.
Trim overhanging branches to reduce debris and prevent damage during storms. Keep an eye on attic ventilation, as poor airflow can lead to moisture buildup and weaken roofing materials.
The safety benefit of prevention is often overlooked. By maintaining your roof, you reduce the frequency of repairs, minimizing the time you spend in potentially hazardous situations.
a short reflection from experience
There is a story many homeowners can relate to. A small stain appears on the ceiling, barely noticeable. Weeks pass. It grows slightly, then stops. You convince yourself it’s nothing serious. One night, during a heavy storm, a steady drip begins. Panic sets in. Buckets come out. Towels line the floor.
The next morning, the problem feels urgent. You climb up quickly, without planning, without proper gear. Maybe nothing goes wrong—but maybe it does. A slip, a misstep, a moment of lost balance.
This guide is meant to prevent that scenario. Not by scaring you, but by preparing you. A roof leak is not just a maintenance issue; it is a test of patience, awareness, and decision-making.
conclusion
DIY roof leak repairs can be empowering. They allow you to take control of your home, save money, and learn valuable skills. But they also demand respect—for the height, the materials, and your own limits.
The seven hacks outlined here are not shortcuts. They are principles. Observe carefully. Choose your timing. Build a stable system. Use temporary fixes wisely. Understand critical components. Respect your limits. Prevent future problems.
Approach each repair with intention, and you will not only fix leaks—you will do so safely, confidently, and effectively.
frequently asked questions
- how can i tell if a roof leak is serious
A leak is serious if it spreads quickly, appears in multiple areas, or is accompanied by sagging ceilings or mold growth. Persistent leaks after minor fixes also indicate deeper issues. - is it safe to fix a roof leak by myself
It can be safe if the damage is minor, the weather is favorable, and proper safety measures are taken. However, steep roofs or extensive damage increase the risk significantly. - what is the most common cause of roof leaks
Damaged shingles, failing flashing, and clogged gutters are among the most common causes. Weather exposure over time weakens these components. - can i use regular sealant for roof repairs
It is best to use products specifically designed for roofing. Regular sealants may not withstand weather conditions and can fail quickly. - how long do temporary roof fixes last
Temporary fixes can last from a few days to a few months, depending on the method and conditions. They should always be followed by a permanent repair. - how often should i inspect my roof
At least twice a year, typically in spring and fall, along with checks after major storms. Regular inspections help catch problems early and reduce repair risks.