10 Easy Roof Leak Fix Guide Safety Tips for Beginners
10 Easy Roof Leak Fix Guide Safety Tips for Beginners
A roof leak rarely announces itself politely. It starts with a faint stain, a musty smell, or that soft drip you hear when everything else is quiet. For beginners, the instinct is often to panic or ignore it—both of which tend to make things worse. The truth is, fixing a roof leak is not always about complex tools or professional expertise. It’s about understanding what you’re dealing with, respecting the risks, and moving step by step with patience and awareness.
This guide is not just a checklist. It’s a practical walk-through filled with small insights, cautionary notes, and real-world thinking that helps you fix leaks safely without turning a minor issue into a major accident.
understanding the nature of roof leaks
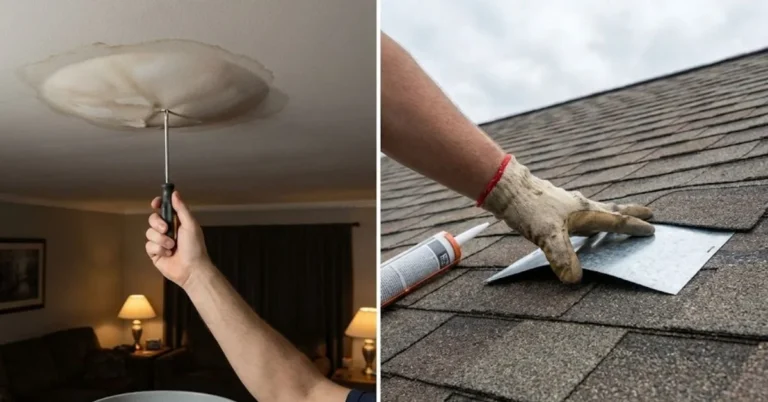
Before climbing up a ladder, it helps to know that a leak is often deceptive. Water rarely enters exactly where you see the damage inside your home. It can travel along beams, insulation, or even wiring before it becomes visible. This means the visible drip is often just the end of a longer journey.
Beginners sometimes make the mistake of fixing the symptom instead of the source. For example, patching a ceiling stain without addressing the entry point on the roof will only delay the problem.
Think of your roof like a layered system rather than a single barrier. Shingles, underlayment, flashing, and structure all work together. A failure in any one layer can cause leakage.
tip 1: safety begins before you step outside
The first and most important rule is simple: don’t rush. Many injuries happen not because the task is difficult, but because it’s done in a hurry.
Before you even approach the roof:
- Check the weather forecast. Wet roofs are dangerous.
- Avoid working during strong winds.
- Choose daylight hours for maximum visibility.
A beginner’s mindset should always include the phrase: “If this feels unsafe, it probably is.” There is no shame in postponing a repair.
tip 2: use the right ladder and position it correctly
A ladder is not just a tool—it’s your lifeline. Using the wrong ladder or placing it poorly can lead to serious accidents.
Make sure:
- The ladder is tall enough to extend beyond the roof edge.
- It is placed on a stable, level surface.
- The angle is correct (not too steep, not too shallow).
One useful trick is the “three points of contact” rule. Always keep two hands and one foot, or two feet and one hand in contact with the ladder.
Imagine your ladder as part of the job, not just a way to reach it. Respecting it reduces half the risk.
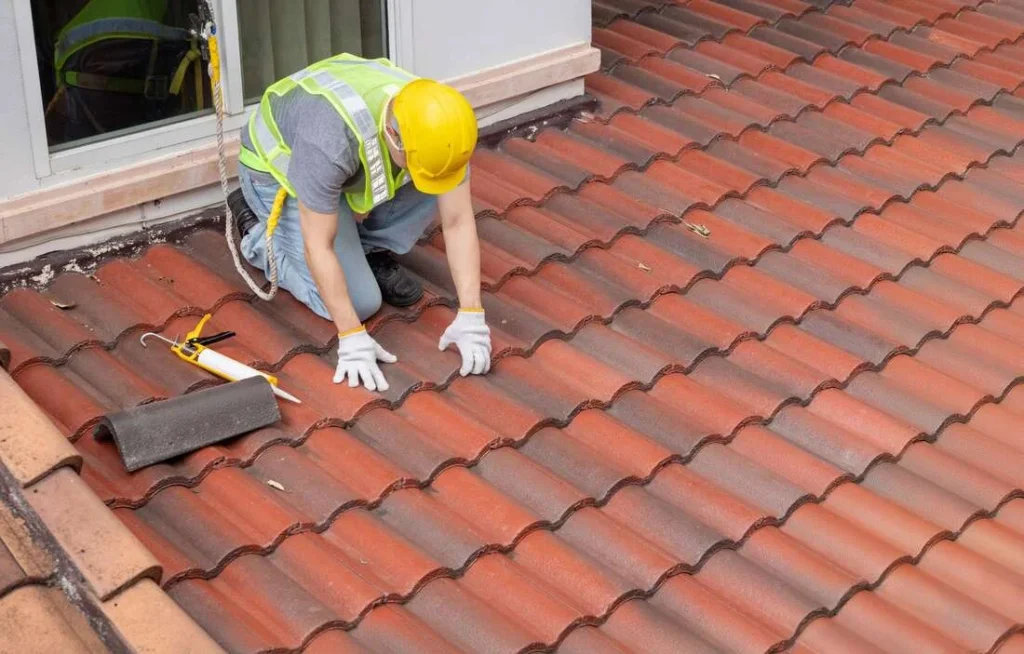
tip 3: wear proper footwear and protective gear
You might be tempted to climb up in whatever you’re wearing. That’s often where beginners slip—literally.
Good footwear should:
- Have strong grip
- Fit snugly
- Be free of mud or oil
Basic protective gear can include:
- Gloves to protect from sharp edges
- Safety glasses if debris is involved
- A helmet if the roof is steep or fragile
Even something as simple as wearing long sleeves can prevent cuts from shingles or nails.
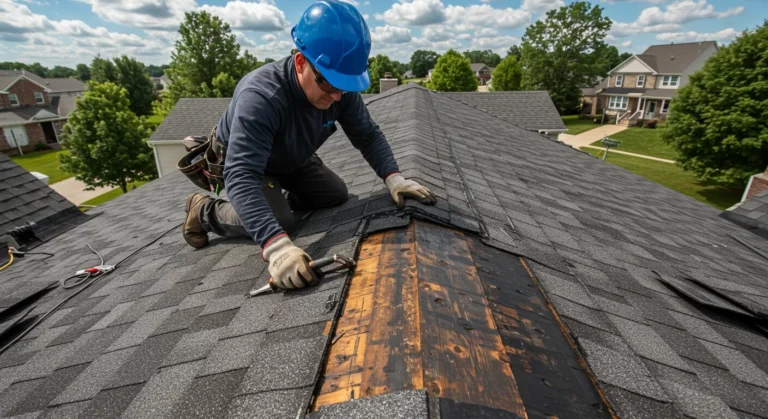
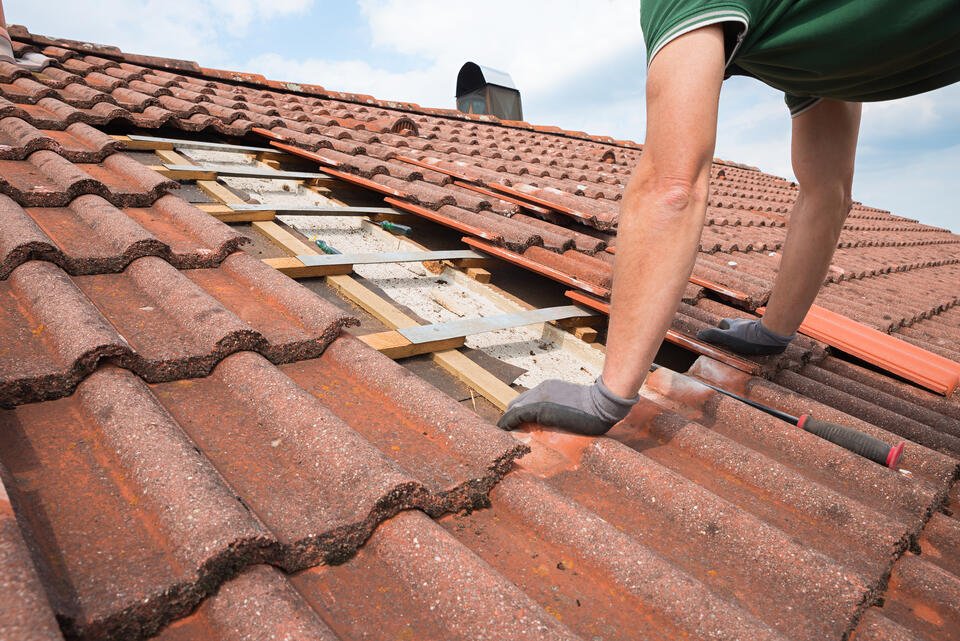
tip 4: identify the leak source before attempting repairs
Once on the roof, don’t start patching randomly. Take time to observe.
Common leak sources include:
- Cracked or missing shingles
- Damaged flashing around chimneys or vents
- Clogged gutters causing water backup
- Nail holes or worn sealant
A good method is to trace the path logically. Start from where water might enter (higher points) and work downward.
If you’re unsure, you can simulate rain using a hose while someone inside watches for leaks. Communication becomes part of the repair process.
tip 5: avoid stepping on weak or damaged areas
Not all parts of a roof are equally strong. Some areas may look fine but are structurally weak.
Watch out for:
- Soft spots that feel spongy
- Areas with visible sagging
- Sections near heavy water damage
Step on solid areas, preferably where structural supports lie beneath. If in doubt, shift your weight gradually instead of committing fully.
A cautious step is always better than a confident fall.
tip 6: use temporary fixes wisely
Sometimes, a full repair isn’t immediately possible. Weather, time, or lack of materials may limit what you can do.
Temporary fixes can include:
- Roofing tape
- Tar patches
- Plastic sheeting secured properly
But remember, temporary does not mean careless. Even a short-term solution should be applied carefully to prevent further damage.
Think of it as buying time—not solving the problem permanently.
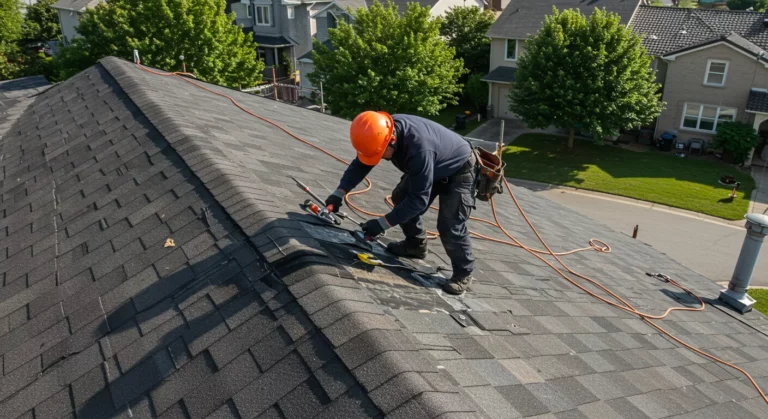
tip 7: handle tools with awareness, not habit
Tools can be helpful or harmful depending on how you use them.
Keep in mind:
- Never leave tools loose on the roof
- Use tool belts or secure placements
- Avoid carrying too many items at once
A dropped hammer or slipping tool can injure you or someone below. Awareness is more important than speed.
tip 8: be cautious around electrical hazards
Roof leaks sometimes interact with electrical systems, especially if water has reached wiring.
Warning signs include:
- Flickering lights
- Buzzing sounds
- Damp areas near electrical fixtures
If you suspect electrical involvement, stop immediately. Turn off power to the affected area before proceeding.
This is one area where guessing is not worth the risk.
tip 9: know when to stop and seek help
One of the smartest safety tips is recognizing your limits.
Situations that may require professional help:
- Steep or high roofs
- Extensive structural damage
- Persistent leaks despite repairs
- Mold or rot issues
There is no advantage in pushing beyond your skill level. A beginner who knows when to step back is far safer than one who insists on finishing the job alone.
tip 10: inspect and maintain regularly after repair
Fixing a leak once doesn’t mean the job is over. Regular inspection prevents future problems.
Simple habits include:
- Checking the roof after storms
- Cleaning gutters
- Looking for early signs of wear
Maintenance is not glamorous, but it’s effective. It turns emergency repairs into manageable tasks.
a beginner’s mindset: patience over perfection
There’s a certain satisfaction in fixing something yourself. But beginners often chase perfection instead of progress.
A small, well-executed fix is better than a large, rushed attempt. Give yourself time to learn. Each repair teaches you something new about your home and your abilities.
mistakes beginners commonly make
Even with good intentions, beginners often fall into predictable traps:
Ignoring safety gear
Rushing the process
Misidentifying the leak source
Overusing sealants without fixing underlying issues
Working in unsafe weather conditions
Recognizing these patterns helps you avoid repeating them.
a simple scenario to think about
Imagine you notice a small stain on your ceiling after a night of heavy rain. Instead of panicking, you follow a calm process:
You wait for clear weather.
You inspect the roof carefully.
You find a loose shingle near a vent.
You secure it properly and apply sealant.
You monitor the area during the next rain.
This approach is simple, but effective. It’s not about complexity—it’s about consistency.
the balance between DIY and professional work
DIY repairs are empowering, but they are not always the best option. The key is balance.
Ask yourself:
- Is this within my ability?
- Do I have the right tools?
- Is the risk manageable?
If the answer is uncertain, it’s better to consult a professional. Safety should never be compromised for the sake of saving money.
final thoughts on staying safe
Roof leak repair is not just about fixing damage—it’s about protecting yourself while doing it. Every step, from preparation to execution, carries a level of risk that can be reduced with awareness.
Beginners don’t need to know everything. They just need to approach the task with respect, caution, and a willingness to learn.
Over time, what feels intimidating today can become routine tomorrow.
frequently asked questions
- how do I know if my roof leak is serious?
A leak is serious if it spreads quickly, causes structural damage, or affects electrical systems. Even small leaks can become serious if ignored, so early action is always recommended.
- can I fix a roof leak without going on the roof?
In some cases, yes. You can apply temporary fixes from inside, such as sealing visible gaps. However, a proper repair usually requires external inspection.
- what is the safest time to repair a roof leak?
The safest time is during dry, calm weather with good daylight. Avoid rainy, windy, or extremely hot conditions.
- how long do temporary fixes last?
Temporary fixes can last from a few days to a few months, depending on the materials used and weather conditions. They should not replace permanent repairs.
- do I need special tools for roof leak repair?
Basic tools like a hammer, roofing nails, sealant, and a ladder are often enough for small repairs. More complex issues may require specialized equipment.
- when should I call a professional instead of fixing it myself?
You should call a professional if the roof is steep, the damage is extensive, or you feel unsure about your safety. It’s always better to prioritize safety over DIY effort.
This guide is meant to give you confidence, not overconfidence. Start small, stay careful, and remember that every safe repair is a step toward mastering the skill.