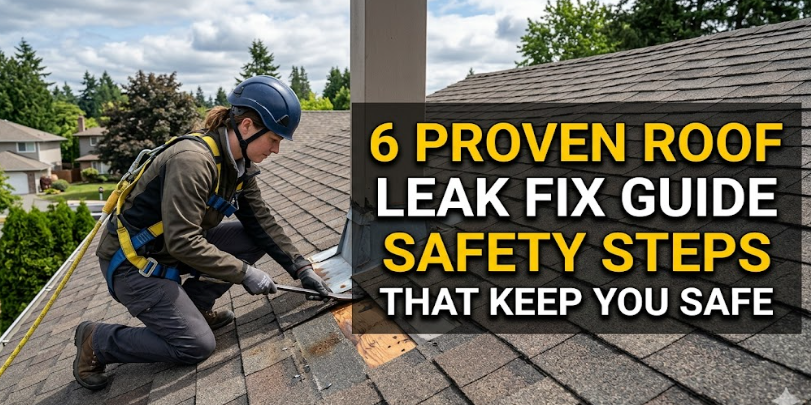
6 Proven Roof Leak Fix Guide Safety Steps That Keep You Safe
6 Proven Roof Leak Fix Guide Safety Steps That Keep You Safe
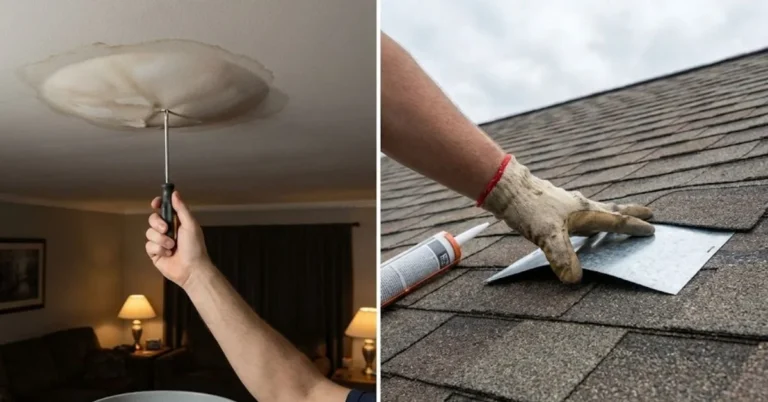
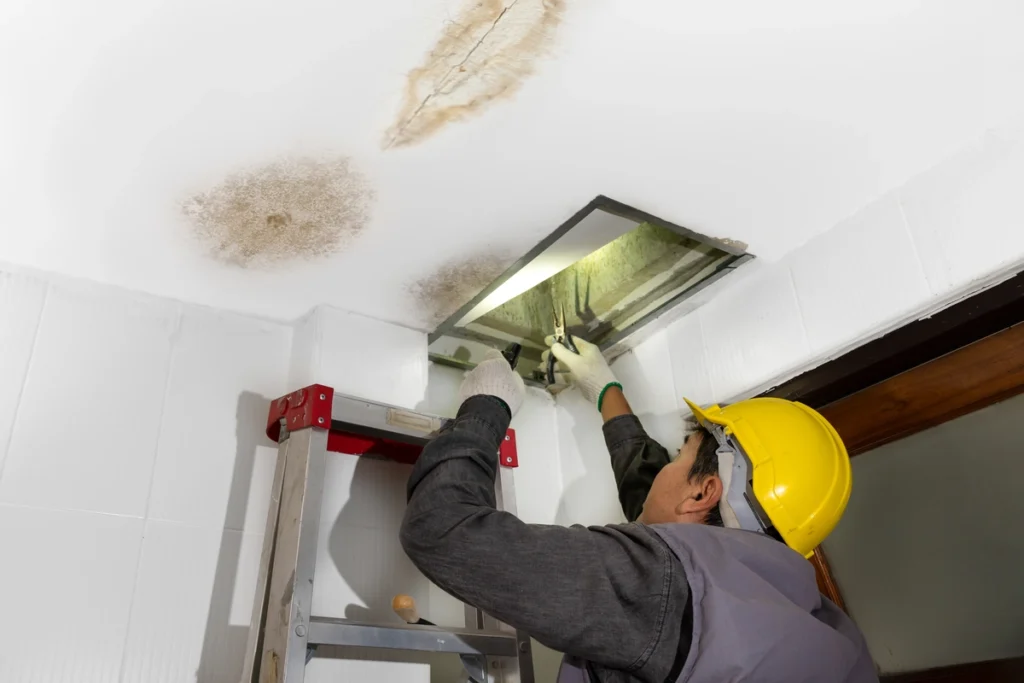
There’s a certain kind of silence that comes with discovering a roof leak. It often begins with a faint drip during a storm or a mysterious stain spreading slowly across the ceiling. At first, it feels manageable—almost harmless. But anyone who has lived through a persistent leak knows how quickly that small problem turns into something bigger: damaged insulation, mold growth, weakened structures, and a constant sense of unease every time clouds gather.
Fixing a roof leak is not just about stopping water. It is about doing it safely, intelligently, and without turning a repair into a personal hazard. Many people underestimate how dangerous roof work can be. Slippery surfaces, unstable footing, sharp materials, and electrical risks all combine to create an environment where one wrong move can have serious consequences.
This guide isn’t just a checklist of repairs. It’s a practical, experience-driven walkthrough of six proven safety steps that make roof leak fixes not only effective but also secure. Along the way, you’ll find observations, small habits that make a big difference, and insights that go beyond the typical DIY advice.
Let’s begin with the mindset that matters most: safety is not a step—it’s the foundation of every step.
Understanding the risks before climbing up
Before tools, before ladders, before even stepping outside, there’s something more important: awareness. Many accidents happen not because people don’t know what to do, but because they underestimate what could go wrong.
A roof might look solid from below, but surfaces can be brittle, especially if they’ve been exposed to years of heat, rain, and temperature swings. Shingles loosen. Nails protrude. Moss creates slick patches. Even a slight slope becomes dangerous when combined with moisture.
There’s also the issue of hidden damage. Water intrusion doesn’t always stay where it starts. It travels. That means the area you’re stepping on might be weaker than it appears. One misjudged step can lead to a fall—or worse, breaking through the roof structure.
So the first safety step isn’t physical. It’s mental. Pause. Assess. Look at the roof from multiple angles. Ask yourself if conditions are stable enough to proceed. If not, waiting is not weakness—it’s wisdom.
Step 1: choosing the right weather window
Timing is everything when it comes to roof work. Many people attempt repairs during or immediately after rain, driven by urgency. It’s understandable—seeing water drip into your home creates pressure to act fast. But rushing onto a wet roof is one of the most common and dangerous mistakes.
Dry conditions provide better traction. Even slightly damp shingles can become as slippery as ice. Wind is another factor often overlooked. A sudden gust can throw off your balance, especially when you’re carrying tools or materials.
Early morning might seem like a good time, but dew can linger on surfaces. Late afternoon, when the roof has dried completely, is often safer. However, avoid working in extreme heat, as it can soften roofing materials and cause fatigue more quickly.
Think of weather as a partner in your repair. When it cooperates, everything becomes easier and safer. When it doesn’t, it’s better to wait than to risk injury.
Step 2: securing your ladder properly
The ladder is your bridge between safety and danger. If it’s unstable, everything that follows becomes risky. Surprisingly, ladder-related accidents are more common than roof-related ones.
Start by placing the ladder on firm, level ground. Soft soil can shift under weight, so consider using a stable base or ladder stabilizers. The angle matters too. A ladder that’s too steep can tip backward, while one that’s too shallow may slide out.
A simple rule helps: for every four feet of height, place the base one foot away from the wall. This creates a stable angle that supports both ascent and descent.
Always extend the ladder at least three feet above the roof edge. This gives you something to hold onto when transitioning on and off the roof—a moment when many slips occur.
And here’s something often ignored: secure the ladder. Tie it off if possible. Even a slight movement while you’re climbing can cause panic, which leads to mistakes.
Climbing a ladder shouldn’t feel like a balancing act. If it does, something needs adjustment before you go any further.
Step 3: wearing proper safety gear
There’s a tendency to treat roof repairs like casual tasks. People go up in regular shoes, without gloves, sometimes even without eye protection. It feels quicker that way—but it’s also far more dangerous.
Footwear is critical. Shoes with strong grip and non-slip soles can mean the difference between stability and a fall. Avoid worn-out sneakers or smooth soles. Roofing surfaces demand traction.
Gloves protect against sharp edges, nails, and rough materials. They also improve your grip, especially when handling tools or shingles.
Eye protection might seem excessive, but debris, dust, and small fragments can easily become hazards, especially when removing damaged sections.
For steeper roofs, a safety harness is not optional—it’s essential. While it might feel cumbersome, it provides a level of protection that no amount of balance can replace.
Think of safety gear as an extension of your body. It’s not about comfort or style. It’s about reducing risk in an environment where risks are everywhere.
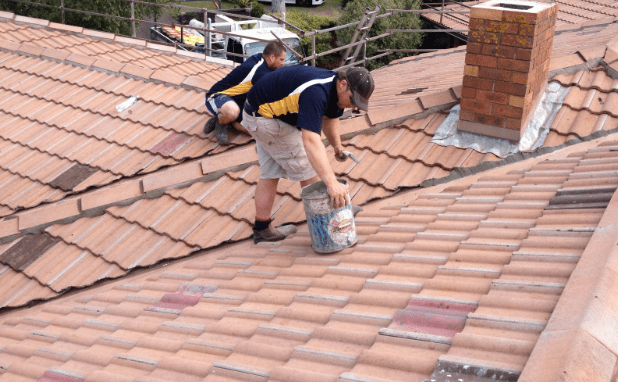
Step 4: identifying the source of the leak safely
One of the trickiest parts of fixing a roof leak is finding where the water is actually entering. The visible damage inside the house is often misleading. Water travels along beams, insulation, and surfaces before it shows itself.
Climbing around the roof without a clear plan increases exposure to danger. Instead, start from inside the attic if possible. Look for damp spots, water trails, or mold. Trace these clues toward the likely entry point.
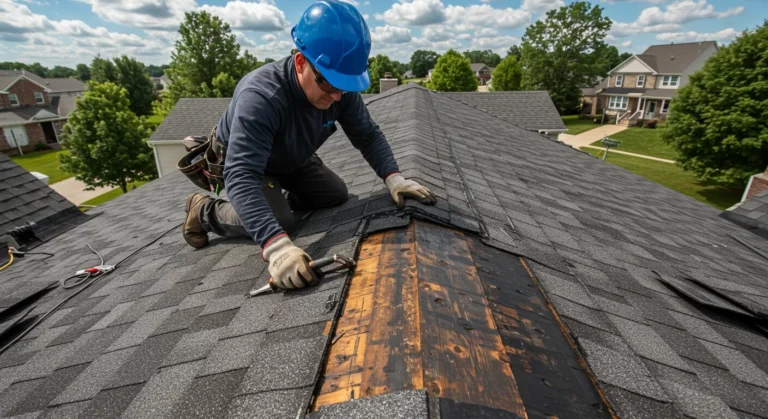
Once you’re on the roof, move carefully and deliberately. Avoid stepping on visibly damaged areas. If shingles are curled, cracked, or missing, they’re likely near the problem zone—but also more fragile.
Use tools to assist rather than relying on touch alone. A small pry bar can help lift shingles gently without putting your fingers at risk.
This step is about patience. Rushing to find the leak often leads to unnecessary movement across the roof, increasing the chance of slips or missteps.
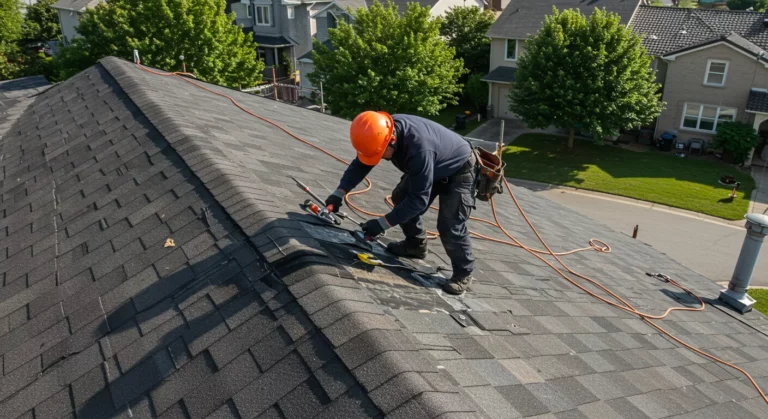
Step 5: using tools and materials with control
Tools can either make your work safer or more dangerous, depending on how they’re handled. On a roof, even simple tools require extra care.
Keep your tools organized. Scattered equipment creates tripping hazards. Use a tool belt or a secure container to keep everything within reach without cluttering your workspace.
When using a hammer or nail gun, maintain a stable stance. Never overreach. If something is just out of reach, reposition yourself instead of stretching. Overreaching is a leading cause of falls.
Sealants, adhesives, and patching materials should be applied carefully. Some can become slippery if spilled, creating unexpected hazards.
It’s also important to handle debris properly. Removed shingles, nails, and fragments should be collected and secured. Leaving them loose can create sharp and unstable surfaces underfoot.
Control is the key word here. Every movement should feel intentional, not rushed or reactive.
Step 6: knowing when to stop and call for help
Perhaps the most underrated safety step is recognizing your limits. Not every roof leak is a DIY project, and not every situation is safe to handle alone.
If the roof is too steep, too high, or too damaged, stepping back is the safest decision you can make. Electrical hazards, structural issues, and extensive water damage require professional expertise.
There’s no failure in calling for help. In fact, it’s often the smartest move. Professionals have the training, equipment, and experience to handle complex repairs safely.
Even if you start a repair yourself, stay aware of how conditions evolve. Fatigue, changing weather, or unexpected complications are all valid reasons to pause or stop.
Safety is not about proving capability. It’s about making decisions that protect you and your home in the long run.
The human side of roof repairs
Beyond the technical steps, there’s a human element to all of this. Roof repairs often happen under stress—during storms, after damage, or when time feels limited. That stress can cloud judgment.
Taking a moment to slow down, breathe, and approach the task with clarity can change everything. It reduces mistakes. It improves focus. And it turns a risky situation into a manageable one.
There’s also value in preparation. Having a small kit ready—gloves, proper shoes, basic tools—means you’re not scrambling when a leak appears. Preparedness creates confidence, and confidence supports safer decisions.
Over time, these habits become second nature. You start to notice details others might miss. You move more carefully. You plan more effectively.
And that’s really what safety is about—not a single action, but a collection of small, consistent choices.
Practical scenarios and lessons learned
Imagine discovering a leak during a heavy storm. The instinct is to act immediately. But stepping onto a wet roof in the dark is one of the most dangerous scenarios possible. The safer approach is to manage the interior damage temporarily—using buckets, tarps, or containers—and wait until conditions improve.
Or consider a situation where the leak seems minor. It’s tempting to ignore safety steps for a quick fix. But even small repairs carry risks. Treating every task with the same level of care ensures consistency and reduces accidents.
Another common scenario involves working alone. While it’s possible, having someone nearby adds a layer of safety. They can assist, monitor, and respond if something goes wrong.
These scenarios highlight a simple truth: safety isn’t situational. It’s universal.
Building confidence through safe practice
Confidence doesn’t come from taking risks. It comes from understanding them and managing them effectively.
Each time you approach a roof repair with proper safety measures, you reinforce good habits. Over time, these habits become automatic. You check the weather without thinking. You secure your ladder instinctively. You wear the right gear without hesitation.
This kind of confidence is quiet but powerful. It allows you to handle challenges calmly and efficiently.
And perhaps most importantly, it keeps you safe.
Conclusion
Fixing a roof leak is never just about sealing a gap or replacing a shingle. It’s about navigating a potentially dangerous environment with awareness, preparation, and care.
The six proven safety steps—choosing the right weather, securing your ladder, wearing proper gear, identifying the leak carefully, using tools with control, and knowing when to seek help—form a complete approach to safe repairs.
They’re not complicated. They don’t require advanced skills. But they do require attention and respect for the task at hand.
In the end, the goal isn’t just a dry home. It’s a repair process that leaves you unharmed, confident, and better prepared for whatever comes next.
Frequently Asked Questions
- Is it safe to fix a roof leak by myself?
Yes, small and manageable leaks can often be fixed safely if proper precautions are taken. However, if the roof is steep, damaged, or conditions are unsafe, it’s better to seek professional help. - What is the safest time to repair a roof leak?
The safest time is during dry, calm weather with good visibility. Avoid working during rain, strong winds, or extreme temperatures. - Do I really need a safety harness for small repairs?
For low-slope roofs, it may not always be necessary, but for steeper roofs or higher elevations, a harness significantly reduces the risk of serious injury. - How can I find the exact source of a leak?
Start from inside the attic and trace water marks or damp areas. On the roof, look for damaged shingles, cracks, or gaps near those areas. - What should I do if I feel unsafe while on the roof?
Stop immediately and carefully climb down. Reassess the situation and consider getting assistance or professional help. - Can temporary fixes prevent further damage?
Yes, temporary solutions like tarps or sealants can reduce damage until a proper repair is done, but they should not replace a permanent fix.