7 Powerful Roof Leak Prevention Guide Habits for Long-Term Protection
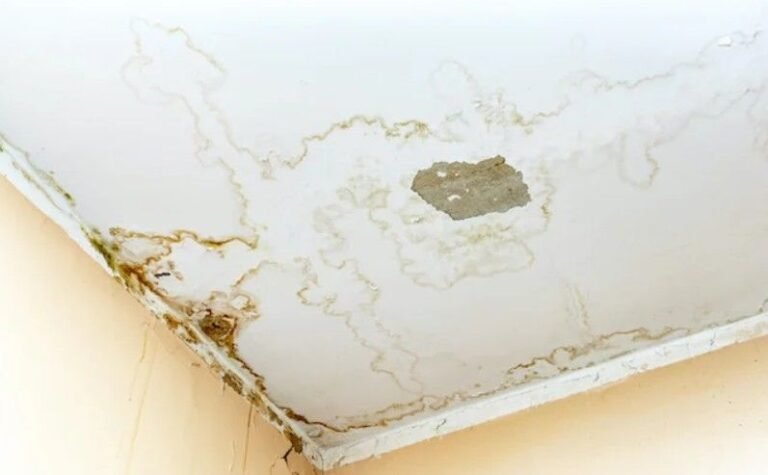
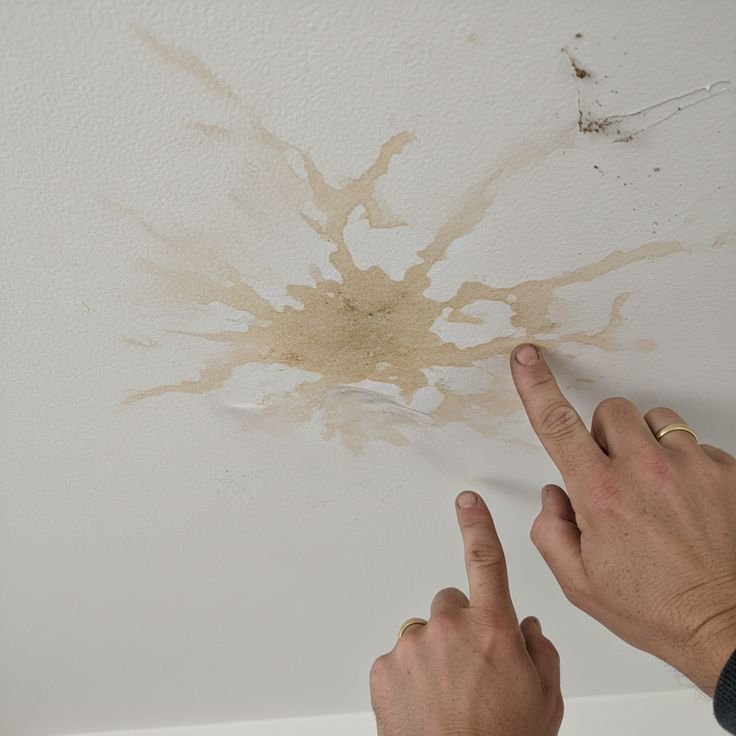
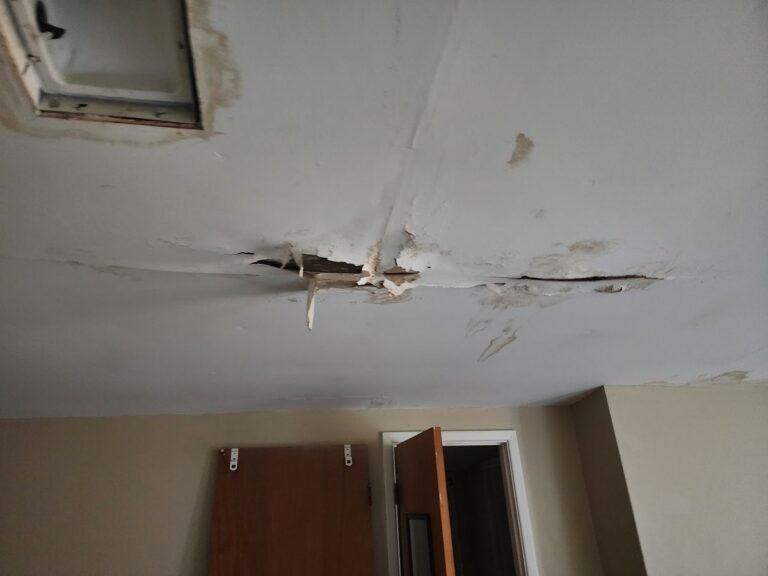
Last monsoon season, I watched water drip steadily from my living room ceiling into a bucket I’d placed in the middle of the floor. It wasn’t a dramatic flood — just this slow, humiliating drip that had me on YouTube at midnight, trying to figure out what I’d missed. The worst part? The leak didn’t start during the storm. It had been building for months because I’d ignored some basic habits that could have saved me a lot of stress (and about $600 in repairs).
If you’ve ever been in that situation — or you’re trying to avoid it — this guide is for you. These aren’t generic tips you’ll forget in an hour. These are the habits I actually built after learning the hard way.
1. Do a Visual Roof Inspection Every Season — Not Just When It Rains
Most homeowners only think about their roof when something goes wrong. I was definitely guilty of this. But here’s the thing: by the time you see a drip inside, the damage has usually been sitting there for weeks or even months.
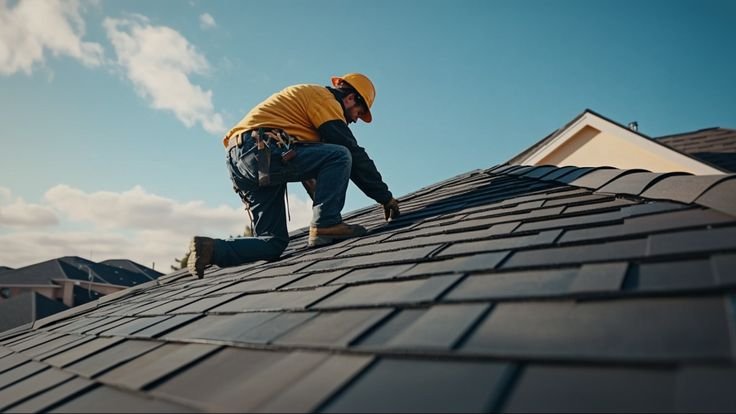
Now I do a quick visual inspection four times a year — once before each major season shift. You don’t need to climb up there every time (more on roof safety later). A pair of binoculars and 15 minutes from ground level can reveal a lot.
What to look for:
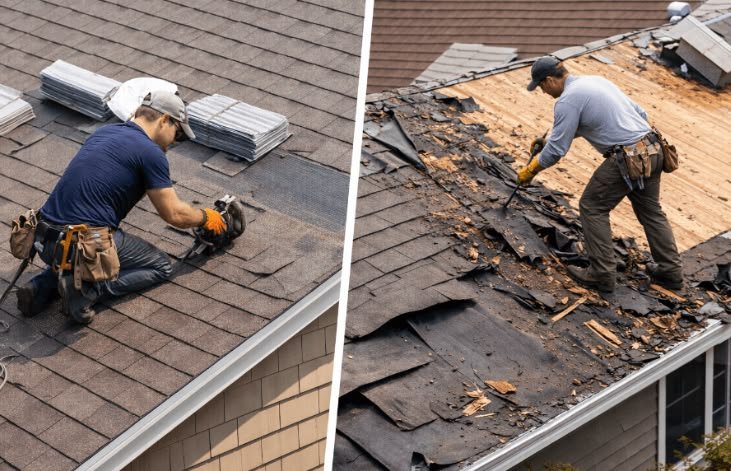
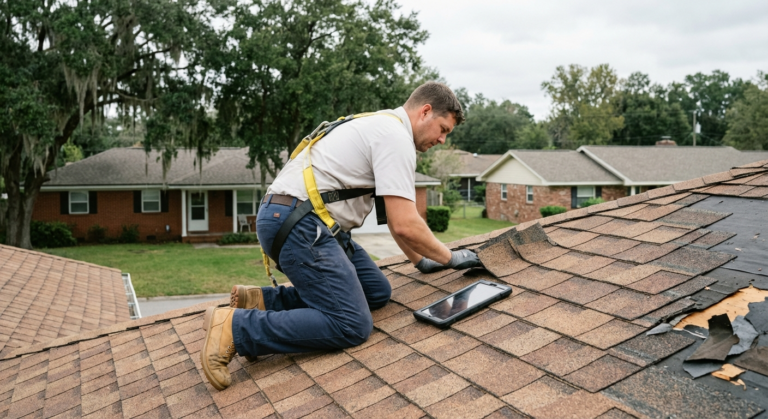
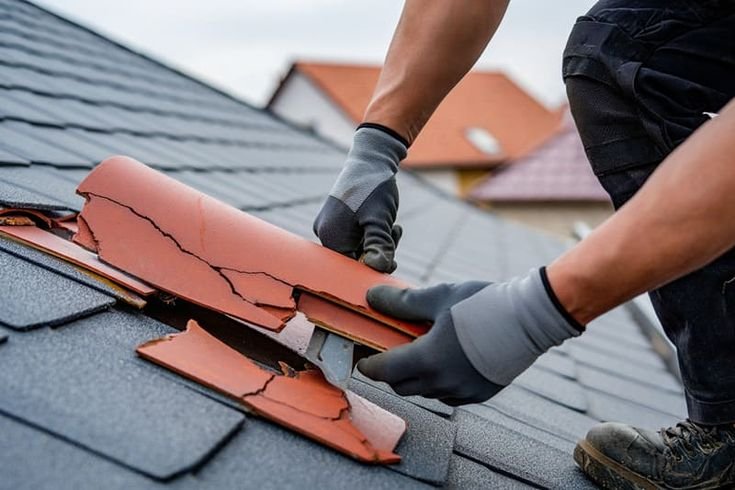
- Missing, cracked, or curled shingles
- Granule loss (you’ll notice this as dark patches or granules collecting in gutters)
- Sagging sections anywhere on the roof
- Moss or algae growth — this holds moisture and slowly destroys shingles
- Flashing around chimneys or vents that looks lifted or separated
I use a simple notebook to log what I see each season. Nothing fancy — just a date and any observations. It helped me catch a loose flashing near my chimney before it became a full-blown leak entry point.
2. Clean Your Gutters Like Your Roof Depends on It — Because It Does
This one sounds basic, but clogged gutters are responsible for more roof leaks than most people realize. When gutters overflow, water backs up under the shingles along the eaves. In cooler climates, this creates ice dams. In rainy regions like Karachi or similar humid areas, it simply soaks the roof decking over time.
After a big storm, I now make it a point to check the gutters within a day or two. Leaves, twigs, and debris pile up faster than you’d expect.
My routine:
- Use a ladder stabilizer (not just the ladder itself leaning on the gutter — that’s a great way to damage it)
- Scoop debris out by hand with gloves, or use a gutter scoop tool
- Flush with a garden hose to check water flow and spot any sags or holes
- Check that downspouts are clear and water exits away from the foundation
I installed gutter guards a couple of years ago and they genuinely cut down on how often I need to clean — but I still check them after heavy leaf fall because debris can build up on top of the guards.

3. Don’t Ignore Flashing — It’s the Most Underrated Part of Your Roof
Before I learned what roof flashing actually was, I had zero idea it existed. Flashing is the thin metal material (usually aluminum or galvanized steel) installed at all the joints and transitions on your roof — around chimneys, skylights, vents, and where the roof meets a wall.
And it’s almost always where leaks originate.
The flashing on my chimney had separated slightly — probably from years of thermal expansion and contraction. From the ground, it looked fine. But when I got up there (carefully, with proper footwear and a harness), I could see it had pulled away enough to let water channel right in.
The fix was simple: roofing caulk and a metal flashing patch. Took about 40 minutes. Would have taken 40 seconds to prevent if I’d been checking it every year.
Signs your flashing needs attention:
- Visible rust or corrosion
- Gaps between the flashing and the surface it seals
- Caulk that’s cracked, dried, or missing entirely
- Water stains on interior ceilings near chimneys or vents
If you want to go deeper on roof leak repair basics that actually work, understanding flashing is step one.
4. Keep Trees Trimmed Away From Your Roof
This habit took me longer to adopt because it felt like yard work, not roof maintenance. But overhanging branches cause two major problems:
First, they scrape against shingles during wind, wearing down the protective granule layer faster than normal weathering would.
Second, fallen leaves and twigs collect on the roof and in the valleys (the angled joints where two roof planes meet), trapping moisture and giving moss and algae a place to thrive.
I had a large tree branch that hung about three feet over my roof. After a windy night, I’d find a pile of debris in the roof valley every single time. Eventually, I hired a tree service to trim it back — not remove the whole tree, just keep it a safe distance from the roof line.
General rule: Keep branches at least 6–10 feet away from your roof surface. If trimming isn’t an option, increase the frequency of debris removal from your roof.
5. Check Your Attic Regularly — Leaks Often Show Up There First
Here’s something that changed my entire approach to roof maintenance: the attic is your early warning system.
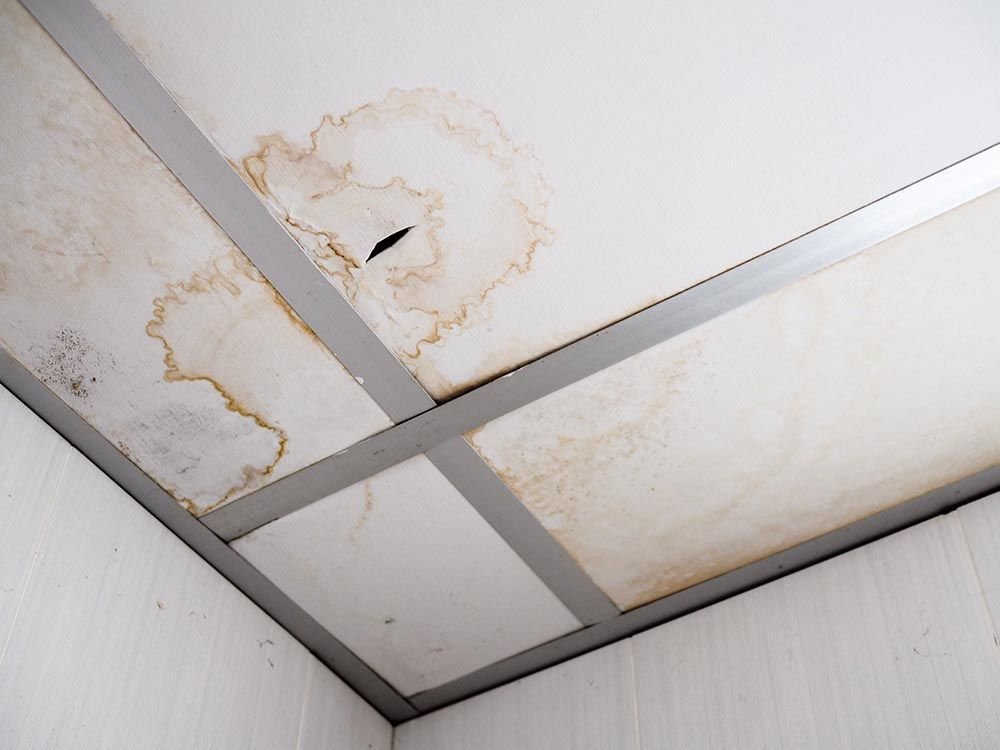
Before a leak ever shows up as a stain on your ceiling, it’s usually already visible in the attic — as a water stain on the decking (the wooden boards under your shingles), as daylight peeking through a gap, or as mold starting to form in a corner.
I now check my attic every few months, especially after heavy rain. I bring a flashlight and look for:
- Dark spots or staining on the wood
- Any light coming through the roof
- Soft or spongy-feeling areas in the decking
- Mold or musty smell (this signals ongoing moisture)
Also, while you’re up there — check your attic ventilation. Poor ventilation causes heat and moisture buildup that can actually rot your roof decking from the inside, without a single drop of rain ever getting in. That’s a silent killer for roofs and one most people don’t connect to leaks until it’s too late.
6. Apply Roof Sealant Proactively — Before Leaks Start
Most people only reach for roof sealant after they’ve found a leak. But applying it as a preventive measure around vulnerable areas is one of the smartest habits you can build.
Areas I seal every couple of years:
- Around all pipe boots and vent flashings
- Along the edges of any patches or repairs
- Along roof valleys
- Anywhere I notice old caulk drying or cracking
For this, I’ve used a few different products over the years. Flex Seal works well for small gaps and emergency situations. For more permanent applications, Dicor lap sealant (popular with RVs but works well on residential flat sections) and standard roofing caulk from brands like DAP are my go-to.
One mistake I made early on: I used regular silicone caulk from the hardware store instead of proper roofing caulk. Regular silicone doesn’t bond well to asphalt shingles and it peeled off within a year. Use the right material for the job.
For more on smart maintenance habits that prevent leaks, there’s a solid breakdown of which products work best for which surfaces.
7. Hire a Professional Inspector Every 3–5 Years
I’ll be honest — I resisted this one for a long time because I figured I was doing enough on my own. But after a professional roofer pointed out an issue I’d completely missed (a small section of improper overlapping near a ridge cap), I understood the value.
A professional roof inspection typically costs between $100–$300 depending on your location and roof size. For what they catch — and what that might save you in major repairs — it’s almost always worth it.
What a pro checks that you probably can’t:
- Structural integrity of the decking (they walk the roof and feel for soft spots)
- Proper installation of ridge caps and hip shingles
- Nail pops under shingles (a common entry point for water that’s invisible from below)
- Condition of underlayment at the edges
- Code compliance on any previous DIY repairs
After my inspection, the roofer gave me a written report with photos. I now use that as a baseline for my own seasonal checks. It’s like getting a reference point from someone who knows what “normal” looks like versus what’s actually deteriorating.
Common Mistakes Homeowners Make (That Lead to Expensive Leaks)
Since I’ve made most of these myself at some point, I figure it’s worth spelling them out:
| Mistake | Why It’s a Problem |
|---|---|
| Waiting until you see a stain to investigate | By then, the damage is extensive |
| Using the wrong caulk or sealant | Wrong products fail quickly and give false security |
| Ignoring moss or algae growth | Holds moisture, accelerates shingle decay |
| Skipping the attic check | Misses early warning signs entirely |
| Pressure washing shingles | Strips granules and shortens shingle life significantly |
| Nailing over damaged shingles | Seals moisture in, causes rot underneath |
| Not documenting inspections | Can’t track what’s changed or worsening over time |
The pressure washing one surprised me when I first learned it. A neighbor pressure washed his roof thinking he was doing it a favor — the granule loss he caused basically aged his shingles by five years in one afternoon.
A Simple Seasonal Checklist to Keep You on Track
If building habits feels overwhelming, this quick checklist might help:
Spring:
- Clear winter debris from gutters and roof
- Check for damage from ice or wind
- Inspect flashing and reseal if needed
Summer:
- Trim back overhanging branches
- Check for moss or algae growth
- Inspect attic ventilation
Fall:
- Clean gutters after leaf fall
- Check shingles before rainy season
- Apply sealant to any vulnerable spots
Winter:
- Monitor for ice dams if in a cold climate
- Check attic for moisture or condensation buildup
- Do a post-storm visual inspection after major weather events
It sounds like a lot when you list it all out, but most of these checks take 15–30 minutes. The whole year of maintenance adds up to maybe 4–5 hours — compared to the 2–3 days (and hundreds or thousands of dollars) a major repair takes.
When DIY Ends and the Pro Needs to Start
I’m a fan of doing what you can yourself — it saves money and you learn your own home better. But there’s a clear line.
If you find any of the following, call a roofer rather than attempting a DIY fix:
- Soft or spongy decking over a wide area (structural rot)
- Multiple areas of missing shingles
- Damage near the ridge (the very top) of the roof
- Active leaking that you can’t trace to a visible source
- Any roof work that requires working at height without proper safety gear and experience
For the latter, I’ve written about essential safety rules before climbing a roof — it’s worth reading before you ever step foot up there, even for a “quick check.”
The honest truth is that roof maintenance is one of those things that’s really boring until it’s absolutely urgent. Nobody wants to spend a Saturday checking gutters. But I’d take a boring Saturday over a stressful, expensive emergency any day. The habits in this guide aren’t complicated — they’re just consistent. Build them into your routine once, and you’ll likely never deal with that midnight drip-into-a-bucket moment that I did.
Also worth reading: 9 Powerful Roof Leak Fix Guide Repair Tips for Heavy Rain — especially useful if you’re heading into a rainy season and want to make sure your repairs actually hold up under real conditions.
About the Author