6 Easy Roof Leak Prevention Guide Tips Every Home Needs
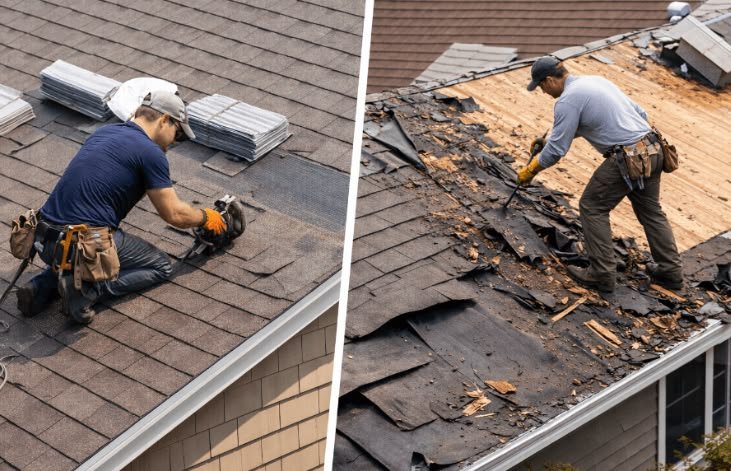
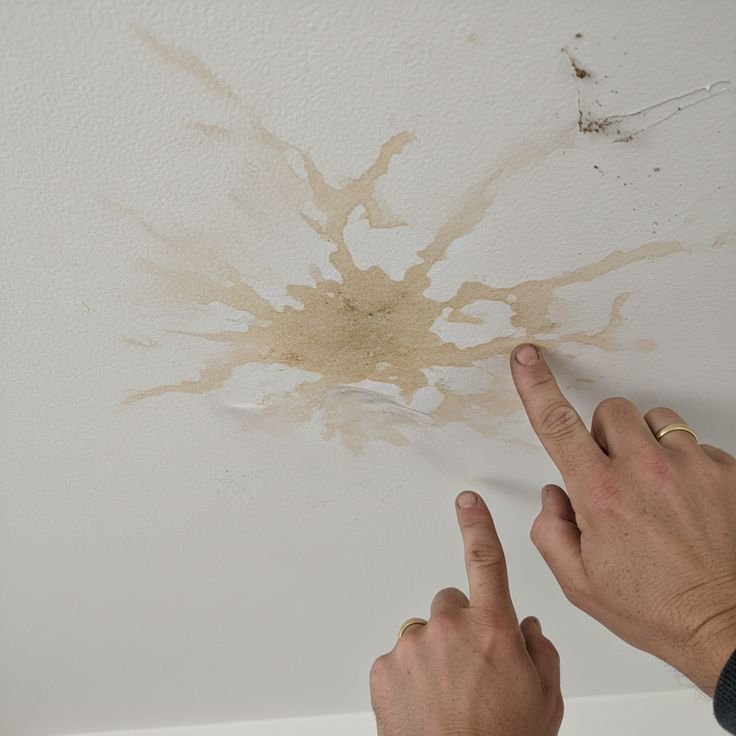
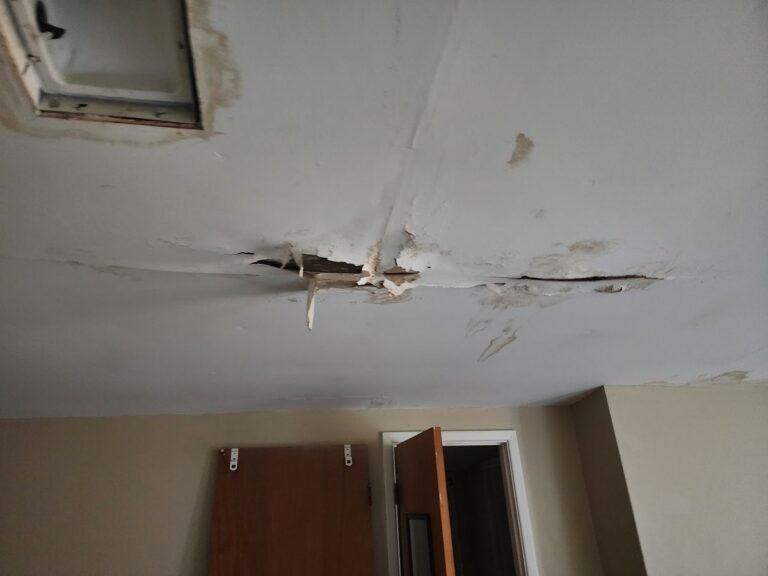
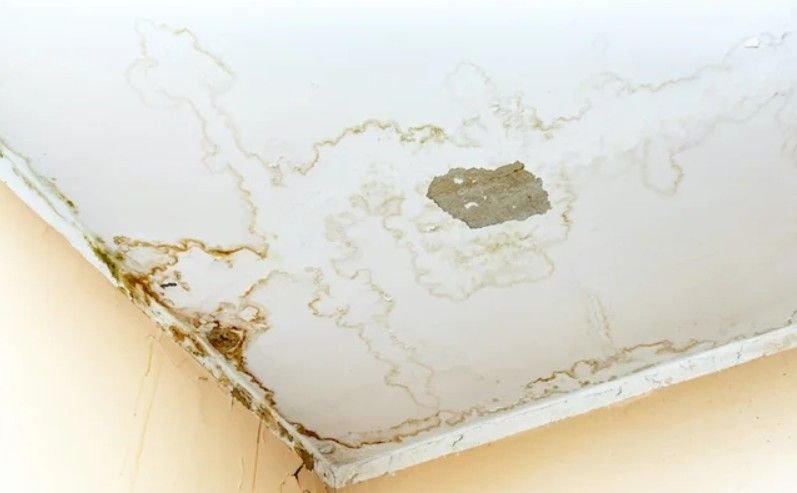
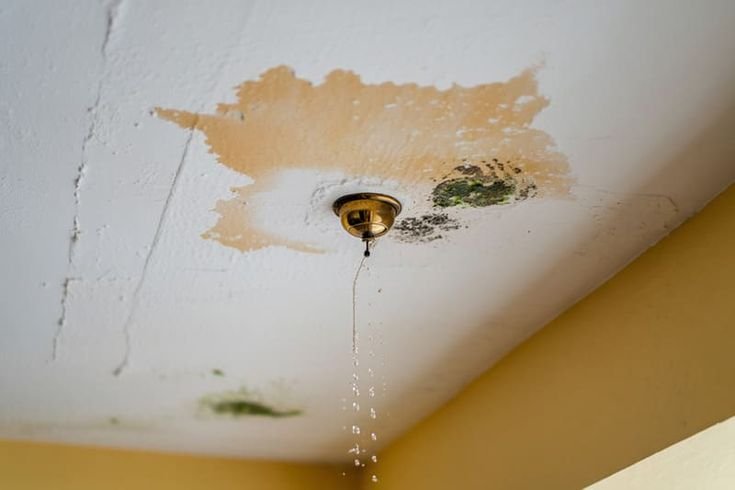
I still remember the morning I walked into my bedroom and found a water stain spreading across the ceiling like a slow-motion disaster. It wasn’t even raining that hard — just one of those steady overnight drizzles. But somewhere up on my roof, water had found a way in, and by the time I noticed it, the damage had already crept into the drywall.
That repair bill? Over $800. And the worst part? My roofer told me most of it was completely preventable.
That experience changed how I think about roof maintenance. I used to be the kind of homeowner who only looked at the roof when something was visibly wrong. Now I check it twice a year like clockwork. And honestly, the six habits I’ve built since then have saved me from at least two or three more leaks that were quietly developing.
So if you’re reading this before something goes wrong — good. You’re ahead of where I was.
1. Inspect Your Roof Twice a Year (Not Just After Storms)
Most people only look at their roof when there’s an obvious problem. That’s the reactive approach, and it almost always costs more money.
The smarter move is inspecting your roof in spring and fall — once before the heavy rain season hits, and once after winter if you’re in a colder climate.
You don’t have to climb up there every time either. Start from the ground with a pair of binoculars. Look for:
- Shingles that are curling, buckling, or visibly missing
- Dark patches or streaks (often algae or moisture damage)
- Sagging areas that suggest water pooling
- Any debris built up near the edges or valleys
If you spot something concerning from the ground, then you go up. And when you do, use a solid extension ladder, wear rubber-soled shoes, and never walk on a wet roof.
I personally use a roof inspection app called Roofr to log what I find each inspection. It’s not fancy, but keeping photos with timestamps has been genuinely useful — especially when comparing year-over-year changes in my shingles.

2. Keep Your Gutters Clean and Flowing Properly
This one sounds obvious, but you’d be surprised how many people ignore their gutters until they’re overflowing with leaves, bird nests, or literal plants growing out of them.
Clogged gutters cause water to back up under your shingles. That backed-up water sits there, seeps in slowly, and eventually finds its way into your attic or walls. By the time you notice it inside, it’s been going on for a while.
Here’s what I do every fall before the rains come:
Step 1: Clear the gutters by hand (gloves on — it’s gross). Get all the wet leaves, dirt, and debris out.
Step 2: Flush them with a garden hose from the end farthest from the downspout. Watch for slow drainage or pooling.
Step 3: Check that downspouts are directing water at least 4–6 feet away from your foundation.
Step 4: Look for any sections of the gutter that are pulling away from the fascia or sagging in the middle. Those need to be reattached before heavy rain hits.
I added gutter guards (specifically the micro-mesh type — Raptor brand, about $1.50/foot) a couple of years ago and it’s cut my cleaning time in half. Not a perfect fix, but a real improvement.
3. Check Your Flashing — This Is Where Most Leaks Actually Start
Flashing is the thin metal (usually aluminum or galvanized steel) that seals the joints around your chimney, skylights, vents, and anywhere the roof meets a wall. It’s one of the most important waterproofing elements on your roof, and it’s also one of the first things to fail.
When flashing corrodes, pulls away, or gets damaged, water slides right in through the gap. And because it’s not obviously visible from the ground, it’s easy to miss.
When I finally got a roofer up on my house after that first major leak, the flashing around my chimney had completely separated on one side. It looked fine from below. Up close, it was basically an open invitation for rain.
Check your flashing for:
- Rust or corrosion (especially on older homes with original metal flashing)
- Gaps or separation from the surface it’s sealing against
- Loose or missing sealant at the edges
If you see small gaps, a tube of roofing sealant (I’ve had good results with Geocel 2300) can buy you time. But if the flashing itself is corroded or bent, get it replaced. This isn’t a job to half-do.
For more guidance on where leaks usually start, check out 6 Easy Roof Leak Fix Guide Repairs You Can Do in 15 Minutes.
4. Trim Back Overhanging Tree Branches
I didn’t take this seriously until a storm dropped a fairly thick branch directly onto my back slope. It didn’t punch through, but it scraped off a section of shingles and left a dent in the decking underneath.
Even without a dramatic branch fall, trees hanging over your roof cause slow, steady damage:
- Leaves pile up in roof valleys, trap moisture, and accelerate shingle decay
- Branches rubbing against shingles wear down the granule coating over time
- After a storm, small debris gets lodged under shingles or around flashing
The rule I follow now: no branch should hang within 6 feet of the roof surface. I rent an extended pole saw once a year and handle it myself for the smaller stuff. Anything near the power lines or requiring serious climbing, I call an arborist.
It feels like overkill until a windstorm rolls through and you realize you avoided a whole problem.
5. Look at Your Attic — Seriously, Go Up There
Most roof leaks don’t announce themselves through the ceiling right away. They show up in the attic first — sometimes months before you ever see a stain inside your home.
Checking your attic every six months takes maybe 20 minutes and can catch problems incredibly early. Here’s what you’re looking for:
| What to Check | What It Might Mean |
|---|---|
| Dark stains on roof decking | Past or active water intrusion |
| Wet or compressed insulation | Water has been reaching the attic |
| Mold or mildew smell | Moisture has been sitting for a while |
| Daylight visible through roof boards | Structural gap that needs immediate attention |
| Frost or condensation in winter | Ventilation issue that worsens moisture buildup |
Bring a flashlight and don’t rush. I’ve found two separate problem spots in my attic before they ever became ceiling stains. Both times, it was a simple fix — once some cracked caulk around a vent pipe, once a small area of lifted shingles near the ridge.
Good attic ventilation also matters here. Poor airflow traps humidity, and that humidity slowly damages the decking and insulation from within. If your attic feels like a sauna in summer, it’s worth looking into adding ridge or soffit vents.
For a full breakdown on what to check before each rainy season, this is a solid read: 6 Essential Roof Leak Fix Guide Basics Before the Rainy Season.
6. Deal With Small Problems Before They Become Big Ones
This is honestly the most important habit I’ve developed. Small roof issues are cheap. The same issue left for six months becomes a structural problem.
I used to convince myself that “it’s probably fine” about things I noticed but didn’t want to deal with — a slightly lifted shingle, a small dark stain in the corner of the attic, a gutter that was pulling away just a little. Every single time I did that, the problem got worse.
Here are the small fixes that are genuinely within most homeowners’ reach:
Replacing a few missing or damaged shingles: If you have leftover shingles from a previous repair or can match your current ones, this is a manageable DIY job. You’ll need a pry bar, roofing nails, and a tube of roofing cement. There are decent YouTube tutorials that walk through it step by step.
Sealing around vent pipes: Roofing boots (the rubber collar around vent pipes) crack over time, especially with UV exposure. A cracked boot is a direct water entry point. Replacing one costs around $15–30 in materials and maybe an hour of time.
Re-caulking flashing edges: If the caulk is cracked or peeling but the flashing itself is still solid and properly positioned, cleaning the old sealant off and reapplying fresh roofing caulk can extend its life significantly.
Clearing roof valleys: Valleys (the V-shaped channels where two roof slopes meet) collect debris and are high-risk leak zones. Keep them clear.
A quick reference for how urgency maps to damage:
| Problem Spotted | Time to Act |
|---|---|
| Missing shingle | Within 1–2 weeks |
| Cracked vent boot | Within 1 month |
| Separated flashing | Within 1–2 weeks |
| Small attic stain, dry | Monitor + fix within 1 month |
| Active drip in attic | Same day — get up there |
| Interior ceiling stain | Immediately — source likely active |
Don’t wait until rain is in the forecast. That’s when everyone realizes there’s a problem and you end up doing rushed repairs in bad conditions — which is both dangerous and usually less effective.
For the kinds of mistakes that cost homeowners real money, 4 Roof Leak Fix Guide Basics Mistakes That Cost Me $500 is worth a read. A lot of it will feel familiar if you’ve ever put off a repair too long.
Common Mistakes to Avoid
These are things I’ve either done myself or seen neighbors deal with:
Fixing only what you can see. Water travels. The leak source is often several feet from where it shows up on your ceiling. Always trace the path, don’t just patch the obvious spot.
Using the wrong sealant. Regular silicone caulk is not roofing caulk. It doesn’t bond the same way, doesn’t handle the temperature swings, and fails faster. Use products specifically rated for roofing applications.
Skipping the attic check after a storm. Even if nothing dripped inside, go look. A 30-minute check after a major storm has caught two separate issues for me that had no interior symptoms yet.
Assuming new roofs don’t need maintenance. A new roof still needs its flashing checked, gutters kept clear, and debris removed. “New” doesn’t mean “maintenance-free.”
Walking on the roof too much unnecessarily. Every step on a shingle roof grinds down the protective granule layer. Get up there when you need to — don’t wander around just to look around. Use binoculars from the ground when possible.
One More Thing Worth Knowing
Roof maintenance doesn’t have to be overwhelming or expensive. The whole point of these six habits is that they’re all small, manageable, and spread across the year. An hour in spring, an hour in fall, a quick attic check after big storms — that’s really it.
The $800 lesson I learned from ignoring that ceiling stain is one I’ve never had to repeat. And the peace of mind knowing I’ve actually looked at my roof, cleared the gutters, and spot-checked the attic before each rainy season? Genuinely worth something.
Start with whichever tip feels most overdue for you. If you haven’t cleaned your gutters yet this season, do that first. If you can’t remember the last time you were in your attic, that’s your weekend project.
Your roof is doing a lot of work to protect everything under it. A little attention goes a long way.
If you’re dealing with an active issue or want to understand the repair side of things more deeply, check out: 7 Essential Roof Leak Fix Guide Repair Steps for Beginners — it covers how to approach the actual fix once you’ve identified the problem.
About the Author