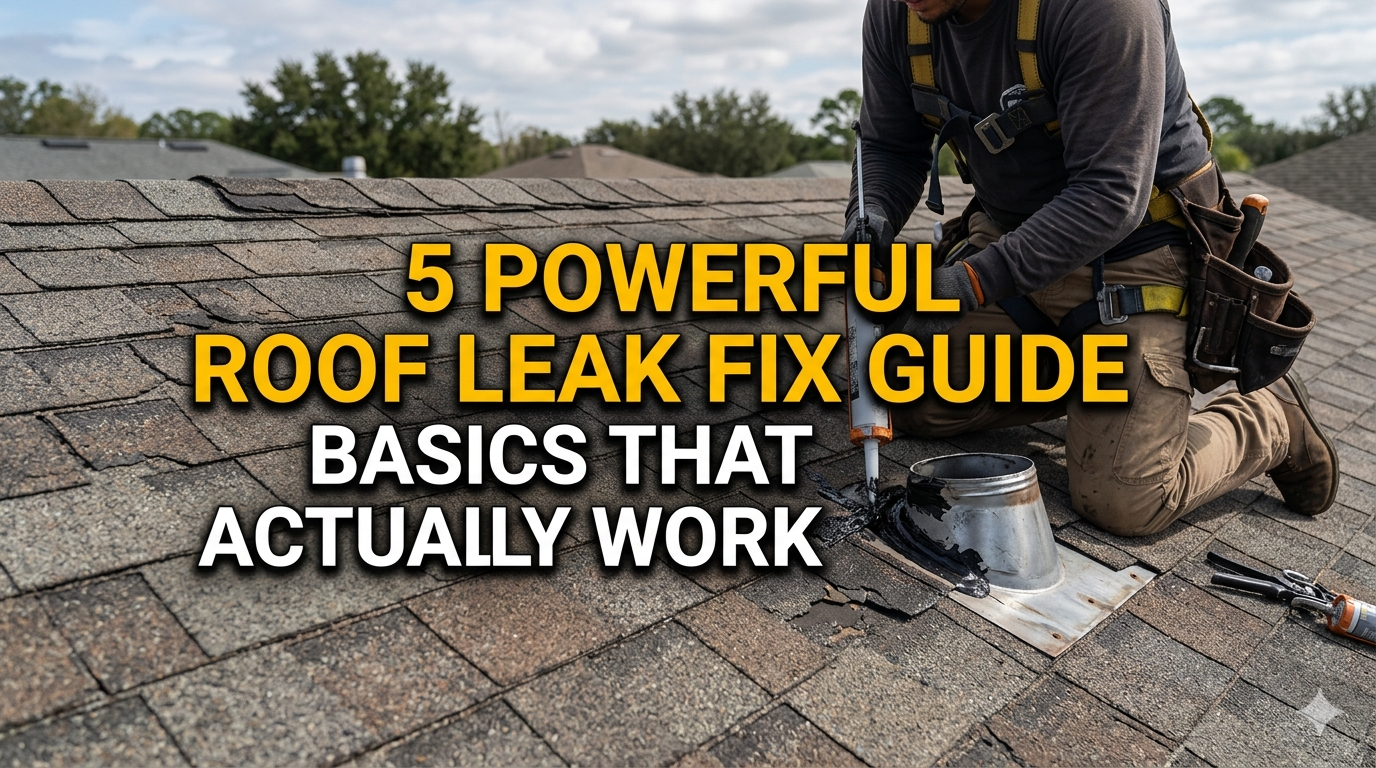
5 Powerful Roof Leak Fix Guide Basics That Actually Work
Meta Description: Roof leak fix doesn’t have to be overwhelming. Discover 5 powerful, proven basics that actually stop leaks fast — before small drips turn into costly damage.
These 5 Roof Leak Fix Guide Basics Actually Work
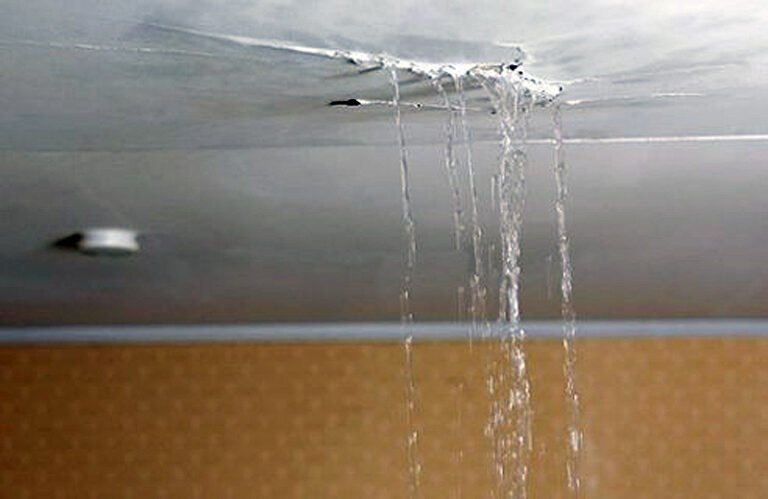
A tiny water stain on your ceiling may seem like no big deal. But that stain could be hiding rotting wood, saturated insulation, and mold steadily growing in your home.
Roof leaks are sneaky. They begin small, and scale up rapidly.
The good news? You don’t always have to hire an expensive contractor to repair them. Armed with the right information and a handful of basic tools, many homeowners tackle roof leaks themselves — safely and effectively.
In this guide, I will take you over 5 roof leak fix basics that really work. Whether you’re facing a drip in the middle of a rainstorm or finding longstanding damage, these strategies will help you respond quickly, repair wisely, and keep your house safe.
Why Roof Leaks Are Even More Serious Than They Look
A leaky roof is something most people brush off. That’s a costly mistake.
Water is patient. It takes the path of least resistance — leaking through small crevices, running along beams, and settling in hidden places. When you see a stain on the ceiling, water might have been inside your walls for weeks or months.
Here’s what a single untreated leak can do:
| Problem | Estimated Timeline | Cost to Repair |
|---|---|---|
| Water stains on ceiling | Days | $200–$500 |
| Damaged insulation | 1–2 weeks | $500–$1,500 |
| Wood rot in rafters | 1–3 months | $1,000–$3,000 |
| Mold growth | 2–4 weeks | $1,500–$5,000+ |
| Structural damage | 3–12 months | $5,000–$20,000+ |
Fixing a roof leak promptly can save you thousands. That’s the real motivation here.
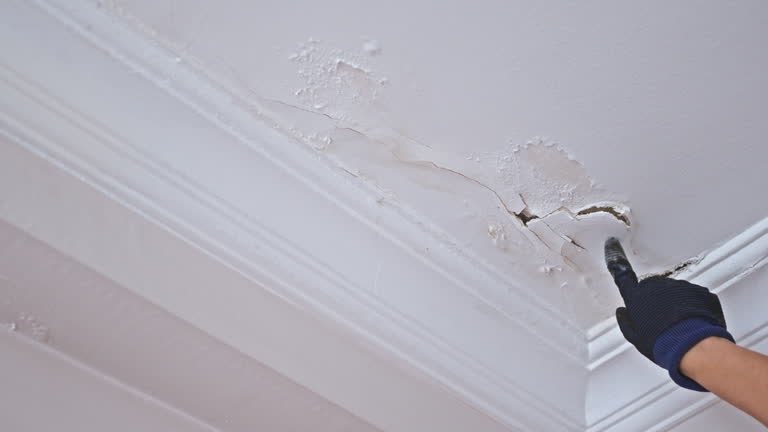
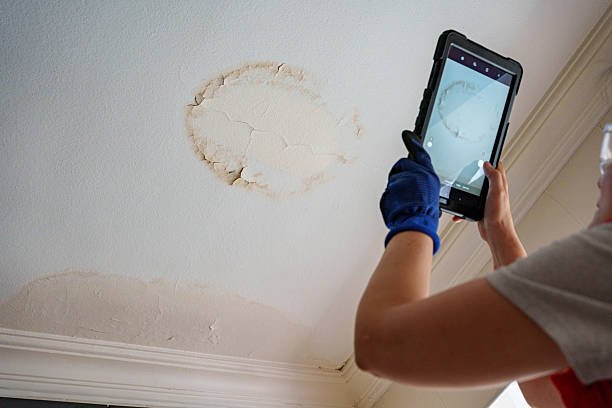
How to Tell If Your Roof Has a Leak (Before It Becomes a Bigger Problem)
You can’t fix anything until you see it.
Roof leaks don’t always present themselves with drips. Sometimes they hide. Here are some of the most common warning signs:
- Brown or yellow stains on the ceiling — particularly after rain
- Cracked paint or blistering drywall on walls or ceilings
- A musty smell in your attic or upper floors
- Shingles that are missing or curling, visible from the ground
- Daylight visible in your attic when you look up
- Granules in your gutters — a sign your shingles are old
- Droopy spots on your roof — a red flag that water is pooling
Take a stroll through your house after each heavy rainstorm. Look through your attic with a flashlight. Early detection is the most inexpensive roof leak repair you’ll encounter.
Basic 1: Trace to the True Origin of the Leak
The Drip Is Never Where the Leak Is
This is the biggest mistake homeowners make.
Water is dripping in the corner of your bedroom. You go up on the roof and fix that spot. The leak keeps coming back. Sound familiar?
Water doesn’t fall straight down. It comes into your roof at one point, then follows rafters, decking, or insulation before dripping in a place that is entirely different. The drip location and entry point can be several feet apart.
How to Find the True Source
Start in the attic. This is the most reliable way to do this. Get up there during or immediately after rain with a flashlight. Look for:
- Wet spots or dark staining on wood
- Moisture on the underside of the roof deck
- Water streaks along beams
Trace the trail uphill. Water always comes from above where you see it.
Spray it down with a garden hose on a dry day. Have a helper stay in the attic while you spray water on various sections of the roof — starting lower and working up. Let each section soak for a few minutes before moving on. When your helper shouts out, stop — you have located the zone.
Start with these common entry points:
- Around chimneys and skylights
- Along roof valleys (the intersection of two planes of a roof)
- Near vent pipes and exhaust fans
- Around flashing (metal strips at corners and edges)
- Under damaged, lifted, or missing shingles
Knowing precisely where the water is coming in is step one of any successful roof leak repair. Skip this step, and you’re throwing darts.
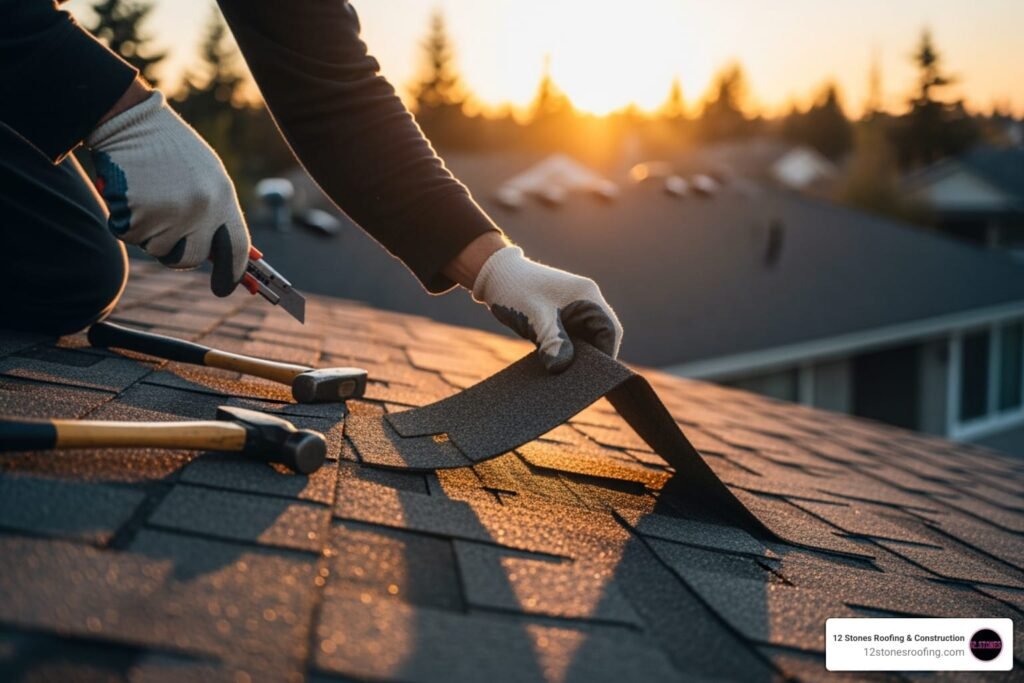
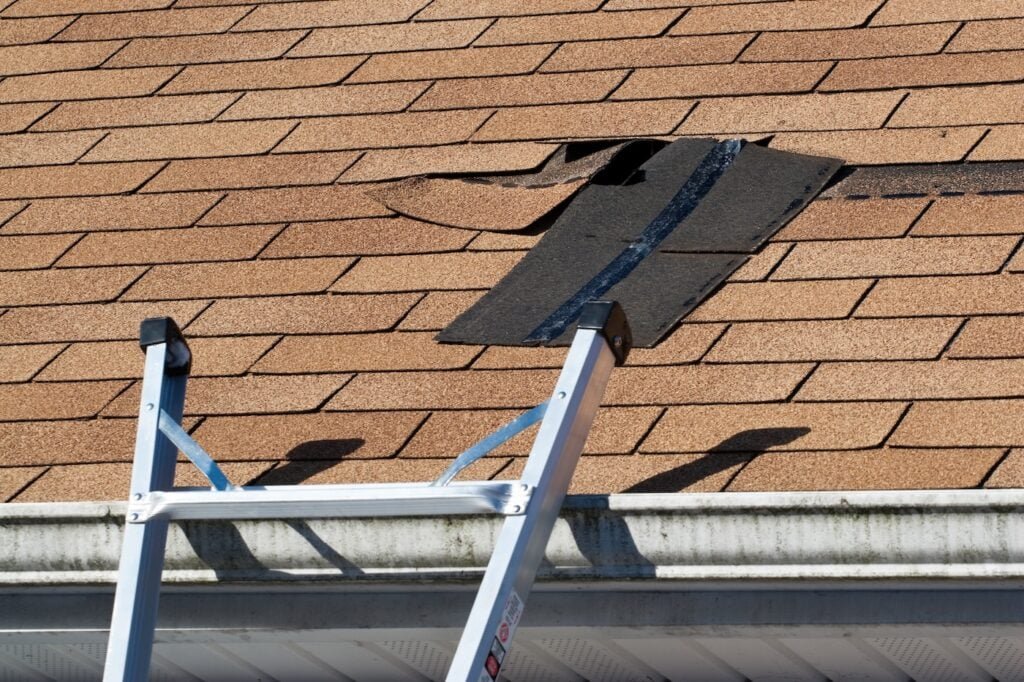
Basic 2: Repair Broken or Missing Shingles Properly
Shingles Are Your Best Defense
Your shingles are the protective shell of your roof. Water seeps in when they crack, curl, or go missing altogether.
The silver lining is that swapping out a few shingles is one of the most beginner-friendly roof repairs there is. You don’t have to have a lot of experience — just patience and attention to detail.
How to Spot Bad Shingles
From the ground (binoculars will help), look for:
- Shingles that are visibly cracked or broken
- Shingles with edges that flip up or down
- Dark patches where the granules have worn away
- Bare spots with no shingles at all
Step-by-Step Shingle Replacement
What you’ll need:
- Replacement shingles (match your existing ones as closely as possible)
- Pry bar or flat bar
- Hammer and roofing nails
- Roofing cement or sealant
- Safety harness and non-slip footwear
Step 1: Insert the pry bar under the damaged shingle and lift gently to loosen the nails.
Step 2: Remove the nails and take out the broken shingle.
Step 3: Carefully slide the new shingle into position so that it lines up with the shingles on either side.
Step 4: Secure it with four roofing nails — one near each corner, roughly an inch from the edges.
Step 5: Apply a small amount of roofing cement under the edges of the surrounding shingles to reseal them.
Step 6: Firmly press down on the shingles and ensure everything lies flat.
When to Call a Pro Instead
If you have over 20–30% of your roof with shingle damage, it’s typically more cost-effective to replace the entire thing instead of going patch by patch. In most cases, a licensed roofer will assess this for free.
Basic 3: Repair Damaged Flashing — The Most Overlooked Cause of Roof Leaks
What Is Flashing and Why Does It Fail?
Flashing is the thin metal (generally galvanized steel or aluminum) installed around roof penetrations — chimneys, vents, skylights — and along walls where the roof meets vertical surfaces.
It’s intended to help divert water away from open joints.
But flashing fails a lot more often than many people think. It can:
- Pull away from surfaces due to temperature changes
- Rust or corrode over time
- Crack or develop holes
- Lose its sealant, allowing water to sneak underneath
In fact, the majority of roof leaks result from flashing failure — as opposed to damaged shingles. That’s why this step is an essential one in any roof leak fix guide.
How to Check Your Flashing
Climb safely up on the roof and check all the metal strips around:
- The base and sides of your chimney
- Around any skylights
- Along dormers
- At roof-to-wall transitions
Check for gaps, rust spots, lifted edges, or cracked caulk.
How to Fix Flashing Problems
For small gaps and cracks: Use roofing caulk or flashing sealant. Clean the area with a wire brush, dry it thoroughly, then apply a generous bead of sealant into and over the gap. Smooth it with a putty knife.
For lifted flashing: Press it back flat against the surface, then re-nail it with roofing nails if possible. Cover the nailheads with sealant. Apply caulk along all edges.
For heavily rusted or bent flashing: Remove and replace it entirely. This is a bit more complicated — you’ll have to take out surrounding shingles, pull up the old flashing, and fit new metal pieces. Cut them to size with metal shears, slide them into place, and fasten with nails and roofing cement.
The Chimney Flashing Breakdown
Chimney flashing is the most complicated because there are multiple overlapping pieces. Here’s how it’s typically layered:
| Piece | Function |
|---|---|
| Step flashing | Covers chimney sides, gets tucked under shingles |
| Counter flashing | Placed above step flashing, embeds into chimney mortar |
| Saddle/cricket | Channels water away from wide chimneys |
| Base flashing | Shields the front base of the chimney |
Check all of them during your inspection. If any one of these pieces fails, water gets in.
Basic 4: Seal Roof Valleys, Vents, and Pipe Collars
Why Low Points and Penetrations Leak So Often
Every place where something goes through your roof — or where two planes of a roof meet — is a weak point. Water tends to flow toward these areas.
Valleys are V-shaped channels that occur where two sections of roof meet. They receive a great deal of wear because they carry a high volume of runoff.
Rubber or metal “boots” seal the gap around vent pipes and exhaust stacks. Eventually, these boots start cracking, shrinking, or pulling away.
Fixing a Roof Valley Leak
Option 1 — Seal the valley: Apply a thick bead of roofing cement along both edges of the valley where shingles meet the metal liner. This is only a temporary fix for smaller leaks.
Option 2 — Install valley flashing: For a more permanent solution, metal valley flashing should be installed beneath the shingles along the entire valley. If the liner is damaged or missing, it must be replaced — which means removing shingles on either side, installing new metal flashing, and re-laying the shingles.
Fixing Vent Pipe Boots
This is one of the simplest roof leak repairs you can do yourself.
Signs of a failing vent boot:
- Visible cracks in the rubber collar around the pipe
- The rubber is hard and brittle instead of flexible
- There’s a gap between the boot and the pipe
How to fix it:
Quick patch method: Slip a rubber boot cover (available at any hardware store) over the old boot. These are relatively inexpensive and add years of protection without having to remove shingles.
Full replacement: Loosen the shingles surrounding the boot. Pry off the old boot and pull out any nails. Lower the new boot onto the pipe so that its front edge slips under the shingles and its back edge rests on top. Nail it down, then apply roofing cement along all edges.
Exhaust Fan and Skylight Seals
Exhaust fans typically have a metal hood that can rust or lift. Re-seal the edges with flashing tape and caulk.
Skylights are notorious leak spots. Inspect the seal across the entire frame. Re-caulk wherever the sealant has cracked or pulled away. If the leak is coming from inside the glass unit, it may be time to replace the skylight itself.
According to This Old House, skylight and vent flashing failures are among the most common — and most fixable — sources of roof leaks for homeowners.
Basic 5: Use Emergency Tarps and Temporary Fixes When You Need Time
When You Can’t Do a Full Repair Right Away
Sometimes a storm hits on a Friday night. The roofer can’t come until Monday. There is an active leak and rain is forecast through the weekend.
You have to stop the damage right now — even as a stopgap measure.
Temporary repairs do not replace real repairs. But they’re essential when:
- A storm just caused sudden unexpected damage
- You’re waiting on materials or professional help
- Weather conditions make permanent repairs unsafe
How to Use a Roof Tarp Correctly
A heavy-duty polyethylene tarp is your best friend in an emergency.
What you need:
- Heavy-duty poly tarp (6 mil or thicker)
- Wooden 2x4s
- Roofing nails or staples
- Rope or bungee cords
Steps:
- Measure the damaged area and choose a tarp that extends at least 4 feet beyond it on all sides.
- Roll the tarp over the peak of the roof on one side so it won’t blow off.
- Fold the edges of the tarp around 2×4 boards and nail or staple them down.
- Fasten extra 2x4s along the edges running down the slope to weigh the tarp down and stop wind from getting underneath.
- Do NOT nail directly into the tarp itself without boards — it will rip.
Roofing Cement as a Quick Patch
For small, accessible leaks, roofing cement (also known as plastic roof cement or black tar) can temporarily seal a crack or gap.
Apply it with a caulk gun or trowel. Press it firmly into any visible crack. It works best in dry conditions — it won’t adhere properly to a wet surface.
Tip: If you can only apply it while damp, dry the area as much as possible with a rag first, then apply the cement quickly. It’s not ideal, but it can still slow water from getting in until you’re able to do a proper repair.
Roofing Tape for Flashing Emergencies
Lifted or cracked flashing can be temporarily sealed with butyl rubber tape or self-adhesive flashing tape. It’s water-resistant and flexible.
Clean the surface, peel and stick the tape over the problem area, and press firmly. It’s a stopgap, but it buys time.
Roof Leak Fix: Safety Rules You Must Never Skip
Working on a roof is dangerous. Every year, people get seriously injured — or die — from falls while trying to repair roofs themselves.
Follow these rules every time:
- Never work on a wet or icy roof. The surface is far too slippery.
- Use a safety harness if your roof pitch is steep (6/12 or greater).
- Work with a buddy — someone to pass you tools and call for help if needed.
- Wear rubber-soled shoes with good traction.
- Set up your ladder properly — it should extend 3 feet above the roof edge and be secured at the base.
- Do not work during high winds or thunderstorms.
- Stay away from power lines near your roofline.
No roof repair is worth dying over. When in doubt, hire a professional.
Cost of Roof Leak Repair: DIY vs. Hiring a Pro
| Type of Repair | DIY Cost | Professional Cost |
|---|---|---|
| Shingle replacement (5–10 shingles) | $50–$150 | $300–$700 |
| Flashing repair/reseal | $20–$80 | $200–$500 |
| Vent pipe boot replacement | $15–$40 | $150–$350 |
| Emergency tarp installation | $30–$100 | $150–$400 |
| Valley repair (reseal) | $30–$80 | $250–$600 |
| Full flashing replacement (chimney) | $100–$300 | $500–$1,500 |
DIY saves real money. But only if you are comfortable on a roof and confident in the repair. A poorly done fix could well make matters worse.
FAQs About Roof Leak Fix
How do I stop a roof leak from the inside?
You can temporarily slow water intrusion by putting buckets under drips, using roofing cement or hydraulic cement to seal visible cracks from inside the attic, and using a tarp to divert water away from vulnerable areas. But internal remedies are never permanent — the root cause has to be fixed from the outside.
Can I personally repair a roof leak with no experience?
Yes, for small repairs like replacing some shingles, resealing flashing, or replacing a vent boot. These are beginner-friendly tasks. But big structural damage, widespread shingle failure, or complicated flashing problems around chimneys are best left to professionals.
What is the best sealant for a roof leak fix?
Use roofing-grade polyurethane sealant or rubberized flashing sealant for most applications. For larger cracks and gaps, roofing cement (black tar) works well. A silicone-based sealant is ideal for vent boots and rubber collars.
How long do temporary roof leak fixes last?
It depends on the method. A well-installed tarp can last for weeks to months. If done right, roofing cement patches can last anywhere between 1–3 years. Flashing tape typically lasts 6–18 months. None of these should substitute for permanent repairs.
Why does my roof only leak in heavy rain?
Light rain may not create sufficient water pressure or volume to reveal the leak. Heavy rain overwhelms the slow drainage and forces water through gaps that are usually manageable. That generally means the entry point is small but real — and it’s important to get it fixed before a big storm hits.
What’s the average cost for a professional roof leak repair?
Most small roof leak repairs can be professionally done for a range of $150 to $1,500. Complicated repairs, like those involving chimneys, skylights, or large sections of flashing, can cost $1,500–$3,000. A full roof replacement (when leaks are pervasive) typically starts in the range of $8,000–$15,000 depending on roof size and materials.
Wrapping It All Up
Roof leaks never happen at a good time. They appear during storms, in the middle of the night, and right before holidays.
But now you know what to do.
The 5 basics of a solid roof leak fix are:
- Pinpoint the true source of the leak — trace water back to its actual entry point
- Repair broken shingles — your roof’s first line of defense
- Fix failed flashing — the most common source of leaks
- Seal valleys, vents, and pipe collars — high-risk areas that need attention
- Use emergency tarps and patches — give yourself the time to do it safely
Start with a careful inspection. Work methodically. Use the right materials. And always put safety first.
A little time spent up front can save you thousands of dollars — and a lot of stress — down the line. Your roof shelters everything in your home. Treat it like the critical system it is.