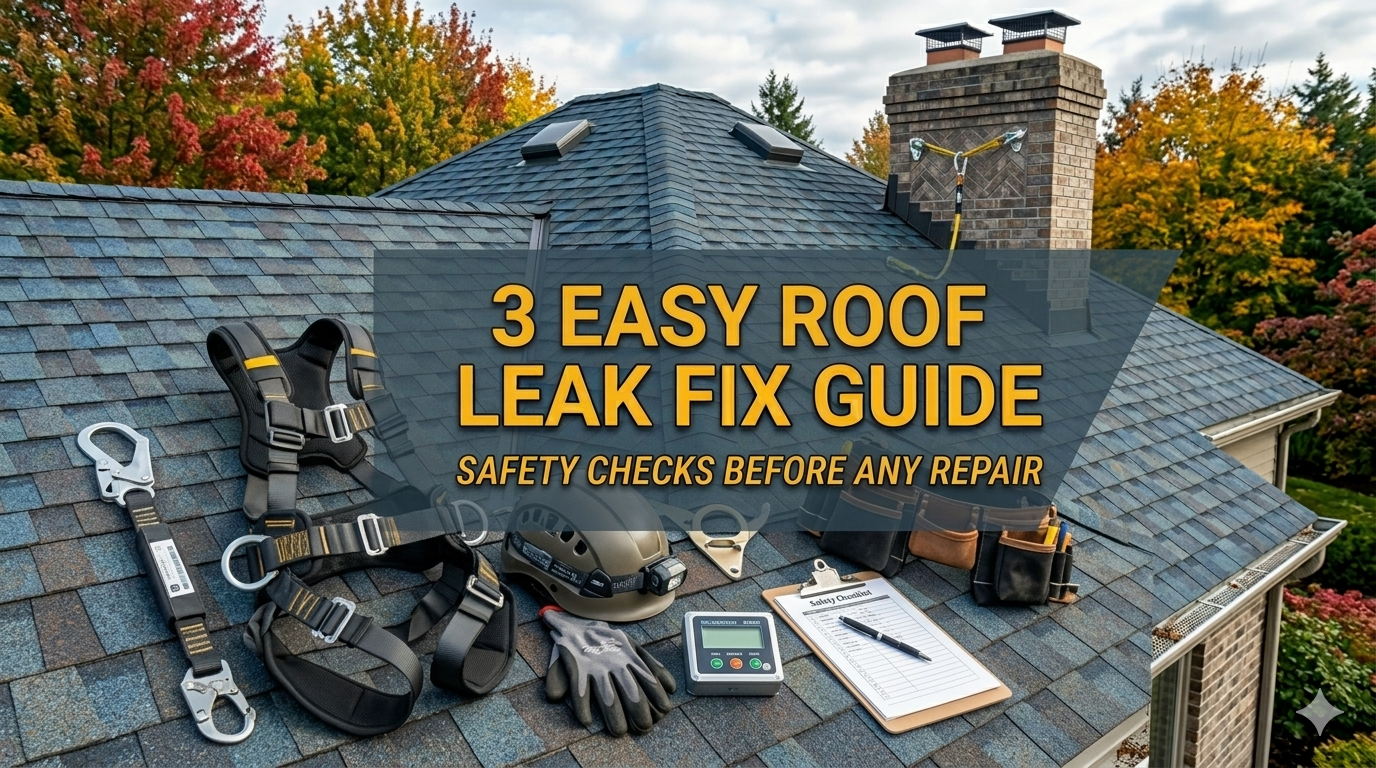
3 Easy Roof Leak Fix Guide Safety Checks Before Any Repair
Meta Description: 3 Easy Roof Leak Fix Guide safety checks help you spot dangers before climbing up. Learn what to inspect, what to avoid, and how to stay safe.
3 Easy Roof Leak Fix Guide Safety Checks Before Any Repair
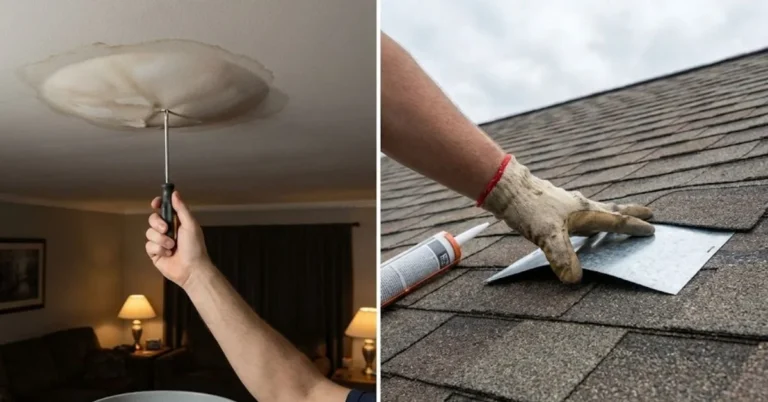
A leaky roof is stressful. Water stains on your ceiling, damp walls, or puddles in the attic — these are signs that something is wrong up top. Most homeowners want to fix it fast. But rushing onto a roof without checking for safety first is how accidents happen.
Before you pick up a ladder or grab a caulk gun, you need to run through some important safety checks. This guide walks you through exactly that — three easy safety checks that every homeowner should do before attempting any roof leak repair.
These steps are simple. They don’t require special training. But they can genuinely save your life or keep you out of the emergency room.
Let’s get into it.
Why Safety Checks Matter More Than the Repair Itself
Most people focus on the fix. They search for the fastest way to patch a leak and head straight to the roof. That mindset can be dangerous.
Roofs are slippery. They’re high off the ground. The surface can look solid but be rotted underneath. Weather changes fast. One wrong step and a minor repair turns into a serious fall.
According to the U.S. Bureau of Labor Statistics, falls from roofs and ladders are among the top causes of fatal injuries for both workers and homeowners every year. Many of these accidents happen during DIY repairs.
Safety checks take about 15–20 minutes. They could save hours in a hospital — or worse.
The 3 easy roof leak fix guide safety checks covered in this article are:
- Weather and Environment Check
- Roof Structure and Surface Check
- Personal Safety Gear and Equipment Check
Each one matters. Don’t skip any of them.
Safety Check #1 — Weather and Environment Check
Why the Weather Is Your First Enemy
You might think, “It’s a calm day, I’ll be fine.” But weather is unpredictable. A light breeze at ground level can become a strong wind on your rooftop. Sudden rain can make a dry surface dangerously slick in seconds.
Always check the weather before you step outside with a ladder.
What to Look For in the Forecast
Here’s a simple table to guide your weather check:
| Weather Condition | Safe to Work? | Notes |
|---|---|---|
| Clear skies, low wind | ✅ Yes | Best conditions for roof work |
| Light clouds, calm wind | ✅ Yes | Acceptable, stay alert |
| Wind over 20 mph | ❌ No | High fall risk |
| Rain or wet conditions | ❌ No | Surfaces become extremely slippery |
| Lightning or storms | ❌ No | Severe electrocution and fall risk |
| Frost or ice on roof | ❌ No | Near-zero traction |
| Extreme heat (95°F+) | ⚠️ Caution | Asphalt shingles soften, dizziness risk |
Use a weather app before starting. Check the wind speed, not just whether it looks sunny outside.
The Ground Around Your House
The environment at ground level matters too. Walk around your home and check:
- Is the ground soft or muddy where you’ll place the ladder?
- Are there tree branches hanging over the roof?
- Are there power lines close to where you’ll be working?
- Is there debris on the ground that could cause you to trip?
Soft ground makes ladders unstable. A ladder sinking into mud mid-climb is extremely dangerous. Place a wide, flat board under each ladder foot if the ground is soft.
Power lines are a silent hazard. Metal ladders near electrical lines can conduct electricity. Keep at least 10 feet of distance between your ladder and any power lines.
Time of Day Check
Early morning can bring dew on the roof surface — that’s basically invisible water. Avoid early morning repairs unless you’ve had time to let the surface dry.
Aim to work between 9 AM and 3 PM when visibility is best and morning dew has evaporated.

Safety Check #2 — Roof Structure and Surface Check
Don’t Assume the Roof Is Strong
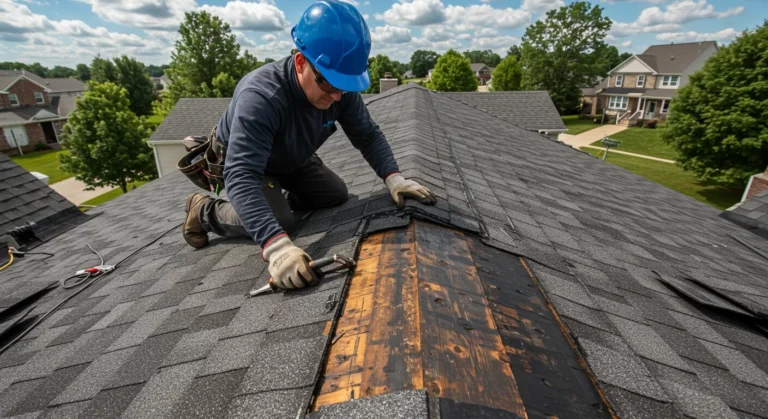
A leaking roof is already a damaged roof. Water gets under shingles, soaks into the wood decking, and causes rot. You might step onto a section that looks fine but gives way under your weight.
This is one of the most overlooked dangers in DIY roof repair.
Before climbing up, you need to assess the roof’s condition from the inside and outside.
Step 1 — Attic Inspection First
Start from the inside. Go into your attic with a flashlight and look for:
- Dark stains or wet spots on the wood rafters or sheathing
- Sagging wood between the rafters
- Mold or mildew growth — black, green, or white fuzzy patches
- Daylight coming through cracks or holes
- A soft or spongy feel if you press on the wood above you
If you see sagging or soft wood, that area of the roof cannot support your weight. Mark that section mentally. You’ll need to stay clear of it or call a professional.
Step 2 — Exterior Visual Check From the Ground
Use binoculars or your phone’s zoom camera to examine the roof from the ground. You’re looking for:
| What You See | What It Means |
|---|---|
| Missing or curled shingles | Surface damage, possible structural weakness |
| Dark streaks or discoloration | Algae, moisture damage, or rot |
| Sagging areas or dips | Structural weakness — do not step there |
| Loose or exposed flashing | Entry points for water, potential weak spots |
| Moss or heavy plant growth | Long-term moisture retention underneath |
| Granules collecting in gutters | Shingle breakdown, surface may be fragile |
If you spot any sagging from the ground — stop. Do not go on that roof. Call a professional.
Step 3 — Checking the Roof Pitch
Roof pitch matters for safety. The steeper the roof, the harder it is to stay balanced.
Here’s a quick pitch guide:
| Roof Pitch | Safety Level | What You Need |
|---|---|---|
| 3/12 or less (low slope) | Relatively safe | Non-slip shoes, caution |
| 4/12 to 6/12 (moderate) | Moderate risk | Roof brackets or toe boards |
| 7/12 to 9/12 (steep) | High risk | Full harness system |
| 10/12 and above | Extreme risk | Professional recommended |
Pitch is measured as the rise over a 12-inch horizontal run. A 4/12 pitch means the roof rises 4 inches for every 12 inches of horizontal distance.
If your roof is steeper than 6/12, strongly consider hiring a professional. The fall risk increases dramatically as the pitch goes up.
Step 4 — Identify Where the Leak Is Coming From
Before you get on the roof, try to identify the leak zone. Look at where the water stain is on your ceiling, then go into the attic and trace it up. Water travels, so the entry point on the roof might not be directly above the ceiling stain.
Common leak entry points:
- Around chimneys — the flashing often separates
- Around skylights — sealant cracks over time
- At roof valleys — where two roof slopes meet
- Near vents and pipes — boot seals dry out and crack
- At the ridge — especially in older homes
Knowing where the problem is before you go up means less time on the roof and less exposure to risk. For more detailed repair walkthroughs and product recommendations, visit Roof Leak Fix Guide — a dedicated resource for homeowners tackling roof repairs safely.
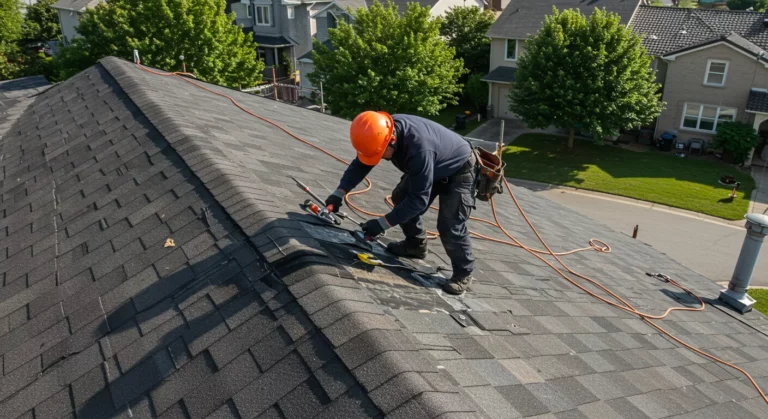
Safety Check #3 — Personal Safety Gear and Equipment Check
Your Gear Is Your Safety Net
Even on a perfectly calm day with a structurally sound roof, accidents can happen. Your safety gear is your last line of defense.
Never skip this check. Inspect every piece of equipment before using it.
The Essential Gear List
Here’s what you should have before going on any roof:
| Equipment | Purpose | Check Before Use |
|---|---|---|
| Non-slip rubber-soled shoes | Grip and traction | Check soles for wear |
| Safety harness | Fall arrest system | Inspect straps, buckles, D-rings |
| Lifeline/rope | Connects harness to anchor | Check for fraying or kinks |
| Roof anchor | Secures lifeline to roof | Must be attached to rafter, not just sheathing |
| Hard hat | Protection from falling debris | Check for cracks |
| Safety glasses | Eye protection | Clean and unscratched |
| Work gloves | Hand protection and grip | Check for tears |
| Knee pads | Comfort and protection | Optional but recommended |
How to Check Your Harness Properly
A harness that isn’t properly inspected can fail when you need it most. Here’s how to do a quick but thorough harness check:
1. Check the webbing. Run your hands along every strap. Look and feel for cuts, fraying, burns, or chemical stains. Any damage means the harness should not be used.
2. Check the hardware. All buckles, D-rings, and snaps should be free of rust, cracks, or deformation. They should click firmly and release cleanly.
3. Check the stitching. Look at all sewn areas, especially around the D-rings and buckle attachments. Stitching should be tight and even — no loose or broken threads.
4. Check the label. All harnesses have a manufacture date. Most are rated for 5–10 years of service. If yours is older than that, replace it.
5. Check the fit. Put the harness on and adjust it. The chest strap should sit mid-chest. The leg straps should be snug but not cutting off circulation. The back D-ring should be between your shoulder blades.
Ladder Safety — The Most Overlooked Step
Most roof falls happen on the ladder, not the roof itself. Your ladder deserves its own safety check.
Before using any ladder:
- Check all rungs for cracks, bending, or looseness
- Check the feet — rubber feet should be present and intact
- Check the locking mechanism on extension ladders — it should engage firmly
- Check the weight rating — most standard ladders hold 250 lbs; make sure yours can handle you plus your tools
- Never use a ladder with a damaged rung or bent side rail
When setting up the ladder:
- The base should be set 1 foot out for every 4 feet of height (the 1-in-4 rule)
- The top should extend at least 3 feet above the roofline so you have something to hold while transitioning
- Have someone hold the base if possible — a “ladder buddy” adds significant stability
- Never lean a ladder against a gutter — gutters aren’t structural and can bend or break
A Note on Roof Shoes
Regular sneakers are not roof shoes. The sole pattern matters a lot. You want rubber-soled shoes with a soft, grippy tread — think hiking boots or dedicated roofing shoes. Hard-soled work boots can be slippery on shingles.
Wet soles are dangerous even on a dry roof. Wipe your shoes on a dry surface before stepping onto the roof.
Putting It All Together — Your Pre-Repair Safety Checklist
Here’s a single checklist you can print or screenshot before any roof repair:
✅ Weather & Environment
- [ ] Checked weather forecast — clear and calm
- [ ] Wind speed below 20 mph
- [ ] No rain, ice, or frost on roof
- [ ] Ground is firm and level under ladder
- [ ] No power lines within 10 feet of work area
- [ ] Working between 9 AM and 3 PM
✅ Roof Structure & Surface
- [ ] Attic checked for rot, sagging, or mold
- [ ] Exterior checked from ground with binoculars
- [ ] No visible sagging or soft spots on roof
- [ ] Roof pitch assessed — safe to work on
- [ ] Leak source area identified before climbing
✅ Personal Safety Gear & Equipment
- [ ] Wearing non-slip rubber-soled shoes
- [ ] Harness inspected — webbing, hardware, stitching
- [ ] Lifeline connected and roof anchor secured to rafter
- [ ] Ladder checked — rungs, feet, locking mechanism
- [ ] Ladder set at correct angle (1-in-4 rule)
- [ ] Safety glasses and gloves on hand
When to Call a Professional Instead
Sometimes the safest repair is one you don’t make yourself. Here are clear signs that you should call a roofing professional:
- The roof is actively sagging — structural failure risk
- Your roof pitch is above 6/12 — steep slope is extremely dangerous without professional equipment
- You don’t have a harness — never go on a roof without fall protection
- The damage is extensive — covering more than a few square feet
- You find mold in the attic — this requires professional remediation
- You’re not comfortable with heights — fear of heights increases the chance of panic and mistakes
- The leak source isn’t obvious — hunting for a hidden leak means more time on the roof
There’s no shame in calling a pro. A roofing contractor’s inspection and repair will often cost less than an ER visit.
FAQs — Your Questions Answered
Q: Can I fix a roof leak myself without any experience? A: Small repairs like replacing a cracked shingle or resealing flashing around a vent are manageable for careful DIYers. But safety checks are non-negotiable. If you’re not comfortable with heights or don’t have a harness, hire a professional.
Q: What’s the most important safety item for roof work? A: A properly fitted safety harness with a secure roof anchor. Falls are the number one cause of roof repair injuries. Everything else matters, but fall protection is the top priority.
Q: How do I find the source of a roof leak? A: Start in the attic during or after rain. Look for water dripping or stains on the wood. Trace it back toward the roof surface. Common sources are flashing around chimneys, skylights, vents, and roof valleys.
Q: Is it safe to walk on a wet roof? A: No. Even a slightly damp roof surface dramatically reduces traction. Wait for the roof to dry completely before walking on it, even with non-slip shoes.
Q: How long does a temporary roof leak repair last? A: Roofing tape or sealant patches can last a season or two in mild climates, but they’re not permanent fixes. Plan for a proper repair or replacement once the immediate leak is managed.
Q: Do I need a permit to fix my roof? A: Minor repairs like patching a shingle or resealing flashing typically don’t require a permit. But if you’re replacing a large section of roofing, check with your local building department first.
Q: What if I fall through the roof? A: This is a medical emergency. Call 911 immediately. Don’t attempt to move the injured person unless there’s an immediate life threat. This is why structural checks in the attic are critical before any roof work.
Wrapping It All Up
A leaky roof needs fixing. But you need to be safe while doing it.
The 3 easy roof leak fix guide safety checks covered in this article — weather and environment, roof structure and surface, and personal safety gear — take less than half an hour to complete. That small investment of time protects you from falls, structural collapses, and equipment failures.
Run through the checklist every single time. Even experienced roofers get hurt when they skip safety steps.
Fix the leak. But come back down safely.