10 Smart Roof Leak Fix Guide Fixing Hacks for Beginners
10 smart roof leak fix guide fixing hacks for beginners
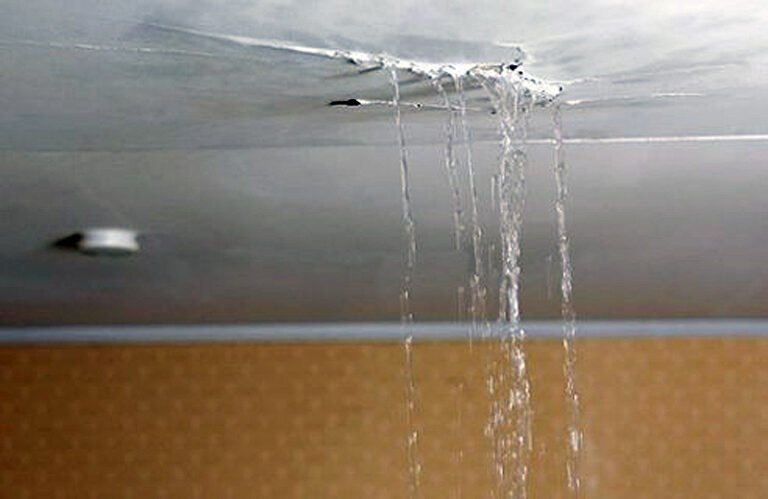
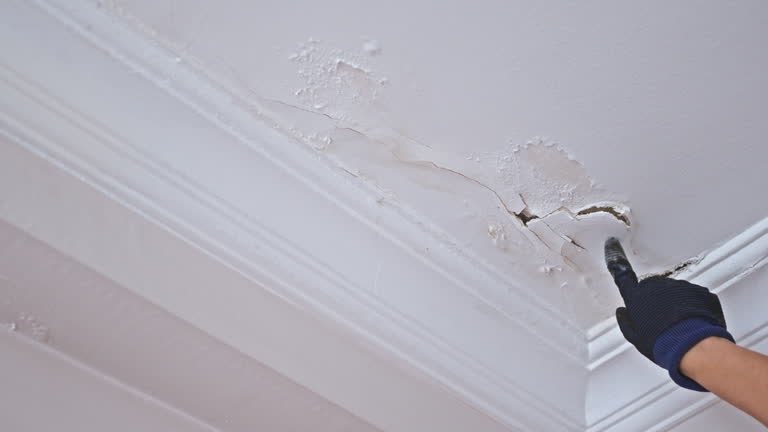
There’s a certain kind of frustration that comes with noticing a damp patch on your ceiling. It often starts small, almost innocent—a faint discoloration, a slight drip during heavy rain. But left alone, that tiny signal can turn into peeling paint, mold growth, damaged insulation, and costly repairs. The good news is that not every roof leak demands immediate professional intervention. In fact, many can be managed, minimized, or even fully fixed with a bit of patience, observation, and the right approach.
This guide is designed for beginners—people who may not have climbed onto a roof before or handled roofing materials but are willing to learn. It goes beyond generic advice and walks you through practical, field-tested hacks that homeowners quietly rely on. These aren’t just instructions; they are small lessons learned through experience, trial, and sometimes mistakes.
understanding what a roof leak really is
Before jumping into fixes, it helps to understand what you’re dealing with. A roof leak is not always directly above the spot where water appears inside your home. Water travels. It can run along beams, drip off nails, or seep through insulation before finally showing itself.
This means the first rule of fixing a leak is simple: never trust the visible spot alone. Think of it as a clue, not the answer.
A leak typically happens because something has disrupted the roof’s ability to shed water. That “something” might be cracked shingles, loose flashing, clogged gutters, or even tiny nail holes that have widened over time.
hack 1: trace the leak backwards, not forwards
Beginners often make the mistake of focusing only on where the water shows up inside. Instead, you need to trace it backward.
Start inside your attic if possible. Use a flashlight and look for:
- dark water stains
- mold patches
- damp insulation
- shiny trails where water has run
Follow these signs upward toward the roof. If it’s raining, even better—you may catch the water in action.
A simple trick is to mark the suspected area with chalk or tape. Once you get on the roof, you’ll have a reference point instead of guessing.
This reverse-tracing method saves time and prevents unnecessary repairs.
hack 2: use water testing when the leak hides
Some leaks only appear during specific weather conditions, making them difficult to pinpoint. This is where controlled water testing comes in.
Here’s how you do it:
- have a helper stay inside the attic
- use a garden hose on the roof
- wet one section at a time, slowly
- wait a few minutes between sections
The moment your helper sees water inside, you’ve found the general location of the leak.
It’s a slow process, but it’s far more accurate than random patching.
hack 3: temporary patches can buy you time
Not every fix has to be permanent right away. Sometimes you just need to stop the damage until you can do a proper repair.
For this, roofing cement or sealant is your best friend.
Apply it over:
- cracked shingles
- small holes
- exposed nails
If the gap is larger, you can use a small piece of metal flashing or even a thick plastic sheet as a temporary barrier.
The key is to press the material firmly and seal the edges well. This won’t last forever, but it can hold up surprisingly well through multiple rainstorms.
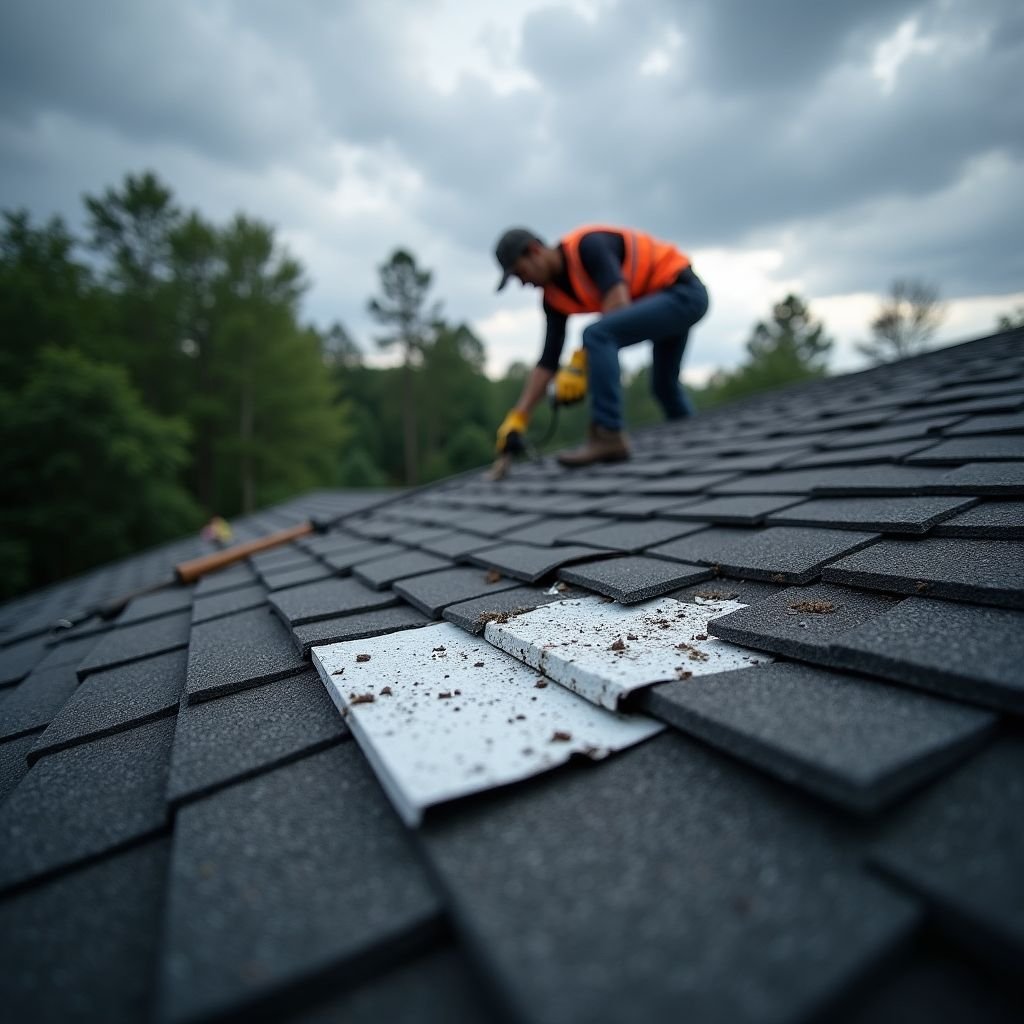
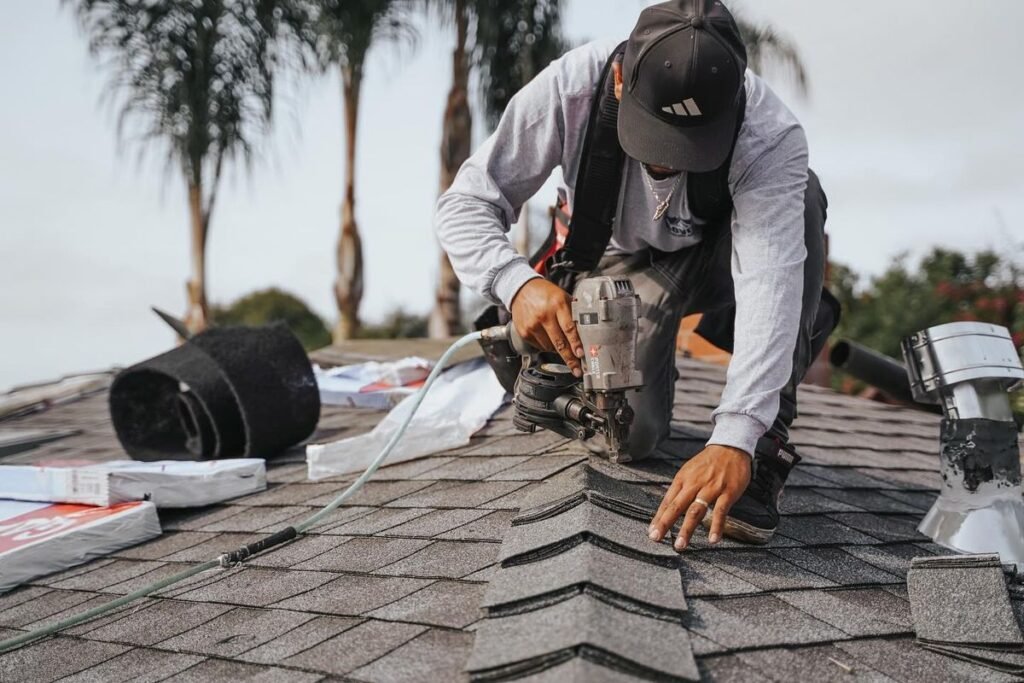
hack 4: replace damaged shingles the right way
Broken or missing shingles are one of the most common causes of leaks. Replacing them is simpler than it sounds.
Carefully lift the shingle above the damaged one. Remove the nails holding the bad shingle in place. Slide it out, then slide the new one in.
Secure it with roofing nails and seal the nail heads with roofing cement.
One detail beginners often miss: align the new shingle properly. Even a slight misalignment can affect water flow and create future problems.
hack 5: don’t ignore flashing—it’s often the real culprit
Flashing is the thin metal installed around roof features like chimneys, vents, and skylights. It’s designed to direct water away from seams.
When flashing loosens or corrodes, leaks become almost inevitable.
Inspect these areas closely:
- chimney base
- vent pipes
- roof valleys
If you see gaps, rust, or lifting edges, reseal them with roofing cement. In more serious cases, the flashing may need to be replaced entirely.
Many beginners overlook flashing and focus only on shingles, which is why leaks keep coming back.
hack 6: clear your gutters before blaming the roof
It might sound unrelated, but clogged gutters can cause water to back up under your roof.
Leaves, dirt, and debris prevent proper drainage. When water has nowhere to go, it finds its way into your roof structure.
Make it a habit to:
- clean gutters regularly
- check downspouts for blockages
- ensure water flows away from your home
Sometimes the “roof leak” disappears entirely after a thorough gutter cleaning.
hack 7: use roofing tape for quick fixes
Roofing tape is one of those underrated tools that beginners rarely think of.
It’s waterproof, adhesive, and flexible. You can apply it over cracks, seams, and small holes.
To use it effectively:
- clean the surface first
- dry it completely
- press the tape firmly
- smooth out air bubbles
It works especially well on flat or low-slope roofs, but it can also serve as a temporary solution for pitched roofs.
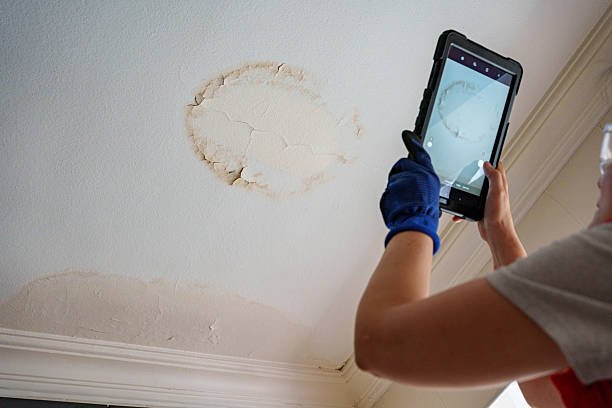
hack 8: inspect after every storm, not just when there’s a problem
Preventive maintenance is often the difference between a minor fix and a major repair.
After heavy rain or wind, take a few minutes to check your roof. Look for:
- displaced shingles
- debris accumulation
- new stains inside
Catching issues early means easier fixes and less stress.
Think of it as a routine rather than a reaction.
hack 9: understand when DIY stops and help begins
There’s a fine line between a manageable repair and a risky situation.
If you notice:
- widespread damage
- sagging roof sections
- persistent leaks despite multiple fixes
it’s time to step back.
Working on a roof can be dangerous, especially without proper safety equipment. There’s no harm in calling a professional when the situation goes beyond basic fixes.
Knowing your limits is part of being a smart homeowner.
hack 10: keep a small roof repair kit ready
Preparation saves time. Instead of scrambling during a leak, keep a basic repair kit on hand.
Include:
- roofing cement
- spare shingles
- roofing nails
- hammer
- utility knife
- waterproof tape
Having these tools ready allows you to act quickly when a problem arises.
It’s a simple step that can prevent a small issue from becoming a big one.
practical scenario: a beginner’s first leak fix
Imagine it’s a rainy evening and you notice water dripping into a bucket you just placed under a ceiling stain. Instead of panicking, you follow a process.
You check the attic and spot a damp trail leading upward. The next morning, you climb onto the roof and find a cracked shingle near that area.
You apply a temporary patch using roofing cement. Later, when the weather clears, you replace the shingle properly.
What could have turned into a major repair ends up being a manageable task—all because you approached it step by step.
common mistakes beginners should avoid
Even with the best intentions, it’s easy to make mistakes. Here are a few to watch out for:
- rushing without identifying the exact source
- overusing sealant instead of fixing the root cause
- stepping on weak spots and causing more damage
- ignoring safety precautions
Take your time. Roof work rewards patience more than speed.
building confidence over time
The first time you deal with a roof leak, it might feel overwhelming. But each small fix teaches you something new.
You start recognizing patterns—where leaks usually form, how materials behave, what works and what doesn’t.
Over time, what once felt intimidating becomes routine.
roof care as a long-term habit
Fixing leaks is only part of the story. Maintaining your roof ensures those leaks don’t return.
Simple habits make a big difference:
- seasonal inspections
- cleaning debris
- checking seals around roof features
A well-maintained roof can last decades, while a neglected one can fail much sooner.
final thoughts
Roof leaks are one of those household problems that seem bigger than they are—until you understand them. With the right mindset and a few practical hacks, even beginners can handle many common issues.
It’s not about becoming an expert overnight. It’s about being observant, prepared, and willing to learn.
Each repair builds your confidence, and each inspection sharpens your awareness. Over time, you’ll not only fix problems faster—you’ll prevent them from happening in the first place.
frequently asked questions
- how do i know if my roof leak is serious
If the leak is causing structural damage, widespread staining, or continues despite temporary fixes, it may be serious. Persistent leaks or sagging areas should be evaluated by a professional. - can i fix a roof leak without climbing onto the roof
In some cases, yes. You can apply temporary fixes from inside the attic using sealants or patches. However, permanent repairs usually require access to the roof surface. - how long do temporary roof fixes last
Temporary fixes can last from a few days to several months, depending on weather conditions and the materials used. They are meant to buy time, not replace proper repairs. - what is the easiest roof leak to fix for beginners
Leaks caused by cracked or missing shingles are generally the easiest. They require basic tools and straightforward replacement steps. - is it safe to fix a roof leak by myself
It can be safe if you take precautions—use proper footwear, avoid steep or wet roofs, and work during good weather. If you feel unsure, it’s better to seek help. - how often should i inspect my roof
At least twice a year—once before the rainy season and once after. Additional checks after storms are also recommended.
By approaching roof leaks with patience and a bit of practical knowledge, even beginners can turn a stressful situation into a manageable task.