7 Easy Roof Leak Fix Guide Fixing Methods That Work Fast
7 Easy Roof Leak Fix Guide Fixing Methods That Work Fast
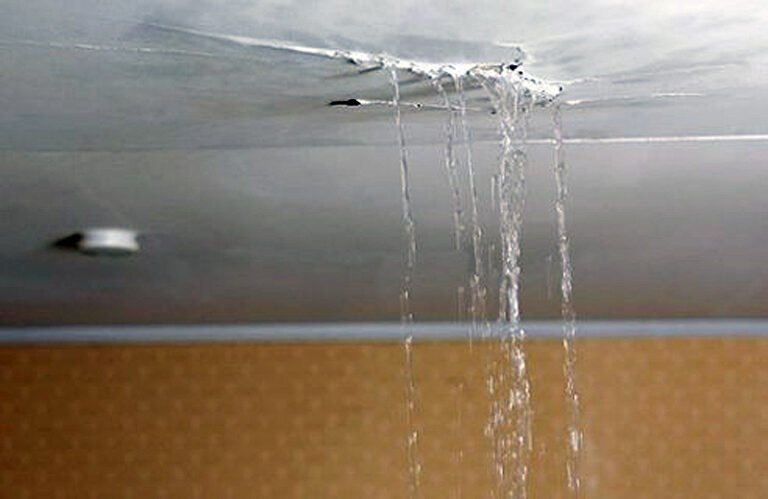
There’s a particular kind of frustration that only a leaking roof can create. It often starts quietly—a faint stain spreading across a ceiling, a slight drip during heavy rain, or that unmistakable damp smell that lingers longer than it should. Then, before you know it, it turns into something urgent. Water has a way of finding paths you didn’t even know existed, and when it does, it doesn’t just damage your roof—it creeps into insulation, weakens structures, and disrupts the comfort of your home.
The good news is that not every roof leak demands immediate professional intervention. In fact, many leaks can be identified and fixed quickly with the right approach, a bit of patience, and some basic tools. This guide is designed to walk you through practical, fast-acting methods that homeowners have used successfully for years. These are not theoretical solutions—they’re real, tested fixes that can buy you time or even completely solve the problem.
Before jumping into the fixes, it’s worth understanding one key principle: the visible leak is not always the source. Water travels. It runs along beams, seeps through layers, and can emerge several feet away from where it actually entered. Keeping that in mind will help you approach each fix with a clearer perspective.
finding the leak before fixing anything
Imagine trying to repair a pipe without knowing where it’s broken. That’s exactly what it feels like to fix a roof leak blindly. The first and most important step is locating the source accurately.
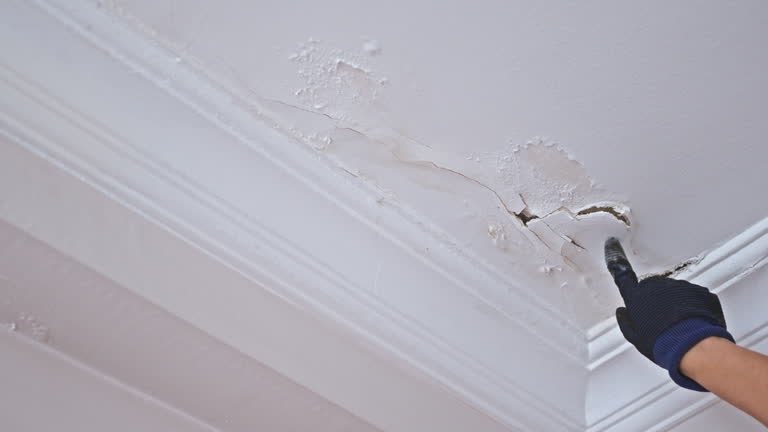
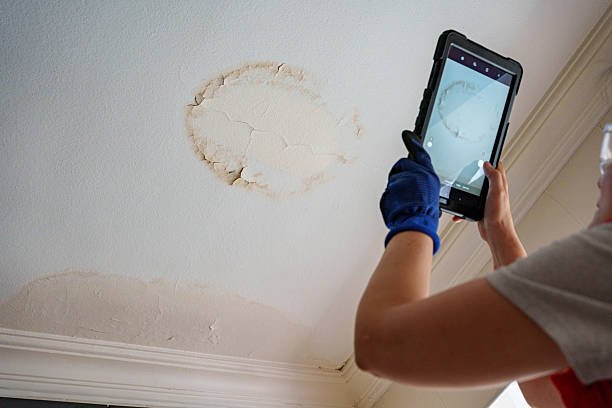
Start indoors. Look for water stains, bubbling paint, or soft spots in the ceiling. If the leak is active, you might notice dripping water. Trace the path upward as best as you can. Sometimes, this means heading into the attic with a flashlight. There, you’ll want to look for wet insulation, mold growth, or darkened wood.
If the leak isn’t obvious, a simple trick is to simulate rain. Have someone spray water on the roof using a hose while you observe from inside. Move slowly and methodically. When the water begins to appear inside, you’ve likely found your entry point.
Once you’ve identified the problem area, you’re ready to move on to fixing it.
method one: sealing small cracks with roofing sealant
Small cracks and gaps are among the most common causes of roof leaks. They often occur around joints, edges, or areas exposed to repeated weather changes. The good thing is that they’re also among the easiest to fix.
Roofing sealant is your best friend here. It’s designed to withstand harsh weather and create a waterproof barrier. After cleaning the affected area thoroughly—removing dirt, debris, and loose material—apply the sealant generously over the crack. Make sure it spreads slightly beyond the edges of the damage.
The key is patience. Let the sealant cure properly before exposing it to water. While this method might seem simple, it’s incredibly effective for minor leaks and can last longer than expected if applied correctly.
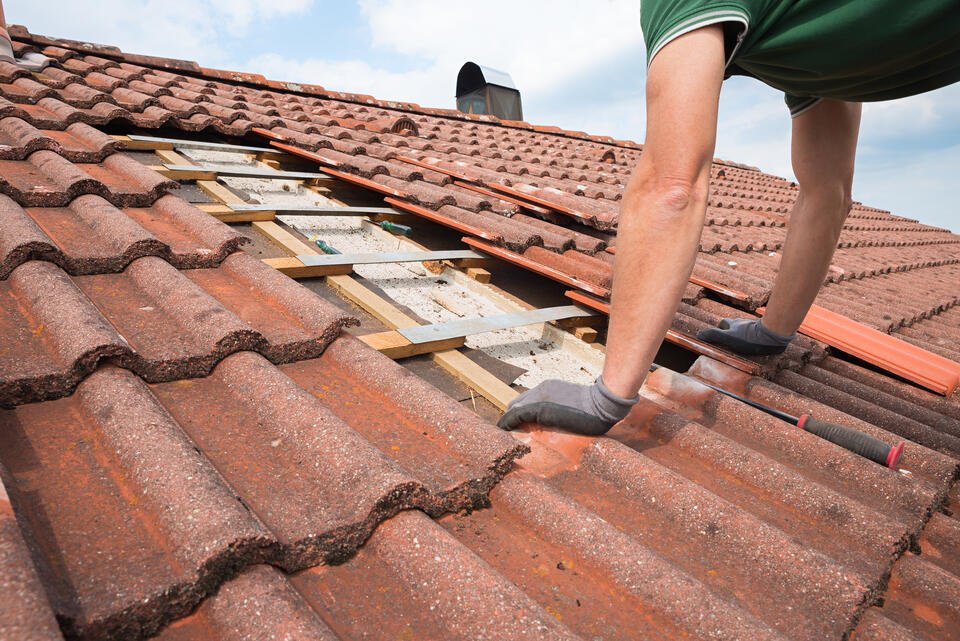
method two: patching damaged shingles quickly
Shingles act as the outer armor of your roof. When they’re damaged, cracked, or missing, water finds an easy way in.
If you notice a broken shingle, don’t wait for the next storm to make things worse. Carefully lift the surrounding shingles and remove the damaged one. Slide a new shingle into place and secure it with roofing nails. To ensure it stays watertight, apply a small amount of sealant under the edges.
In cases where a replacement isn’t immediately available, a temporary patch can work wonders. A piece of metal flashing or even a sturdy plastic sheet secured with sealant can serve as a short-term solution until you can replace the shingle properly.
method three: fixing flashing issues around vents and chimneys
Flashing is one of those parts of a roof that most people don’t think about until it fails. It’s the thin material—usually metal—that seals joints and edges, especially around chimneys, vents, and skylights.
Over time, flashing can loosen, crack, or corrode. When that happens, water can seep in through these vulnerable points.
To fix this, inspect the flashing carefully. If it’s simply loose, re-secure it with roofing nails and seal the edges. If it’s damaged, you may need to replace that section entirely. This involves removing the old flashing, installing a new piece, and sealing it thoroughly.
It might sound technical, but with careful handling, it’s a manageable task. And because flashing-related leaks are quite common, addressing them quickly can prevent larger issues.
method four: using roof tape for emergency repairs
Sometimes, you don’t have the luxury of time or ideal weather conditions. That’s where roof repair tape comes in.
This specialized tape is designed to stick to roofing materials and create an instant waterproof seal. It’s especially useful during rainy seasons when traditional repairs aren’t practical.
To use it, clean and dry the area as much as possible. Cut a piece of tape large enough to cover the damaged section, then press it firmly into place. Smooth out any air bubbles to ensure proper adhesion.
While it’s often considered a temporary fix, high-quality roof tape can hold up surprisingly well for extended periods. It’s a must-have for quick interventions.
method five: clearing clogged gutters to stop hidden leaks
Not all leaks come from direct damage to the roof surface. Sometimes, the problem lies in poor drainage.
Clogged gutters can cause water to back up and seep under the roof’s edges. This can lead to leaks that appear unrelated to the actual cause.
Take some time to inspect and clean your gutters. Remove leaves, dirt, and any blockages that might prevent water from flowing freely. Also, check the downspouts to ensure they’re not obstructed.
This simple maintenance step can eliminate certain types of leaks entirely. It’s one of those fixes that doesn’t involve repairing the roof itself but can make a huge difference.
method six: reinforcing weak spots with roofing cement
Roofing cement is thicker than sealant and is ideal for reinforcing areas that are starting to weaken but haven’t fully failed yet.
Apply it to areas that show signs of wear—such as small holes, worn-out seams, or edges that are beginning to lift. Spread it evenly and consider embedding a piece of roofing fabric into the cement for added strength.
This method creates a durable patch that can withstand harsh conditions. It’s particularly useful for flat roofs or areas that experience pooling water.
method seven: installing a temporary tarp cover
When a leak is severe or the weather is too harsh for immediate repairs, a tarp can act as a lifesaver.
Cover the affected section of the roof with a heavy-duty tarp, making sure it extends beyond the damaged area. Secure it tightly using wooden boards or nails, ensuring it doesn’t flap in the wind.
While this isn’t a permanent solution, it provides immediate protection and prevents further water intrusion. It also gives you time to plan a proper repair without the pressure of ongoing damage.
understanding when a quick fix is enough
Not every repair needs to be permanent right away. In many cases, a quick fix is all you need to get through a rainy season or until professional help becomes available.
However, it’s important to monitor the repaired area. Check for signs of recurring leaks or new damage. What starts as a minor issue can evolve if left unattended for too long.
Think of these methods as part of a broader maintenance strategy rather than one-time solutions.
common mistakes people make during roof leak repairs
One of the biggest mistakes is ignoring safety. Climbing onto a roof without proper footwear or precautions can be dangerous. Always prioritize your safety, especially when dealing with slippery surfaces.
Another common error is using the wrong materials. Not all sealants or adhesives are suitable for roofing. Using inappropriate products can lead to temporary fixes that fail quickly.
Rushing the process is also a frequent issue. Skipping steps like cleaning the surface or allowing materials to cure properly can compromise the effectiveness of the repair.
Finally, misidentifying the source of the leak can lead to repeated failures. Take the time to diagnose the problem accurately before attempting a fix.
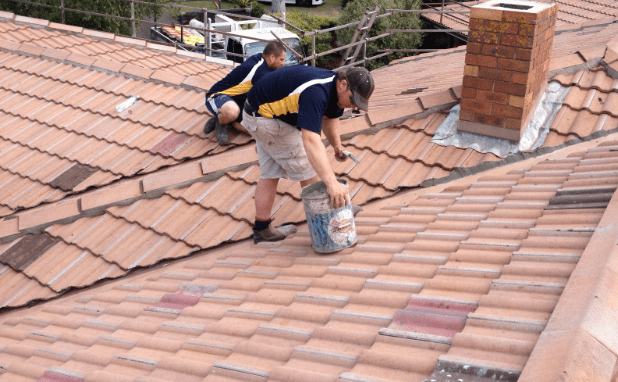
building a habit of roof maintenance
Prevention is always better than repair. Regular inspections can help you catch small issues before they turn into major problems.
Make it a habit to check your roof after heavy storms. Look for missing shingles, debris accumulation, or signs of wear. Keeping your roof clean and well-maintained not only prevents leaks but also extends its lifespan.
Even simple actions—like trimming overhanging branches or ensuring proper ventilation—can contribute to a healthier roof.
why fast action matters more than perfect repairs
When it comes to roof leaks, speed often matters more than perfection. A quick, temporary fix can prevent extensive damage and save you from costly repairs later.
Water damage spreads quickly. It can weaken structures, promote mold growth, and damage interiors. Acting fast minimizes these risks and gives you control over the situation.
Perfection can come later. The priority is stopping the leak and protecting your home.
a practical mindset for homeowners
Dealing with a roof leak doesn’t have to feel overwhelming. With the right mindset and tools, it becomes a manageable task.
Think of it as problem-solving rather than a crisis. Each method in this guide offers a practical way to address specific issues. By understanding your roof and responding quickly, you can handle most leaks effectively.
Over time, you’ll develop confidence and familiarity with these repairs, making future issues easier to tackle.
frequently asked questions
- how do i know if my roof leak is serious
A serious leak usually involves continuous water flow, large stains, or structural damage like sagging ceilings. If you notice these signs, it’s best to combine a quick fix with professional inspection. - can i fix a roof leak from inside the house
You can manage the symptoms from inside by catching water and reducing damage, but the actual repair must be done on the roof to stop the source of the leak. - how long do temporary fixes usually last
Depending on the method and conditions, temporary fixes can last anywhere from a few days to several months. Regular checks will help you determine when a permanent repair is needed. - is it safe to repair a roof during rain
It’s not recommended. Wet surfaces are slippery and dangerous. In emergencies, using a tarp from a safe position is a better option until conditions improve. - what is the most common cause of roof leaks
Damaged shingles, faulty flashing, and clogged gutters are among the most common causes. Regular maintenance can prevent most of these issues. - should i always replace damaged shingles or can i patch them
If the damage is minor, patching can work temporarily. However, replacing damaged shingles is the more reliable long-term solution.
In the end, a leaking roof is less about panic and more about response. The faster and smarter you act, the easier it becomes to control the situation. These seven methods are not just quick fixes—they’re practical tools that empower you to protect your home when it matters most.