5 Powerful Roof Leak Fix Guide Safety Habits Professionals Follow
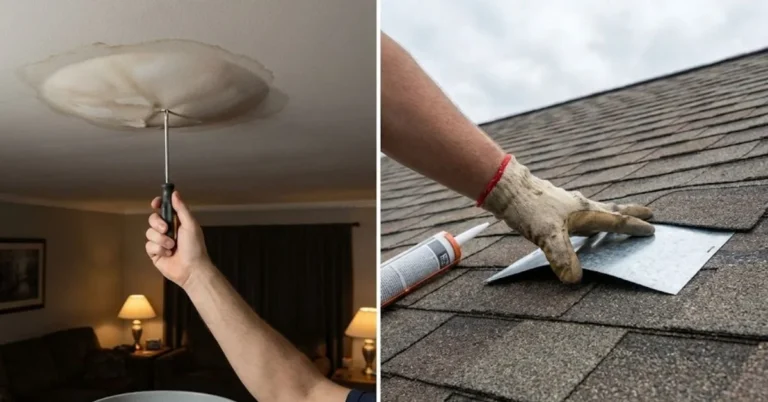
Roof leaks are among the most common problems homeowners face, yet repairing them can be risky if safety is ignored. Professional roofers understand that fixing a roof leak is not just about sealing cracks or replacing shingles—it’s about following disciplined safety habits that prevent injuries and protect the home.
Many homeowners attempt DIY repairs without understanding the hazards involved. Slippery surfaces, weak roof decking, unstable ladders, and improper tools can quickly turn a simple repair into a dangerous situation. Professionals avoid these risks by practicing specific safety habits every time they step onto a roof.
This comprehensive Roof Leak Fix Guide explores five powerful safety habits professional roofers consistently follow. These habits help reduce accidents, improve efficiency, and ensure long-lasting repairs.
Understanding the Risks of Roof Leak Repairs
Before exploring the safety habits, it’s important to understand why roof repair work requires caution.
Roofing is considered one of the most dangerous construction activities. Even small home roofs can pose risks due to height, weather exposure, and structural weaknesses.
Common Roof Repair Hazards
| Hazard | Description | Potential Risk |
|---|---|---|
| Slippery Surfaces | Wet shingles or moss buildup | Falls and injuries |
| Weak Roof Decking | Rotten wood beneath shingles | Sudden collapse |
| Steep Roof Slopes | High-pitch roofing angles | Loss of balance |
| Electrical Lines | Nearby power lines | Electrical shock |
| Improper Ladder Setup | Unstable ladder placement | Serious falls |
Professional roofers minimize these hazards through preparation and safety discipline.
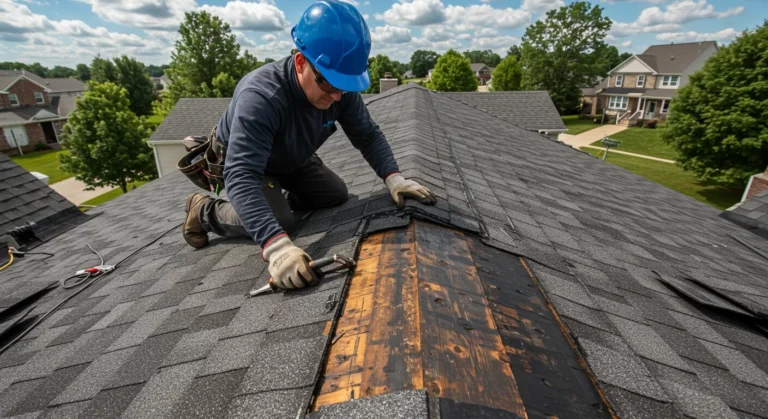
Habit #1: Conducting a Complete Roof Inspection Before Any Repair
One of the most important safety habits professionals follow is never starting repairs without inspecting the entire roof first.
A leak may appear in one area but originate from another location entirely. Jumping straight into repairs without inspection can lead to repeated leaks or hidden structural damage.
Why Inspection Matters
Professional roofers carefully evaluate the roof’s condition to identify hidden dangers such as:
- Rotten roof decking
- Loose shingles
- Structural weakness
- Mold or moisture damage
- Sagging roof sections
Identifying these problems early prevents accidents during repair work.
Professional Roof Inspection Checklist
| Inspection Area | What Professionals Look For |
|---|---|
| Shingles | Missing, cracked, or curled shingles |
| Flashing | Loose or rusted metal around vents and chimneys |
| Roof Valleys | Debris buildup causing water pooling |
| Gutters | Blocked gutters causing water backup |
| Attic | Water stains or mold indicating leaks |
Visual Inspection vs Structural Inspection
Professionals typically perform two types of inspections:
- Exterior inspection – looking for visible roof damage
- Interior inspection – checking attic spaces for moisture or mold
By combining both, professionals can accurately locate the leak source.
Example Scenario
A homeowner notices water dripping from the ceiling near the kitchen. Without inspection, they might patch the roof directly above the leak.
However, professionals often discover that the actual leak originates 10–15 feet higher up the roof, where damaged flashing allows water to travel underneath shingles.
Proper inspection prevents unnecessary repairs and reduces safety risks.
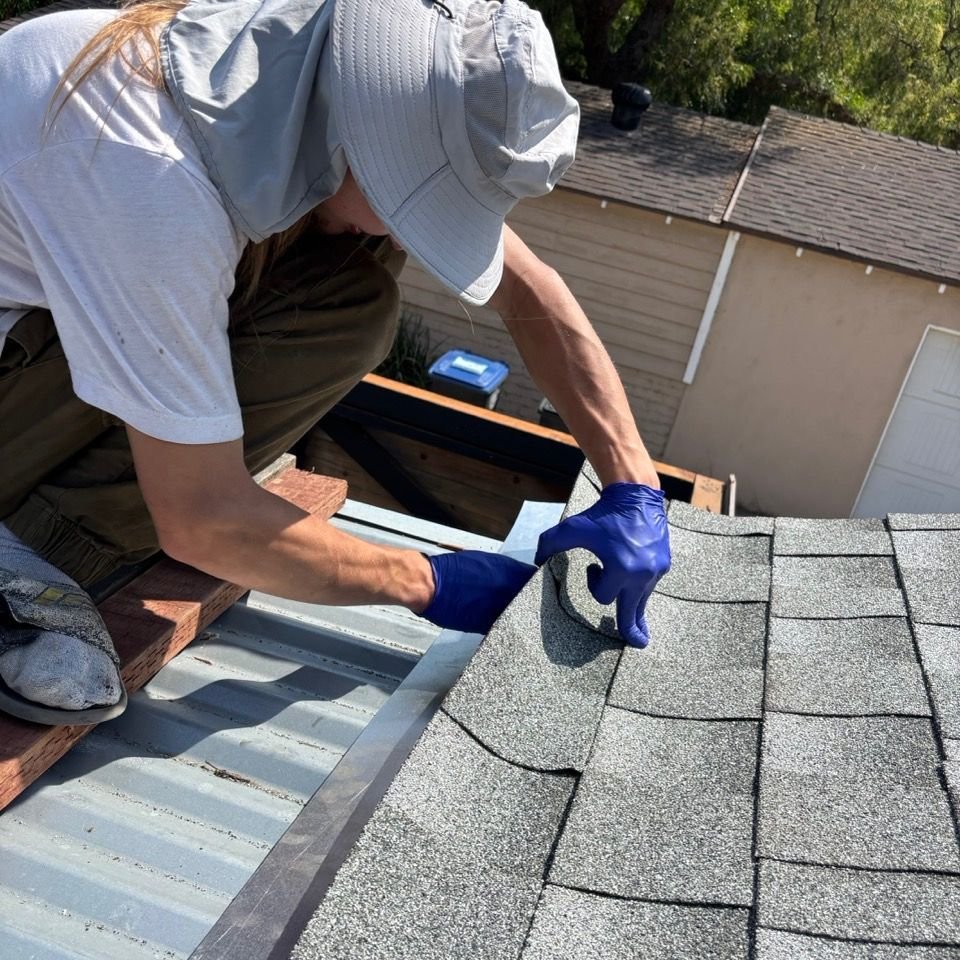
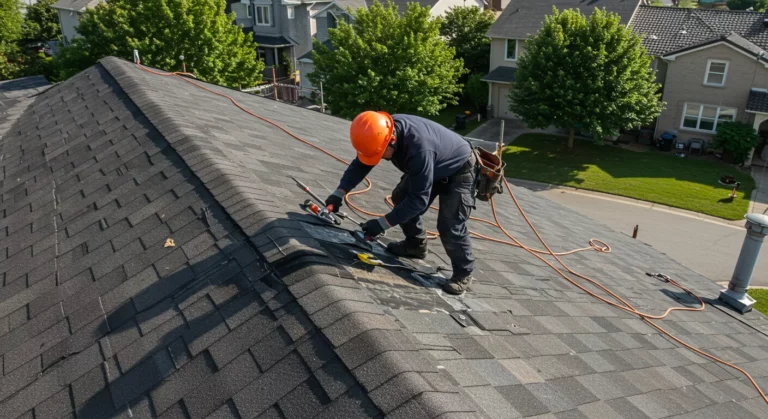
Habit #2: Using Professional-Grade Safety Equipment
Roof repair professionals never work without safety equipment. Even experienced roofers rely heavily on protective gear.
Many DIY accidents happen because homeowners skip safety equipment or use improper tools.
Essential Roofing Safety Equipment
| Equipment | Purpose |
|---|---|
| Safety Harness | Prevents falls from steep roofs |
| Non-Slip Boots | Improves traction on shingles |
| Roofing Gloves | Protects hands from sharp materials |
| Hard Hat | Protects against falling tools or debris |
| Safety Glasses | Prevents eye injuries |
Why Non-Slip Footwear Is Critical
Roof surfaces become extremely slippery due to:
- Rainwater
- Morning dew
- Dust accumulation
- Moss growth
Professional roofing boots are designed with soft rubber soles that grip asphalt shingles effectively.
Ladder Safety Setup
Professionals also follow strict ladder safety rules.
Ladder Positioning Chart
| Ladder Rule | Recommended Standard |
|---|---|
| Ladder Angle | 75 degrees |
| Ladder Extension Above Roof | Minimum 3 feet |
| Base Support | Firm and level surface |
| Weight Limit | Ladder rated for worker + tools |
Incorrect ladder placement is responsible for a large percentage of roofing injuries.
Habit #3: Monitoring Weather Conditions Before Starting Work
Weather plays a huge role in roof safety.
Professional roofers never begin repairs without checking weather conditions.
Roof surfaces react quickly to environmental changes.
Weather Factors That Affect Roof Safety
| Weather Condition | Risk Level | Reason |
|---|---|---|
| Rain | High | Wet surfaces cause slipping |
| Strong Wind | High | Loss of balance |
| Extreme Heat | Moderate | Heat exhaustion |
| Frost/Ice | Very High | Slippery surfaces |
| Mild Dry Weather | Low | Ideal conditions |
Ideal Conditions for Roof Repair
Professionals prefer to repair roofs under the following conditions:
- Dry weather
- Light winds
- Moderate temperatures
- Clear visibility
These conditions improve both safety and repair quality.
Why Heat Can Also Be Dangerous
Many people assume roofing is only dangerous during storms, but extreme heat can also cause problems.
Dark asphalt shingles can reach 150°F (65°C) on hot days. This can lead to:
- Heat exhaustion
- Dehydration
- Reduced concentration
Professional crews often schedule roofing work early in the morning to avoid heat risks.
Habit #4: Securing the Work Area Properly
Professional roofers carefully secure the entire work area before starting repairs.
This protects not only the workers but also anyone nearby.
Ground-Level Safety Measures
Before climbing onto the roof, professionals take several precautions:
- Block off the area beneath the roof
- Move vehicles away from the house
- Protect landscaping with tarps
- Secure loose materials
Why Ground Protection Matters
Roof repairs often involve removing shingles, nails, and flashing.
Falling debris can damage property or injure people below.
Work Zone Safety Layout
| Area | Safety Action |
|---|---|
| Ground Level | Warning cones or barriers |
| Roof Edge | Safety harness anchor points |
| Tool Storage | Secure tool belts |
| Debris Area | Collection tarp |
Professionals maintain a controlled work environment throughout the repair process.
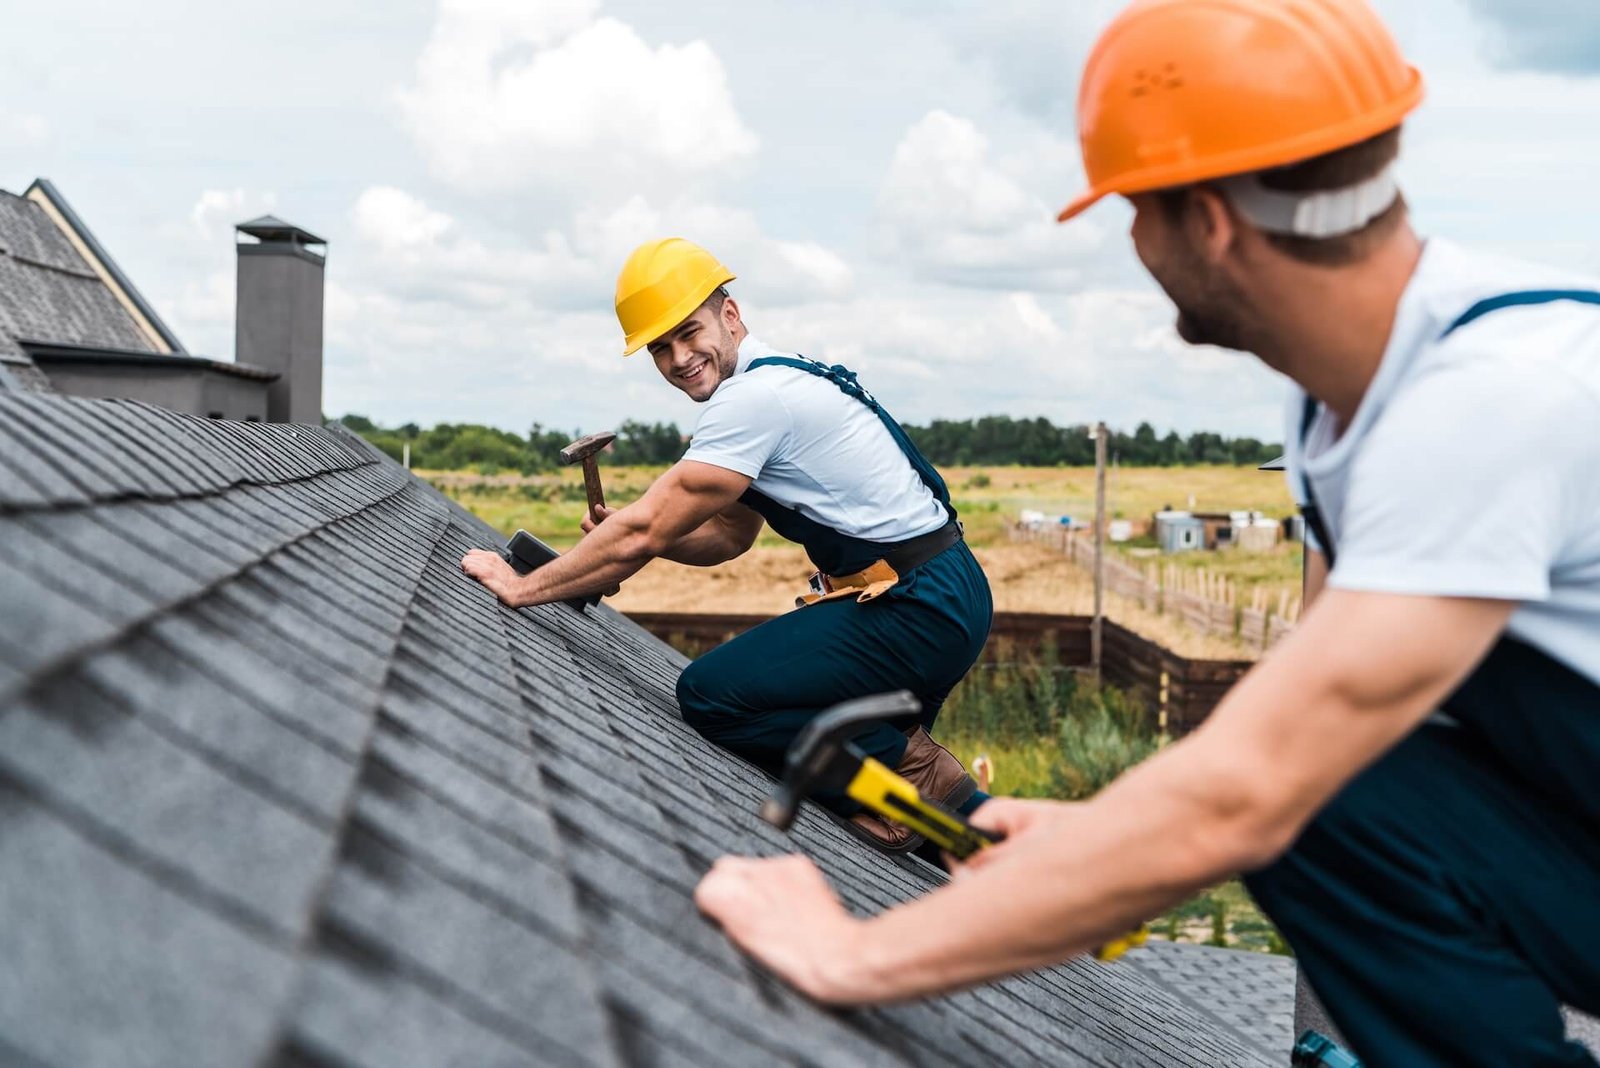
Habit #5: Repairing Leaks with the Right Materials and Techniques
Professional roofers avoid quick temporary fixes.
Instead, they use proper materials and proven repair techniques to prevent recurring leaks.
Common Professional Roof Repair Materials
| Material | Purpose |
|---|---|
| Roofing Cement | Seals cracks and gaps |
| Flashing | Directs water away from joints |
| Replacement Shingles | Repairs damaged areas |
| Waterproof Underlayment | Prevents moisture penetration |
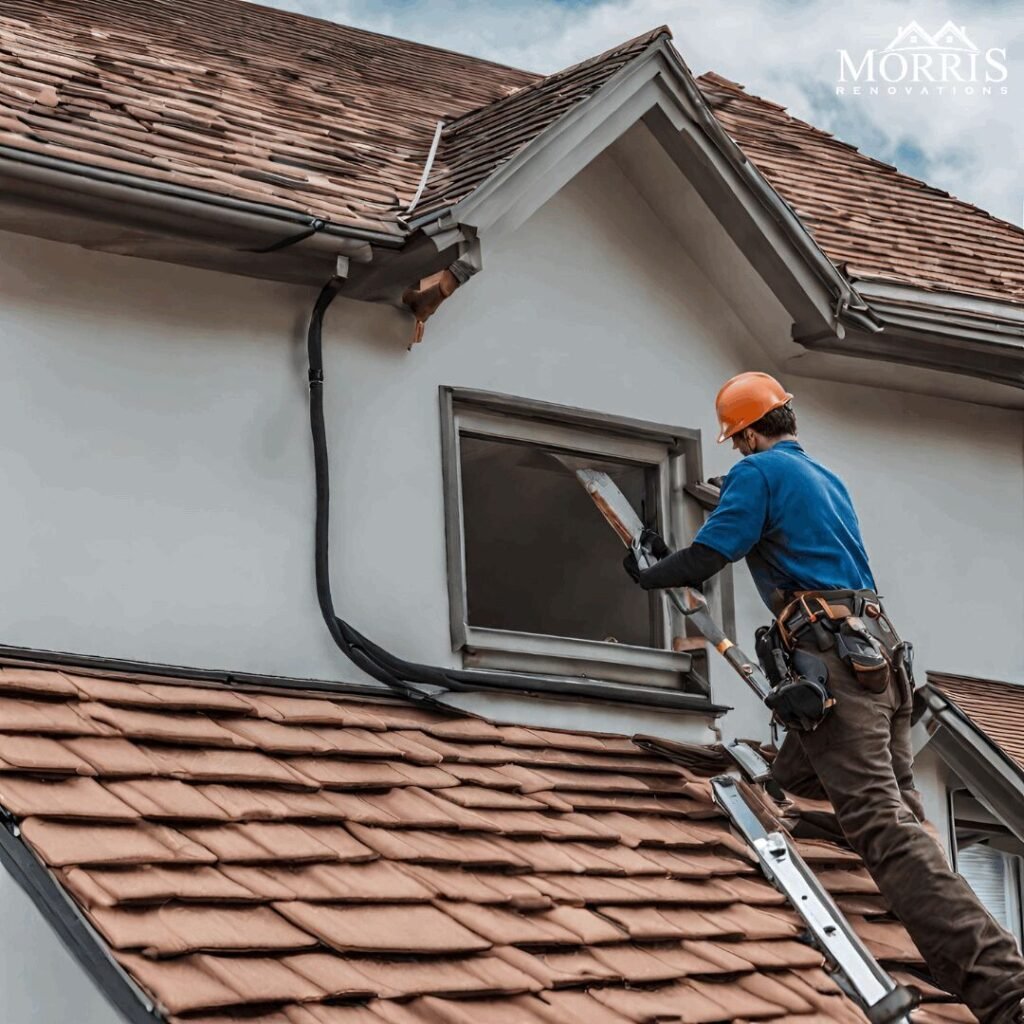
The Importance of Flashing
Flashing is one of the most critical components in leak prevention.
It is installed around:
- Chimneys
- Roof vents
- Skylights
- Roof valleys
Improper flashing installation is responsible for a large percentage of roof leaks.
Professional Leak Repair Process
Professional roofers typically follow this sequence:
- Identify leak origin
- Remove damaged shingles
- Replace underlayment if needed
- Install new flashing
- Seal repair with roofing cement
- Replace shingles properly
This systematic approach ensures long-lasting repairs.
Roof Leak Warning Signs Every Homeowner Should Know
Knowing the warning signs of roof leaks can help homeowners address problems early.
Common Roof Leak Indicators
| Sign | Meaning |
|---|---|
| Ceiling Water Stains | Active leak above |
| Peeling Paint | Moisture behind walls |
| Mold Growth | Long-term moisture exposure |
| Dripping Water | Severe leak |
| Missing Shingles | Weather damage |
Early detection can prevent expensive repairs.
Estimated Roof Leak Repair Costs
While costs vary depending on damage, the following table provides general estimates.
| Repair Type | Average Cost |
|---|---|
| Minor Leak Repair | $150 – $400 |
| Flashing Replacement | $300 – $800 |
| Shingle Replacement | $250 – $700 |
| Roof Valley Repair | $500 – $1200 |
| Major Roof Section Repair | $1000 – $3000 |
DIY repairs may seem cheaper but can become costly if done incorrectly.
Preventive Maintenance Habits Professionals Recommend
Professional roofers believe prevention is better than repair.
Homeowners who follow simple maintenance routines can significantly reduce roof leak risks.
Recommended Maintenance Schedule
| Maintenance Task | Frequency |
|---|---|
| Roof Inspection | Twice per year |
| Gutter Cleaning | Every 3–4 months |
| Moss Removal | Once per year |
| Flashing Inspection | Every 2 years |
Routine maintenance extends roof lifespan.
Quick Roof Leak Safety Checklist
Before attempting any roof repair, review this checklist:
✔ Inspect the roof thoroughly
✔ Wear proper safety gear
✔ Secure the ladder
✔ Check weather conditions
✔ Protect the work area
✔ Use proper repair materials
Following these habits reduces accidents significantly.
Frequently Asked Questions (FAQs)
1. What is the safest way to fix a roof leak?
The safest way is to first inspect the roof thoroughly, use safety gear like harnesses and non-slip footwear, and repair the damaged area with proper materials such as flashing and roofing cement.
2. Can I repair a roof leak myself?
Small leaks can sometimes be repaired by homeowners, but steep roofs or structural damage should always be handled by professional roofers to avoid safety risks.
3. How long does a roof leak repair usually take?
Minor roof leak repairs typically take 1–3 hours, while larger repairs involving structural damage may take a full day or longer.
4. What is the most common cause of roof leaks?
The most common causes include:
- Damaged shingles
- Improper flashing installation
- Clogged gutters
- Aging roofing materials
Regular inspections help prevent these problems.
5. How often should roofs be inspected for leaks?
Professionals recommend inspecting roofs at least twice a year, typically in spring and fall, and after major storms.
6. Does a small roof leak really need immediate repair?
Yes. Even small leaks can lead to serious problems such as mold growth, wood rot, and structural damage if left untreated.
Final Thoughts
Roof leak repairs require more than basic tools and materials—they require discipline, preparation, and strong safety habits.
Professional roofers reduce risks by following five key habits:
- Conducting full roof inspections
- Using professional safety equipment
- Monitoring weather conditions
- Securing the work area
- Using proper repair techniques and materials
These habits not only protect workers but also ensure durable, high-quality repairs.
For homeowners, learning from these professional safety habits can make the difference between a quick fix and a costly accident. Whether performing DIY repairs or hiring a contractor, safety should always come first when dealing with roof leaks.