
5 Easy Roof Leak Fix Guide Maintenance Checks I Wish I Knew Earlier
Let me be honest with you — I ignored my roof for almost three years. Not because I didn’t care, but because I figured “out of sight, out of mind.” The ceiling looked fine from inside, the walls weren’t damp, so I assumed everything was good up there.
Then came that one rainy night in July.
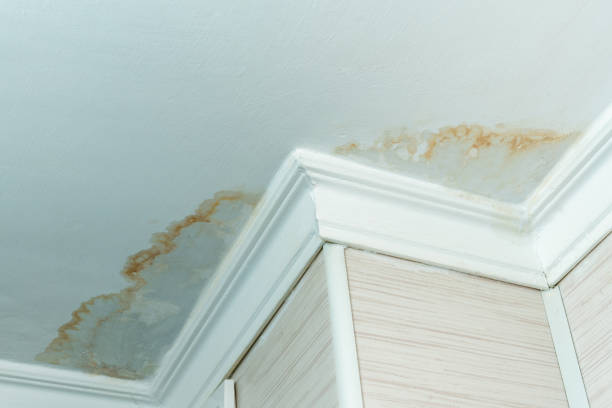
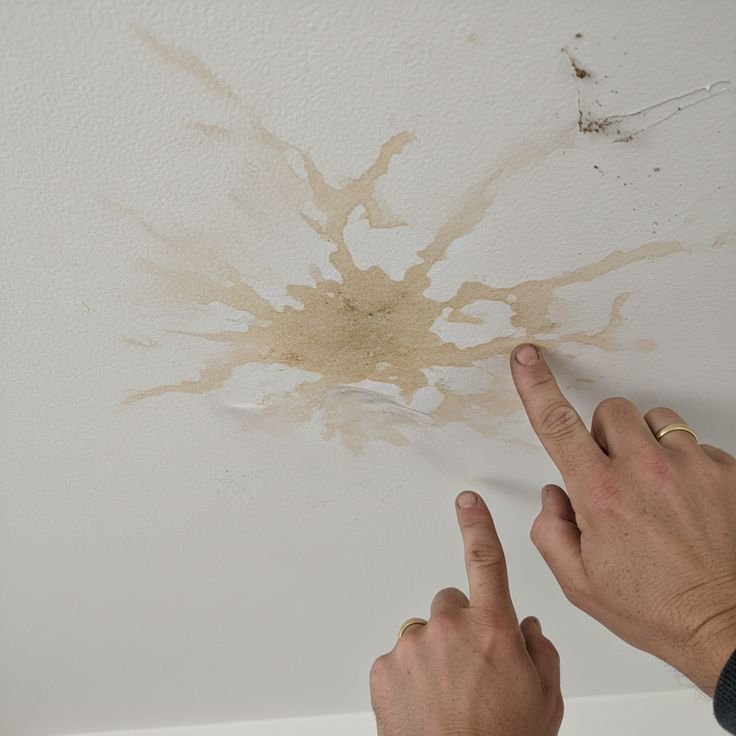
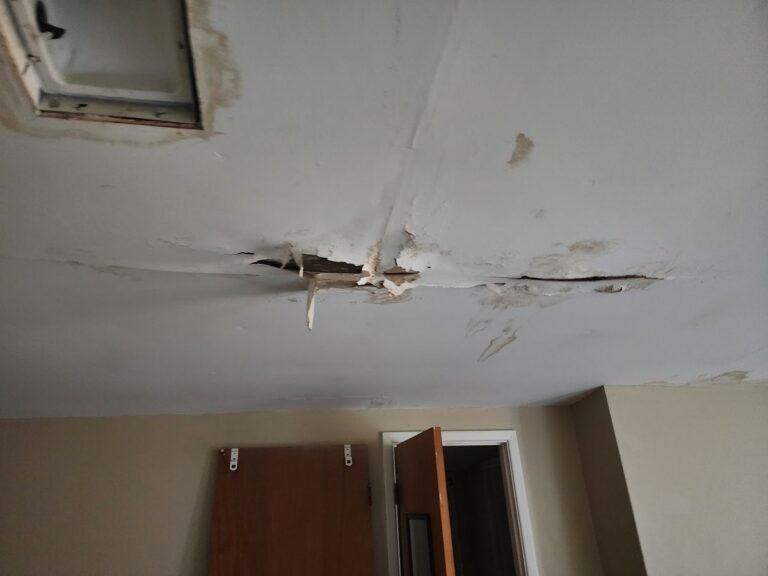
I woke up to a dripping sound at 2 AM, found a dark wet patch spreading across my bedroom ceiling, and spent the next hour placing buckets and towels everywhere like I was setting up some kind of art installation. The repair bill that followed? Let’s just say it was painful enough that I completely changed how I look at roof maintenance.
The worst part? A contractor told me most of that damage could’ve been prevented with a few simple checks. Checks I had never done — not once.
So here’s what I wish someone had sat me down and explained before that rainy disaster. These aren’t complicated contractor-level inspections. They’re practical, doable things any homeowner can handle.
1. Check Your Flashing — It’s Usually the Real Troublemaker
Before that leak, I had no idea what flashing even was. Turns out, it’s the thin metal strips (usually aluminum or galvanized steel) installed around chimneys, vents, skylights, and roof edges — basically anywhere two surfaces meet. And it’s almost always where leaks start.
The problem with flashing is that it looks totally fine from a distance. You’d have to get up close — either from a ladder or by carefully walking the roof — to see the actual damage. Over time, the sealant around flashing dries out, cracks, or pulls away. Rainwater then sneaks right underneath.
What to look for:
- Rust or discoloration on the metal
- Cracks or gaps in the sealant (caulk) around the edges
- Flashing that’s visibly lifted, bent, or separated from the surface
- Any missing sections
How to fix it yourself (if it’s minor): If the metal itself is intact but the sealant is cracking, you can actually re-seal it yourself using roofing caulk or roofing cement. A tube of Loctite PL Roof & Flashing Polyurethane Sealant works well — it’s flexible, waterproof, and holds up through weather changes. Clean the area, dry it thoroughly, and apply a smooth bead of sealant along all the edges.
I did this myself last spring on the chimney flashing after I noticed hairline cracks during an inspection. Took maybe 45 minutes and cost me under $15. Compare that to the $400+ repair I needed because I skipped this check for years.
Pro tip: Do a flashing check twice a year — once before monsoon/rain season and once after. A quick visual from a ladder is enough to catch most problems early.
2. Gutters Are Part of Roof Health (Most People Completely Miss This)
I used to think gutters and roofs were separate problems. Wrong.
Clogged or damaged gutters cause water to back up under your shingles or fascia board, which leads to — you guessed it — leaks. This is called “water infiltration” and it can silently damage your roof deck and attic insulation over months before you ever see a stain on your ceiling.
Here’s a check I now do every few months, especially after storms:
Step 1: Look into your gutters. If you see leaves, mud, or debris packed in there, they need cleaning. Clogged gutters hold water that has nowhere to go but backwards.
Step 2: Run water through them using a garden hose. Watch for leaks at the seams and corners. Pooling water means the slope is off.
Step 3: Check where the gutters meet the roofline (the fascia). If the wood looks dark, soft, or swollen, water has already been getting in there.
Step 4: Make sure downspouts are directing water at least 4–6 feet away from your foundation.
I started using a simple gutter scoop (you can get one for about $8 on Amazon) and it makes cleaning so much faster. Takes 20–30 minutes for an average home if you do it regularly.
You can also check out 7 Smart Roof Leak Fix Guide Maintenance Habits That Prevent Leaks for a broader list of habits that genuinely make a difference.
3. Inspect Your Shingles Up Close — Not Just From the Ground
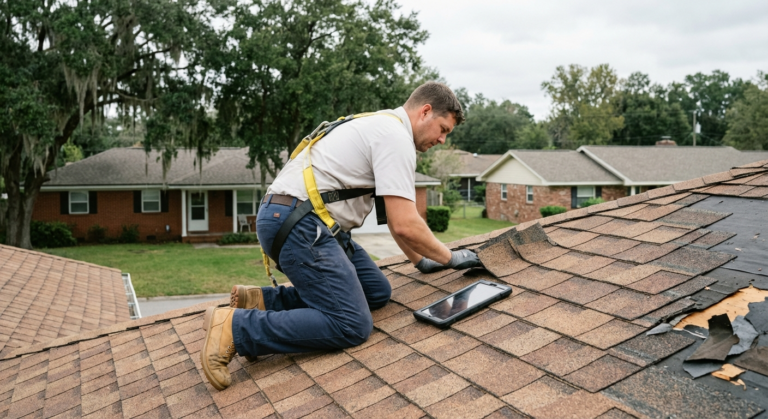
Standing in your driveway and glancing up doesn’t count as an inspection. I did that for years and thought my roof was totally fine. Turns out two shingles near my back slope were curling at the edges — something I only discovered when I actually got on the ladder and walked that section carefully.
Shingles go through a lot. UV exposure, temperature cycles, wind — they degrade over time. And damaged shingles are basically open invitations for water.
Here’s what to look for during a close inspection:
| Shingle Problem | What It Looks Like | What It Means |
|---|---|---|
| Curling edges | Edges lift up or cup inward | Age, moisture imbalance |
| Missing granules | Bare, dark patches on shingle surface | UV protection wearing off |
| Cracked shingles | Visible splits or breaks | Impact damage or drying out |
| Missing shingles | Exposed roof deck | Immediate repair needed |
| Moss or algae growth | Green/black staining | Moisture retention underneath |
If you see moss or algae, don’t just scrub it off — that can damage the granules. Use a gentle spray of a 50/50 mix of water and white vinegar, or a dedicated product like Wet & Forget Outdoor. Let it sit and work slowly.
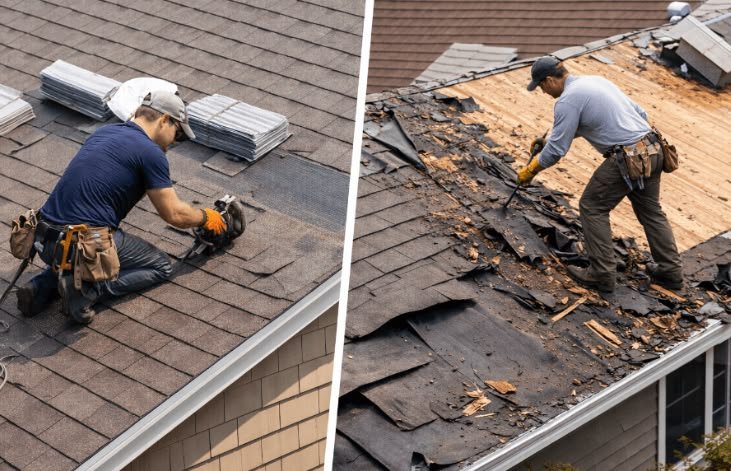
Replacing a few shingles yourself is doable if you’re comfortable on a roof. Standard 3-tab asphalt shingles are widely available and usually cost $1–$2 per shingle at hardware stores. Just make sure you’re matching the type and color.
If you’re not comfortable up there — that’s totally valid. Safety matters more than saving money. Get a roofer to do a spot replacement. It’s usually not expensive for minor work.
4. Check Your Attic After Every Major Storm
This one changed everything for me. I didn’t even think to go into my attic after storms until my contractor pointed out that’s often where you catch problems before they become visible inside the house.
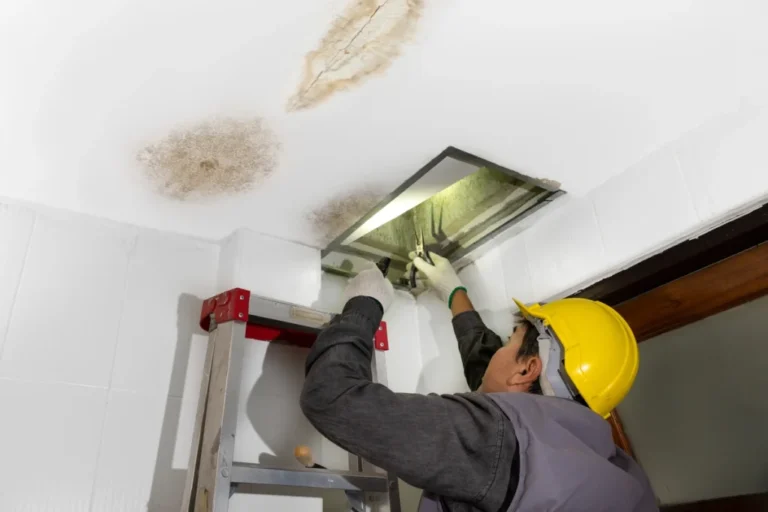
Your attic is like an early warning system. Water infiltrating through damaged shingles, flashing, or gaps often shows up in the attic first — as staining on the wood, damp insulation, or even light coming through where it shouldn’t.
Post-storm attic checklist:
1. Bring a flashlight and look for daylight. Any spots where you can see light through the roof boards means there’s a gap. Those are entry points for water.
2. Check the underside of the roof deck for stains. Dark streaks or rings often indicate water has been running through. Even old stains matter — they show where past leaks occurred (and could reoccur).
3. Feel your insulation. Wet or matted-down insulation means water got in. It also loses its thermal efficiency when wet, so you’re losing on energy bills too.
4. Look for mold or mildew. A musty smell when you open the attic hatch is a red flag. Mold in attics spreads fast in warm climates.
5. Check ventilation. Poor attic ventilation causes heat and moisture buildup, which actually degrades shingles from the inside out. Make sure soffit vents and ridge vents aren’t blocked.
I now do an attic check within 24 hours of any heavy rain. It takes literally 10 minutes and has already helped me catch a small problem around a vent pipe before it turned into something worse.
For a deeper look at repair approaches that work in real situations, this guide on 9 Smart Roof Leak Fix Guide Basics for Quick Repairs is worth reading before you start poking around up there.
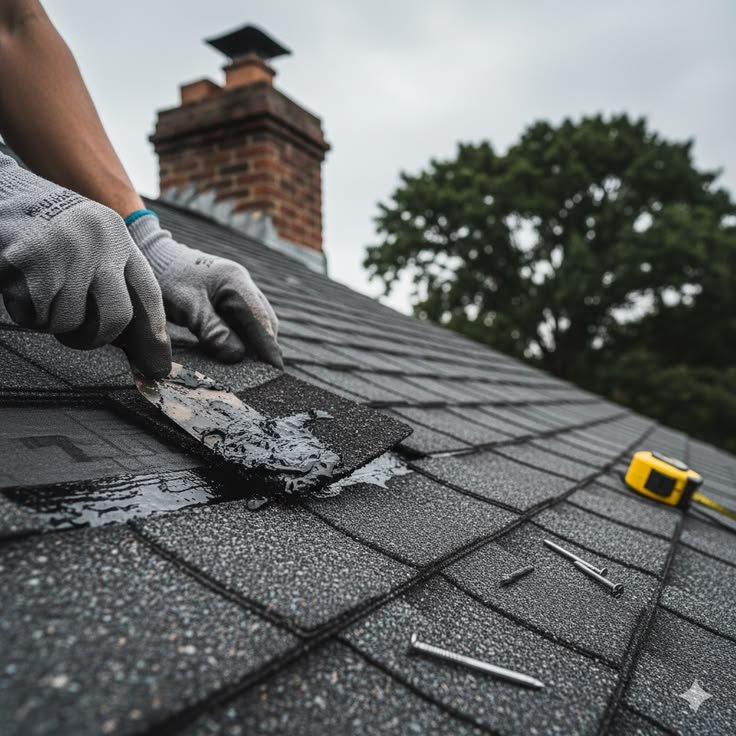
5. Seal and Check Around Roof Penetrations — Every Single One
Anything that sticks up through your roof is a potential leak point. I’m talking about plumbing vents, exhaust fans, HVAC units, satellite dish mounts, and any other hardware installed on your roof over the years.
These penetrations are sealed at installation, but that sealant doesn’t last forever. It’s usually the first thing to crack and separate. And unlike shingle damage, this kind of failure is almost invisible unless you’re specifically looking for it.
The check itself is simple:
Walk your roof (safely, with proper footwear — rubber-soled shoes, never smooth soles) and visually inspect every single protrusion. Look at:
- The rubber boot around plumbing vent pipes — these are notorious for cracking after 5–10 years
- The caulking around any pipe collar or flashing collar
- Screws or fasteners that may have backed out slightly (leaving tiny gaps)
- The area where satellite dish mounts or TV antenna hardware was drilled in
A rubber pipe boot replacement is maybe a $15–$25 part at any home improvement store and takes about 30 minutes to swap out yourself. This is one of those repairs where doing it yourself is genuinely worth it.
One thing I learned the hard way: when re-sealing around penetrations, use roofing-specific sealant, not general-purpose silicone. Regular silicone doesn’t adhere well to roofing materials and breaks down faster under UV. Geocel 2300 or Sika Flex are good choices I’ve personally used.
Common Mistakes I Made (So You Don’t Have To)
Since I’m sharing everything, here are the dumb things I did that made problems worse or cost me more money:
Mistake 1: Using duct tape as a temporary fix. I actually did this once on a small crack I found near a vent. It held for maybe two weeks, then allowed water in while also being a pain to remove cleanly. Use proper roofing tape (like Gorilla Waterproof Patch & Seal Tape) or roofing cement — not duct tape.
Mistake 2: Only checking the roof after I saw damage inside. By the time water shows up on your ceiling, it’s already traveled through insulation, wood, and drywall. The damage is always worse than it looks. Don’t wait for interior signs — check proactively.
Mistake 3: Ignoring small moss patches. I thought moss was just cosmetic. It’s not. Moss holds moisture against the shingles, accelerates deterioration, and can actually lift shingle edges over time. Treat it early.
Mistake 4: Skipping the attic check because “it looked fine from outside.” Already covered this, but seriously — the attic check is your best early warning tool. Don’t skip it.
Mistake 5: Assuming one inspection a year was enough. Roofs take hits all year — summer UV, winter cold, spring storms, autumn debris. Two thorough inspections per year (spring and fall) plus a post-storm attic check is the rhythm that actually works.
A Simple Maintenance Schedule That Takes the Guesswork Out
| When | What to Check |
|---|---|
| Every Spring | Flashing, shingles, gutters, all penetrations |
| Every Fall | Gutters (clear leaves), shingles, attic ventilation |
| After Any Major Storm | Attic for stains/daylight, gutters for debris/damage |
| Every 3–5 Years | Full professional inspection (especially if roof is 10+ years old) |
Sticking to this schedule is what’s kept my roof problem-free for the past two years after that original disaster. It’s not time-consuming — a thorough DIY check takes maybe an hour total. Compare that to the disruption and cost of a repair.
If you’re dealing with specific seasonal challenges, this article on 6 Essential Roof Leak Fix Guide Maintenance Steps Before Rain breaks down exactly what to prioritize before the wet season hits.
Final Thoughts
Nobody tells you this stuff when you buy a house. You get the keys, the mortgage paperwork, and a general vague sense that “you should maintain things.” But roof maintenance specifically gets skipped because it’s out of view, physically uncomfortable to check, and easy to put off until something goes wrong.
The five checks I’ve covered — flashing, gutters, shingles, attic, and penetrations — aren’t complicated. They don’t require expensive tools or professional skills. They just require getting up there and actually looking, which most homeowners (including past me) never do.
Start with one inspection this weekend. Just grab a ladder, check your gutters and flashing, and spend 10 minutes in your attic afterward. That’s genuinely enough to catch most problems before they escalate.
Future-you will be grateful you didn’t wait for the 2 AM dripping sound.
Also worth reading: 8 Proven Roof Leak Fix Guide Maintenance Ideas That Save Money — a solid companion piece that gets into the cost-saving side of staying on top of roof maintenance.
About the Author