9 Essential Roof Leak Fix Guide Maintenance Tasks for Every Season
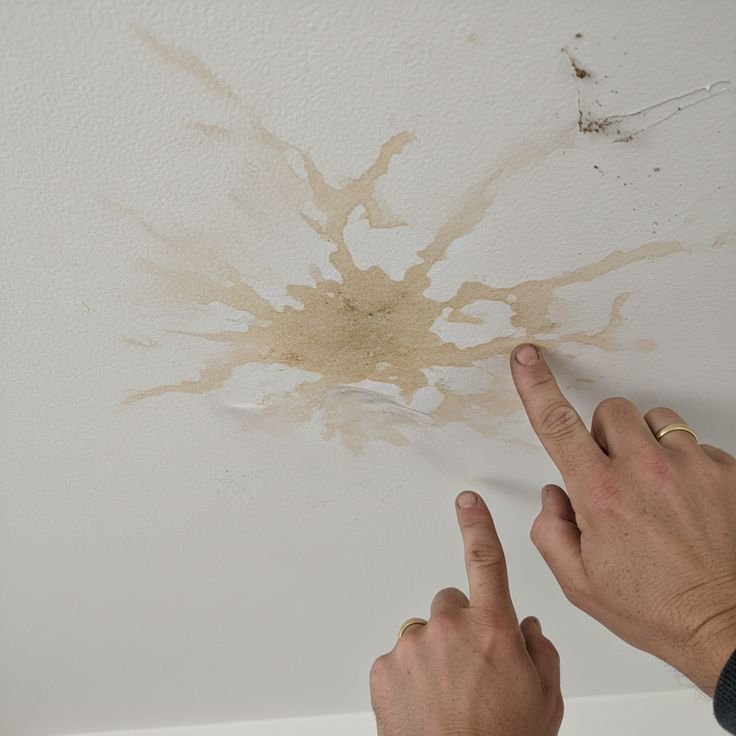
Last spring, I climbed up to my roof after a particularly brutal winter and found three things I wasn’t expecting: a cracked flashing around the chimney, a section of shingles that had curled up like old potato chips, and a small but very determined moss colony that had taken up residence in the northwest corner. None of it looked dramatic from the ground. But by the time the April rains hit, I had water dripping into my attic insulation.
That experience completely changed how I approach roof maintenance. I used to think of it as something you do after a problem shows up. Now I treat it like oil changes — scheduled, predictable, and way cheaper than the alternative.
So here’s what I’ve learned, season by season, task by task. These aren’t generic tips pulled from thin air. This is the actual checklist I run through every year, and it’s saved me from at least two or three expensive emergency calls.
1. Inspect Your Shingles After Every Major Weather Event
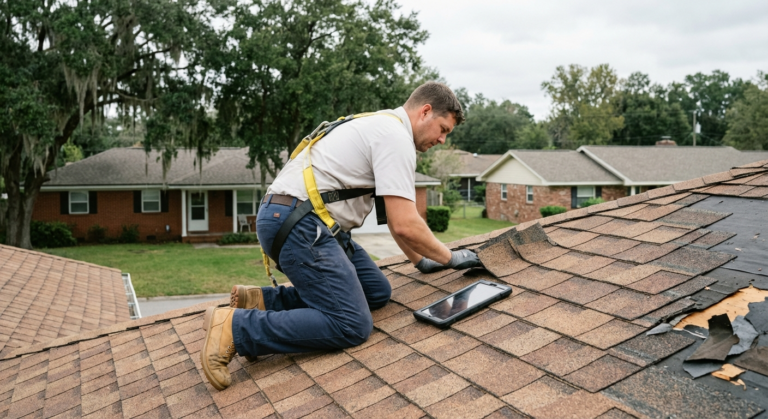
You don’t need a professional for this — just a pair of binoculars and decent lighting. Walk around your home’s perimeter and look up. What you’re looking for:
- Curled or cupped edges (sign of age or poor ventilation)
- Missing shingles (wind does this more often than you’d think)
- Dark patches or streaks (moisture sitting under the surface)
- Granule loss (check your gutters — if they’re full of gritty black stuff, your shingles are deteriorating)
I check after every heavy storm, and during summer, after any hail. Even quarter-sized hail can dent asphalt shingles enough to compromise their seal. You won’t see the damage clearly without getting close or using a good zoom lens, but it’s there.
If you spot more than 3-4 damaged shingles clustered together, that section likely needs patching before the next rain cycle.
2. Clean and Check Your Gutters — Four Times a Year
This one sounds boring, and honestly it is. But clogged gutters are one of the sneakiest causes of roof leaks I’ve come across.
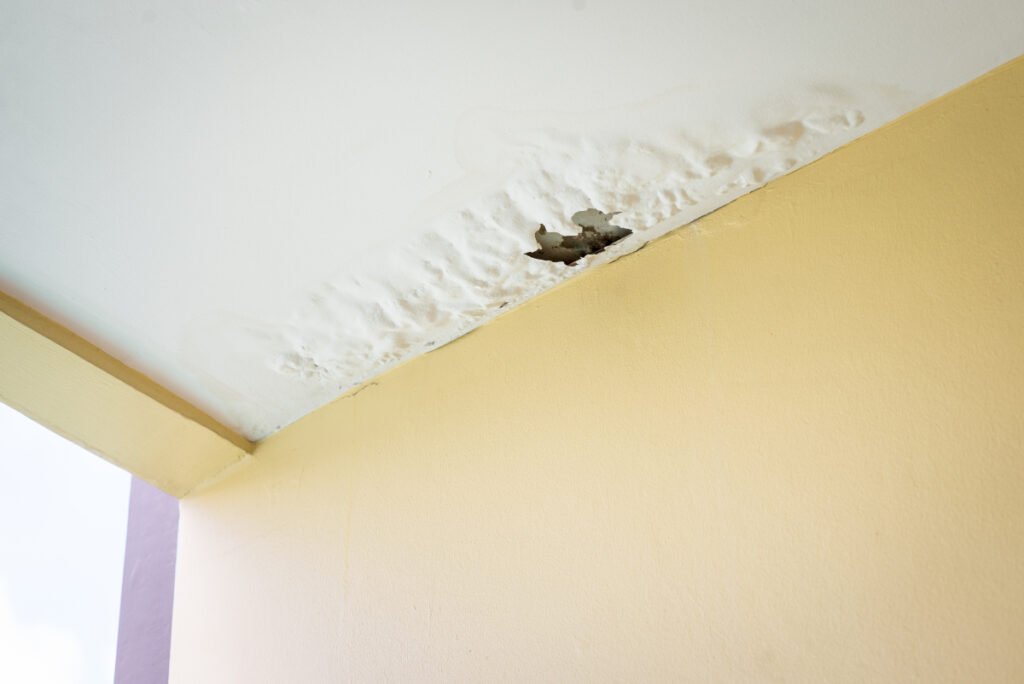
Here’s what happens: water backs up behind the debris, sits against your fascia and the edge of your roof deck, and slowly works its way under the shingles. By the time you notice a stain on your ceiling, the wood underneath has already been wet for weeks.
My schedule looks like this:
| Season | Gutter Task |
|---|---|
| Spring | Remove winter debris, check for sagging sections |
| Early Summer | Flush with hose, check downspout flow |
| Fall | Clear leaves (do this twice — early and late October) |
| Winter | Check for ice dams forming at eaves |
I use a simple $25 gutter scoop from the hardware store and a garden hose with a spray nozzle. For two-story homes, a gutter cleaning wand that attaches to your hose is genuinely worth the money — keeps you off the ladder for most of it.
3. Check Your Flashing — Especially Around Chimneys and Vents
Flashing is the thin metal (usually aluminum or galvanized steel) that seals the joints between your roof and things sticking out of it — chimneys, skylights, vent pipes, dormers. It’s also the most common place I see leaks starting.
The problem isn’t usually the flashing itself. It’s the sealant around it that dries out, cracks, and pulls away from the surface. This happens slowly and invisibly until a hard rain finds the gap.
Every spring, I do a close-up inspection of every piece of flashing on my roof. Things I look for:
- Gaps between the flashing and the structure it seals
- Rust or corrosion on metal flashing
- Lifted or separated edges
- Old, cracked caulk that’s turned gray and brittle
For minor gaps, I use a roofing-specific sealant like Henry’s Elastomeric Roof Sealant — it’s flexible enough to handle expansion and contraction through temperature changes. Regular silicone caulk is not the right tool here; it doesn’t bond well to roofing materials and fails within a season or two.
4. Look for Moss, Algae, and Lichen Growth
That green or black streaking you see on older roofs? It’s not just cosmetic. Moss and lichen physically lift shingle edges as they grow, creating tiny channels for water to get underneath.
I had a moss situation on my north-facing slope that I ignored for two seasons because it looked minor. By the time I dealt with it, several shingles had lifted enough that I could slide a playing card underneath them.
How to treat it:
- Apply a zinc sulfate or copper sulfate solution (available at most hardware stores as “Roof Wash” or similar)
- Let it sit for 20-30 minutes
- Rinse gently — don’t power wash, it strips granules
- For prevention, install zinc or copper strips along the ridge — rainwater carries trace amounts of metal down the slope and inhibits regrowth
Don’t use bleach directly on shingles unless it’s heavily diluted. Full-strength bleach accelerates granule loss.
5. Attic Inspection — Don’t Skip This One
Most people think of roof maintenance as something that happens on top of the house. But your attic tells the story of what’s actually happening up there, and it’s a lot safer to inspect from inside.
Every fall before winter hits, I spend 20 minutes in my attic with a flashlight. Here’s what I’m looking for:
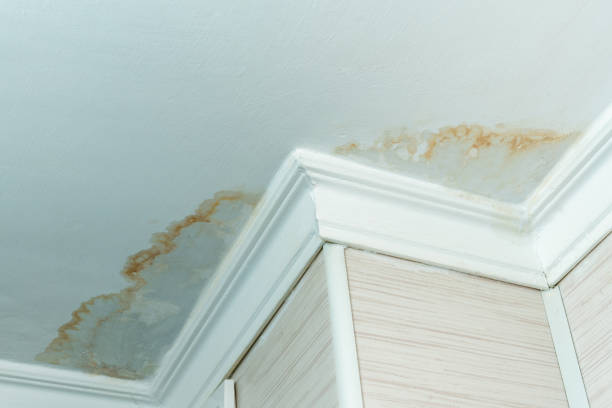
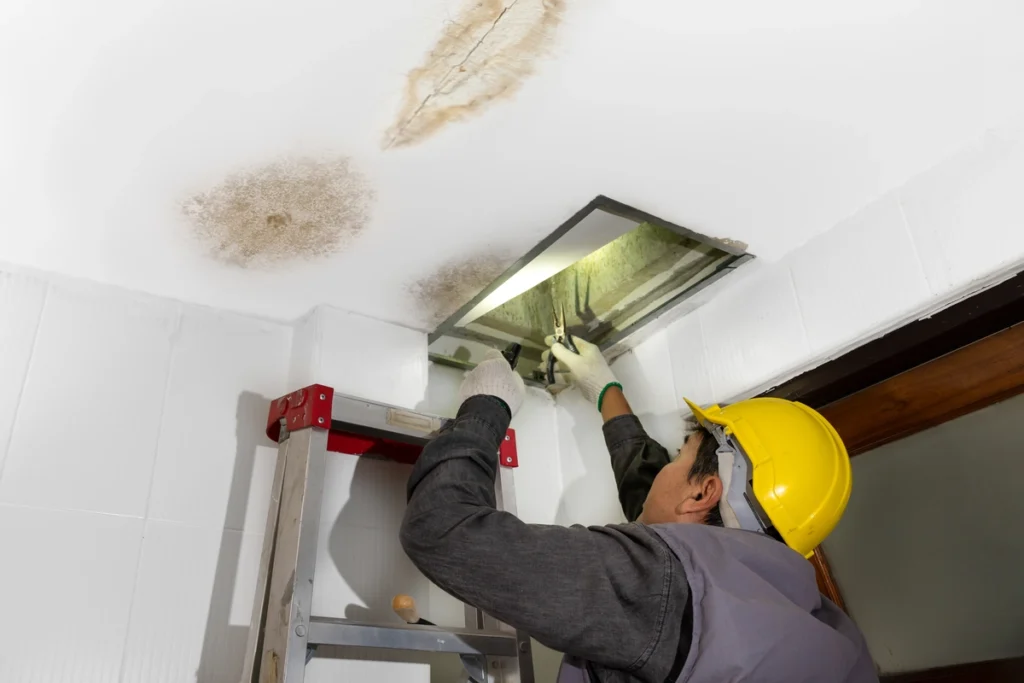
- Water stains on the decking — dark rings or streaks indicate past or active leaks
- Daylight coming through — if you can see sky, water can get in
- Soft or spongy decking — press gently; it shouldn’t flex under your hand
- Frost or moisture on the underside of the roof deck — this signals a ventilation problem
Poor attic ventilation is actually one of the leading causes of premature shingle failure and ice dams in winter. If your attic gets excessively hot in summer or you see condensation in winter, you may need additional ridge vents or soffit vents.
Check out this detailed guide on roof leak basics every homeowner should know — it covers attic ventilation in more depth than I can here.
6. Seal Around Skylights Every Two Years
Skylights are beautiful and I’d never give mine up, but they require more maintenance attention than any other part of my roof. The seal around a skylight goes through enormous stress — thermal expansion in summer heat, contraction in cold, UV degradation, and physical pressure from wind.
I reseal mine every other year whether it looks like it needs it or not. The material cost is under $20. The alternative — a failed skylight seal — means water gets into the framing around the skylight, which is expensive to repair and almost impossible to catch early.
The process:
- Clean the existing sealant track with a stiff brush and rubbing alcohol
- Remove any old caulk that’s cracked or pulling away
- Apply a fresh bead of polyurethane or silicone roof caulk (check your skylight manufacturer’s recommendation)
- Smooth with a gloved finger and let cure for 24 hours before rain exposure
If your skylight is more than 15 years old and you’re seeing fogging between the panes, the seal on the glass itself has failed — that’s a replacement job, not a DIY fix.
7. Winter Ice Dam Prevention — Do This in October, Not January
If you live somewhere that gets real winters, ice dams are a seasonal threat. They form when heat escapes through your roof, melts the snow on top, and that meltwater refreezes at the colder eaves — forming a dam that backs water under your shingles.
By the time you have an ice dam, it’s too late to prevent it that season. The fix has to happen before snow falls.
What I do every October:
- Add attic insulation if needed (target R-38 to R-60 depending on climate zone)
- Check that all attic bypasses are sealed — recessed lights, plumbing chases, attic hatches
- Inspect soffit vents to make sure they’re not blocked by insulation
- Install heat cables along the eave line if my home has a chronic ice dam zone (north-facing eaves are the usual culprit)
Heat cables are a last resort — they work, but they cost money to run. Better attic insulation is almost always the better long-term investment.

8. Check and Replace Pipe Boots
This one almost nobody talks about, and it’s how I got my most recent leak.
Pipe boots (also called pipe flashings or vent pipe boots) are the rubber or metal collars that seal around vent pipes coming through your roof. The rubber ones — which are on most homes built in the last 30 years — deteriorate in UV light. The rubber cracks, pulls away from the pipe, and creates a gap that’s basically a funnel for rain.
The lifespan on a standard rubber pipe boot is 7-15 years depending on sun exposure and material quality. If your home is more than 10 years old and you’ve never replaced yours, take a look.
Here’s a useful comparison of pipe boot options:
| Type | Lifespan | Cost | Notes |
|---|---|---|---|
| EPDM Rubber | 7–10 years | $8–$15 each | Most common, degrades in UV |
| Silicone | 15–20 years | $20–$35 each | Better UV resistance |
| Lead | 25+ years | $30–$60 each | Premium, very durable |
| Metal with rubber collar | 10–15 years | $15–$25 each | Good middle-ground |
Replacing a pipe boot is a beginner-level DIY job if you’re comfortable on a roof. It takes about 30 minutes per boot and requires no special tools beyond a utility knife, pry bar, and a handful of roofing nails. Here’s a step-by-step repair guide if you want to walk through it before you get up there.
9. Schedule One Professional Inspection Per Year
I know, I know — this whole article has been about doing it yourself. And you should do most of this yourself. But there are things a trained roofer sees that you won’t, and catching a developing problem early is almost always cheaper than dealing with it after it becomes an emergency.
A professional inspection costs $150-400 depending on your location and roof size. What you’re getting is someone who climbs all over your roof, checks areas you probably won’t get to, and gives you a written assessment of what needs attention.
The best time to schedule it? Late summer or early fall — before the winter weather arrives but after the heat of summer has shown up any thermal stress issues. Most roofing companies slow down in early fall and you’ll get faster scheduling and sometimes better pricing.
What a good inspection should include:
- Full visual check of all shingles
- Flashing condition report
- Gutter attachment assessment
- Attic ventilation review
- Written documentation with photos
If a company quotes you for a major repair after an inspection, get at least one more opinion before signing anything. I’ve heard too many stories of homeowners getting sold a full replacement when targeted repairs would have done the job.
Common Mistakes I’ve Made (So You Don’t Have To)
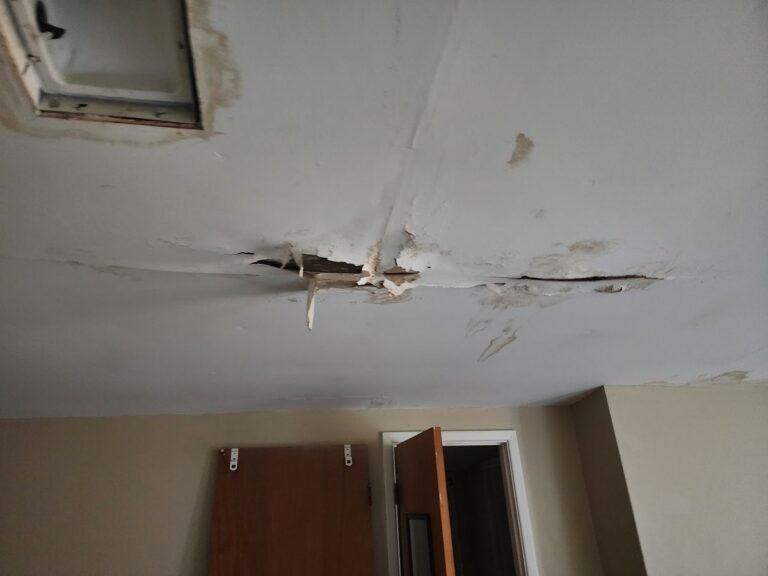
Waiting for a visible leak. By the time water appears on your ceiling, the damage is usually weeks or months old. Maintenance is always about prevention.
Using the wrong sealant. Not all caulks and sealants are made for roofing. I once used standard exterior caulk on a flashing gap and it failed within one winter. Always use roofing-specific products.
Power washing shingles. Looks great, removes years of gunk — and also strips the protective granules right off your shingles. Use low-pressure rinsing only.
Ignoring small moss patches. That tiny green spot? Six months later it’s covering half your slope and lifting shingles at the edges.
DIY-ing a repair you’re not actually comfortable with. Steep roofs, valleys, and anything involving structural decking should be left to professionals. Being honest about your skill level isn’t defeat — it’s good judgment.
A Final Word
Roof maintenance isn’t glamorous. It’s the kind of thing you do on a Saturday morning when you’d rather be doing literally anything else. But after watching a friend pay $14,000 for a roof replacement that could have been a $600 repair if caught three years earlier, I’ve made peace with the gutters and the binoculars and the occasional awkward chimney inspection.
The nine tasks in this guide aren’t complicated. Most of them cost almost nothing. What they require is consistency — actually doing them on a schedule instead of whenever you remember or whenever something goes wrong.
Start with the attic inspection and the shingle walkthrough this weekend. Build the habit. Your roof will give you far fewer surprises.
Also worth reading: 9 Smart Roof Leak Fix Guide Basics for Quick Repairs — a solid companion piece if you’ve already spotted something that needs fixing and want to move fast.
About the Author