7 Essential Roof Leak Fix Guide Safety Checks Before You Start
7 Essential Roof Leak Fix Guide Safety Checks Before You Start
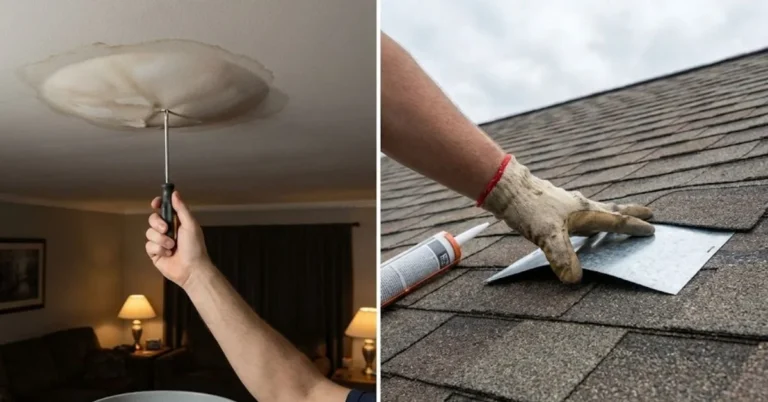
There’s something uniquely stressful about discovering a roof leak. It rarely happens at a convenient time. It might begin as a faint drip during a quiet night, or reveal itself dramatically during a heavy downpour. Either way, your instinct may be to rush up and fix it immediately. That instinct, while understandable, is also where many homeowners make their first mistake.
Before climbing a ladder or grabbing a bucket of sealant, the smartest move is to pause and think about safety. Roof repair is not just a technical task—it’s a physical and environmental challenge. A slippery surface, unstable footing, hidden electrical hazards, or even simple fatigue can turn a small fix into a serious accident.
This guide walks you through seven essential safety checks you should complete before starting any roof leak repair. Along the way, you’ll find practical insights, real-world considerations, and subtle details that most quick-fix guides overlook. Think of it as preparation not just for your roof, but for your own well-being.
understanding why safety comes first
Many people underestimate roof work because it looks simple from the ground. A few missing shingles, a crack in flashing—how hard could it be?
But roofs are deceptive. Even a single-story house can present a fall risk that leads to severe injury. Add moisture, moss, or dust into the equation, and traction becomes unpredictable. Then there’s the structure itself: roofs are not designed to be walked on casually. Some sections may be weaker than others, especially if water damage has already started to compromise the material.
Safety checks are not about slowing you down—they are about making sure you can actually finish the job without harm.
check one: evaluating weather conditions and timing
One of the most overlooked safety steps is simply looking at the sky and understanding what it means. Roof work and weather are tightly connected, and ignoring this relationship can lead to immediate danger.
Start by checking for rain—not just current rain, but recent and upcoming conditions. A roof that has been wet for hours or days will remain slippery even if the rain has stopped. Morning dew can be just as hazardous as a light drizzle.
Wind is another critical factor. Even moderate gusts can throw off your balance when you are on a sloped surface. If you’re carrying tools or materials, wind becomes even more unpredictable.
Temperature also matters. Extremely hot surfaces can cause burns or fatigue, while cold conditions can make materials brittle and harder to handle.
A simple rule many experienced DIYers follow is this: if the weather feels uncomfortable at ground level, it will feel twice as challenging on the roof.
check two: inspecting the ladder and access points
Before you even think about stepping onto the roof, your ladder becomes your lifeline. It is both your entry and exit point, and any instability here can have immediate consequences.
Begin by checking the ladder itself. Look for cracks, bent rungs, or loose joints. Even a slightly damaged ladder can fail under weight or pressure.
Placement is just as important as condition. The ladder should be set on a flat, stable surface. Avoid placing it on uneven ground, soft soil, or loose gravel. If necessary, use a stabilizing base or have someone hold the ladder while you climb.
The angle matters too. A ladder that is too steep can tip backward, while one that is too shallow can slide out from under you. A commonly recommended guideline is the 4-to-1 rule: for every four feet of height, the base should be one foot away from the wall.
Also pay attention to where the ladder meets the roof. It should extend slightly above the edge to give you something to hold onto when transitioning between ladder and roof. That transition point is often where accidents happen.
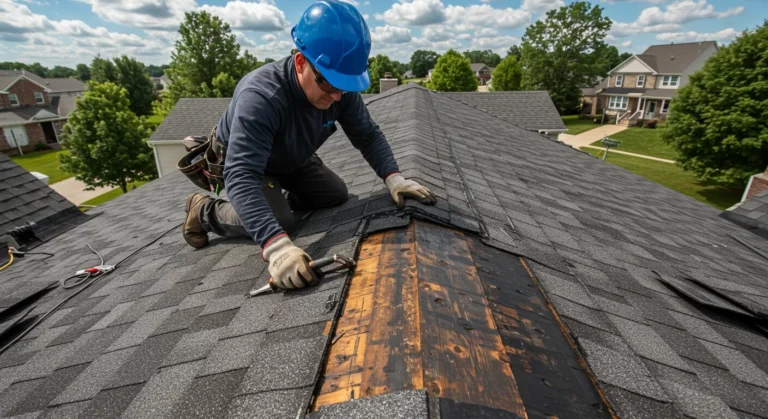
check three: assessing roof structure and integrity
Climbing onto a roof without checking its condition is like stepping onto a frozen lake without testing the ice. You may not immediately see the danger beneath you.
Start from inside your home. Look at the ceiling and attic areas for signs of water damage. Dark stains, sagging sections, or mold can indicate that parts of the roof structure are weakened.
Once outside, visually inspect the roof from the ground. Look for uneven areas, missing shingles, or sections that appear to dip. These could be signs of structural compromise.
When you do step onto the roof, move cautiously. Test each area with your weight before fully committing. If something feels soft or unstable, step back immediately.
Remember, the goal is not just to fix the leak but to do so without making the situation worse—or putting yourself at risk.
check four: identifying electrical hazards
Water and electricity are a dangerous combination, and roof leaks often involve both. Before starting any repair, consider whether electrical systems could be affected.
Look for nearby power lines. If your roof is close to overhead lines, maintain a safe distance at all times. Even getting too close with a metal ladder can be hazardous.
Inside the house, identify whether the leak is near electrical fixtures such as lights, ceiling fans, or wiring. Water can travel along unexpected paths, meaning the visible leak may not be the only affected area.
If there is any doubt, it’s wise to turn off electricity to the affected section of the house before beginning work. This small step can prevent serious accidents.
check five: wearing proper clothing and safety gear
It’s tempting to approach a quick repair casually—perhaps in sandals or without any protective gear. But what you wear can make a significant difference in both safety and comfort.
Start with footwear. Shoes should have good grip and a firm sole. Avoid anything that slips easily or lacks support. Roofing surfaces can vary from smooth shingles to rough tiles, and your footing needs to adapt.
Clothing should allow movement but not be loose enough to snag on edges or tools. Long sleeves and durable fabrics can provide protection against cuts and abrasions.
Consider using gloves for better grip and to protect your hands. Safety glasses can shield your eyes from debris, especially when removing damaged materials.
For higher or steeper roofs, a safety harness may be worth considering. While it might seem excessive for a small job, it adds a layer of security that could make all the difference.
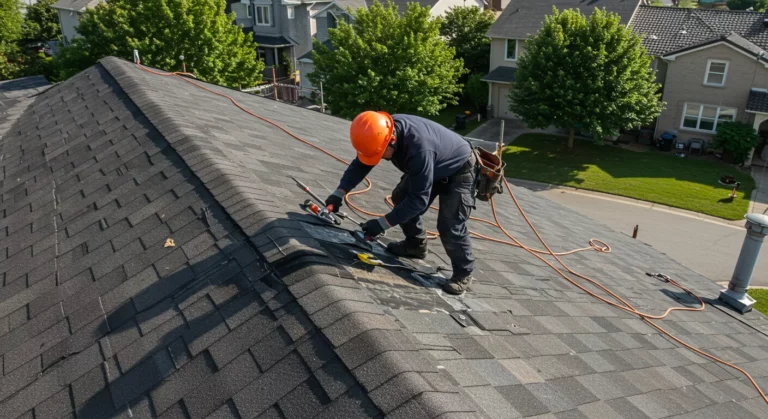
check six: organizing tools and materials before climbing
One of the most common mistakes during roof repairs is repeated climbing up and down the ladder. Each trip increases the risk of a fall or misstep.
Before you start, gather everything you need. This includes tools, replacement materials, sealants, and any temporary fixes such as tarps.
Use a tool belt or a secure container to carry items. Avoid holding tools in your hands while climbing. Both hands should be free to maintain balance and grip.
Once on the roof, keep tools organized and within reach. Scattered tools can become tripping hazards or even slide off the roof, creating danger below.
Planning ahead in this way not only improves safety but also makes the repair process more efficient and less stressful.
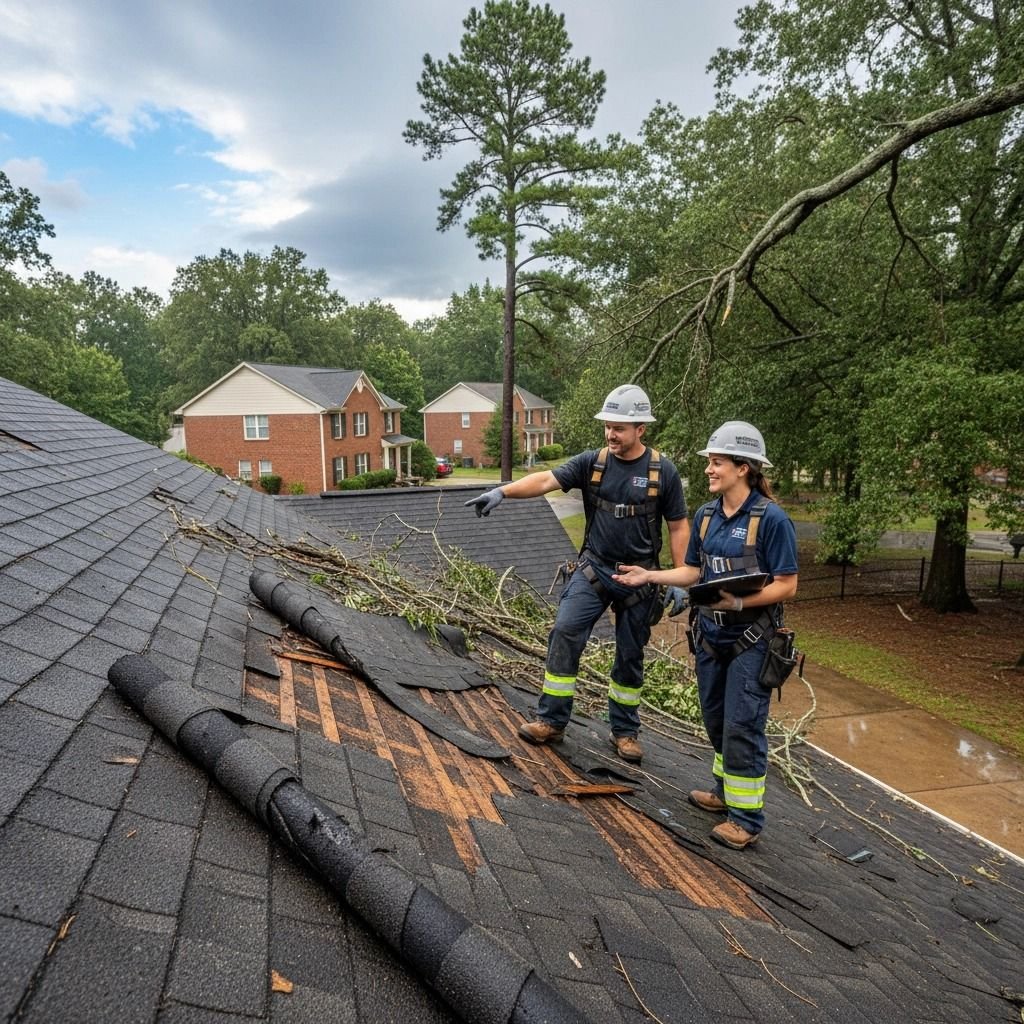
check seven: having a backup plan and assistance
Even the most careful preparation cannot eliminate all risks. That’s why it’s important to have a backup plan.
Avoid working alone if possible. Having someone nearby can provide immediate help in case of an emergency. They can also assist with passing tools, stabilizing the ladder, or simply keeping an eye on your progress.
Keep a phone within reach in case you need to call for help. Make sure it is fully charged and protected from potential damage.
Think about what you would do if conditions change suddenly. If rain starts or wind picks up, are you prepared to stop and descend safely? Planning for these scenarios in advance can prevent rushed decisions.
the mindset that makes a difference
Safety checks are not just a checklist—they represent a mindset. They require patience, awareness, and a willingness to prioritize long-term well-being over short-term convenience.
It’s easy to feel pressure to fix a leak quickly, especially when water is entering your home. But taking an extra hour to prepare can save you from days, weeks, or even months of dealing with injury or further damage.
A careful approach also leads to better repair outcomes. When you are not rushed or stressed, you can focus more clearly on identifying the source of the leak and applying the correct fix.
common mistakes people make before starting
Even with the best intentions, people often overlook key details. Some rush onto the roof without checking weather conditions. Others underestimate the importance of proper footwear or ladder stability.
Another common mistake is ignoring small warning signs. A slightly wobbly ladder, a patch of damp shingles, or a loose tool might seem insignificant, but these details can quickly escalate into larger problems.
Being aware of these tendencies can help you avoid them. Awareness is often the first step toward safer behavior.
building confidence through preparation
There is a certain confidence that comes from being well-prepared. It’s not the overconfidence that leads to risk-taking, but a steady, grounded assurance that you have considered the important factors.
This kind of confidence allows you to move carefully, make better decisions, and adapt to unexpected situations.
Roof repair may never feel completely risk-free, but it can feel manageable when approached with the right mindset and preparation.
when to step back and call a professional
Not every roof leak is suitable for a DIY fix. Some situations require professional expertise, especially when the damage is extensive or the roof structure is complex.
If you find yourself unsure about any aspect of the repair, it may be safer to step back and consult a professional. This is not a sign of failure—it’s a recognition of limits and a commitment to safety.
Professionals bring not only technical skills but also specialized equipment and experience that can handle challenging situations more effectively.
final thoughts
Fixing a roof leak is often seen as a straightforward task, but the reality is more nuanced. The difference between a successful repair and a dangerous situation often lies in the preparation that happens before the first step is taken.
By focusing on these seven essential safety checks—weather conditions, ladder stability, roof integrity, electrical hazards, proper gear, tool organization, and backup planning—you create a foundation for a safer and more effective repair process.
The roof over your head protects everything beneath it. Taking the time to protect yourself while repairing it is simply an extension of that same principle.
frequently asked questions
- Is it safe to fix a roof leak by myself?
It can be safe if the leak is minor and you follow proper safety precautions. However, if the roof is steep, damaged, or conditions are risky, it’s better to seek professional help.
- What is the best time of day to repair a roof leak?
Late morning to early afternoon is often ideal, as the roof is dry and visibility is good. Avoid early mornings with dew or late evenings with fading light.
- How do I know if my roof is too damaged to walk on?
Signs include sagging areas, soft spots, and visible structural damage. If you notice any of these, avoid stepping on those sections and consider calling a professional.
- Can I fix a roof leak during rain?
It’s not recommended. Wet conditions increase the risk of slipping and make it harder to apply effective repairs.
- What type of shoes should I wear for roof work?
Wear shoes with good grip and non-slip soles. Avoid smooth or worn-out footwear that can reduce traction.
- Should I always use a safety harness?
For low and gently sloped roofs, it may not be necessary, but for higher or steeper roofs, a harness adds an important layer of protection.