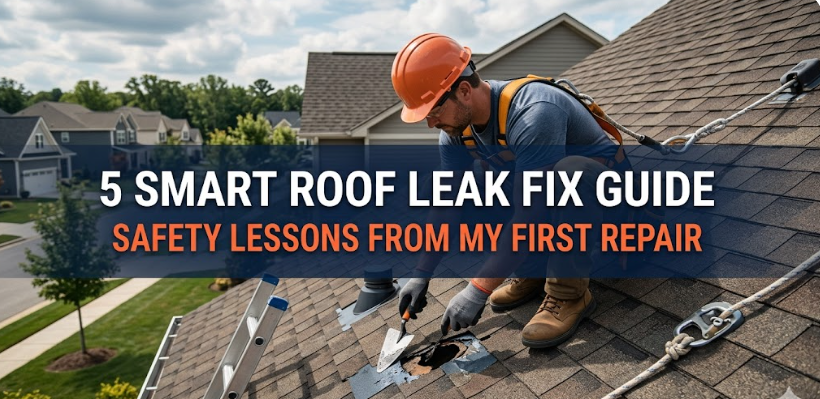
5 Smart Roof Leak Fix Guide Safety Lessons From My First Repair
5 Smart Roof Leak Fix Guide Safety Lessons From My First Repair
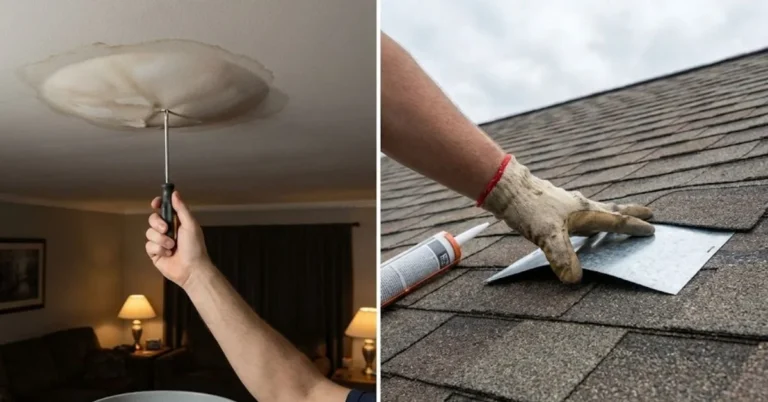
The first time I noticed the leak, it wasn’t dramatic. There was no sudden collapse, no loud crack of wood, no cinematic rush of water pouring through the ceiling. It was quieter than that. A small, irregular stain appeared in the corner of my room, just above the window. At first, I ignored it. Life was busy, and the mark didn’t seem urgent. But over the next few days, especially after a night of steady rain, the stain grew darker, wider, and more insistent.
That was the beginning of my first roof repair—and the moment I realized that fixing a leak is not just about patching a hole. It’s about safety, awareness, patience, and respect for the structure that protects you every day.
What follows isn’t just a technical guide. It’s a collection of lessons I learned the hard way—lessons that turned a simple repair into a meaningful experience. If you’re preparing to fix your own roof leak, these five safety lessons will save you from mistakes I wish I had avoided.
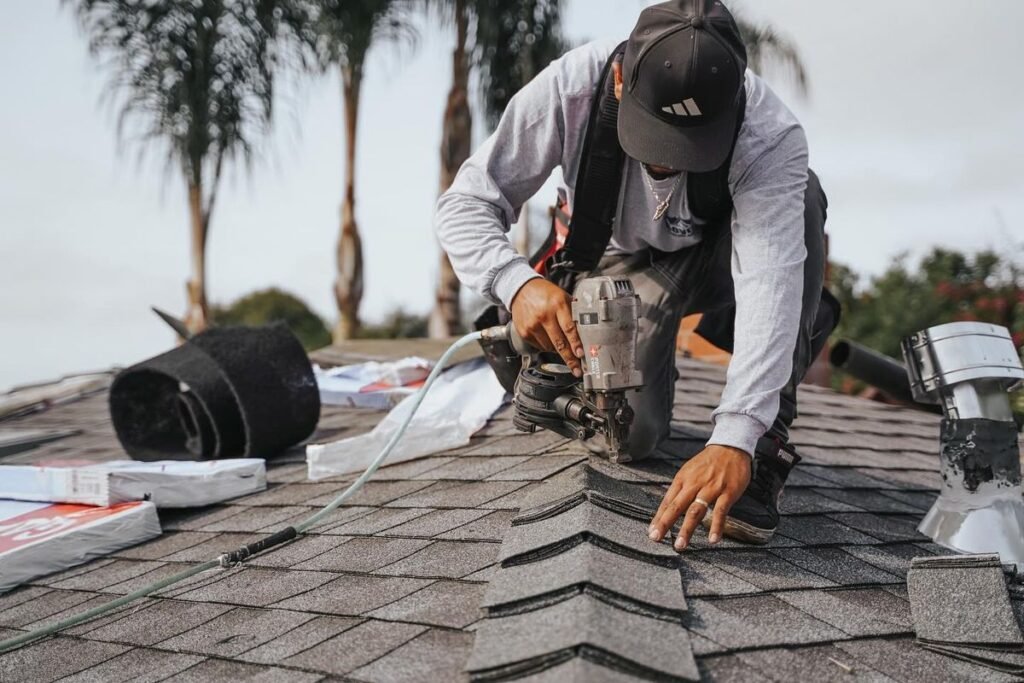
lesson one: never underestimate the roof
The biggest mistake I made at the start was assuming the job would be easy. After all, how hard could it be to find a leak and seal it? I had watched a few videos, skimmed some guides, and convinced myself I was ready.
The moment I climbed up, everything changed.
Roofs are not flat, predictable surfaces. They are angled, sometimes slippery, often uneven, and occasionally fragile. Even standing still requires balance and awareness. Add tools, wind, or moisture into the mix, and the risk multiplies quickly.
I remember placing my foot on what looked like a solid section, only to feel it shift slightly beneath my weight. That small movement was enough to send a jolt of fear through me. In that moment, I understood that confidence without caution is dangerous.
From then on, I treated the roof with the respect it deserved.
What I learned here is simple: never rush onto a roof thinking it’s just another task. Take time to assess the condition. Look for loose shingles, weak spots, and areas that might not support your weight. Wear proper footwear with good grip. And most importantly, move slowly. Every step should be deliberate.
A roof is not your workspace—it’s a temporary, unstable platform. Treat it that way.
lesson two: weather is not your friend
If there’s one factor that can turn a manageable repair into a dangerous situation, it’s the weather.
My first attempt at fixing the leak happened on a cloudy afternoon. It hadn’t rained yet, but the air was heavy, and the sky suggested it might. I thought I had enough time. I was wrong.
Halfway through inspecting the roof, a light drizzle began. At first, it felt harmless—just a few drops here and there. But within minutes, the surface beneath me became slick. My shoes, which had felt reliable before, started losing grip.
That’s when I decided to climb down.
Looking back, I’m grateful I did. Staying longer would have been reckless. Wet roofs are unpredictable. Even a slight incline can become dangerously slippery when moisture is involved.
The lesson here is clear: always check the weather forecast before starting any roof work. Choose a dry, calm day with minimal wind. Avoid early mornings when dew might still be present, and steer clear of evenings when visibility drops.
Weather doesn’t just affect your comfort—it directly impacts your safety. If conditions change while you’re working, don’t hesitate to stop. There’s no repair that’s worth risking a fall.
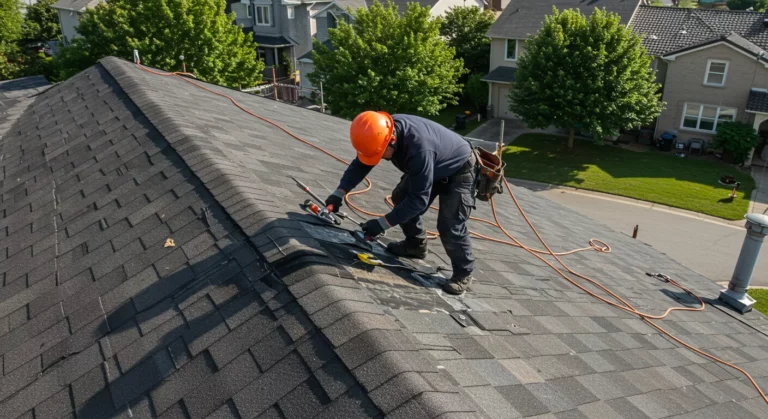
lesson three: the right tools are a safety net
When I first climbed up to inspect the leak, I carried only a basic set of tools: a hammer, a few nails, and a tube of sealant. It felt sufficient at the time. But as I worked, I realized how unprepared I was.
I had no harness, no proper ladder stabilizer, and no gloves. Even my ladder placement was questionable—I hadn’t secured it properly at the base.
At one point, I had to stretch awkwardly to reach a section near the edge. That stretch shifted my center of gravity, and for a split second, I felt myself losing balance. It was a close call.
After that experience, I paused the project and reassessed everything.
I invested in better equipment: a sturdy ladder with stabilizers, non-slip gloves, safety goggles, and a harness. I also organized my tools so I wouldn’t have to move unnecessarily while on the roof.
What I learned is that tools are not just for completing the job—they are essential for protecting you while you do it.
A secure ladder ensures safe access. Proper footwear prevents slips. Gloves improve grip and protect your hands from sharp edges. A harness can mean the difference between a scare and a serious injury.
Preparation might feel like a delay, but it’s actually an investment in safety. Never compromise on it.
lesson four: finding the leak is harder than fixing it
Before I started, I assumed the hardest part would be applying the fix. I imagined sealing cracks, replacing shingles, and making everything watertight again. But I quickly discovered that locating the exact source of the leak was the real challenge.
Water doesn’t always travel in straight lines. It can enter through one point and appear somewhere entirely different inside your home. The stain on my ceiling was not directly below the leak—it was offset by several feet.
This meant I had to inspect a larger area than expected.
I spent hours examining shingles, checking flashing, and looking for subtle signs of damage. Some shingles were slightly lifted. Others had tiny cracks that were easy to miss. The flashing around the vent pipe showed signs of wear.
At first, I felt frustrated. Why wasn’t the problem obvious?
But then I realized that rushing this step would lead to incomplete repairs. Fixing the wrong spot would only delay the issue, not solve it.
So I slowed down. I took notes, marked areas, and even used water from a hose to simulate rain and track where it entered.
The lesson here is patience. Take your time to identify the true source of the leak. Don’t assume. Verify.
Accurate diagnosis is not just about effectiveness—it’s also about safety. The less time you spend going back and forth on the roof, the lower your risk of accidents.
lesson five: know when to step back
There’s a point in every DIY project where you have to ask yourself an honest question: is this still within my ability?
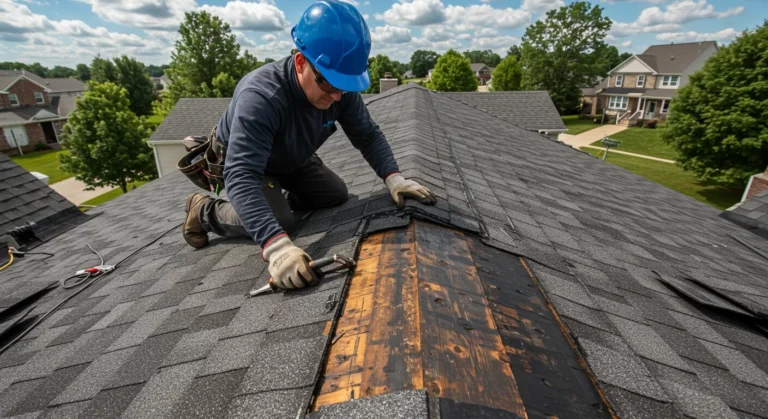
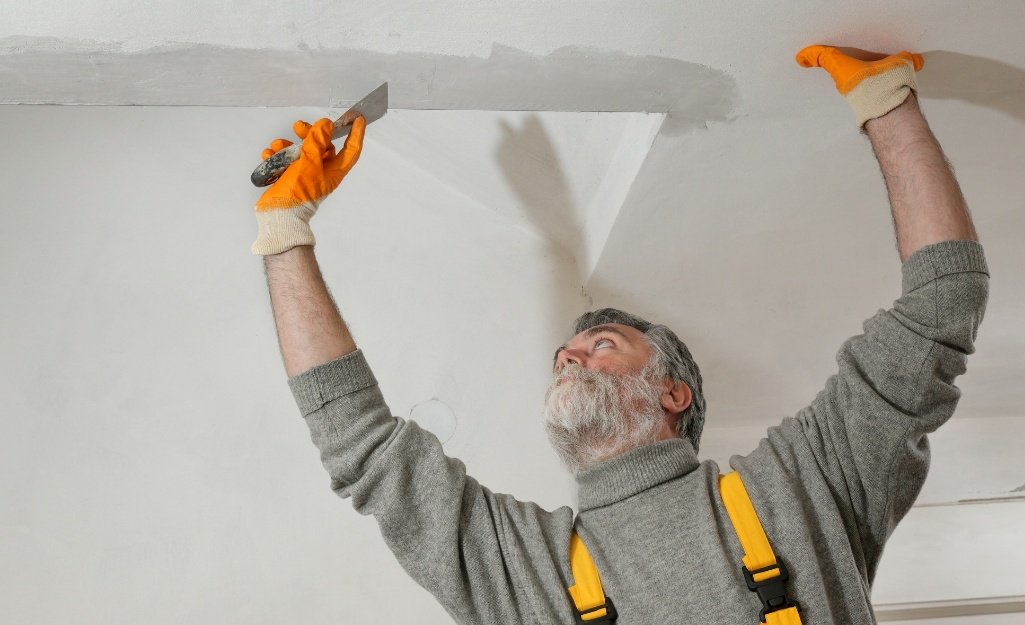
During my repair, I reached that point when I discovered that part of the roof decking had been weakened by prolonged moisture. The wood felt soft under pressure, and I realized that simply patching the surface wouldn’t be enough.
This was beyond a quick fix.
At first, I hesitated. I didn’t want to admit that I needed help. But the more I thought about it, the clearer it became that continuing on my own would be risky—not just for the structure, but for my safety as well.
So I made the decision to call a professional for that section.
It wasn’t a failure. It was a responsible choice.
The lesson here is humility. Not every problem can—or should—be solved alone. Recognizing your limits is a form of strength, not weakness.
If you encounter structural damage, extensive leaks, or areas that feel unsafe, don’t push forward just to prove a point. Step back and seek assistance.
Your safety is more important than finishing the job yourself.
bringing it all together
Looking back on my first roof repair, I realize it taught me far more than I expected. It wasn’t just about fixing a leak—it was about learning how to approach challenges with care, awareness, and respect.
Each lesson built on the last.
Respect the roof.
Respect the weather.
Respect the tools.
Respect the process.
Respect your limits.
These principles don’t just apply to roof repairs—they apply to any situation where safety and responsibility intersect.
Today, when I see that once-troubling corner of my ceiling, I don’t just see a repaired stain. I see a reminder of what I learned and how I grew from the experience.
And if you’re about to start your own repair, I hope these lessons guide you toward a safer, more confident outcome.
frequently asked questions
- how do i know if a roof leak is serious?
A roof leak becomes serious when it affects structural components, spreads quickly, or leads to mold growth. If you notice sagging areas, large water stains, or persistent dampness, it’s best to treat it as urgent and consider professional help.
- is it safe to fix a roof leak by myself?
It can be safe if the damage is minor and you take proper precautions. Use stable equipment, choose good weather conditions, and avoid steep or damaged areas. If anything feels uncertain, it’s safer to consult a professional.
- what is the best time to repair a roof leak?
The best time is during dry, calm weather with good daylight. Avoid working after rain, during strong winds, or when the roof surface might be slippery.
- how long does a temporary roof leak fix last?
Temporary fixes can last from a few days to several months, depending on the materials used and weather conditions. However, they should always be followed by a permanent repair as soon as possible.
- what tools are essential for a basic roof leak repair?
Basic tools include a sturdy ladder, non-slip shoes, gloves, a hammer, roofing nails, sealant, and replacement shingles. Safety gear like a harness and goggles is highly recommended.
- when should i call a professional roofer?
You should call a professional if the leak is widespread, involves structural damage, or if you feel unsafe performing the repair. It’s also wise to seek help if previous fixes haven’t solved the problem.
In the end, fixing a roof leak is not just about keeping water out—it’s about keeping yourself safe while you do it.