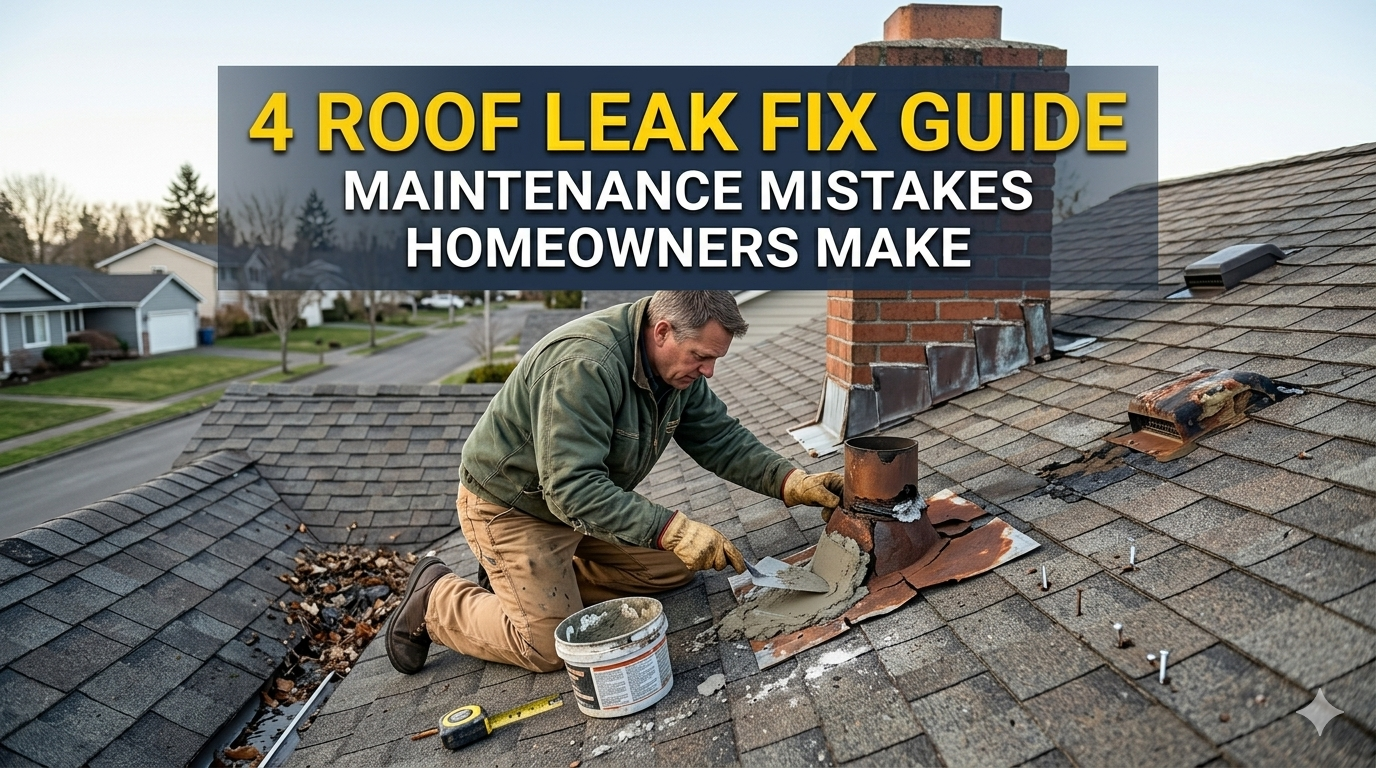
4 Roof Leak Fix Guide Maintenance Mistakes Homeowners Make
Meta Description: 4 Roof Leak Fix Guide Maintenance Mistakes Homeowners Make — protect your home and avoid costly repairs while keeping your roof in pristine condition through all four seasons.
Fix Guide: 4 Roof Leak Maintenance Mistakes Homeowners Make (How to Do It Right)
Your roof has seen a lot of action over the years. Rain, wind, snow and blistering sun — it endures all so you don’t have to. But when a leak appears, many homeowners panic, leaping into repairs that end up doing more harm than good.
The truth? A lot of roof damage isn’t due to storms or old age. It’s the result of poor maintenance habits.
This guide outlines the 4 biggest roof leak fix guide maintenance mistakes identified by homeowners. You’ll discover why they make those mistakes, what’s going wrong and precisely how to set them right.
Whether you’re a first-time homeowner or you’ve been in your house for decades, this guide will help protect one of the largest investments you’ll ever make.
The Importance of a Proper Roof Leak Repair
Before jumping into the mistakes, let’s discuss why this is such a big deal.
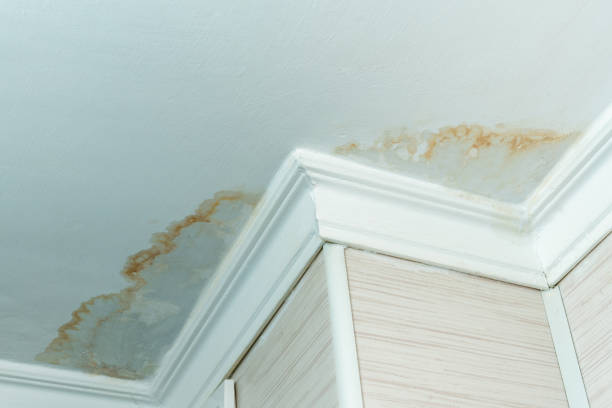
A leak in a small roof can quickly become a big problem. Water seeps into the smallest of cracks and permeates your insulation, wood framing, drywall and even your electrical system.
Here’s what one overlooked leak costs you in the long run:
| Type of Damage | Average Repair Cost |
|---|---|
| Shingle Replacement (Minor) | $150 – $400 |
| Roof Deck Repair | $500 – $2,500 |
| Attic Mold Remediation | $1,500 – $4,000 |
| Ceiling Drywall Repair | $300 – $1,200 |
| Complete Roof Replacement | $6,000 – $20,000+ |
That’s a decent amount of money separating you from some basic roof leak repair done properly.
So what are the four mistakes that trap homeowners in this cycle?
Mistake No. 1 — Following the Drip, Not the Source
This is likely one of the more common roof leak fix mistakes. You see a water stain on your ceiling or a drip coming through your light fixture. You climb into the attic, see a wet spot directly above you and believe that’s where the leak is.
Wrong.
Water doesn’t travel straight down. It travels over rafters, plywood decking and insulation before it drips onto your ceiling. The area where you see the damage can be three to ten feet from where the water actually got in.
Why Homeowners Get Snared in This Trap
It feels logical. You see wet, you think that’s the issue. But roofing doesn’t operate like that.
Many homeowners are surprised to learn that water can run horizontally for several feet before it finds a place to drop. This means patching directly over the stain almost never solves anything.
You patch it, and it seems fine for a week or so, then the leak comes back — often worse because by now you have a false sense of security.
How to Properly Trace the Source of a Roof Leak
It takes time to find the true source. Here’s a simple process:
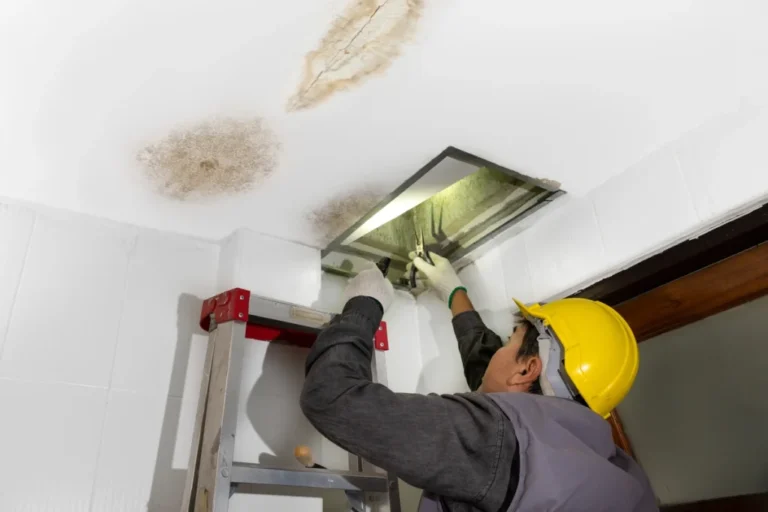
Step 1 — On a sunny day, go into the attic. Check for any daylight coming through. A pinhole of light means a hole.
Step 2 — Look for any stains or discoloration on the wood. Dark streaks on rafters or decking indicate where the water has traveled. Follow the trail upward.
Step 3 — Grab a garden hose and do this on a dry day. Have a person in the attic as you gradually saturate various portions of the roof one section at a time. Begin low and work your way up. Wait 5–10 minutes per section. It can take one or two hours, however it catches the precise entry point.
Step 4 — First check the usual suspects. More than 80% of all roof leaks are due to penetrations, such as vents, chimneys, skylights and pipe boots. Begin there before looking at field shingles.
Common Points of Leak Entry
Here’s a handy guide for where leaks really start:
| Entry Point | Leak Risk Factor | What to Inspect |
|---|---|---|
| Pipe boot seals | Very High | Cracked rubber collar |
| Flashing around chimney | Very High | Gaps, rusted or lifted metal |
| Valley flashing | High | Debris buildup, bent metal |
| Skylights | High | Failed sealant, cracked frame |
| Ridge cap shingles | Medium | Lifted or missing pieces |
| Field shingles | Lower | Only after severe damage |
Once you’ve identified the correct source, only then should you begin your roof leak repair.
Mistake No. 2 — Applying Roofing Tar or Sealant as a “Permanent” Solution
Enter any hardware store, and you will see cans and tubes of roofing tar, roof cement and sealant products marketed under such phrases as “permanent fix” or “stops leaks fast.” Homeowners take these off the shelf, slather them over a problem area and call it good.
This is a major roof leak fix guide maintenance mistake — and it’s something pros see time and again.
Tar and Sealant Are at Best Temporary
These products have their place. But when misused, they are not permanent solutions.
Here’s what happens when someone slaps tar over a damaged area:
- It traps moisture underneath
- It obscures the underlying problem
- It cracks and shrinks as temperatures fluctuate
- It complicates and costs more for a roofer to make a proper repair later
Applying roofing tar over failed flashing, cracked shingles or busted pipe boots is like putting a bandage on a broken bone. It doesn’t fix the structure. It just postpones the time everything comes unglued — and usually worsens it when it does.
For a deeper look at product-by-product comparisons and what actually works long-term, Roof Leak Fix Guide is a solid resource worth bookmarking before your next repair.
When Sealants Are Actually Okay to Use
There are cases in which sealant is the right move:
- Resealing a small portion of raised step flashing
- Sealing a small gap around a pipe boot that hasn’t completely failed
- Stopgap protection before a professional can come out
The key word is temporary. Always plan to follow up with a proper repair.
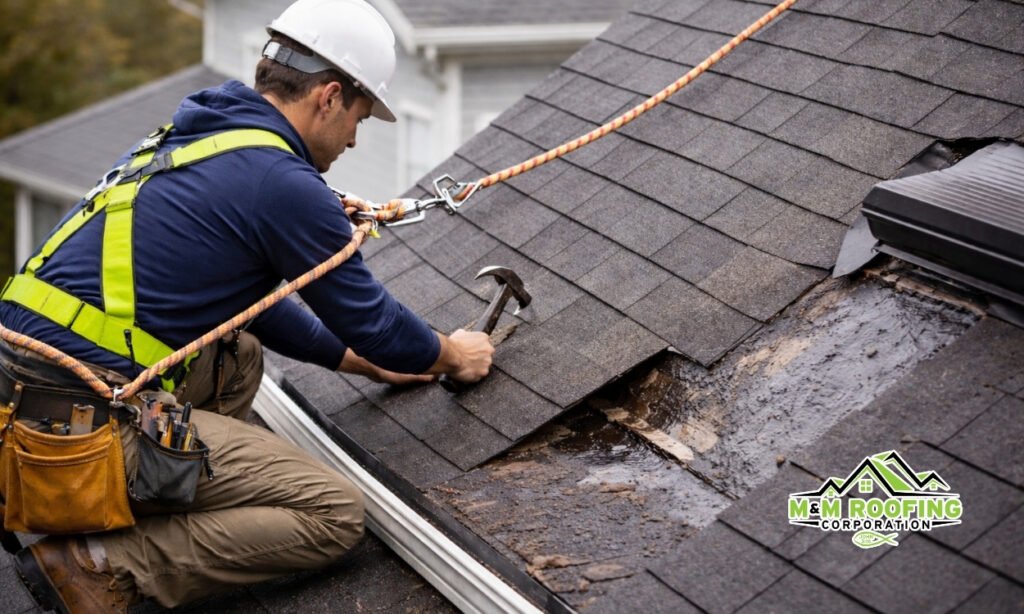
What a Real Roof Leak Repair Looks Like
A proper fix for most leak sources involves:
For pipe boots: The old rubber boot should be completely removed and a new one installed. New pipe boots are $10–$30 at a hardware store and take about half an hour to replace. This is one repair most DIYers can safely do.
For flashing: Re-flashing a chimney or skylight typically involves removing adjacent shingles, re-positioning or replacing the metal flashing, then using proper roofing cement at overlap points before re-laying the shingles. This is more complicated and often worth calling a pro.
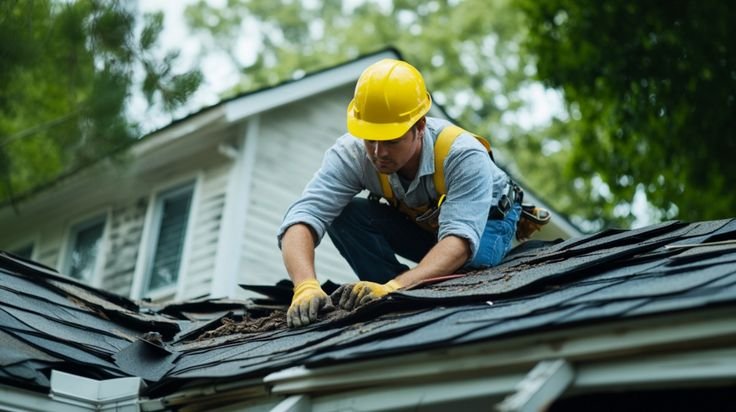
For damaged shingles: Slide in a new shingle that matches your existing ones, then nail down and seal the edges. Sounds simple — and it can be — but matching shingles and doing it correctly requires care.
Mistake #3 — Waiting Until Something Goes Wrong Before Performing Roof Maintenance
Here’s a sobering reality: most homeowners never give a thought to the roof over their heads until water is dripping through the ceiling.
This reactive approach is one of the most expensive roof leak fix guide maintenance mistakes you can make. Because by the time you notice a drip, the damage is typically months or even years old.
The “Out of Sight, Out of Mind” Problem
Your roof isn’t a big part of your daily life. You don’t walk by it every morning. You don’t open a door and check in on it. It merely sits up there doing its job until it can’t anymore.
And it is precisely that invisibility that makes it easy to ignore — and so expensive when things start to go wrong.
A small section of lifted flashing in January might be a $200 repair. Put it off till spring and it’s $800 in water damage. Leave it one more season and you’re talking mold, rotted decking and a repair bill that climbs north of $5,000.
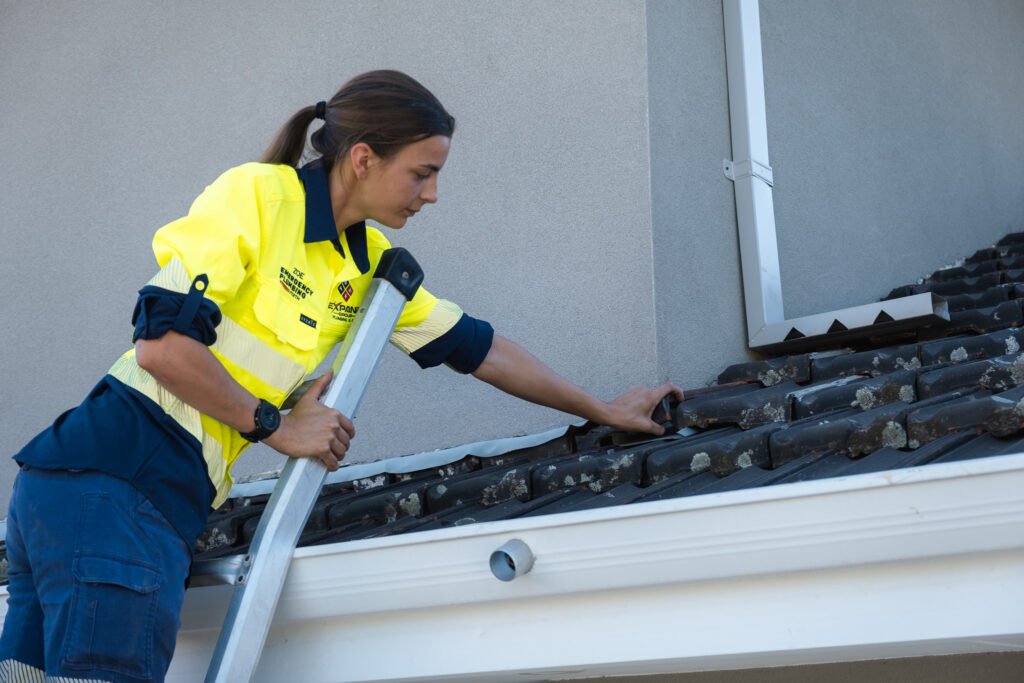
A Basic Roof Maintenance Schedule
You don’t need to become a roofing expert. You just need a basic routine.
Twice Per Year (Spring and Fall)
- Walk around your house and look at the roofline from ground level
- Use binoculars to check for any missing, curled or cracked shingles
- Inspect gutters and downspouts for granule buildup (this indicates shingle deterioration)
- Prune tree limbs that extend within 6 feet of the roof
- Clear leaves and debris from valleys and gutters
After Any Major Storm
- Visually inspect for damage from the ground
- Check the attic for fresh water stains or daylight
- Take photographs of anything that seems unusual before you clean up
Every 3–5 Years
- Get a professional inspection by a licensed roofing contractor
- Ask specifically about flashing condition and sealant integrity
- Get it in writing so you have a record
Signs Your Roof Is Trying to Warn You
Don’t wait for a drip. These tell-tale signs appear well before water gets inside:
| Warning Sign | What It Means |
|---|---|
| Granules in gutters | Shingles are aging and wearing away |
| Curling or cupping shingles | Heat damage or poor ventilation |
| Moss or algae growth | Moisture is trapped on the surface |
| Sagging roof deck | Structural damage from water intrusion |
| Light in the attic | Gaps or holes in the roof structure |
| Staining on exterior walls | Water is running behind siding or trim |
Catching any of these early can prevent you from spending thousands on repairs.
Mistake #4 — Trying to Repair Yourself When It Needs Professional Help
This one is tricky because certain roof repairs really are DIY-friendly — and some truly are not.
Most homeowners cannot tell the difference. They watch a 10-minute YouTube video, grab a ladder and end up making a minor problem much worse. Or worse, they fall and badly hurt themselves.
This part of the roof leak fix guide is about knowing your limits — not a suggestion that you should never do anything yourself.
Repairs Generally Safe for DIYers
With the right tools, some basic knowledge and safe ladder practices, these are repairs that most capable homeowners can tackle:
- Replace a pipe boot: A straightforward swap; shingle removal usually not required
- Replace 1–3 damaged shingles: Manageable if you can find exactly matched materials
- Re-nail loose shingles: Simply apply roofing nails and sealant
- Clean gutters and valleys: Essential maintenance, no roofing skills required
- Apply sealant to small gaps around flashing: Not permanent but manageable
Repairs That Should Always Be Done by a Pro
These jobs are hazardous, complex or demand specialized knowledge that most homeowners simply don’t have:
- Re-flashing a chimney or skylight: Bad flashing is one of the top causes of persistent leaks
- Fixing or replacing ridge cap shingles: Working at the peak of a roof is dangerous without proper safety gear
- Any repair on a steep or high roof: Falls from roofs are a leading cause of home improvement injuries
- Full section replacements or tear-offs: These require knowledge of underlayment, decking and proper layering
- Structural repairs to sagging or soft decking: This indicates major damage requiring a professional evaluation
According to the National Roofing Contractors Association (NRCA), hiring a qualified roofing professional for complex jobs significantly reduces the risk of improper installation and long-term water damage.
The Ultimate Guide to Hiring the Right Roofing Contractor
If you’ve decided to call a pro, don’t just take the first result from a Google search. Here’s what to look for:
Licensing and Insurance: Always verify. A licensed contractor carries liability insurance and workers’ comp. If they get hurt on your roof, you’re not liable.
Local Reputation: Look for companies with verified reviews on Google or the BBB. Get referrals from neighbors or friends.
Written Estimates: Obtain at least two or three. A quality contractor will inspect your roof, explain what they found and provide you with a detailed written quote.
Steer Clear of Storm Chasers: After significant weather events, roofing scammers go door to door claiming they can complete repairs quickly. Many take deposits and disappear. Always verify credentials before signing anything.
A Quick Comparison: DIY vs. Professional Roof Repairs
| Repair Type | DIY Possible? | Average DIY Cost | Average Pro Cost |
|---|---|---|---|
| Pipe boot replacement | Yes | $15 – $50 | $150 – $300 |
| Replace 1–3 shingles | Yes | $30 – $100 | $200 – $500 |
| Re-flash chimney | No | Not recommended | $500 – $1,500 |
| Fix valley flashing | Maybe | $50 – $150 | $300 – $800 |
| Full roof replacement | No | Not recommended | $6,000 – $20,000+ |
Putting It All Together: A Smarter Strategy for Preventing Roof Leaks
Now that you know the four major mistakes, let’s discuss a better way to approach roof maintenance and repair in general.
Think of your roof like your car. You wouldn’t wait until your engine seizes to change the oil. You follow a maintenance schedule because you know that prevention is cheaper than repair.
The same reasoning applies to your roof.
Build a Basic Roof Maintenance Routine
You don’t need to spend hours on this. A basic routine looks like:
- Spring: Walk-around inspection, clean gutters, check for winter damage
- Summer: Trim overhanging branches, inspect attic ventilation
- Fall: Clear leaves from valleys and gutters, check flashing before wet season
- Winter: After heavy snow, watch for ice dams forming at the eaves
Keep a Roof File
Start a simple folder — physical or digital — that holds:
- Photos of your roof taken each season
- Receipts from repairs or inspections
- Your contractor’s information
- Manufacturer warranties if your roof is newer
This file will come in handy when you sell your home, make an insurance claim or need to explain a recurring problem to a contractor.
Know the Age and Life Expectancy of Your Roof
Various roofing materials have different lifespans:
| Roofing Material | Average Lifespan |
|---|---|
| 3-tab asphalt shingles | 15 – 20 years |
| Architectural shingles | 25 – 30 years |
| Metal roofing | 40 – 70 years |
| Wood shake shingles | 20 – 30 years |
| Slate or tile | 50 – 100 years |
Budget accordingly if your roof is nearing the end of its expected lifespan. At that stage, ongoing patching and repairs are often more expensive long-term than a complete replacement.
FAQs: Roof Leak Fix Guide Maintenance Mistakes
Q: How can I tell if my roof leak is serious or minor? A: Size isn’t always the whole story. Even a minor, slow leak can cause major damage over time. Any water staining on your ceiling, moisture in your attic or visible damage from the ground should be treated as urgent and checked out immediately.
Q: Can I repair a roof leak myself when it’s raining? A: No. Working on a wet roof is extremely dangerous. It also prevents sealants and adhesives from bonding properly. Wait at least 24–48 hours of dry weather before attempting any repair.
Q: How long does a roof leak repair really last? A: This depends entirely on what caused the leak and how it was fixed. A proper shingle replacement or pipe boot swap can last 10–20 years. A temporary sealant patch may hold for one season — or one heavy rainstorm.
Q: Is moss growing on my roof really a problem? A: Yes. Moss retains moisture against your shingles, accelerating decay. It can also cause shingle edges to lift over time, leaving gaps for water to get in. Remove it with a moss-killing product, then improve drainage or sun exposure to deter regrowth.
Q: Does homeowners insurance cover roof leaks? A: It depends on the cause. Most policies include coverage for sudden damage caused by storms or accidents. They typically don’t cover leaks due to wear, age or lack of maintenance. Document everything and contact your insurer quickly after storm damage.
Q: How frequently should a roof be professionally inspected? A: Every 3–5 years, at a minimum. If your roof is older than 15 years or your region experiences severe weather regularly, annual inspections are a wise investment.
Q: What’s the first thing I should do when I notice a leak inside my house? A: First, protect your possessions from water damage. Then, find the approximate entry point in the attic. Take photos. When possible, place a bucket and use a tarp as a temporary indoor barrier. Then call a licensed roofer to inspect the damage.
Wrapping It Up
A leaky roof is not just a nuisance. It’s a wake-up call that something requires attention — and the longer you put it off, the more expensive it becomes.
The four roof leak fix guide maintenance mistakes covered in this article — chasing the wrong source, over-relying on tar and sealant, skipping routine maintenance, and DIYing jobs that need a pro — are all avoidable. They’re common because they seem rational at the time. But now you know better.
Don’t wait until your roof is demanding attention the hard way. Build a simple maintenance routine. Learn the early warning signs. Know when to reach for a ladder and when to reach for the phone.
Your roof protects everything and everyone inside your home. It deserves more than a quick patch job and crossed fingers.