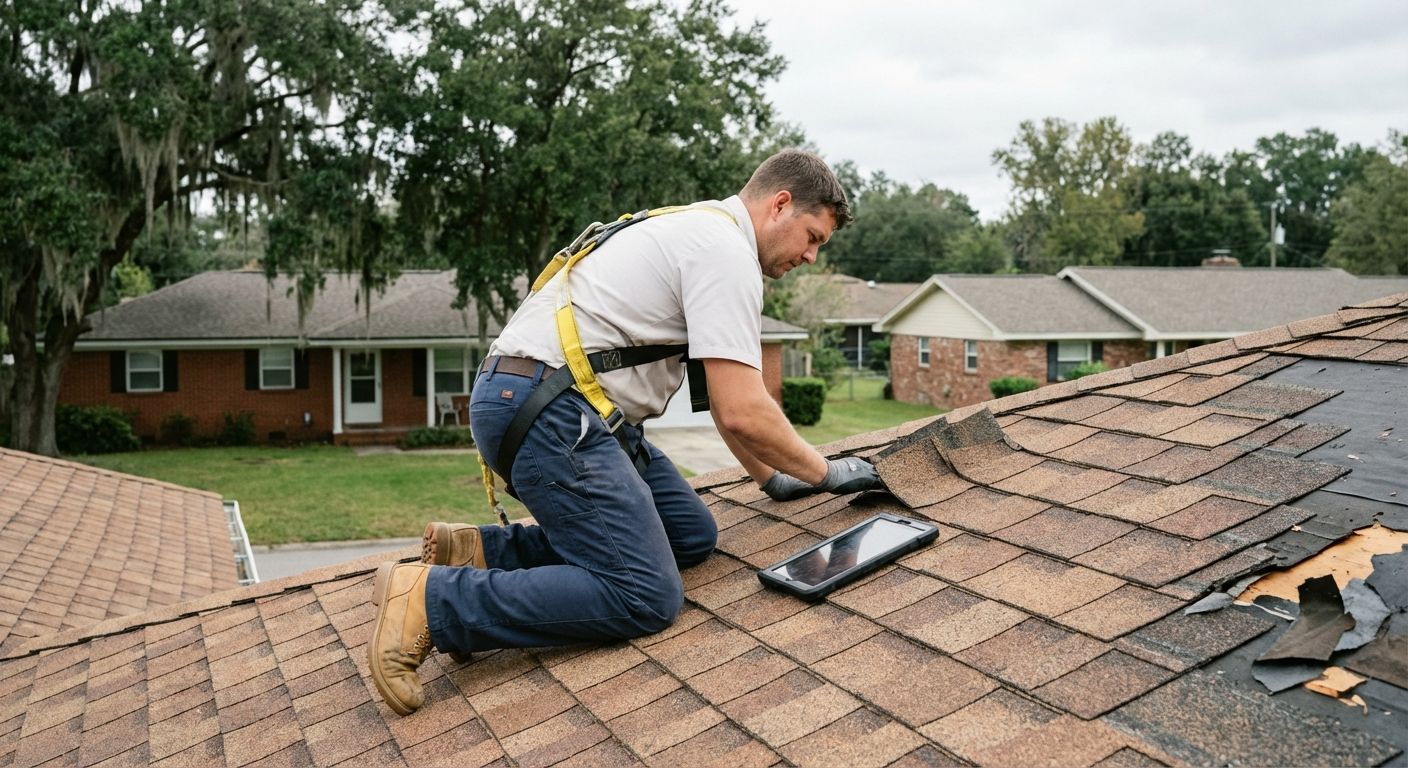
9 Essential Roof Leak Repair Tips for Long-Lasting Results
Let me tell you about the worst Tuesday morning of my homeowning life.
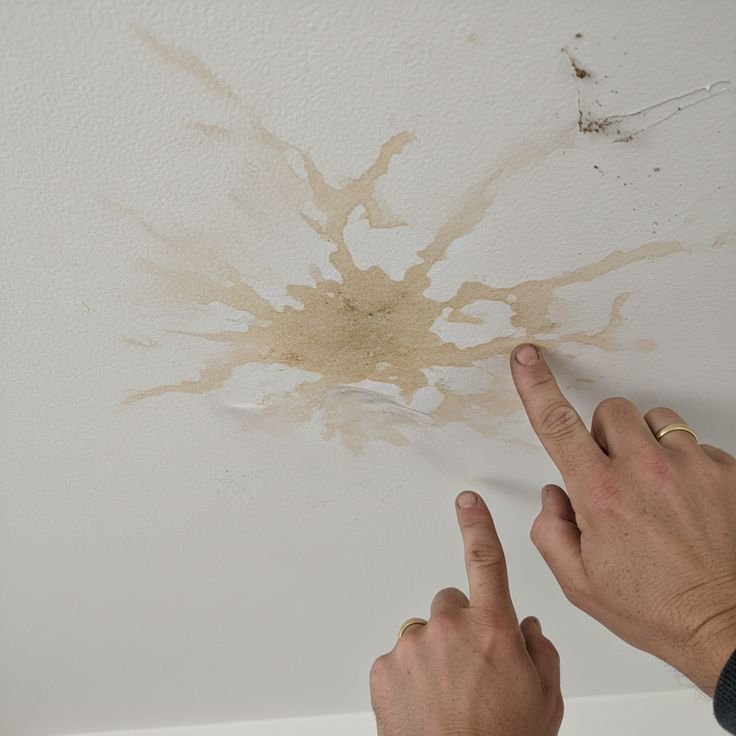
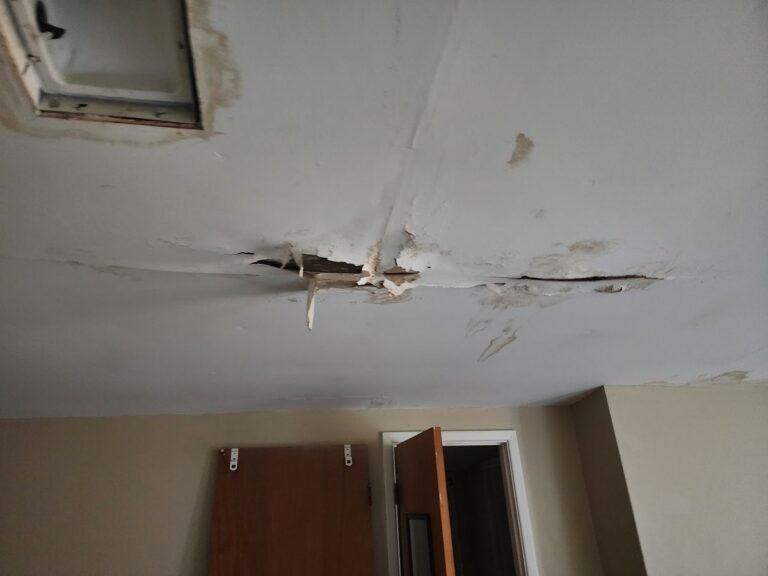
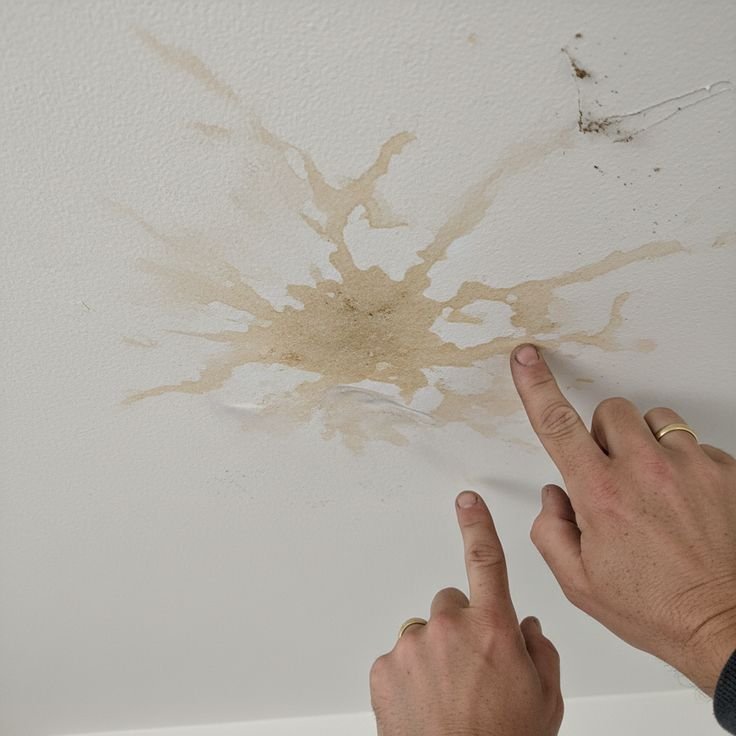
I woke up to what sounded like someone dripping water into a metal bowl — rhythmic, annoying, and increasingly panic-inducing. Walked into my spare bedroom and found a small puddle forming on the hardwood floor, with a steady drip coming from a water stain spreading across the ceiling like a slow-moving bruise.
That leak cost me three weekends, two failed DIY attempts, and eventually a call to a roofer who charged me more than I’d like to admit — mostly because I had waited too long and made some classic rookie mistakes along the way.
Since then, I’ve become what my wife calls “obsessively proactive” about roof maintenance. I’ve fixed minor leaks myself, helped two neighbors identify their problem areas, and learned a ton from both success and failure. So here are the 9 repair tips I wish someone had handed me before that terrible Tuesday.
1. Find the Actual Source Before You Touch Anything
This sounds obvious. It’s not.
Water is sneaky. Where you see the drip on your ceiling is almost never where the leak actually starts. Water enters at one point on your roof, then travels along rafters, insulation, or sheathing before it finally drips down somewhere completely unrelated.
My first leak? I patched an area near a shingle I thought looked damaged. Spent a whole afternoon on it. Next rainstorm — same drip, same spot inside.
The real culprit was a compromised flashing near my chimney, about 4 feet away from where I was working.
How to actually find the source:
- On a dry day, go into your attic with a flashlight. Look for water stains, dark streaks, or soft/rotted wood.
- Mark the spot from inside, then trace uphill from it on your roof. Water travels down, so the source is always higher up.
- Have someone run a garden hose slowly over different roof sections while you watch from the attic. Methodical, section by section — don’t rush this.
- Check valleys, flashings, pipe boots, and anywhere two surfaces meet. These are the usual suspects.
Getting the diagnosis right the first time saves you money, materials, and the emotional damage of thinking you fixed something you didn’t.
2. Don’t Underestimate Flashing Failures
If I had to bet on the most common cause of roof leaks in houses older than 10 years, I’d bet on flashing every single time.
Flashing is the thin metal (usually galvanized steel or aluminum) that seals joints around chimneys, skylights, vents, and where your roof meets a wall. Over time, it corrodes, separates, or the sealant around it dries and cracks.
The fix isn’t always replacing the flashing entirely. Sometimes it’s as simple as resealing with a good roofing caulk or applying roofing cement around the edges where it’s pulled away.
What works:
- Dicor self-leveling lap sealant (great for RVs and flat sections, works well on step flashing too)
- Henry 208R wet patch roofing cement — messy but reliable
- For bigger gaps, aluminum flashing tape as a temporary hold while you plan a more permanent fix
Check out 7 Smart Roof Leak Fix Guide Prevention Tips That Actually Work for a deeper breakdown on prevention strategies around these vulnerable zones.
3. Replace Damaged Shingles the Right Way (Not the Fast Way)
Cracked, curled, or missing shingles are obvious entry points for water. Most people know this. But the way people replace them? That’s where mistakes happen.
I’ve seen people just slap a new shingle on top of the old damaged one. That’s a band-aid, not a fix.
Proper shingle replacement, step by step:
- Slide a pry bar under the damaged shingle and pop the roofing nails loose (usually 4 per shingle).
- Lift the edges of surrounding shingles gently — they’re brittle, especially in cold weather. On a warm day they’re more flexible.
- Slide out the old shingle completely.
- Slide the new shingle into position, making sure it aligns with the surrounding ones.
- Nail it at the correct nailing zone — about 1 inch from each side, roughly 1 inch above the cutouts.
- Apply a small dab of roofing sealant under the corners of surrounding shingles to re-seat them.
Matching shingles matters more than people think. An unmatched shingle doesn’t just look off — if it’s a different weight or profile, it can create small gaps that collect debris and moisture.
4. Fix Pipe Boots Before They Fail (Not After)
Pipe boots — the rubber or metal collars that seal around pipes sticking through your roof — are one of those things nobody thinks about until they cause a problem.
The rubber ones especially degrade in UV light. After 7–10 years, they start cracking at the base. You might not even notice until water’s running down your pipe into the attic during a heavy rain.
| Type of Pipe Boot | Avg. Lifespan | Best Replacement Option |
|---|---|---|
| Standard rubber | 7–10 years | Perma-Boot or similar retrofit cap |
| Aluminum with rubber collar | 10–15 years | Full replacement with new flashing |
| All-metal (lead or galvanized) | 20–30 years | Reseal edges with roofing cement |
The Perma-Boot system is genuinely one of the better DIY discoveries I’ve made. You literally slide it over the existing deteriorated boot without removing anything. Takes maybe 15 minutes. It’s not free (around $30–50 per boot) but it’s a fraction of what a roofer charges, and it works.
5. Seal Valleys Properly — They Take More Abuse Than Any Other Part
Roof valleys are where two sloping sections meet, forming a channel. All the water from a large section of your roof funnels through there. So if the valley lining is compromised, you’ve got a serious volume problem, not just a drip.
Open valleys (where you can see the metal lining) need to be inspected for rust, holes, or lifted edges. Closed-cut valleys, where shingles overlap the valley, can hide damage underneath — you sometimes have to carefully lift a few shingles to check.
Common valley issues:
- Metal lining rusting through in one spot (patch with roofing cement and a small piece of aluminum flashing, sealed on all edges)
- Debris accumulation causing water to back up under shingles (keep valleys clear — this is a maintenance task, not just a repair one)
- Original installation without proper underlayment beneath the valley flashing
This is one area where I’d honestly say: if you’re not comfortable on a roof and the valley damage looks extensive, hire someone. A botched valley repair can cause way more interior water damage than the original problem.
6. Don’t Skip Underlayment When You’re Up There
Here’s a mistake I made on a garage roof repair: I replaced the shingles where they were visibly damaged, but I didn’t bother checking the underlayment (the felt or synthetic membrane underneath the shingles). I assumed it was fine.
It wasn’t. There was a small tear right at the ridge. Water was getting under the shingles through a different area, hitting the torn underlayment, and running straight through.
Underlayment is your secondary defense. Shingles can blow off, crack, or lift. When that happens, the underlayment is supposed to keep water out until you can make repairs.
If you’re already replacing several shingles in an area, peel back a few extras to inspect the underlayment beneath. If you see tears, brittleness, or areas where it’s separated from the deck, patch it with self-adhering ice and water shield membrane. It’s sticky on one side and you just press it down over the damaged area.
9 Smart Roof Leak Fix Guide Basics for Quick Repairs goes into more detail on how underlayment issues often get misdiagnosed as shingle problems.
7. Roof Cement Is Not a Permanent Solution (Stop Using It That Way)
Roofing cement is useful. It has its place. But I’ve seen so many roofs — including my neighbor’s — where someone just globbed roofing cement over every problem area and called it done.
It doesn’t work long-term. Roofing cement cracks as it expands and contracts with temperature changes. A glob of it over a gap or crack will last one or two seasons, then start pulling away at the edges and creating new pathways for water.
Where roofing cement is appropriate:
- Re-seating lifted shingle edges temporarily
- Sealing around nail heads during a proper repair
- Bedding new flashing as part of a real installation
- Emergency stop-gap while you plan a proper fix
Where it’s NOT appropriate:
- Filling large holes or gaps
- Replacing flashing or underlayment
- “Painting” over a damaged area hoping it holds
If your roof needs more than spot sealing, roofing cement is the duct tape solution. It buys time, but it’s not the answer.
8. Check the Attic Ventilation While You’re At It
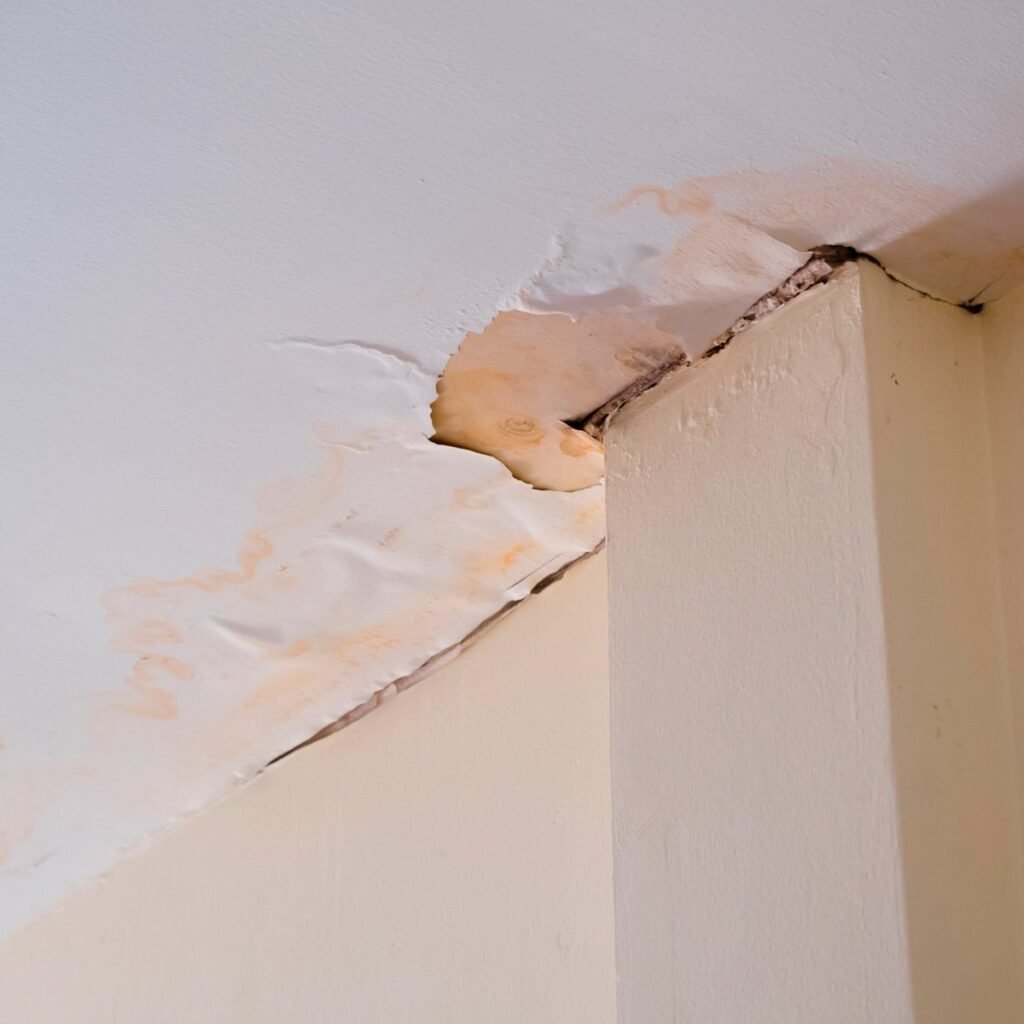
This one surprised me when a roofer first pointed it out. I thought my roof was leaking, but part of the moisture problem was actually condensation inside my attic caused by poor ventilation.
When warm, humid air from inside your home rises into a poorly ventilated attic and hits the cold underside of your roof deck, it condenses. Over time, this creates moisture damage, mold, and what looks — and sometimes acts — exactly like a leak.
Signs your attic ventilation might be the issue:
- Frost or condensation on the underside of the roof deck in winter
- Mold growth on rafters without obvious water entry points
- Insulation that’s wet or compressed without a clear leak source
The fix involves making sure you have a proper balance of intake vents (soffit vents at the eaves) and exhaust vents (ridge vents or box vents near the peak). The general rule is 1 square foot of ventilation for every 150 square feet of attic floor space.
This won’t replace fixing an actual leak, but if you ignore ventilation, you might keep chasing moisture problems that aren’t really roof-entry leaks at all.
9. Keep a Repair Log and Do Seasonal Checks
I started doing this after my second leak, and it’s genuinely changed how I manage my home.
A simple document — could be a Google Doc, a notes app, even a paper notebook — where you record:
- Date of any repair, what was done, what materials were used
- Date of each inspection, what areas were checked
- Photos of problem areas over time (incredibly helpful for spotting gradual changes)
- When major components (like pipe boots or flashing) were last replaced
This matters because roofs don’t usually fail all at once. They deteriorate gradually, and having a record helps you spot patterns. “That corner near the dormer keeps showing up in my notes” is information that helps you decide to invest in a real fix rather than keep patching.
Quick seasonal checklist:
| Season | What to Check |
|---|---|
| Spring | Post-winter damage, ice dam effects, flashing condition |
| Summer | UV-cracked sealant, pipe boot condition, shingle curling |
| Fall | Clean gutters and valleys, check for lifted shingles before rain season |
| Winter | Attic for ice dams, condensation, interior staining after heavy snow |
8 Essential Roof Leak Fix Guide Safety Rules Before Climbing a Roof is a good read before you do any of these seasonal checks yourself — roof safety isn’t something to improvise on.
Common Mistakes That Cost People Money
A few things I’ve watched people do (and did myself) that make problems worse:
Fixing from the inside only. Applying caulk or spray foam from inside the attic might stop a visible drip temporarily, but the water entry point outside is still open. You’re just redirecting water, not stopping it.
Working on a wet or cold roof. Shingles crack much more easily when cold. You can also slip on damp surfaces in ways that don’t happen on a dry, warm day.
Ignoring small leaks. The “it’s just a tiny drip” mindset leads to rotten roof decking, damaged insulation, mold, and interior ceiling replacement. Small leaks never stay small for long.
Using the wrong materials. Not all roofing caulks are made equal. Using a standard silicone caulk instead of a roofing-specific product will result in adhesion failure when exposed to roofing conditions (heat, UV, temperature cycling).
A Few Words on When to Just Call a Pro
I’m all for DIY. But there are situations where it genuinely makes more sense to get a professional in:
- If your roof is steep (above a 6:12 pitch), working safely requires specialized equipment
- If the damage is widespread across multiple areas
- If you’ve tried to fix the same leak twice and it’s still leaking
- If you see significant structural damage — soft spots, sagging, rotted decking
A good roofer won’t necessarily be cheap, but they’ll be cheaper than the water damage repair bill if a leak continues unaddressed.
Get two or three quotes, ask to see the actual problem area before they start, and get the scope of work in writing.
Roof repairs aren’t glamorous. Nobody’s excited to spend a Saturday on a pitched roof with a caulk gun and a bad knee. But staying on top of small issues — finding leaks early, fixing them properly the first time, keeping records of what’s been done — is genuinely one of the highest-return maintenance activities you can do as a homeowner.
The roof over your head is doing an enormous job every single day. A little attention goes a long way.
Also worth reading: 11 Expert Roof Leak Fix Guide Repair Tips for Long-Lasting Results — a solid companion piece with a few extra techniques, especially if you’re dealing with an older roof that’s had previous repairs.
About the Author