
10 Proven Roof Leak Prevention Guide Ideas That Saved My Roof
I still remember the night it happened. It was 2 AM, pouring rain outside, and I woke up to a dripping sound coming from the corner of my bedroom. I grabbed a bucket, placed it under the drip, and spent the rest of the night staring at the ceiling wondering how bad this was going to get.
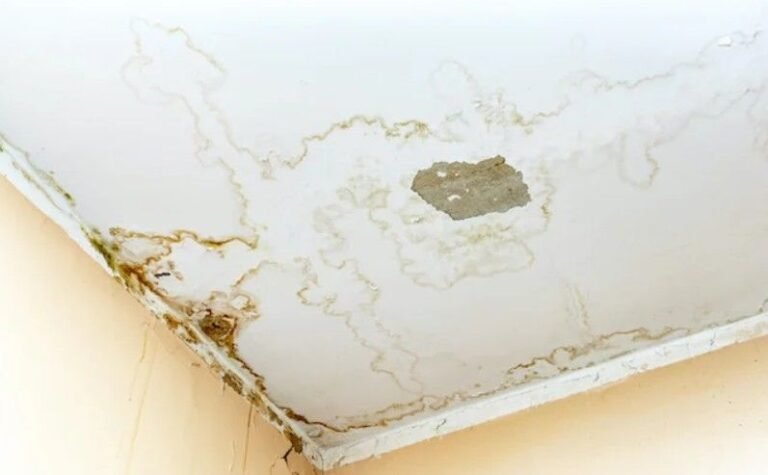
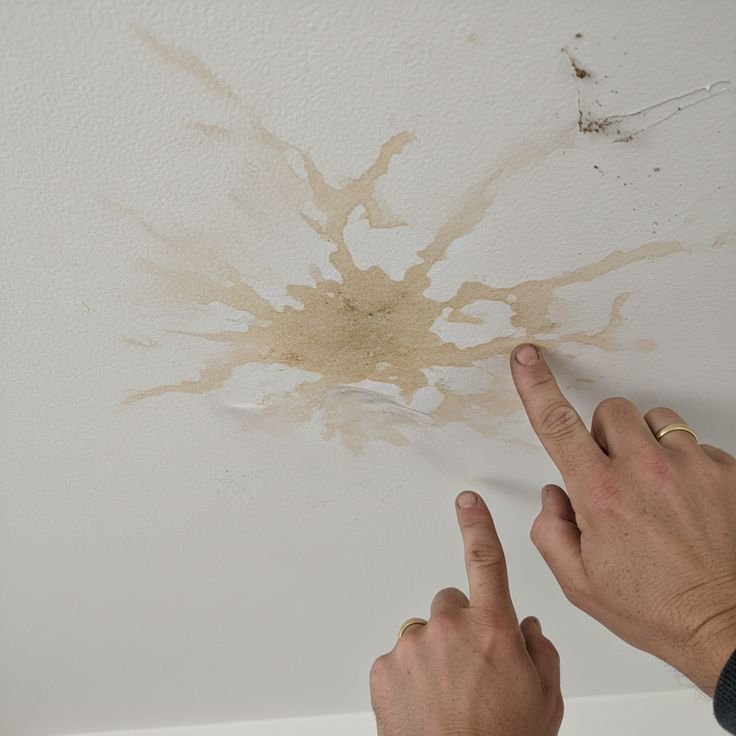
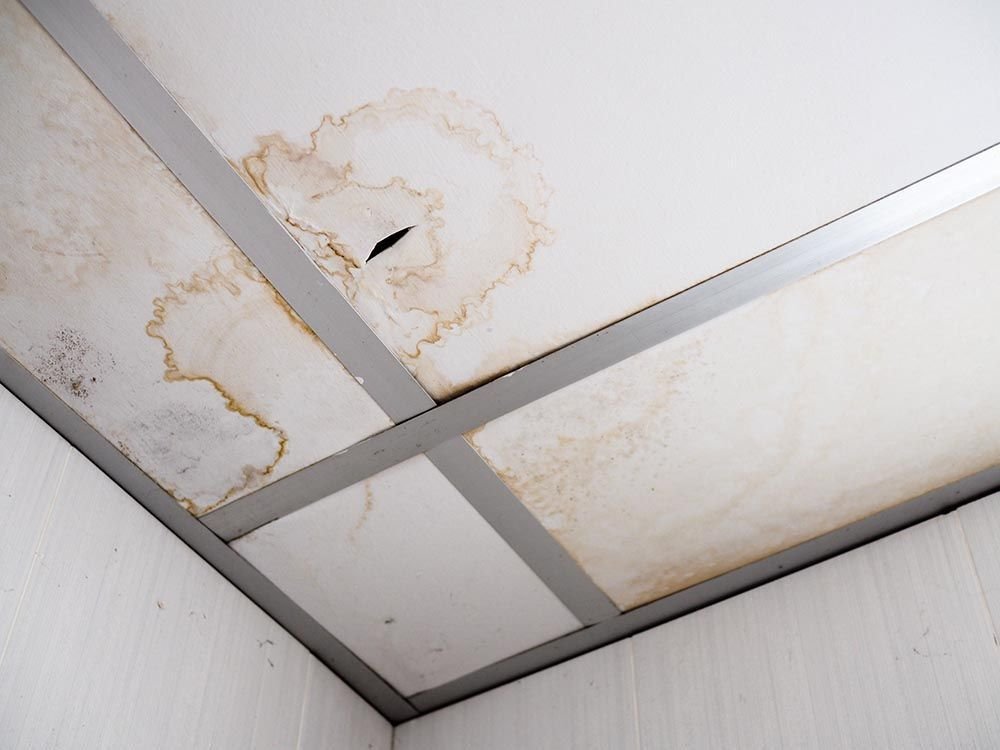
By morning, there was a yellow water stain spreading across the drywall, paint bubbling near the window frame, and a creeping sense of dread about what this was going to cost me. The repair bill? Just over $900. And the worst part? My roofer told me most of it could have been prevented with basic maintenance.
That experience turned me into a bit of a roof obsessive. I started researching, asking questions, watching tutorials, and actually getting up on my roof (safely — more on that later) to understand what was going on up there. Over the past few years, I’ve pieced together a solid prevention routine that has kept my roof completely leak-free through some brutal monsoon seasons here.
Here’s everything I’ve learned — the hard way and the smart way.
1. Inspect Your Roof Twice a Year (Not Just After Storms)
Most people only think about their roof when something goes wrong. I used to be the same way. Now I do two full inspections every year — once before the rainy season and once after.
You don’t need to be a professional to do a basic inspection. Here’s my simple checklist:
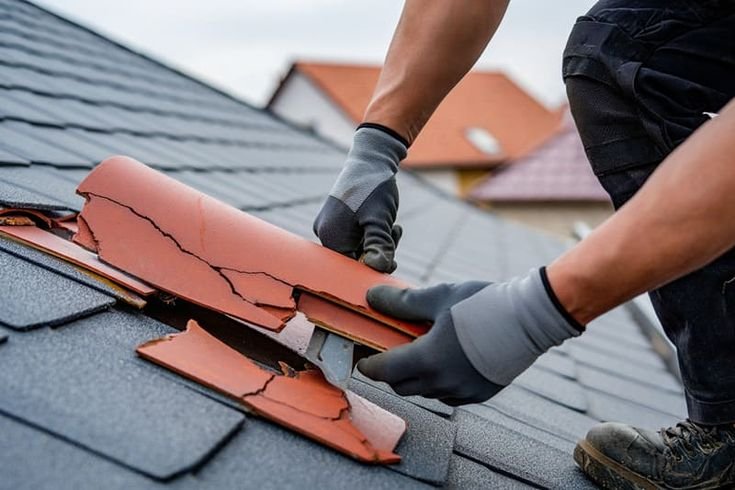
- Look for missing, cracked, or curling shingles
- Check the flashing around chimneys, vents, and skylights
- Look for dark streaks or moss growth (signs of moisture retention)
- Inspect the gutters for granule buildup (this means your shingles are deteriorating)
- Look at your attic from the inside for any daylight coming through or damp spots on the insulation
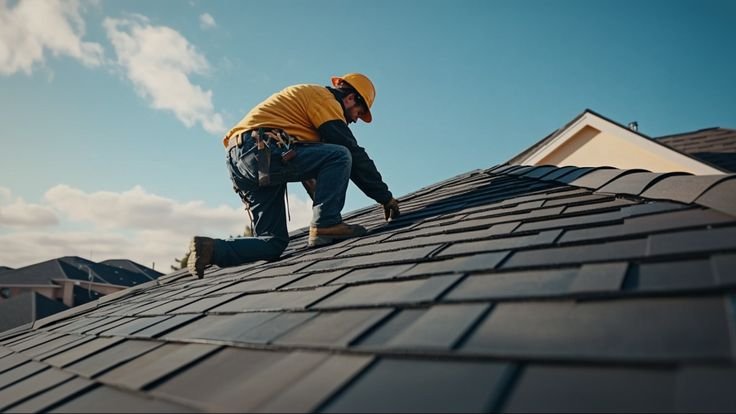
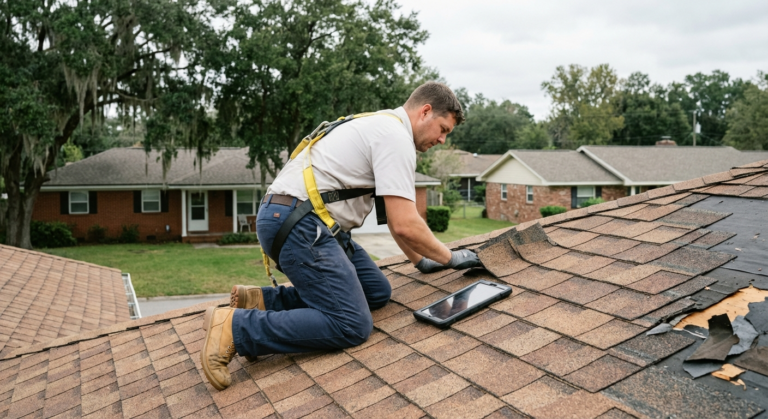
I use a pair of binoculars from the ground for a first pass, then go up with a proper safety harness for a closer look. Takes maybe 45 minutes total. It has already saved me from two potential leaks that I caught early — one was a lifted shingle near the ridge and another was a cracked rubber boot around a plumbing vent.
2. Don’t Ignore Flashing — It’s Where Most Leaks Actually Start
Here’s something my roofer told me that I wish I’d known sooner: the majority of roof leaks don’t start in the middle of your shingles — they start at the edges, joints, and penetrations. That’s where the flashing lives.
Flashing is the thin metal material (usually aluminum or galvanized steel) that seals the transitions between your roof and vertical surfaces — chimneys, dormers, skylights, and plumbing vents.
Over time, the sealant around flashing dries out, cracks, and separates. When that happens, water slides right in underneath.
What I do now: Every inspection, I check every piece of flashing I can see. If I notice the caulk or sealant is cracking or pulling away, I clean the area and apply a fresh bead of roofing sealant. Products like Henry Elastomeric Roof Sealant or Geocel 2300 work really well and last a few years.
It’s a 20-minute job that can save you from a $1,500 water damage repair.
3. Keep Your Gutters Actually Clean (This One Matters More Than You Think)
I used to think gutter cleaning was just about aesthetics. Nope. Clogged gutters cause water to back up under your roof edge — a problem called “ice damming” in cold climates, but even in warmer areas like mine, backed-up water can seep under shingles and cause rot along the fascia board.
I now clean my gutters at least twice a year, and after any major storm that drops a lot of leaves or debris.
Here’s a quick process that works for me:
- Use a gutter scoop (they’re cheap — like $8 at any hardware store) to remove the bulk of the debris
- Flush with a garden hose starting from the end opposite the downspout
- Check that water flows freely out the downspout
- Look for any sagging sections — that means the hangers are loose and water is pooling
I also installed gutter guards a couple of years ago. The brand I went with was Amerimax — not the cheapest option but they’ve held up really well. They’re not perfect, but they’ve dramatically reduced how often I need to clean.
Pro tip: Make sure your downspouts extend at least 6 feet away from your foundation. If water pools near your house, it can work its way into your basement too.
4. Trim Overhanging Tree Branches Before They Cause Damage
This one feels obvious in hindsight. I had a large mango tree near my roof and never thought much about it until one of the branches scraped across the shingles during a windstorm and tore off a strip of granules. Those granules are the protective coating — once they’re gone, UV rays and rain start degrading the shingle much faster.
Beyond scraping, overhanging branches also drop leaves directly onto the roof, which trap moisture and promote moss and algae growth.
Now I keep branches trimmed back at least 6-10 feet from the roofline. I hired an arborist for the big stuff, but for smaller branches I just use a pole saw — the Fiskars PowerGear2 is a solid option and doesn’t require a ladder most of the time.
5. Address Moss and Algae Before They Eat Through Your Shingles
That dark black streaking you see on roofs? That’s not dirt — it’s algae. And the green fuzzy stuff is moss. Both of them hold moisture against your shingles and slowly break them down.
I had a small patch of moss developing on the north-facing section of my roof (north sides stay shaded and damp longer). Left alone, moss can actually lift shingle edges as it grows underneath, creating perfect little channels for water to sneak in.
Here’s how I dealt with it:
Step 1: Mix equal parts water and white vinegar, or use a dedicated product like Wet & Forget Outdoor Concentrate (this is what I use now — you just spray it and let rain do the rinsing over a few weeks).
Step 2: Apply on a cloudy day so it doesn’t evaporate too fast.
Step 3: Never use a pressure washer on shingles — I learned that the hard way. High pressure strips granules and can force water up under the shingles. Use a soft brush or low-pressure garden sprayer.
Step 4: For prevention, you can install zinc or copper strips along the ridge. As rainwater flows over them, it releases trace amounts of metal that inhibit moss and algae growth. It’s a passive, long-term solution that actually works.
For more detailed prevention strategies, check out this guide: 9 Essential Roof Leak Fix Guide Prevention Tricks Homeowners Swear By
6. Check and Seal Around Every Roof Penetration
Every pipe, vent, satellite dish mount, or antenna that pokes through your roof is a potential entry point for water. The rubber boots around plumbing vents are especially notorious — they degrade in UV light and usually need replacing every 7-10 years.
Walk around your roof (or look with binoculars) and check every single penetration point. Look for:
- Cracked or dried-out rubber boots
- Lifted or missing caulk around pipe flanges
- Rust or corrosion on metal vents
- Gaps between vent covers and the roof surface
I replaced two rubber vent boots a couple of years ago using Perma-Boot covers — they slide right over the old boot without removing the existing pipe and cost about $15 each. Saved me from paying a roofer to do it.
7. Make Sure Your Attic Ventilation Is Actually Working
This one surprised me. I didn’t realize that poor attic ventilation could cause roof leaks. Here’s how it works: when your attic gets too hot and humid (which happens if there’s not enough airflow), moisture condenses on the underside of the roof decking. Over time, that moisture causes the wood to rot and the shingles above to deteriorate from the inside out.
I noticed my attic was always way hotter than it should be. After doing some research, I found that my ridge vent was partially blocked by old insulation that had been pushed up too close to the roof deck.
Pulling the insulation back from the eaves and making sure the soffit vents were clear made a noticeable difference. I could actually feel the temperature in the attic drop.
The general rule is 1 square foot of ventilation for every 150 square feet of attic floor space. If you’re not sure whether yours is adequate, an HVAC technician or roofer can assess it fairly quickly.
This connects closely to what I read in 7 Smart Roof Leak Fix Guide Prevention Tips That Actually Work — ventilation often gets skipped but it’s one of the most impactful preventive steps.
8. Don’t Ignore Small Leaks — They Never Stay Small
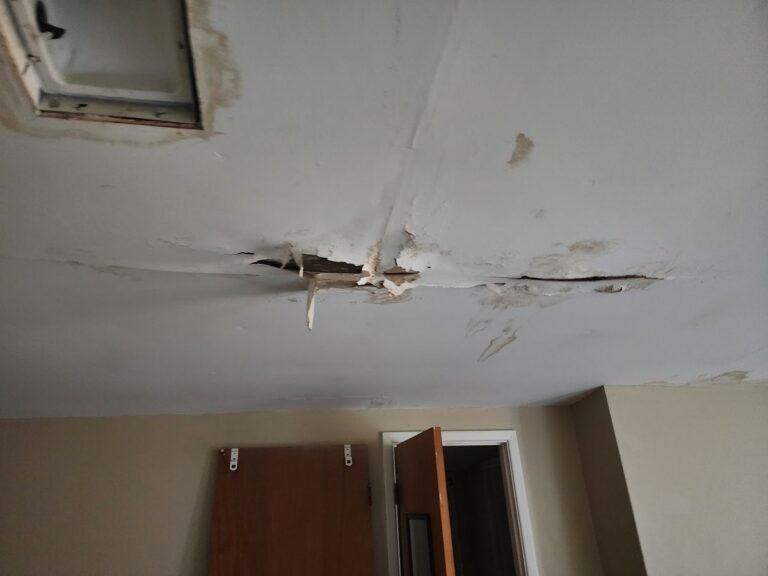
Here’s a mistake I made early on: I noticed a small damp spot on my ceiling and figured it wasn’t serious enough to deal with right away. Two months later, after a heavy rainstorm, that small spot had turned into a sagging, discolored patch of drywall with mold starting in the corner.
Small leaks are like slow drains in a bathtub — the water always finds the lowest point and collects there, but the actual entry point could be several feet away on the roof. By the time you see visible damage inside your home, the leak has usually been going on for a while.
What to do when you spot a leak:
- Mark the spot on the ceiling with a pencil and note the date
- Go into the attic with a flashlight and look for water trails or wet insulation in that general area
- Trace the trail back to where water is actually entering (it’s often not directly above the stain)
- If you can safely access the roof, look for obvious issues at that point — lifted shingle, cracked sealant, displaced flashing
- Apply a temporary fix if rain is coming (roofing tape or a tarp) and schedule a proper repair
The longer you wait, the more the water damage compounds — and rotted decking is a much bigger repair than a resealed flashing joint.
9. Know When to Call a Pro (And What to Ask Them)
I’m all for DIY, but there are situations where calling a professional is genuinely the smarter move:
| Situation | DIY or Pro? |
|---|---|
| Missing 1-2 shingles | DIY (if you’re comfortable on a roof) |
| Cracked flashing sealant | DIY |
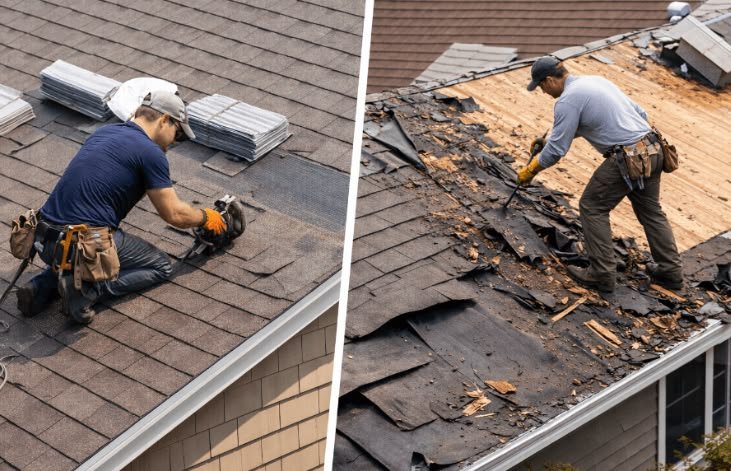
| Widespread granule loss | Pro — may need reroof |
| Sagging roof deck | Pro — structural issue |
| Active leak you can’t locate | Pro |
| Roof over 20 years old | Pro inspection at minimum |
| Working near electrical lines | Always Pro |
When you do call a roofer, here are questions worth asking:
- Can you show me where the problem is before you fix it?
- What materials are you using and what’s the warranty?
- Will this fix address the root cause or just the symptom?
- Do you carry liability insurance and workers’ comp?
A good roofer will walk you through everything. If someone refuses to explain the problem or pressures you to commit to a full repair on the spot, get a second opinion.
You can also get a solid overview of what professional repair involves at 11 Expert Roof Leak Fix Guide Repair Tips for Long-Lasting Results
10. Build a Simple Roof Maintenance Schedule and Actually Stick to It
All of this only works if you actually do it. The biggest difference between my roof now and three years ago isn’t what I know — it’s that I actually have a routine.
Here’s the maintenance calendar I follow:
| Month | Task |
|---|---|
| March (pre-rain) | Full inspection, clean gutters, check flashing sealant |
| June | Trim overhanging branches |
| September (post-monsoon) | Check for storm damage, clear debris from valleys |
| November | Clean gutters again, inspect attic ventilation |
| Every 2-3 years | Professional inspection |
I keep a notes document on my phone where I log each inspection — what I found, what I did, and what I’m watching. It sounds overly organized, but it’s actually helped me spot patterns. For example, I noticed the same section near my chimney was always slightly damp, which helped me eventually track down a tiny gap in the step flashing that was letting in water during driving rain.
Common Mistakes I See Homeowners Make
A few things I’ve seen people do that end up making things worse:
Using the wrong sealant — Not all caulks are made for roofing. Regular silicone or interior caulk will fail quickly under UV exposure and temperature swings. Use roofing-specific products.
Pressure washing shingles — I mentioned this earlier but it’s worth repeating. High pressure destroys granules. Always use low pressure or let cleaning solutions do the work.
Not checking the attic after a storm — Most people only inspect from outside. The inside often tells a more complete story.
Ignoring the valleys — The V-shaped areas where two roof slopes meet are high-traffic zones for water. Debris collects there and if the valley flashing is damaged, it’s a fast path for leaks.
Waiting for visible damage to act — By the time you see water on your ceiling, the damage is already done. Prevention is always cheaper than repair.
Final Thoughts
Roof maintenance isn’t glamorous. Nobody wakes up excited to climb up there and check their flashing. But after that 2 AM wake-up call and the $900 lesson that came with it, I made peace with the fact that a little bit of effort twice a year is just part of owning a home.
The good news is that most of this is genuinely manageable for the average homeowner. You don’t need to be a contractor. You just need a basic toolkit, a willingness to pay attention, and a reminder on your calendar.
Your roof is doing a lot of work every day. A little maintenance goes a long way.
Also worth reading: 8 Proven Roof Leak Fix Guide Steps That Saved My Roof — a great complement to this guide if you’re already dealing with an active leak and need step-by-step repair advice.
About the Author