8 Smart Roof Leak Prevention Guide Secrets That Stop Leaks Early
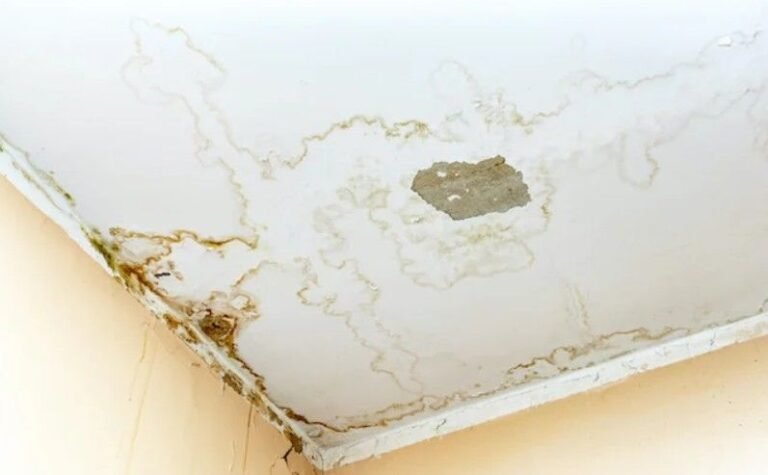
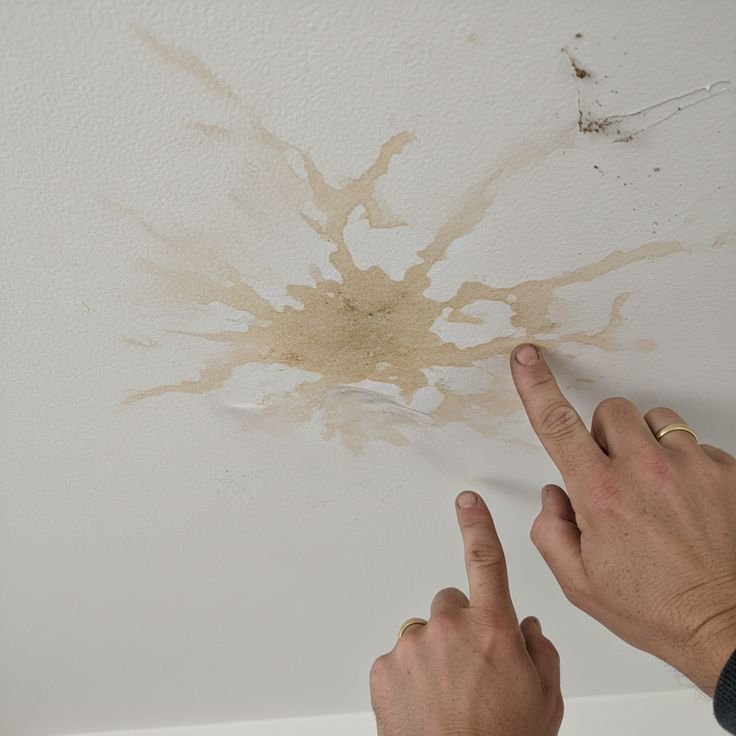
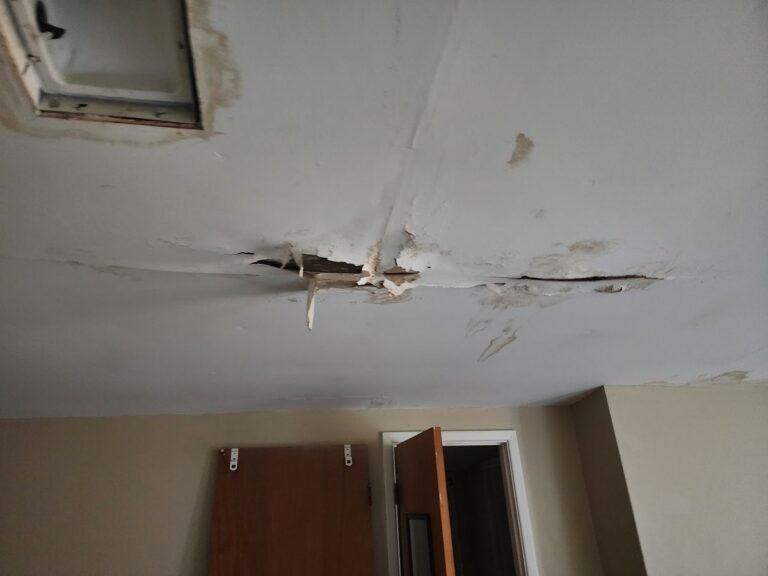
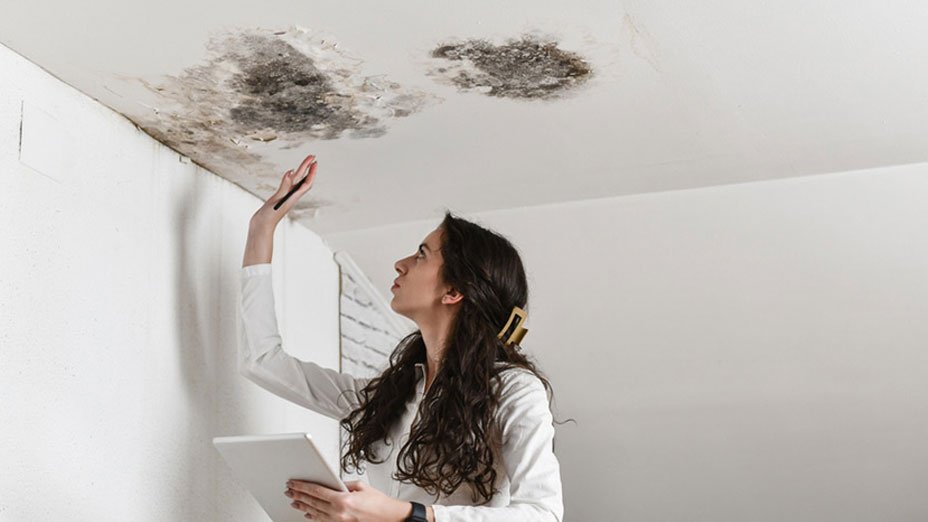
Last monsoon season, I was sitting in my living room when I noticed a tiny brown stain forming on the ceiling. Just a small circle — about the size of a coin. I figured it was nothing. Maybe condensation, maybe a one-time thing. Two weeks later, that coin-sized stain had become a dinner plate, paint was bubbling, and there was a slow, maddening drip every time it rained.
That single leak cost me around $800 to fix properly. The kicker? A roofer told me afterward that if I had caught the early signs just a few weeks earlier, the repair would have cost maybe $60 and a Saturday afternoon.
That experience completely changed how I think about roof maintenance. I stopped waiting for leaks to show up and started learning how to stop them before they even start. Here’s everything I’ve picked up — the real stuff, not the generic “check your shingles twice a year” advice you’ve already heard a hundred times.
1. Stop Treating Your Attic Like a Storage Room
Most homeowners never go into their attic unless they’re digging out Christmas decorations. But here’s the thing — your attic is basically the early warning system for your entire roof.
The first time I climbed up there after that leak disaster, I was shocked. There were dark stains on the wood beams that had clearly been there for months. There was a faint smell of mildew. And in one corner, daylight was actually peeking through a gap near the eave.
What to look for when you’re up there:
- Dark staining or wet spots on rafters or decking
- Mold or mildew smell (even if you don’t see it)
- Any daylight coming through gaps
- Insulation that looks compressed, wet, or discolored
- Frost in winter (a major sign of poor ventilation)
Make it a habit to check your attic at least twice a year — once before the rainy season and once after. Take your phone up there and use the flashlight. You don’t need any fancy equipment. Just your eyes and 15 minutes.
2. The Flashing Problem Nobody Talks About
If I had to bet money on where most roof leaks actually start, I’d put it all on flashing. Hands down.
Flashing is the thin metal (usually aluminum or galvanized steel) that seals the joints around chimneys, skylights, vents, and roof valleys. It’s designed to direct water away from these vulnerable spots. But it’s also one of the first things to fail — and most people have no idea it even exists until something goes wrong.
I had a friend whose chimney flashing had been pulling away from the mortar for probably two years before it caused a leak. The fix was simple — recaulking and resealing. Total cost: under $20 in materials. But because nobody caught it early, water had seeped into the chimney structure and caused wood rot that cost nearly $1,200 to address.
Quick flashing inspection steps:
- From the ground, use binoculars to scan around the chimney, skylights, and any roof penetrations
- Look for flashing that’s lifted, bent, or separated from the surface
- Check for gaps in the sealant (it’ll look cracked or shrunken)
- After heavy rain, check if any of these areas show wet spots inside
If you spot anything suspicious, a tube of roofing sealant (like Henry’s Elastomeric Sealant or Geocel) can handle minor gaps temporarily — but have a pro check it properly if it’s widespread.
3. Your Gutters Are Doing More Than You Think
Clean gutters aren’t just an aesthetic thing. Clogged gutters cause water to back up under your shingles, which is one of the sneakiest ways leaks develop — because the damage starts at the roof edge and works inward, often showing up on the ceiling far from where the actual problem is.
I spent years cleaning my gutters once a year in fall. Then I learned that in areas with lots of trees (I have three big ones near my house), you really need to clear them out at least twice — once in spring after seed pods drop and once in late fall after leaves.
I now use a gutter cleaning attachment for my garden hose — it’s a curved wand that lets you flush from the ground. Saved me from climbing ladders every time. Brands like Orbit and GutterMaster make decent ones for around $20-$30.
Signs your gutters are causing roof problems:
- Water pouring over the sides during rain (not through the downspout)
- Soil erosion directly below gutters
- Staining on fascia boards (the wood behind the gutters)
- Ice dams forming in winter along the roof edge
Also — and this one surprised me — make sure your downspouts are directing water at least 6 feet away from your foundation. Otherwise you’re just trading a roof problem for a basement problem.
4. Know Your Roof’s Age (And Act Accordingly)
Here’s something I wish someone had told me when I bought my house: ask for the roof’s installation date before you close the deal, and plan your inspection schedule around it.
| Roof Type | Average Lifespan | When to Start Watching Closely |
|---|---|---|
| Asphalt Shingles | 20–30 years | After year 15 |
| Metal Roofing | 40–70 years | After year 30 |
| Wood Shakes | 20–25 years | After year 15 |
| Tile (Clay/Concrete) | 50+ years | After year 30 |
| Flat/Built-up Roofing | 10–20 years | After year 8 |
My current roof is asphalt shingles and it’s sitting at about 18 years old. That puts me in what roofers call the “watch zone” — the roof isn’t failing yet, but small problems can escalate faster than they would on a newer roof.
At this age, I’ve started doing mini-inspections after every major storm instead of waiting for scheduled checks. If you’re in a similar boat, it’s worth getting a professional inspection every two years rather than every five. Many roofing companies offer this for free or a small fee, and it’s worth every cent for the peace of mind.
5. The Shingle Granule Test (Most People Don’t Know This One)
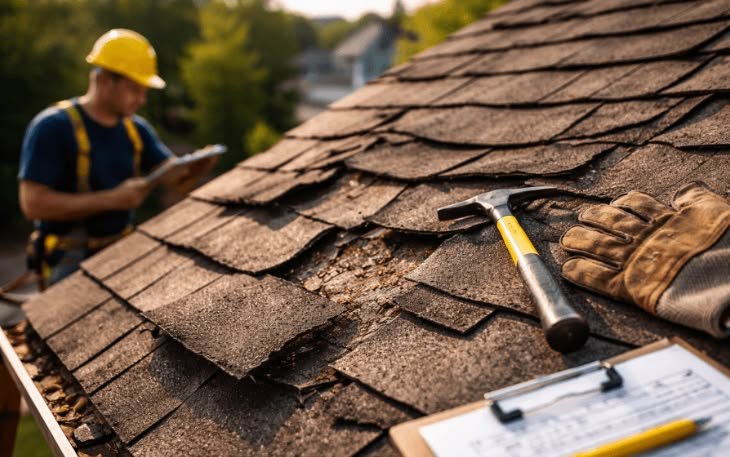
This one blew my mind when I first learned it. Your asphalt shingles are coated with tiny granules — they look like coarse sand. These granules protect the shingles from UV rays and help shed water. When they start falling off in large numbers, your shingles are aging and becoming vulnerable.
The easiest way to check? Look in your gutters. If you’re finding significant amounts of dark, sand-like material building up, your shingles are shedding granules. That’s a warning sign, not an emergency — but it means you’re probably within a few years of needing attention.
You might also notice it on the shingles themselves. Bald patches or shingles that look noticeably lighter or shinier in certain spots — that’s granule loss. Those spots are now more susceptible to UV damage and cracking, which leads to leaks.
If you spot this early, you have time to plan and budget rather than scrambling after a leak appears. Check out some of these proven repair strategies that work alongside prevention to keep you ahead of the problem.
6. Tree Branches Are a Slow-Motion Problem
I have a massive oak tree next to my house. I love it for shade in the summer. I’ve learned to respect it as a roof hazard.
Overhanging branches do two things that damage roofs:
First, they physically scrape and abrade shingles during windy conditions. Over months and years, this wears down the granule coating, weakens the shingles, and creates micro-cracks where water gets in.
Second, they drop leaves, twigs, and seed pods directly onto the roof, which retain moisture. Wet organic matter sitting on shingles accelerates algae and moss growth, and eventually leads to rot underneath.
The rule of thumb I follow: no branches should be within 6 feet of the roof surface. I hired an arborist to do a trim-back two years ago and noticed a real difference in how clean the roof stays and how much less debris ends up in the gutters.
You don’t need to remove trees — just keep them trimmed. It’s one of those investments that pays off without you ever seeing the disaster it prevented.
7. Moss and Algae Are Not Just Cosmetic Issues
If you see green or black streaking on your roof, a lot of people assume it’s just a visual thing — maybe an eyesore, but nothing structural. That’s what I thought. I was wrong.
Moss, algae, and lichen actually work their way under shingles. Moss in particular holds moisture against the roof surface, accelerating deterioration. Lichen (the crusty stuff) is the worst — it actually bonds to shingles and when removed can take chunks of the surface with it.
How to deal with it:
- Mix 50/50 water and white vinegar, or use a purpose-made roof cleaner like Wet & Forget or Spray & Forget
- Apply with a garden sprayer — do NOT use a pressure washer on shingles (it strips granules)
- Let the solution sit and do its work over a few days
- Install zinc or copper strips along the ridge — rainwater washing over them naturally prevents regrowth
The zinc/copper strip trick is genuinely one of the smartest low-effort preventive moves you can make. You install them once and they quietly do their job for years.
For more serious growth situations, these maintenance steps you shouldn’t skip can walk you through the full process.
8. Build a Simple Seasonal Inspection Routine
Everything I’ve mentioned above works best when it’s part of a routine — not a panic response after something goes wrong. Here’s the simple schedule I now follow:
Spring (after winter):
- Inspect attic for moisture, staining, or mildew
- Clear gutters of winter debris and seed pods
- Check flashing around chimney and vents
- Look for any shingles that buckled or shifted during freeze-thaw cycles
Before monsoon/rainy season:
- Full gutter cleaning
- Check downspout extensions
- Inspect for granule loss in gutters
- Trim any overhanging branches
- Apply moss/algae treatment if needed
After any major storm:
- Quick visual scan from ground level with binoculars
- Check attic if storm was severe
- Look for displaced or missing shingles
Fall:
- Clear leaves from gutters and roof surface
- Final check of all flashing and sealants before cold weather
This takes maybe 2–3 hours per season at most. Compare that to what I paid after ignoring my roof for two years — that $800 repair was a very expensive lesson.
| Season | Priority Check | Time Needed |
|---|---|---|
| Spring | Attic + Flashing | ~1 hour |
| Pre-Rain | Gutters + Branches | ~1.5 hours |
| Post-Storm | Visual Scan | ~20 minutes |
| Fall | Gutters + Sealant | ~1 hour |
For anyone just getting started with this kind of routine, these prevention tips for beginners are a solid place to build from.
Common Mistakes That Cost Homeowners Real Money
I’ve made some of these myself, and I’ve seen others make them too:
Waiting until you see a stain inside. By the time a water stain appears on your ceiling, water has already been working through insulation, wood, and drywall for a while. The interior damage is always worse than what’s visible.
Pressure washing shingles. I get it — it looks effective. But high pressure strips granules and forces water under overlapping shingles. Use low-pressure garden hose or chemical treatment only.
DIY patching without fixing the source. Slapping roofing cement over a visible crack is fine as a temporary measure, but if you don’t find why water is getting in, it’ll just find another path.
Ignoring one bad shingle because “the rest look fine.” Shingles work as a system. One cracked or missing shingle is an entry point. Fix it immediately — replacement shingles are cheap, water damage is not.
Not documenting your roof. After any professional inspection or repair, ask for a written report. If you ever sell your house, or file an insurance claim, that paper trail matters enormously.
Final Thoughts
Honestly, roof prevention is one of those things that sounds boring until you’ve been on the wrong side of a leak. Then it becomes something you genuinely care about.
The good news is that none of this requires being a handyman or spending a fortune. Most of it is just paying attention — to your attic, your gutters, your flashing, and the general condition of what’s sitting over your head every night.
Start with one thing this weekend. Go check your attic. Or grab binoculars and scan the flashing around your chimney. One small observation made early can save you hundreds — or thousands — down the road.
If you want to go deeper on the repair side of things, this article on smart roof leak fix guide prevention tips that actually work is worth your time — it pairs well with everything covered here.
About the Author