6 Powerful Roof Leak Fix Guide Fixing Hacks You Should Know
6 Powerful Roof Leak Fix Guide Fixing Hacks You Should Know
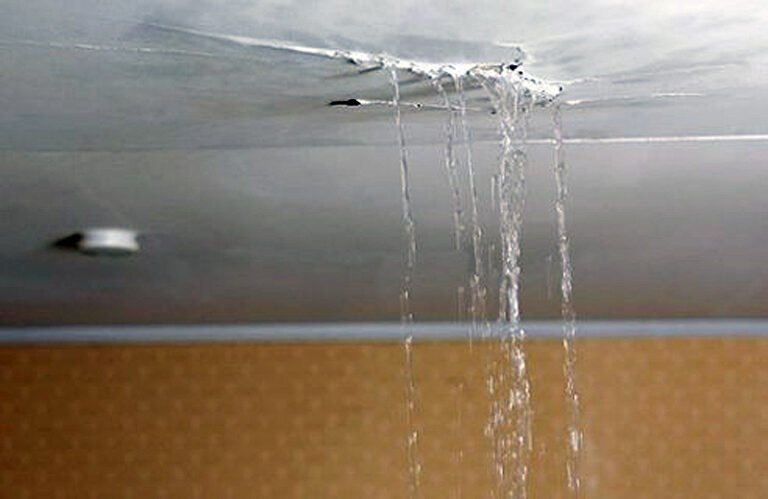
There’s a particular kind of frustration that comes with hearing the soft, persistent drip of water inside your home. It’s not just the sound—it’s what it represents. A roof leak doesn’t stay small for long. What begins as a tiny stain can quietly evolve into structural damage, mold growth, and expensive repairs. The good news is that not every leak demands immediate professional intervention. With the right understanding, a bit of patience, and some practical hacks, you can often control, reduce, or even fully fix the issue yourself.
This guide isn’t just a list of tips. It’s a practical walkthrough shaped by real-world experience, the kind of knowledge homeowners tend to gain the hard way. The goal here is to help you avoid that path and give you smart, effective solutions you can apply confidently.
hack one: tracing the leak beyond the obvious spot
One of the biggest mistakes people make is assuming that the leak appears directly below the source. In reality, water is sneaky. It travels along beams, insulation, and even wiring before finally dripping down where you notice it.
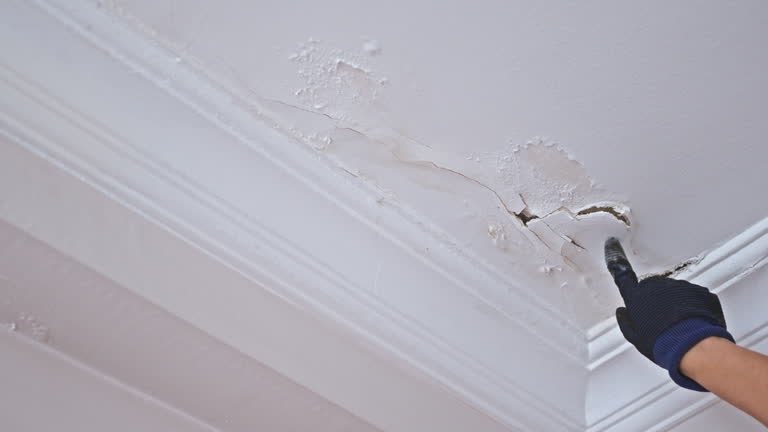
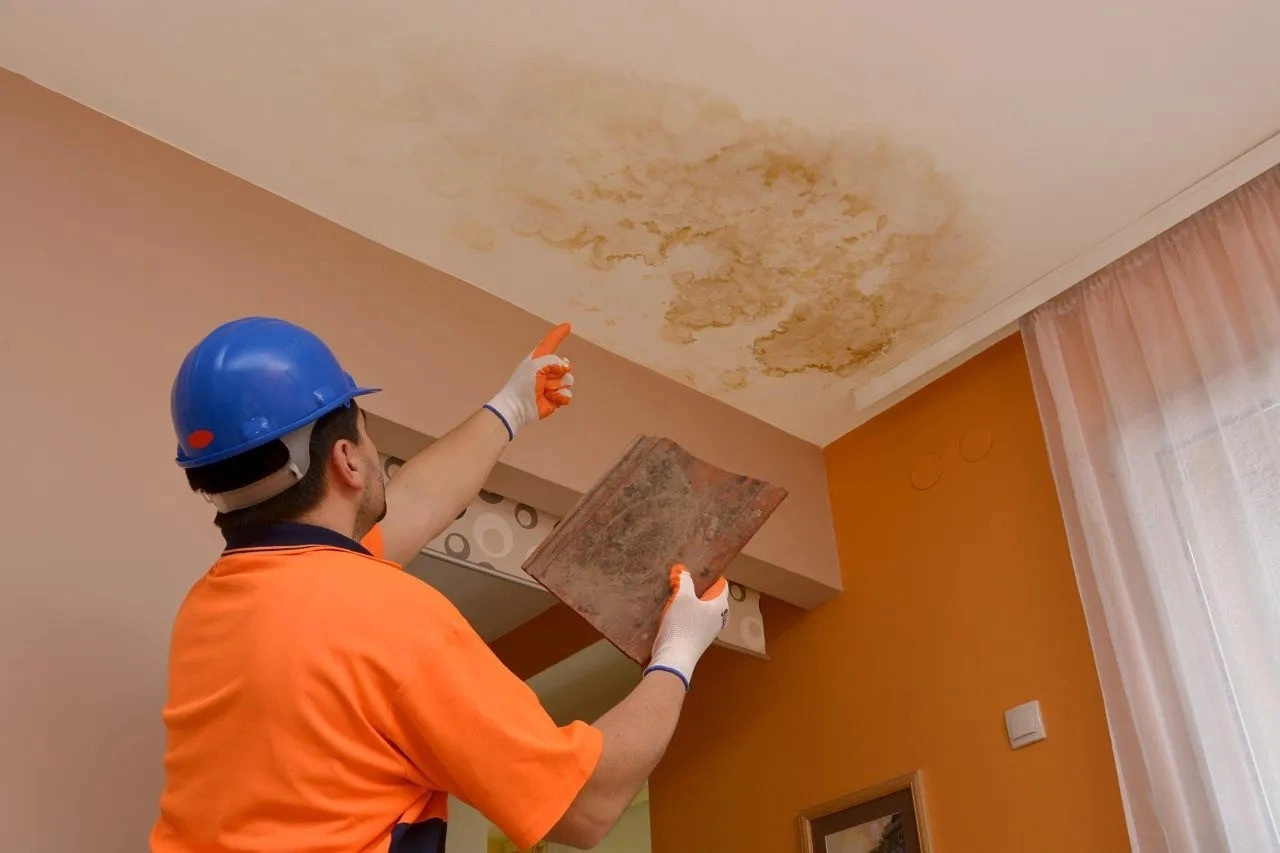
Start inside. Look for discoloration, bubbling paint, or damp patches. These signs usually form the “end point,” not the origin. Then move into the attic if possible. Use a flashlight and check for dark streaks, moldy smells, or wet insulation. Follow the trail upward.
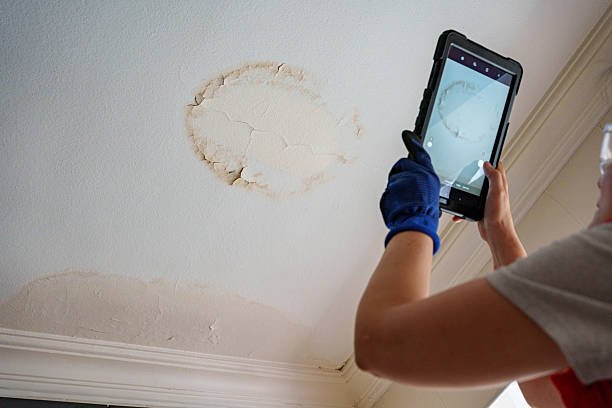
A helpful trick is to go outside during daylight and mark the area where you see damage inside. Then climb up (safely) and inspect a wider radius around that point. Check shingles, flashing, and any roof penetrations like vents or chimneys.
If you still can’t locate the leak, try the controlled water test. Have someone stay inside while you gently run water over sections of the roof using a hose. Move slowly, one section at a time. This method often reveals the exact entry point.
This hack is powerful because it prevents wasted effort. Fixing the wrong spot means the leak continues—and so does the damage.

hack two: temporary sealing that actually holds
Temporary fixes often get a bad reputation, mostly because they’re done poorly. But when applied correctly, a temporary seal can last surprisingly long, buying you time to plan a proper repair.
The key is preparation. You can’t just slap on sealant over a wet or dirty surface and expect results. First, dry the area as much as possible. If it’s actively raining, wait until conditions improve unless it’s an emergency.
Clean away debris, dust, and loose material. Then apply a high-quality roofing sealant or patch compound. Press it firmly into cracks or gaps, ensuring it spreads slightly beyond the damaged area.
For larger gaps, use a piece of roofing fabric or even a cut section of heavy-duty plastic. Apply sealant underneath and over the patch, creating a layered barrier.
Inside the house, you can use a bucket or container to catch dripping water, but also consider placing a plastic sheet above the ceiling (if accessible) to redirect water toward one controlled point. This reduces widespread damage.
This hack is about control. You’re not just reacting—you’re stabilizing the situation.
hack three: fixing damaged shingles without replacing the whole roof
A common misconception is that a roof problem requires large-scale work. In many cases, only a few shingles are the culprits.
Look for shingles that are cracked, curled, or missing entirely. These weak spots allow water to seep through. If a shingle is only slightly lifted, you can often reattach it with roofing adhesive.
For broken shingles, carefully lift the surrounding ones and remove the nails holding the damaged piece. Slide a new shingle into place and secure it with nails, then seal the nail heads with roofing cement.
If you don’t have matching shingles, use a temporary substitute and plan to replace it properly later. The goal is to close the gap immediately.
Pay special attention to the edges and valleys of the roof. These areas experience more water flow and are more prone to wear.
This hack saves money and effort. Instead of overreacting, you’re targeting the exact problem.
hack four: mastering flashing repairs
Flashing is one of the most overlooked components of a roof, yet it’s one of the most common sources of leaks. These thin metal strips are installed around chimneys, vents, skylights, and roof joints to direct water away.
Over time, flashing can loosen, corrode, or crack. Even a small gap can allow water to enter.
Inspect flashing carefully. Look for rust, gaps, or lifted edges. If the flashing is still in good shape but slightly loose, you can secure it with roofing nails and seal the edges with a waterproof compound.
For more serious damage, remove the old section and install a new piece. Make sure it overlaps correctly and sits snugly against the surface.
A useful trick is to apply a bead of sealant along all seams after installation. This adds an extra layer of protection.
Flashing repairs are powerful because they address one of the most vulnerable points of your roof. Fixing these areas often stops leaks instantly.
hack five: improving drainage to prevent future leaks
Sometimes the issue isn’t a hole or crack—it’s poor water flow. When water doesn’t drain properly, it pools on the roof, increasing the chances of seepage.
Check your gutters and downspouts. Are they clogged with leaves, dirt, or debris? If so, clean them thoroughly. Ensure water flows freely away from the house.
Look at the slope of your roof. Flat or low-slope roofs are more prone to pooling. In these cases, even small debris can create a dam, trapping water.
You can improve drainage by installing gutter guards, extending downspouts, or even adding a slight pitch to certain sections if you’re doing more advanced work.
Inside the attic, ensure proper ventilation. Poor airflow can lead to condensation, which mimics a roof leak and contributes to moisture problems.
This hack shifts your focus from fixing to preventing. A well-drained roof is far less likely to leak.
hack six: knowing when to reinforce instead of replace
Not every aging roof needs to be replaced immediately. In some cases, reinforcement can extend its life significantly.
Roof coatings are a great example. These liquid-applied layers create a waterproof membrane over the existing surface. They’re especially useful for flat roofs.
Another approach is adding an underlayment barrier in problem areas. This extra layer sits beneath the outer material, providing backup protection.
You can also reinforce weak spots with additional sealing, patching, or even installing secondary flashing.
The idea here is strategic improvement. Instead of waiting for failure, you’re strengthening the roof proactively.
understanding the warning signs you shouldn’t ignore
Even with these hacks, awareness is your best defense. Some signs indicate a problem that’s getting worse:
persistent damp smells in the attic
peeling paint or wallpaper indoors
visible mold growth
sagging sections of the ceiling
increased energy bills due to insulation damage
These signals mean the issue is no longer minor. At this stage, combining DIY efforts with professional inspection is often the safest approach.
tools that make a real difference
Having the right tools doesn’t just make the job easier—it makes it safer and more effective.
a sturdy ladder with proper support
non-slip shoes for roof work
a flashlight for attic inspections
roofing sealant and patch kits
replacement shingles
a hammer and roofing nails
a utility knife for precise cutting
You don’t need a full workshop, but a few reliable tools can transform a difficult task into a manageable one.
safety matters more than speed
It’s easy to rush when dealing with a leak, especially during rain. But roof work carries real risks.
Always work in dry conditions when possible. Use safety gear and never climb onto a roof that feels unstable. If the slope is too steep or the damage too extensive, stepping back and calling a professional is the smarter move.
Confidence is important, but so is knowing your limits.
the hidden cost of ignoring small leaks
Many homeowners delay repairs because the leak seems minor. This is one of the most expensive mistakes you can make.
Water damage spreads quietly. It weakens wood, ruins insulation, and creates an environment for mold. Over time, what could have been a simple fix turns into a major renovation.
Addressing leaks early isn’t just about convenience—it’s about protecting your home’s structure and value.
building a routine that prevents problems
The most effective hack isn’t a repair technique—it’s consistency.
Inspect your roof at least twice a year, ideally before and after the rainy season. Check for loose shingles, clogged gutters, and signs of wear.
After storms, do a quick visual check. Even if everything seems fine, small issues can develop under stress.
Keeping a simple maintenance routine reduces the likelihood of surprises.
common mistakes to avoid
using the wrong type of sealant
ignoring the root cause of the leak
walking on the roof without proper support
over-applying materials without proper cleaning
delaying repairs until damage spreads
Avoiding these mistakes is just as important as applying the right fixes.
bringing it all together
Roof leaks can feel overwhelming, but they don’t have to be. With the right approach, you can identify the problem, apply effective fixes, and prevent future issues.
The six hacks covered here aren’t just quick tips—they’re practical strategies that empower you to take control of the situation. Whether it’s tracing the leak accurately, applying a solid temporary seal, repairing shingles, fixing flashing, improving drainage, or reinforcing weak areas, each step plays a role in protecting your home.
The key is to act early, stay consistent, and approach the problem with a mix of caution and confidence.
frequently asked questions
- how do i know if my roof leak is serious
If the leak is persistent, spreading, or accompanied by mold, sagging, or strong odors, it’s likely serious. Small drips can quickly escalate, so it’s best to inspect and address them early. - can i fix a roof leak from inside the house
You can manage the effects from inside by catching water and reducing damage, but the actual fix usually requires addressing the source on the roof. - what is the best temporary fix for a roof leak
A properly applied roofing sealant combined with a patch (fabric or plastic) can serve as a strong temporary solution if the surface is clean and dry. - how long can a temporary repair last
If done correctly, a temporary fix can last weeks or even months, but it should not replace a permanent solution. - do i need to replace the whole roof if it leaks
Not necessarily. Many leaks are caused by localized damage, such as broken shingles or faulty flashing, which can be repaired without replacing the entire roof. - when should i call a professional
If the damage is extensive, the roof is steep or unsafe, or you’re unable to locate the source of the leak, it’s best to seek professional help.
A roof leak doesn’t have to turn into a disaster. With the right knowledge and a willingness to act, you can handle most issues before they grow into something much bigger.