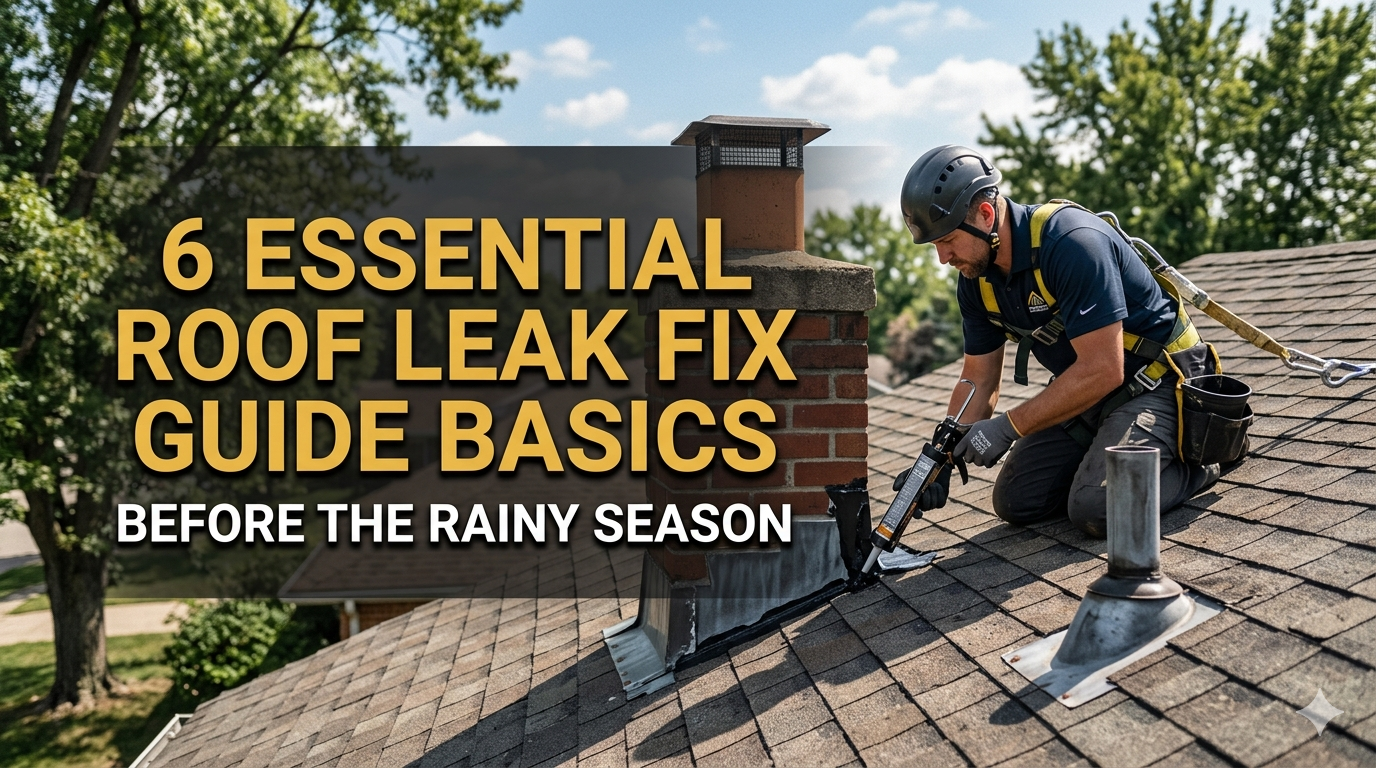
6 Essential Roof Leak Fix Guide Basics Before the Rainy Season
Meta Description: A roof leak fix guide with important basics every homeowner needs before the rainy season — how to spot damage, seal leaks and protect your home, quickly.
6 Basic Roof Leak Fix Guide Steps Before The Rainy Season
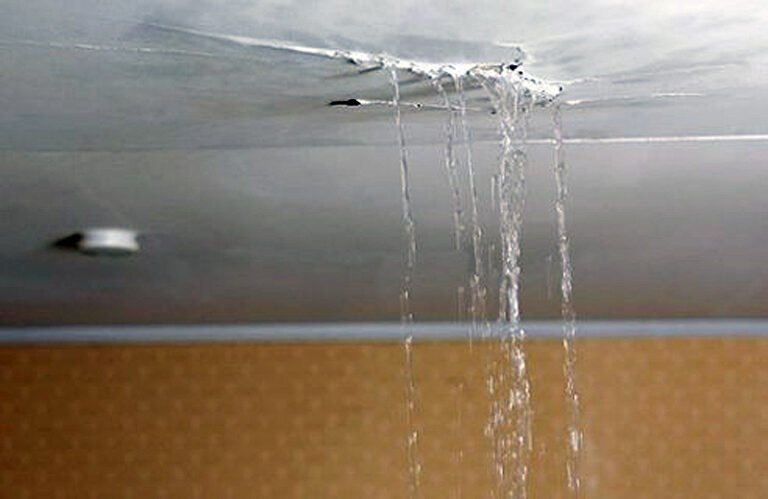
Rain is coming. Is your roof ready?
Most homeowners don’t think about their roof until water is dripping from the ceiling. By then it’s too late, the damage is done. A tiny leak can silently ruin insulation, rot wood, grow mold and cost thousands in repairs.
The good news? You don’t have to be a professional roofer in order to prepare your home. With the right tools and a little time, you can fix most minor roof leaks before the wet season begins.
This roof leak repair guide will take you through the six fundamentals every homeowner should be aware of. From identifying early warning signs to sealing problematic areas, this guide covers everything you need to know in order to stay dry when the storm comes rolling in.
The Case for Doing Something Before the Rainy Season
Waiting for it to rain to find a leak is like waiting until you’re sick to buy medicine. It’s too late.
Pre-season roof checks help you:
- Monitor small fissures before they become large gaps
- Save money in the long run by catching issues early
- Prevent emergency repair costs in storms
- Keep your home’s structure and air quality safe
Most residential leaks begin small, roofing experts say — a cracked shingle, a loose flashing, a clogged gutter. None of these are costly to correct early. When neglected, all of them become costly.
Basic 1: Know the Most Common Places Where Roofs Leak
Before you can stop a leak, you need to know where to find one. Leaks do not always begin where the water shows up in your home. Water travels. It can go in one side of the roof and come out on a totally different part inside.
The Top Trouble Spots on Any Roof
The following are the most frequent places for leaks:
| Leak Location | Why It Leaks |
|---|---|
| Around chimneys | Flashing wears out or gaps develop over time |
| Roof valleys | Water collects and flows heavily here |
| Around skylights | Seals dry and crack with age |
| Vent pipe boots | Rubber collars shrink and split |
| Flat or low-slope areas | Water pools rather than drains |
| Near gutters | Debris backs water up under shingles |
| Ridge caps | Exposed to harsh wind and sun |
How Water Flows Through Your Home
Water is sneaky. It takes the path of least resistance. A leak around your chimney could present as a damp patch on your living room ceiling 10 feet away.
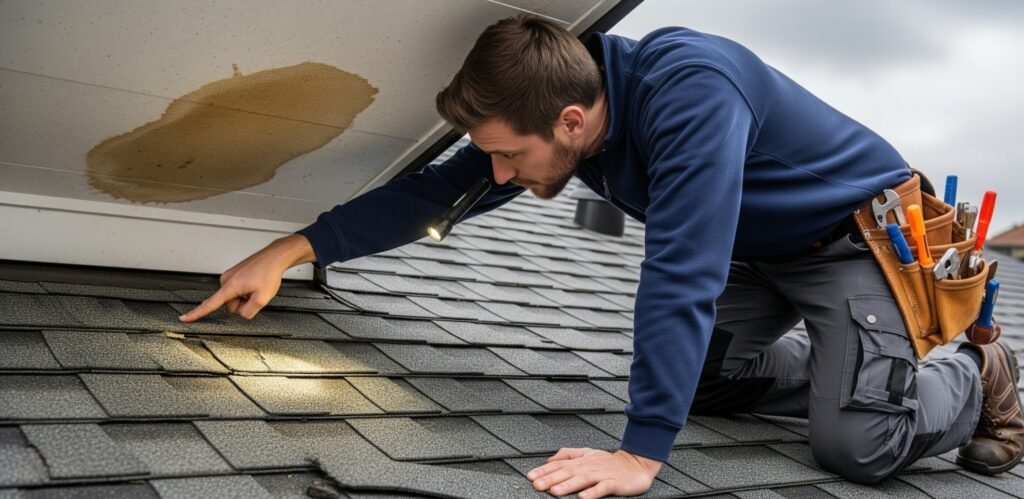
When you notice a stain on the inside, don’t presume that the leak is directly above it. Head up into the attic with a flashlight first. Check for wet insulation, water trails on rafters, or dark stains on the wood. Go back along the trail to where it starts — that is where the real trouble exists.
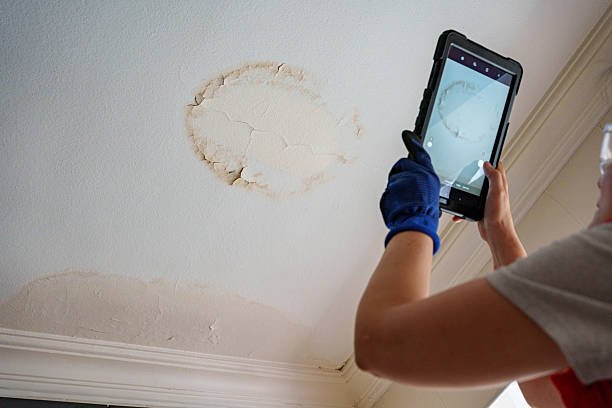
Basic 2: Perform a Comprehensive Roof Inspection Before the Rain Arrives
You can’t improve what you can’t see. Before any roof leak fix guide there must be a proper inspection. Do this at least once a year, and always before the rainy season.
Ground-Level Check First
Before you hike up anything, take a stroll around your home with binoculars. Look for:
- Missing or curling shingles — these expose the roof
- Dark or discolored spots — indicators of moisture or algae
- Sagging regions — a structural warning sign
- Visible cracks or holes
- Granule loss — look for gritty, sand-like material in your gutters
Granule loss is more important than most people realize. Granules in shingles absorb UV rays. As they wear away the shingle ages and becomes brittle.
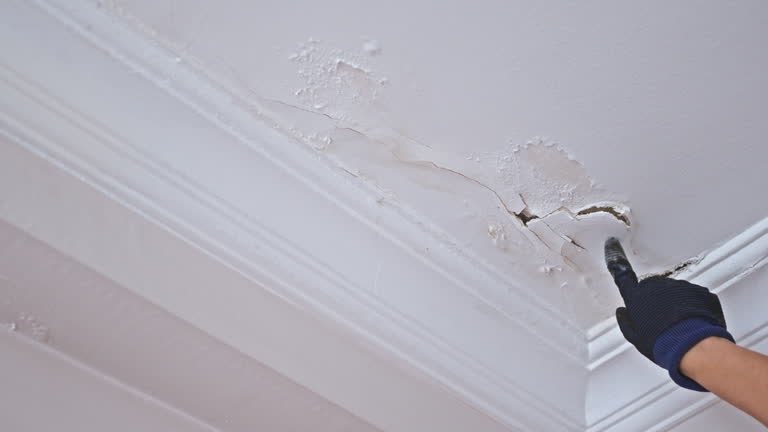
Attic Inspection: The Inside View
Your attic speaks before your ceiling does.
Grab a flashlight and look for:
- Sunlight streaming through the roof boards
- Damp or stained wood
- Wet or compressed insulation
- Mold or mildew smell
- Rust stains left by nails (evidence of moisture)
Do this on a sunny day. Light coming through roof boards is a clear indication of a gap or hole. Even tiny pinpricks of light tell you where water can get in.
When to Get On the Roof
If you don’t mind heights and your roof is low- to mid-pitched, a physical inspection is the next step. Always wear proper safety gear — non-slip shoes, a safety rope if required, and never go up on a wet or icy roof.
Once there, press down on shingles to check for soft or spongy areas. These indicate rotted wood underneath. Inspect everything around every pipe, chimney, skylight, and vent.
Basic 3: Immediately Repair Damaged Shingles
Shingles are the first line of defense for your roof. A cracked, curled, or missing shingle is essentially an open door for water.
How to Spot Problem Shingles
Curling edges — shingles curl due to age, heat, or poor ventilation. If they curl up, they cannot make a tight seal.
Cracked shingles — typically caused by temperature shifts or impact from debris.
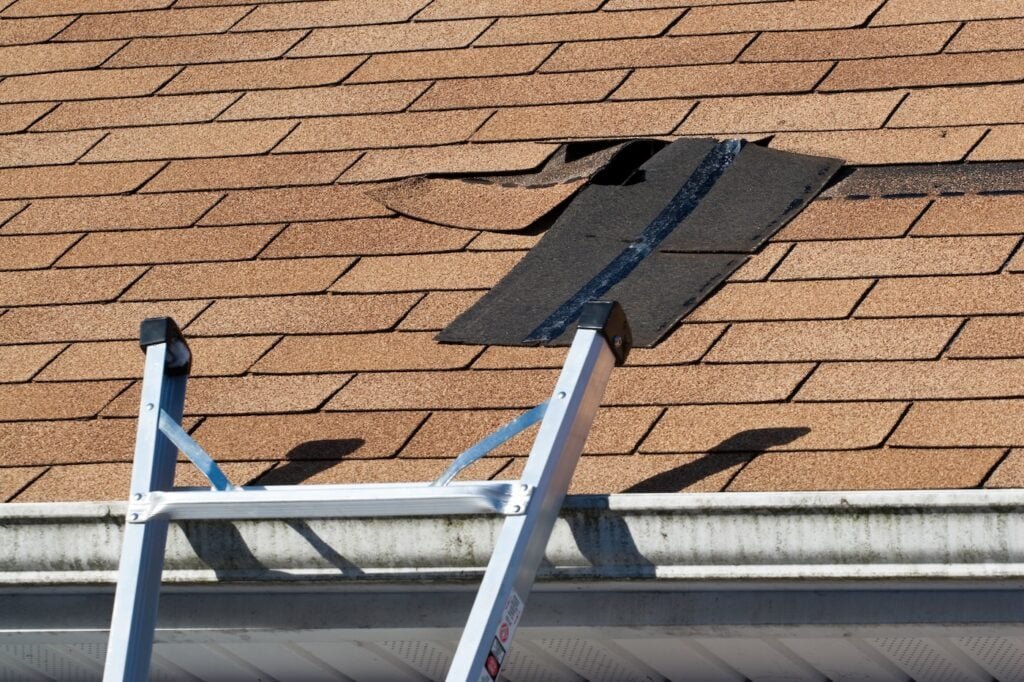
Missing shingles — ripped off by wind. These expose the underlayment or bare deck.
Blistering — bubbles on the shingle surface due to moisture getting trapped or poor ventilation. These can burst and create open spaces.
Step-by-Step: Replacing a Damaged Shingle
Replacing a shingle is one of the easiest roofing repairs to make.
What you’ll need:
- Replacement shingles (that match your current ones)
- Roofing nails
- Hammer or nail gun
- Flat pry bar
- Roofing cement or sealant
- Utility knife
Steps:
- Use the pry bar to lift up on the damaged shingle.
- Take out the nails that are keeping it in place.
- Slide out the old shingle.
- Slide the new shingle into place and align it with adjacent shingles.
- Nail it down — four nails, evenly spaced, roughly 1 inch from each edge.
- Push some roofing cement underneath the edges of the shingles above that overlap.
- Push down firmly and leave it to set.
When replacing shingles, always match as closely to type and color as possible. A mismatch does not affect function but can be visually obvious and potentially lower resale value.
Basic 4: Seal and Repair Roof Flashing
Flashing is the metal material installed around chimneys, vents, skylights, and roof joints. It diverts water away from susceptible regions. It’s also among the most common sources of roof leaks.
Why Flashing Fails
Flashing generally consists of aluminum, galvanized steel, or lead. Over time:
- It expands and shrinks as temperature changes
- Sealant around it dries up and cracks
- It can detach from surfaces
- Rust and corrosion weaken it
Any small gap between flashing and a chimney will allow water to push in during heavy rain.
How to Inspect Flashing
Look for:
- Gaps or separation from the surface
- Rust or corrosion
- Bent or warped sections
- Cracked, old caulk at the edges
Resealing Flashing: A Simple Fix
If the flashing is intact but the sealant has dried out, resealing it is a relatively simple process.
What you’ll need:
- Roofing caulk or flashing sealant (use a product formulated for exterior roofing)
- Caulking gun
- Wire brush or putty knife
- Clean cloth
Steps:
- Use a putty knife or wire brush to remove old caulk.
- Clean the area thoroughly — no dust, rust, or debris.
- Run a thick, uniform bead of new sealant along all joints and edges.
- Using a gloved finger or tool, push the sealant in firmly.
- Allow it to dry completely before testing or rain exposure.
If the flashing itself is bent, rusted through, or separating from the structure, it will require full replacement. This is a bit more involved and might require a professional if you’re not comfortable with metalwork.
Basic 5: Clean Gutters and Inspect Drainage
This one gets missed all the time — and it causes severe roof damage.
Gutters are designed to channel water away from your roof and foundation. Water backs up when they’re clogged with leaves, twigs, and debris. It sits at the eaves of your roof. It seeps under shingles. It rots the fascia boards. It causes ice dams in winter.
Cleaning your gutters ahead of the rainy season is one of the simplest and most effective things you can do.
Signs Your Gutters Could Be Damaging Your Roof
- Staining on exterior siding under the gutters
- Sagging or pulling-away gutters
- Water pooling near your foundation
- Roof moss or vegetation around the gutters
- Shingle granule buildup in gutters
How to Clean and Check Your Gutters
Cleaning:
- Use a ladder to safely reach the gutters.
- Clean out debris by hand or with a gutter scoop.
- Flush with a garden hose to test flow.
- Watch for standing water — it means there’s a low spot or clog farther down.
Checking for damage:
- Check for cracks, holes, or rust spots
- Ensure that gutters are secure to the fascia
- Ensure that downspouts direct water away from the foundation
If you get a lot of leaves in your gutters every year, gutter guards may be worth investing in. They require less upkeep and help maintain free-flowing water year-round.
The Ice Dam Problem
Clogged or poorly drained gutters in colder climates create ice dams. This is when the melting snow refreezes at the roof edge, forming a wall of ice. Water pools behind it, underneath the shingles and into the house.
The two best defenses against ice dams are keeping gutters clean and making sure your attic is well insulated. The U.S. Department of Energy recommends proper attic air sealing and insulation as key steps to preventing the heat loss that leads to ice dam formation.
Basic 6: Place Waterproofing Products on Susceptible Areas
Even after repairing visible damage, additional waterproofing in vulnerable areas is a good idea. It’s like putting a raincoat on the most exposed parts of your roof.
Areas That May Need Additional Waterproofing
| Roof Area | Recommended Product |
|---|---|
| Around chimneys and vents | Elastomeric flashing sealant |
| Flat or low-slope areas | Liquid rubber roof coating |
| Around skylights | Self-adhesive flashing tape |
| Roof valley joints | Ice and water shield membrane |
| Entire surface of roof (older roofs) | Reflective roof coating |
Different Kinds of Roofing Sealants and How They Work
Elastomeric sealants expand and contract with temperature changes. Excellent for movement-prone areas, such as around chimneys.
Liquid rubber coatings form a continuous, watertight membrane. Great for flat roofs where water can pool.
Self-adhesive flashing tape is the fastest, easiest choice — peel it off, stick it on and seal. Good for patching and quick repairs around skylights and penetrations.
Roofing cement is thick and durable. Useful for filling cracks, re-adhering lifted shingles, and small holes.
Step-by-Step: Applying Roof Coating on a Flat Roof
- Clean the entire surface — remove dirt, moss, and old peeling material.
- Let it dry completely.
- Apply a primer coat, if recommended by the product.
- Apply the liquid coating in even coats with a roller or brush.
- Let dry according to manufacturer instructions before applying a second coat.
- A second coat doubles the protection and prolongs the lifetime of the coating.
Always verify the weather forecast before applying any sealant or coating. It requires at least 24–48 hours of dry weather for most products to cure completely.
Roof Leak Fix Guide: Quick-Reference Summary
Here’s a simple recap of all that has been covered:
| Basic | Action | Difficulty Level |
|---|---|---|
| 1. Know where leaks are | Check chimney, valleys, vents, and gutters | Easy |
| 2. Roof inspection | Check ground, attic, and surface | Easy–Medium |
| 3. Repair shingles | Replace cracked, curled, or missing shingles | Medium |
| 4. Repair flashing | Reseal or replace metal flashing | Medium |
| 5. Clean gutters | Remove debris, ensure free drainage | Easy |
| 6. Waterproofing | Apply sealants and coatings | Easy–Medium |
When to Hire a Professional Roofer
Not every problem is a do-it-yourself job. Know your limits.
Call a professional when:
- You notice areas of widespread shingle damage over large sections
- There is obvious sagging or structural issues
- Water stains return after repairs
- Your roof is over 20 years old
- You are not comfortable working at heights
- There is damage to rafters, decking, or insulation
Having a professional check things out every few years is also simply good practice — particularly when you are buying or selling a home.
FAQs: Roof Leak Fix Guide
Q: How can I locate a roof leak without actually going on the roof? Begin in your attic with a flashlight. Check for daylight, damp wood, or water stains on rafters. Follow the trail from inside. On the outside, use binoculars from the ground and scan for damaged shingles or flashing at a safe distance.
Q: Am I able to repair a roof leak myself? Yes, for many household troubles — replacing a missing shingle, resealing flashing, cleaning gutters — DIY is totally doable. More complicated issues such as structural damage, widespread shingle loss, or significant flashing work are best left to professionals.
Q: What is the best sealant for a roof leak? It depends on the area. For general cracks and gaps, roofing cement or elastomeric caulk will work fine. For a flat roof, liquid rubber coating is the perfect solution. Self-adhesive flashing tape is quick and effective around skylights or vents.
Q: How long does a roof repair last? A well-repaired shingle or resealed flashing can last for years. Flat roofs with full roof coatings typically last anywhere from 5–10 years. The lifespan varies depending on the quality of materials used and your climate.
Q: How often should I examine my roof? At a minimum, check your roof twice a year — once in spring and again before the rainy or winter season. Also check after any severe storm with high winds or heavy rain.
Q: Why does my roof leak in very heavy rain but not light rain? This generally means the damage is small enough that a light amount of moisture evaporates before it can create a visible leak. Heavy rain eventually saturates the weak spot and forces water through. Search for small cracks, dried-out sealant, or micro-gaps in the flashing.
Q: Can you install new shingles over old ones? Some roofers permit one layer of new shingles over old, but it isn’t always advisable. It adds weight, can conceal existing problems, and most manufacturers recommend that old shingles be removed for a clean install.
In Conclusion: Don’t Wait Until the First Drop
Your roof does a lot of heavy lifting, day in and day out. It blocks rain, wind, heat, and cold. But it can only do its job if you do yours — and that means checking, maintaining, and repairing it before the storm season begins.
This roof leak fix guide offers six solid basics to work with. None of them require specialized skills. And all of them can save you from costly, stressful repairs later.
Start with a simple inspection this weekend. Check your gutters. Look at your flashing. Fix that one shingle you’ve been avoiding. These small efforts compound to create a roof that withstands the hardest rain.
When is the best time to repair a roof leak? Before it becomes one.