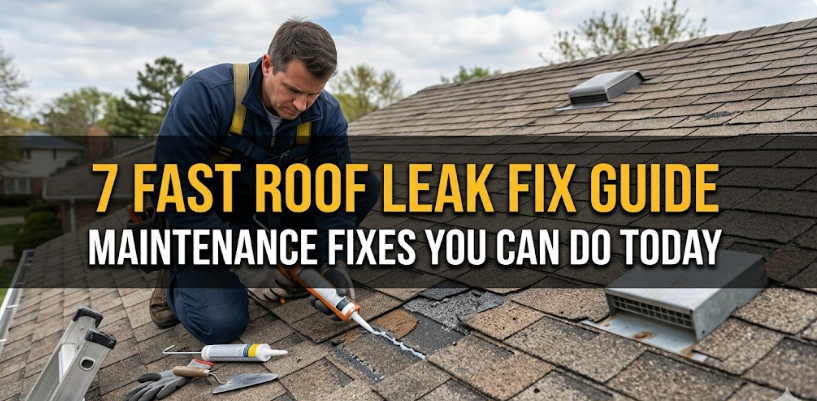
7 Fast Roof Leak Fix Guide Maintenance Fixes You Can Do Today
7 Fast Roof Leak Fix Guide Maintenance Fixes You Can Do Today
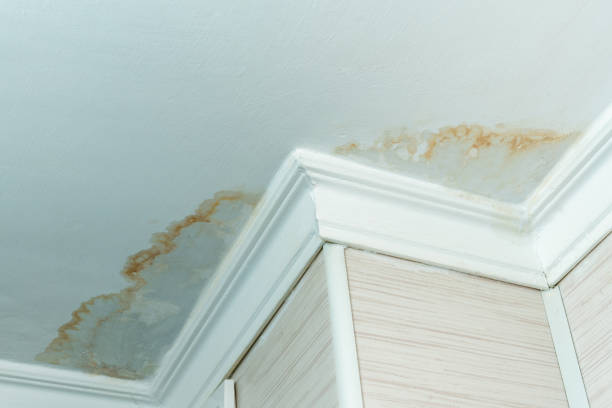
A roof leak rarely announces itself politely. It shows up as a faint stain, a peeling corner of paint, or a slow drip that becomes impossible to ignore during a storm. The instinct for many homeowners is to panic, delay, or call for expensive help immediately. But the truth is, not every leak needs a professional fix right away. Some of the most effective solutions are surprisingly simple, quick, and can be done with basic tools you may already have.
This guide is not just a list of fixes. It’s a practical, experience-driven walkthrough designed to help you think like a problem-solver. Each section explains not only what to do, but why it works, what to watch for, and how to avoid making things worse.
Let’s begin with the mindset: speed matters, but accuracy matters more. A rushed repair done in the wrong spot can waste time and money. A focused, simple fix in the right place can stop damage instantly.
—
finding the real source before fixing anything
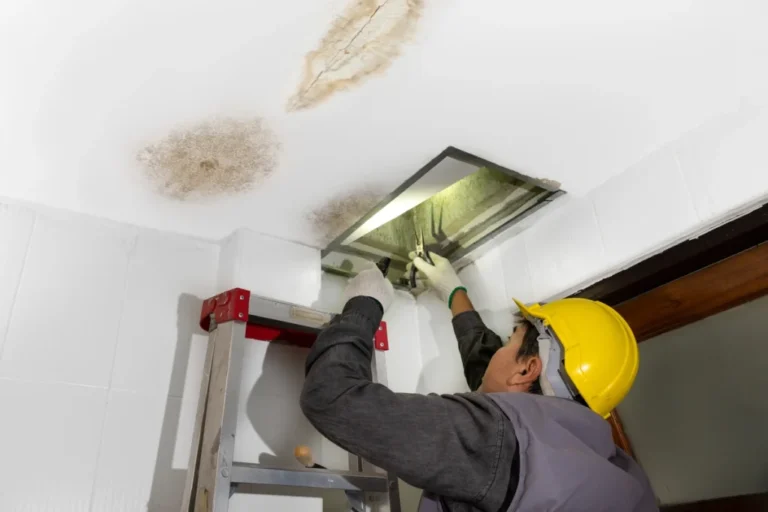
Before jumping into repairs, you need to locate the actual source of the leak. This sounds obvious, but water has a habit of traveling along beams, insulation, and roof layers before it finally drips down.
A stain on your ceiling might not be directly under the leak.
Here’s a quick way to track it:
• Look in the attic (if accessible) during daylight
• Turn off lights and look for sunlight peeking through
• Check for damp insulation or wood
• Follow water marks upward, not downward
If it’s raining, even better. You can sometimes see the exact drip point.
Think of this as detective work. Fixing the wrong spot is like patching the wrong tire—you’ll still have a problem afterward.
—
fix 1: sealing small cracks with roofing sealant
Small cracks are one of the most common causes of leaks. They often appear around vents, flashing, or old shingles.
What you need:
• Roofing sealant or roofing cement
• Caulking gun
• Gloves
Steps:
- Clean the area. Remove dirt, debris, or loose material.
- Apply the sealant directly over the crack.
- Smooth it out to ensure full coverage.
- Let it cure as instructed on the product label.
Why this works:
Roofing sealant creates a waterproof barrier that prevents water from entering through tiny openings. It’s flexible, so it expands and contracts with temperature changes.
Common mistake to avoid:
Applying sealant on a wet or dirty surface. It won’t stick properly and will fail quickly.
—
fix 2: replacing damaged or missing shingles
A missing or broken shingle is like a missing puzzle piece. It exposes the underlayer to rain and wind.
What you need:
• Replacement shingles
• Hammer
• Roofing nails
• Pry bar
Steps:
- Lift the surrounding shingles carefully.
- Remove nails from the damaged shingle.
- Slide in the new shingle.
- Nail it into place.
- Seal the edges with roofing cement.
Why this works:
Shingles act as the first line of defense. Replacing even one missing piece can stop water from reaching deeper layers.
Tip:
If you don’t have matching shingles, prioritize function over appearance for now. You can always replace it later for visual consistency.
—
fix 3: clearing clogged gutters and downspouts
Sometimes the problem isn’t the roof itself—it’s poor drainage.
When gutters are clogged, water backs up and seeps under the roof edges.
What you need:
• Gloves
• Ladder
• Bucket or scoop
• Hose
Steps:
- Remove leaves and debris from gutters.
- Flush with water to ensure proper flow.
- Check downspouts for blockages.
Why this works:
Proper drainage keeps water moving away from your roof instead of letting it pool and find weak spots.
Real-world insight:
Many “roof leaks” are actually gutter problems in disguise. Fixing this can solve the issue instantly.
—
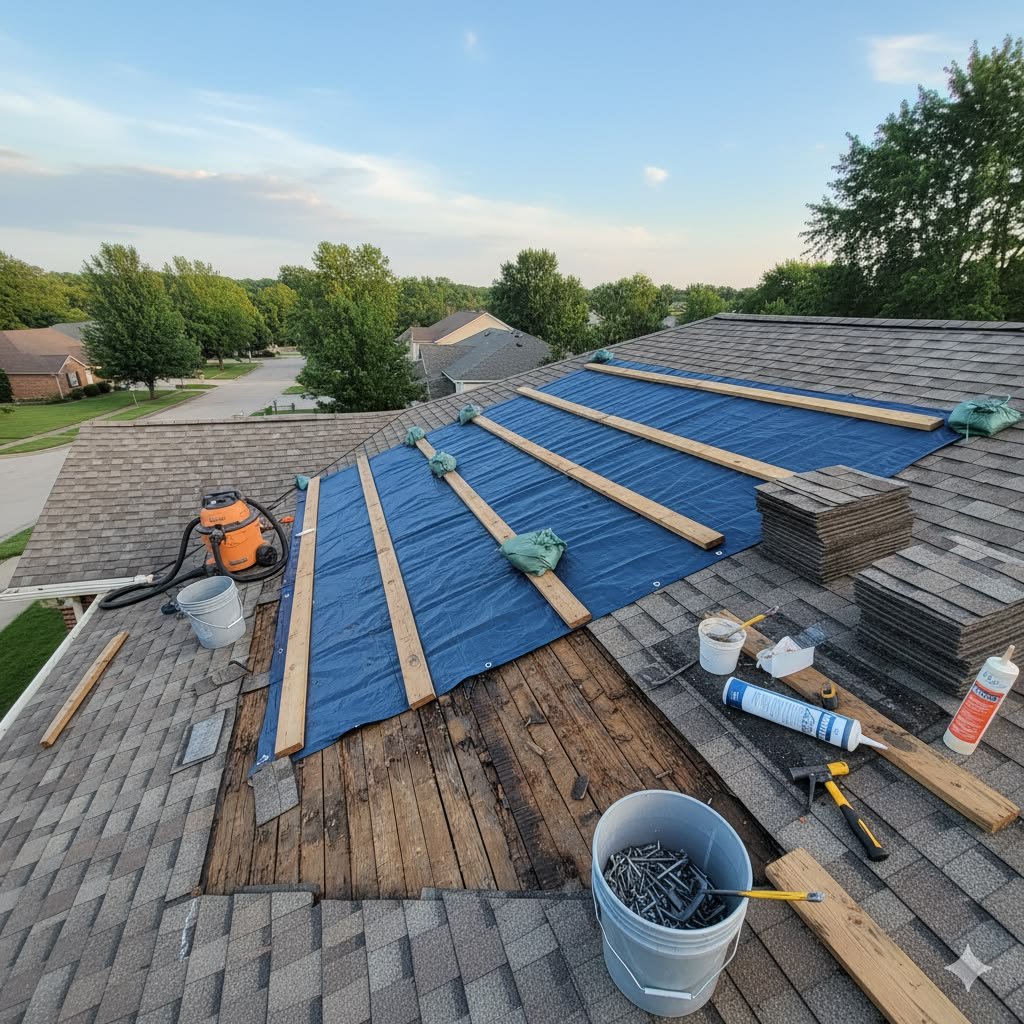
fix 4: temporary tarp covering for active leaks
If water is actively entering your home and you need an immediate solution, a tarp can save the day.
What you need:
• Waterproof tarp
• Nails or screws
• Wooden boards
Steps:
- Cover the affected area with the tarp.
- Extend it beyond the leak zone.
- Secure it tightly with boards and fasteners.
Why this works:
The tarp acts as a temporary shield, redirecting water away from the damaged area.
Important note:
This is not a permanent fix. It buys you time until you can perform a proper repair.
—
fix 5: repairing flashing around vents and chimneys
Flashing is the metal material installed around roof features like chimneys and vents. It’s a common weak point.
What you need:
• Roofing cement
• Replacement flashing (if needed)
• Sealant
Steps:
- Inspect flashing for cracks or gaps.
- Apply roofing cement to seal small issues.
- Replace severely damaged flashing sections.
Why this works:
Flashing prevents water from seeping into joints where different materials meet. When it fails, leaks are almost guaranteed.
Watch for:
Rust, lifting edges, or visible gaps.
—
fix 6: tightening or replacing loose fasteners
Over time, nails and screws can loosen due to weather changes. These tiny gaps can allow water in.
What you need:
• Screwdriver or drill
• Replacement screws
Steps:
- Inspect roof fixtures and panels.
- Tighten any loose fasteners.
- Replace missing or damaged ones.
Why this works:
Even small openings around fasteners can become entry points for water. Securing them restores the roof’s integrity.
—
fix 7: applying a waterproof roof patch
For slightly larger problem areas, a roof patch can provide a quick and durable fix.
What you need:
• Roof patch kit
• Putty knife
Steps:
- Clean and dry the area.
- Apply the patch material.
- Smooth it out evenly.
- Allow it to cure properly.
Why this works:
Roof patches are designed to bond with roofing materials and create a strong, waterproof layer.
—
a quick comparison of fixes
Fix Type | Time Required | Skill Level | Best For
Sealant | 15–30 mins | Easy | Small cracks
Shingle replacement | 30–60 mins | Moderate | Missing shingles
Gutter cleaning | 30–90 mins | Easy | Drainage issues
Tarp covering | 20–40 mins | Easy | Emergency leaks
Flashing repair | 45–90 mins | Moderate | Around vents/chimneys
Fastener tightening | 20–40 mins | Easy | Minor gaps
Roof patch | 30–60 mins | Moderate | Larger damaged spots
—
preventing future leaks
Fixing a leak is only half the story. Preventing the next one is where real savings happen.
Simple habits that make a difference:
• Inspect your roof every few months
• Clean gutters regularly
• Trim overhanging branches
• Check attic ventilation
• Address small issues early
Think of maintenance as insurance you don’t have to file a claim for.
—
when to call a professional
Not every problem can or should be handled alone.
Call a professional if:
• The leak is widespread
• Structural damage is visible
• You feel unsafe climbing the roof
• Repairs don’t hold after multiple attempts
There’s no shame in knowing your limits. A small mistake on a roof can turn into a big problem quickly.
—
a short reflection: why fast action matters
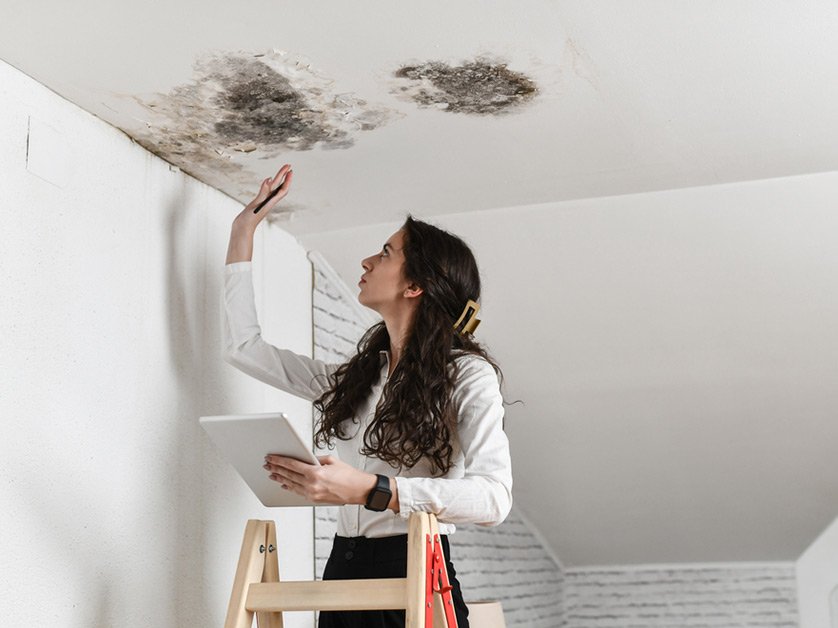
Water damage doesn’t wait. What starts as a drip can become mold, rot, and costly repairs in days or weeks.
Acting quickly isn’t just about saving money—it’s about protecting your home’s structure and your peace of mind.
Even a temporary fix is better than doing nothing.
—
frequently asked questions
- how do i know if my roof leak is serious?
If the leak spreads quickly, causes sagging, or appears in multiple areas, it may indicate structural damage. In such cases, professional inspection is recommended.
- can i fix a roof leak without going on the roof?
Yes, sometimes. You can place a tarp from inside the attic or contain water temporarily, but most effective repairs require access to the roof.
- how long do temporary fixes last?
Temporary fixes like tarps can last a few days to a few weeks, depending on weather conditions. They should be replaced with permanent solutions as soon as possible.
- is it safe to repair a roof during rain?
It’s not recommended. Wet surfaces are slippery and dangerous. If immediate action is needed, use a tarp and wait for safer conditions.
- what is the cheapest way to fix a roof leak?
Using roofing sealant or patch kits is usually the most affordable solution for minor leaks.
- how often should i inspect my roof?
At least twice a year, ideally before and after the rainy season, and after any major storm.
—
final thoughts
A leaking roof can feel overwhelming, but it doesn’t have to be. With the right approach, a calm mindset, and a few simple tools, you can handle many issues on your own.
Start small. Focus on accuracy. Fix what you can today.
Because sometimes, the difference between a minor repair and a major expense is just one quick action taken at the right time.