11 Powerful Roof Leak Fix Guide Maintenance Tips for Busy Homeowners
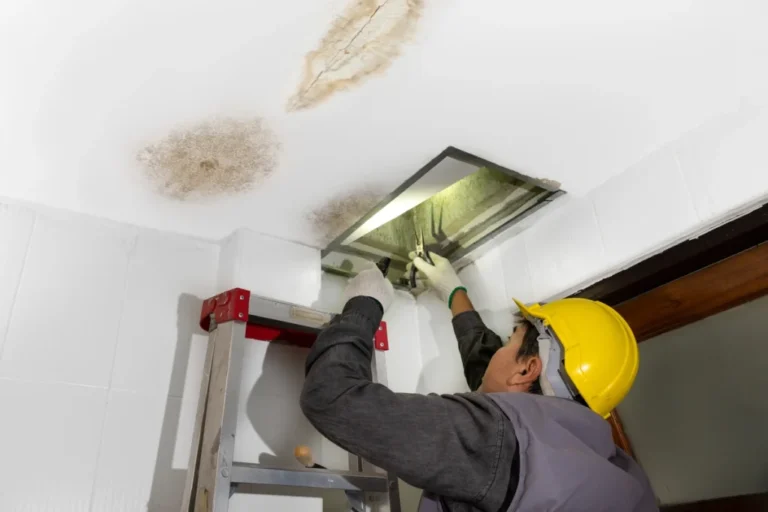
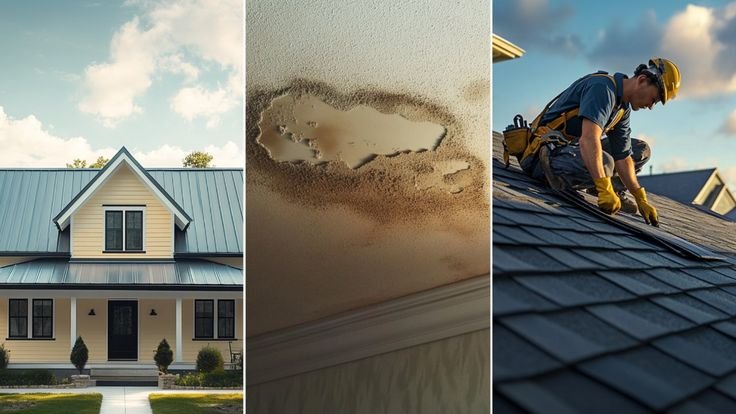
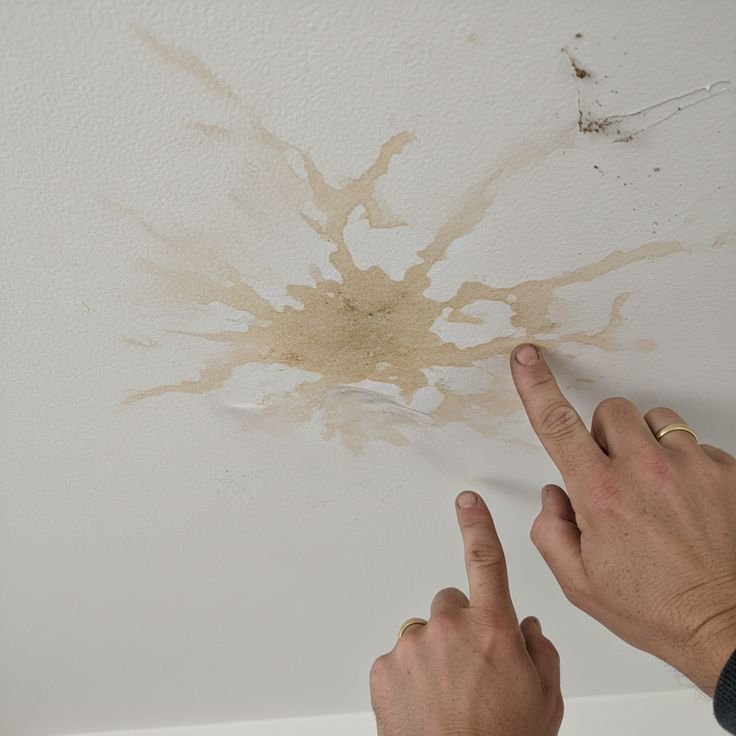
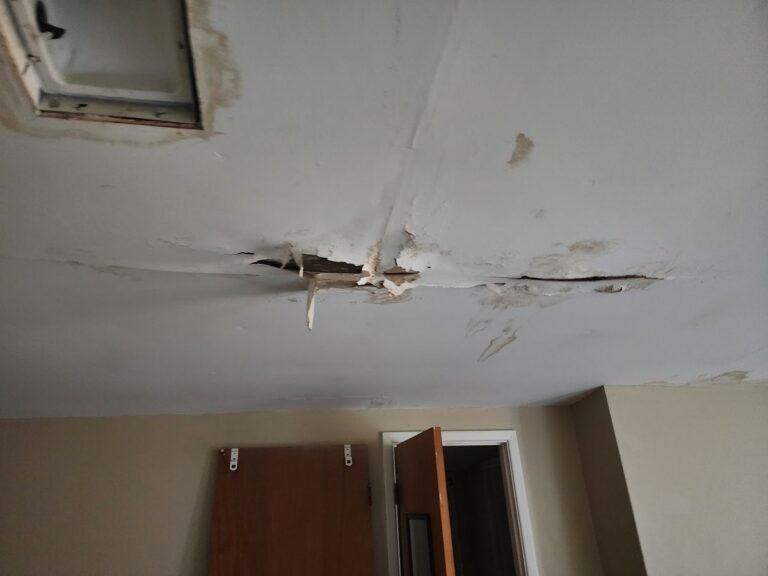
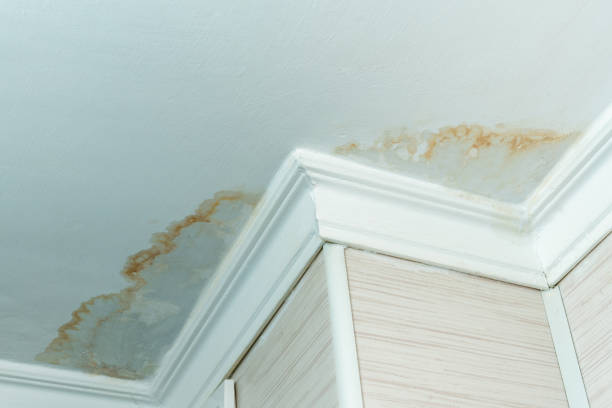
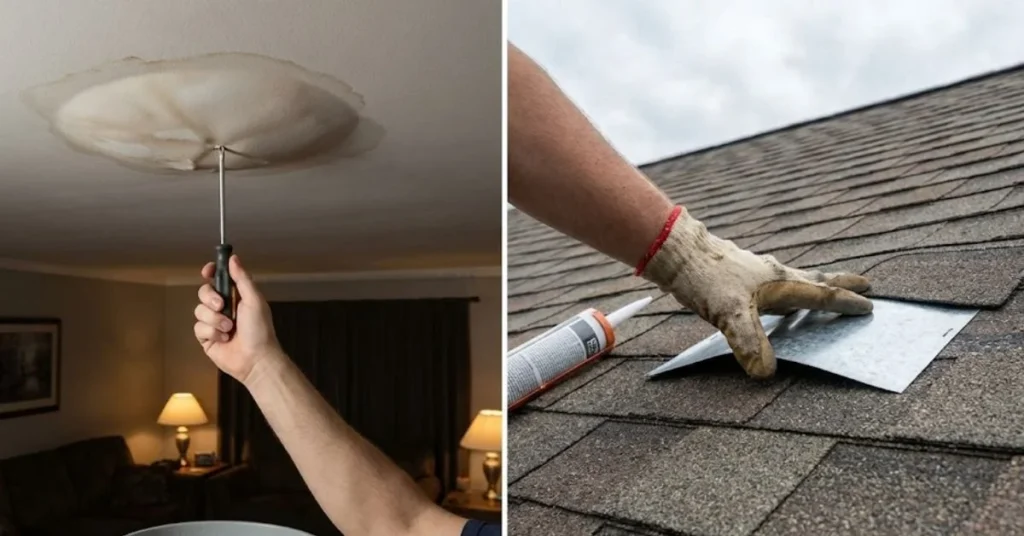
Last spring, I was in the middle of a work deadline when I noticed a brown stain spreading across my bedroom ceiling. Classic timing, right? I ignored it for two days — big mistake. By the time I actually got up there to look, a small crack around a flashing had turned into a soggy mess that cost me way more than it should have.
If you’re a busy homeowner like me, roof maintenance is one of those things that keeps getting pushed to “next weekend.” But roofs don’t wait for your schedule. They leak on Tuesday afternoons when you’re in back-to-back meetings, or worse, during a monsoon at midnight.
So after that painful experience — and a few hundred dollars in damage that could’ve been prevented — I put together everything I’ve learned about keeping a roof in shape without it consuming your entire life. These aren’t just generic tips. These are things I actually do, things that have saved me money, and a couple of hard lessons I picked up the difficult way.
1. Do a Visual Inspection Every 3 Months (Not Just After Storms)
Most people only think about their roof after a storm. That’s reactive thinking, and it costs you.
I started doing a quick visual scan from the ground every three months — literally just walking around the house with a cup of coffee, looking up. I use binoculars when I need a closer look. Takes about 10 minutes.
What I look for:
- Missing or curling shingles
- Dark streaks or algae growth
- Sagging sections anywhere on the roof
- Flashing that looks bent, lifted, or rusted
- Debris collecting in valleys
You don’t need to climb anything for this. Most early warning signs are visible from the ground if you know what you’re looking for.
2. Clean Your Gutters — Seriously, Don’t Skip This
I used to think clogged gutters were just an aesthetic problem. Wrong. Clogged gutters cause water to back up under shingles, rot your fascia boards, and create what’s called “ice damming” in colder climates — all of which lead directly to roof leaks.
I clean mine twice a year: once in late fall after the leaves drop, and once in early spring. I use a basic gutter scoop and a garden hose. The whole thing takes maybe 45 minutes for a standard-sized house.
If you’ve got a lot of trees overhead, you might need to do it three or four times. I actually installed mesh gutter guards on one side of my house where a big oak drops leaves constantly — they’re not perfect, but they cut my cleaning time in half.
Pro tip: While you’re up there cleaning, check that your gutters are sloping correctly toward the downspout. If water is pooling, it means the pitch is off and needs adjusting.
3. Inspect and Reseal Flashing Every Year
Flashing is the metal strips that seal the joints around chimneys, vents, skylights, and where your roof meets a wall. It’s also the #1 place where leaks actually start.
After my bedroom ceiling incident, a roofer friend told me that 90% of the leaks he fixes trace back to failed flashing — not the shingles themselves.
Every year before the rainy season, I go up and check every piece of flashing on my roof. I look for:
- Cracks or gaps in the sealant around edges
- Rust spots on metal flashing
- Any section that has lifted or pulled away
If I find cracked sealant, I clean the area and apply roofing caulk or roof cement. Brands like DAP and Henry’s work fine for DIY sealing. If I see lifted or bent flashing, I call a professional — that’s not a beginner fix.
4. Check the Attic — Most Leaks Show Up There First
Here’s something a lot of homeowners don’t know: a leak in your ceiling is usually NOT right below where the actual roof problem is. Water travels along rafters and sheeting before it drips down.
The attic is your early warning system.
I check my attic twice a year with a flashlight. I look for:
- Water stains on the wood
- Mold or mildew smell
- Daylight coming through (that means a hole)
- Insulation that looks wet or compressed
If you catch it in the attic stage, you can fix it before it damages your drywall, your insulation, or anything structural. At that point, repairs are still manageable and cheap.
5. Don’t Let Moss and Algae Sit on Your Roof
That black streaking on roofs isn’t just dirt — it’s usually algae. And the green fuzzy stuff? Moss. Both of these eat away at shingles over time and trap moisture against the surface, which accelerates deterioration and creates conditions for leaks.
I dealt with a pretty bad moss situation on my north-facing slope a few years back. Here’s what worked:
Step 1: Spray the affected area with a 50/50 mix of water and white vinegar, or use a commercial roof cleaner like Wet & Forget.
Step 2: Let it sit for 20-30 minutes, then rinse gently with a garden hose. Never use a pressure washer — it strips granules off shingles.
Step 3: After cleaning, install zinc or copper strips along the ridge. When it rains, trace amounts of metal wash down and naturally inhibit moss regrowth. This is a long-term solution that actually works.
For a deeper breakdown of how to tackle common roof issues step by step, this 7 Easy Roof Leak Fix Guide Basics Every Homeowner Should Know covers a lot of ground in plain language.
6. Trim Overhanging Tree Branches
This one sounds basic, but I overlooked it for years. Overhanging branches scratch and scrape shingles every time the wind blows. Fallen branches can punch right through. And branches that touch your roof create a highway for squirrels, raccoons, and other critters to access your attic.
My rule now: no branch should be within 6 feet of my roofline. I trim every spring. It’s one of those jobs I do myself with a pole saw, but for large branches over big sections of roof, I’ll hire a tree service. The risk of a branch falling wrong and causing damage isn’t worth the savings.
7. Look at Shingles After Every Major Storm
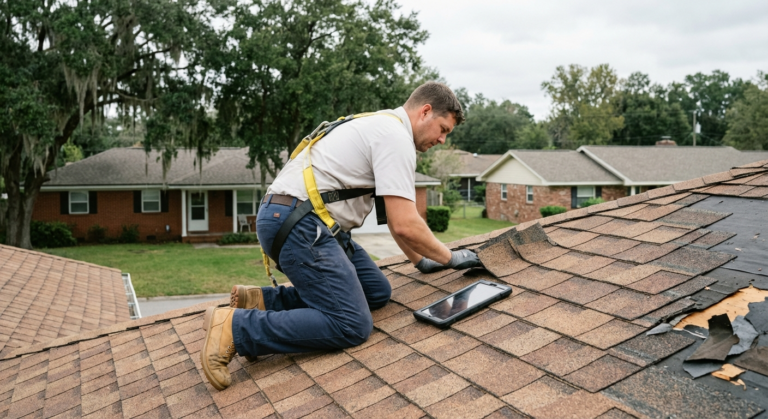
After any significant storm — heavy rain, hail, high winds — I do a post-storm walkthrough. This is one maintenance habit I learned the hard way after ignoring a storm and finding cracked shingles three weeks later when it rained again.
I check for:
- Shingles that are cracked, missing, or lifted at the corners
- Granules collecting in gutters or on the ground (a sign shingles are deteriorating)
- Dents from hail on metal vents or flashing
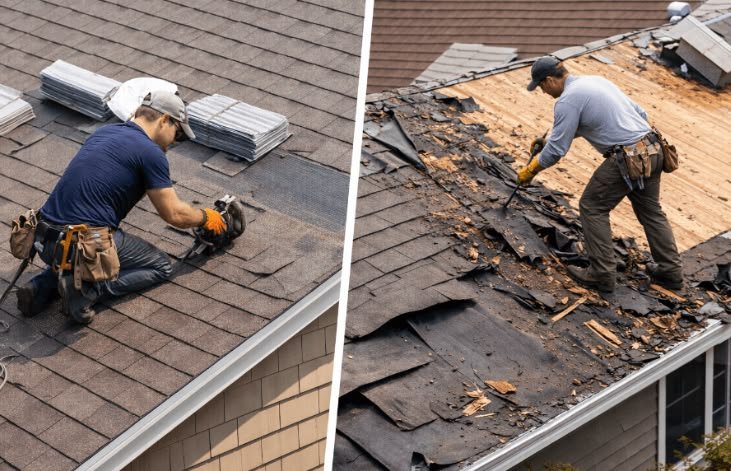
If I find one or two damaged shingles, I replace them myself. Roofing nails, a pry bar, and a matching shingle — it’s a straightforward fix. But if I see widespread damage across multiple sections, that’s an insurance claim situation.
Here’s a quick reference for storm damage assessment:
| Damage Type | DIY Fix? | Call a Pro? |
|---|---|---|
| 1–3 missing shingles | ✅ Yes | Optional |
| Cracked flashing | ✅ Sealant fix | If widespread |
| Hail dents on shingles | ❌ No | ✅ Yes (insurance) |
| Sagging roof section | ❌ No | ✅ Immediately |
| Lifted ridge cap | ✅ With care | If unsure |
8. Keep Your Roof Drains and Valleys Clear
Roof valleys — those V-shaped channels where two roof planes meet — are designed to direct water off your roof efficiently. When they clog with leaves, twigs, or debris, water backs up and finds its way under shingles.
Every fall and spring, I clear out my roof valleys. I use a soft-bristle brush and do it carefully — you don’t want to dislodge or crack anything while you’re up there.
If you have a flat section of roof or a roof drain (common on low-slope sections), check that drain regularly. A blocked roof drain on a flat section can hold standing water that will leak through any small imperfection within days.
For a full breakdown of pre-season roof prep, this 6 Essential Roof Leak Fix Guide Basics Before the Rainy Season article walks through what to check before the rain hits.
9. Reapply Roof Sealant on Vulnerable Spots Every 2–3 Years
This is one that a lot of DIY guides skip over, but it’s made a big difference for me.
Around every penetration point on my roof — vents, pipes, chimneys, satellite dish mounts — I apply a fresh layer of roofing sealant every two to three years. Sealants dry out, crack, and shrink over time. The sun bakes them. Expansion and contraction from temperature changes pulls them away from edges.
I use a product called Lexel for most flexible joints (it stays rubbery and adheres well) and Henry’s Elastomeric Roof Coating for flat sections.
Steps I follow:
- Clean the area with a wire brush to remove loose old sealant and debris
- Dry it thoroughly — never apply sealant to a wet surface
- Apply the new sealant generously, feathering the edges
- Smooth with a putty knife for a clean, watertight seal
- Let it cure fully before any rain (check product instructions)
Takes about an hour for a whole roof’s worth of sealing points. Way cheaper than a repair call.
10. Know When to Call a Professional (And Don’t Wait)
I’m a DIY person by nature, but I’ve learned to recognize my limits. Some roof problems look small but aren’t.
Signs I call a professional immediately:
- Any sagging or depression in the roofline
- Leaks I can’t pinpoint after checking flashing and shingles
- Water stains that reappear after I thought I fixed the problem
- Anything involving structural wood that looks soft, rotted, or compromised
- Full roof inspections — I get one done by a licensed roofer every 5 years
A professional inspection typically costs between $100 and $300. That’s cheap compared to the $5,000–$15,000 range for major structural repairs that happen when small problems go unnoticed for years.
Also — if your roof is over 20 years old and showing widespread wear, start budgeting for replacement. No amount of patching will hold forever.
11. Document Everything for Insurance Purposes
This is the maintenance tip nobody talks about, and it’s saved me real money.
Every time I do an inspection, I take photos. I keep them in a Google Photos album labeled by date. When I make a repair, I photograph before and after.
Why? Because when I filed a claim after that hail storm two years ago, my insurance adjuster asked for maintenance records. I could show them exactly what my roof looked like before and after the storm. My claim went through faster, and they didn’t try to deny it by claiming pre-existing damage.
A simple documentation habit takes five extra minutes per inspection. Do it.
What to document:
- Date of inspection
- Photos of all roof sections, gutters, and flashing
- Any repairs made, with before/after photos
- Products used and approximate cost
- Name of any contractors hired with receipts
Common Mistakes Busy Homeowners Make (That I Made Too)
Since I’ve been through most of these myself, here’s a quick rundown of what NOT to do:
Waiting until there’s a visible ceiling stain — by then, the damage has been spreading for weeks. Internal damage is always worse than the surface stain suggests.
Using the wrong sealant — not all caulks are roofing-grade. Standard silicone caulk shrinks and fails quickly in outdoor conditions. Use products rated for roofing applications.
Pressure washing shingles — I see this recommended online constantly and it’s terrible advice. High-pressure water blasts granules off asphalt shingles, dramatically shortening their life. Low pressure or no pressure only.
Ignoring one bad shingle “because it’s just one” — one damaged shingle is a pathway for water to get under the adjacent ones. It doesn’t stay “just one” for long.
DIYing things above your skill level — structural repairs, major flashing replacement, or anything involving roof decking should go to a professional. Falls are the #1 cause of serious home-improvement injuries.
For anyone just getting started with roof repair, this 3 Quick Roof Leak Fix Guide Basics I Learned After My First Leak is a solid starting point with genuinely useful beginner-level guidance.
The Realistic Maintenance Schedule (For Actually Busy People)
| Timeframe | Task |
|---|---|
| Every 3 months | Ground-level visual inspection |
| Every spring | Gutter cleaning, valley clearing, moss treatment |
| Every fall | Gutter cleaning, flashing check, attic inspection |
| After every major storm | Post-storm shingle and flashing walkthrough |
| Every 2–3 years | Reseal all penetration points |
| Every 5 years | Professional inspection |
| Ongoing | Photo documentation after every inspection |
Final Thoughts
Roof maintenance isn’t glamorous, and I’m not going to pretend it’s something most people look forward to. But the reality is, it’s one of the highest-value things you can do as a homeowner. Small problems stay small when you catch them early. Big problems get catastrophically expensive when you don’t.
None of these tips require you to be a professional or spend a whole weekend on the roof. Most of them take under an hour, a couple of times a year. Build it into your calendar like an oil change. Set a reminder. Do the walkthrough even when nothing looks wrong.
Your future self — the one who doesn’t have a water stain spreading across the bedroom ceiling during a work deadline — will thank you.
Also worth reading: 9 Powerful Roof Leak Fix Guide Repair Tips for Heavy Rain — especially useful if you’re heading into a wet season and want to know exactly what to check and fix before the rains hit hard.
About the Author