
11 Ultimate Roof Leak Fix Guide Repair Tips That Actually Work
11 ultimate roof leak fix guide repair tips that actually work
A leaking roof rarely announces itself politely. It tends to arrive during the worst possible moment—heavy rain, a quiet night, or just when you thought your home was finally in perfect condition. A small stain appears on the ceiling, a drip forms, and suddenly you’re dealing with more than just water. There’s stress, potential damage, and a race against time.
What most people don’t realize is that roof leaks are often fixable without panic or massive expense—if approached correctly. This guide is not just a list of tips. It’s a grounded, experience-shaped walkthrough that blends practical repair advice, real-world thinking, and small details that make a big difference.
Below are eleven repair tips that actually work—not because they sound good, but because they hold up when tested in real situations.
understanding where leaks really come from
Before fixing anything, it helps to understand a simple truth: water rarely leaks straight down from where the problem is. It travels. It creeps along beams, insulation, and layers before finally dripping into your living space.
This means the visible leak is often just the final exit point.
A good habit is to trace the path backward. If you see a stain on your ceiling, go into the attic (if accessible) and look for damp wood, mold patches, or light seeping through. Follow the trail upward. The real issue might be a few feet away—or even more.
This mindset alone saves time, money, and frustration.
tip 1: start with a temporary fix before anything else
When water is actively dripping, the first goal is not perfection—it’s control.
Use a tarp, plastic sheet, or even a thick garbage bag to cover the suspected leak area from the outside. Secure it with wood strips or heavy objects if needed. Inside, place a bucket to collect water and protect flooring.
This step buys you time.
Many people rush into permanent repairs during a storm, which can be dangerous and ineffective. A temporary fix stabilizes the situation so you can work calmly later.
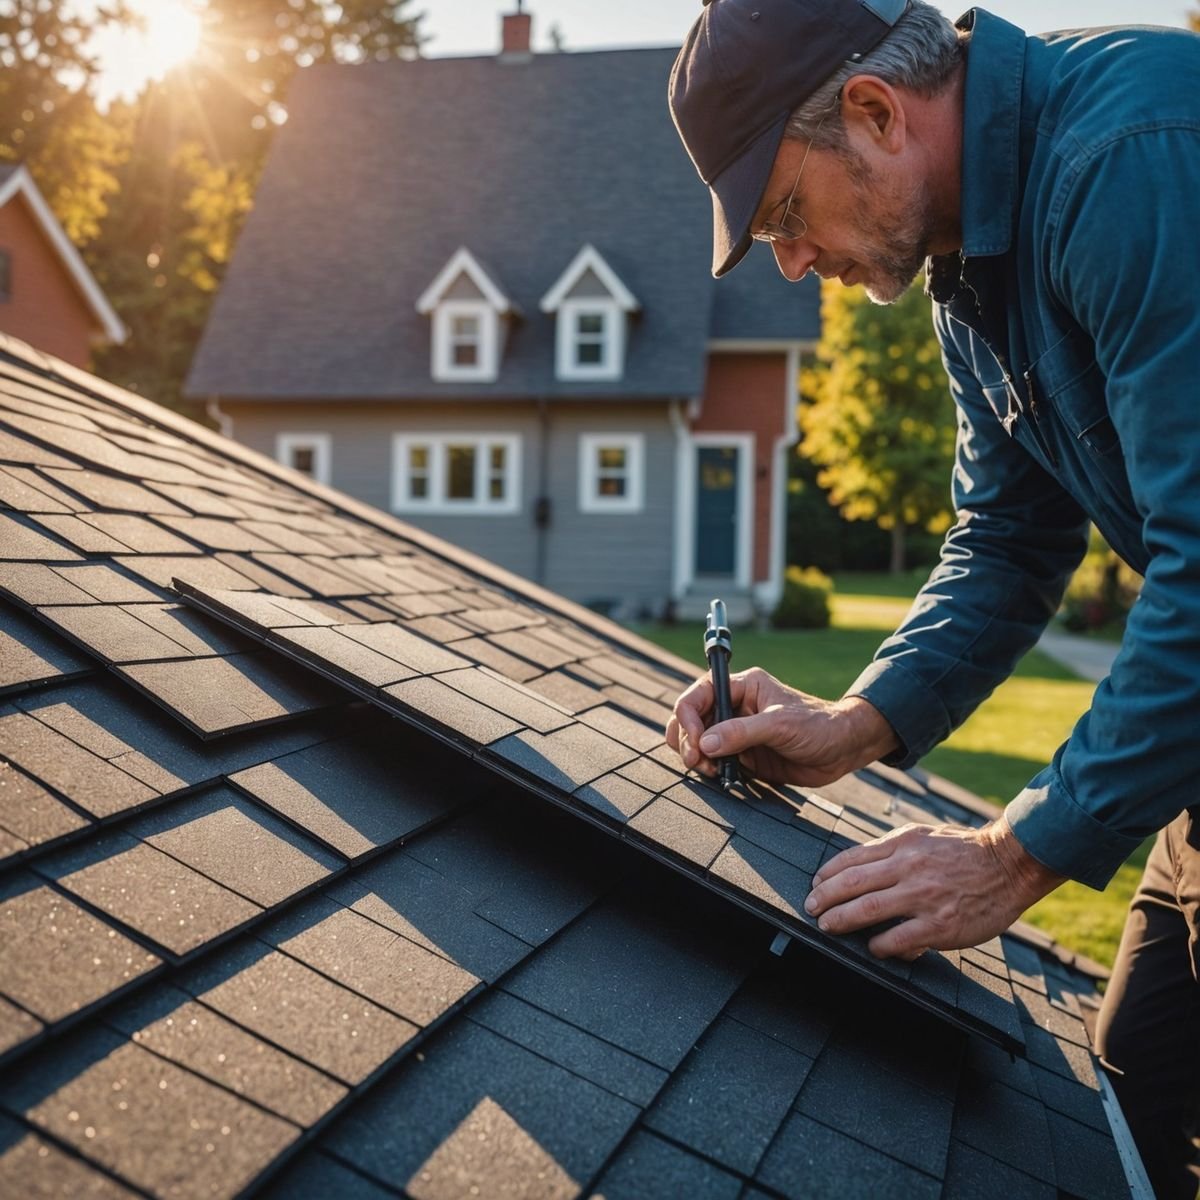
tip 2: inspect shingles with patience, not assumptions
Shingles are often blamed first—and for good reason—but not all damage is obvious.
Look for:
- cracked or curled edges
- missing granules (bald spots)
- lifted or loose shingles
Run your hand gently across them. Sometimes the issue isn’t visible, but you’ll feel it.
A single damaged shingle can allow water in, especially during wind-driven rain. Replacing just that section can solve the problem without touching the rest of the roof.
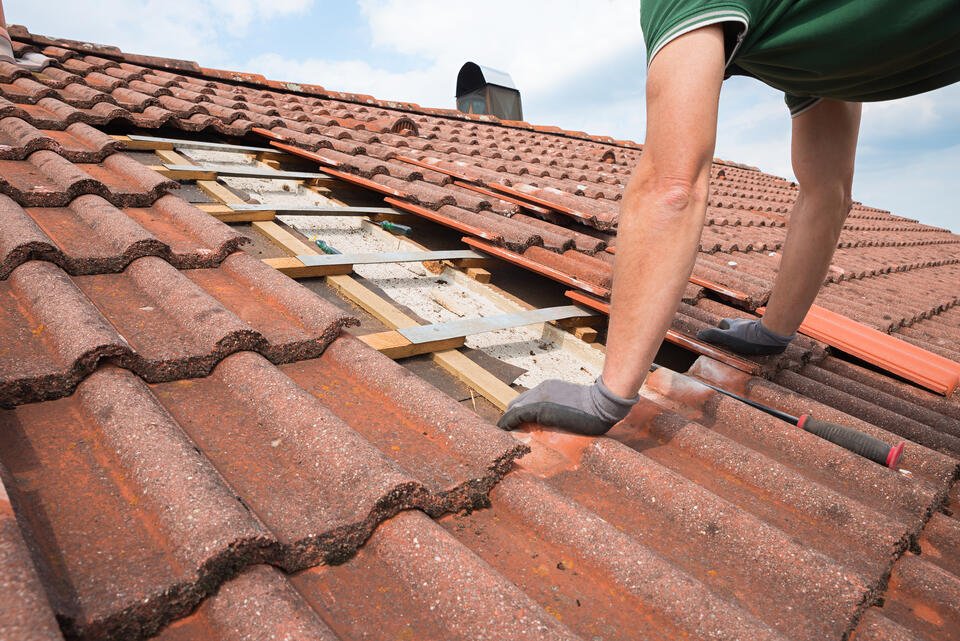
tip 3: replace damaged shingles the right way
This is where many DIY repairs fail—not because the idea is wrong, but because the method is rushed.
To replace a shingle properly:
- lift the surrounding shingles carefully
- remove nails without damaging adjacent pieces
- slide the new shingle into place
- secure it with roofing nails
- seal edges with roofing cement
Take your time aligning it. A poorly aligned shingle may fix the leak temporarily but create new problems later.
tip 4: don’t ignore flashing—it’s often the real culprit
Flashing is the thin metal installed around chimneys, vents, skylights, and roof joints. It’s designed to redirect water, but when it fails, leaks become inevitable.
Check for:
- rust or corrosion
- gaps or separation
- loose sections
If flashing is slightly lifted, reseal it with roofing cement. If it’s heavily damaged, replace it.
Many homeowners spend hours fixing shingles while the actual leak is coming from poorly sealed flashing just a few inches away.
tip 5: seal small cracks before they grow
Not every leak starts as a major issue. Sometimes it’s a tiny crack in a vent boot or sealant line.
Use roofing sealant or silicone caulk to fill:
- nail holes
- hairline cracks
- small gaps around fixtures
Think of this as preventative repair. A few minutes of sealing can prevent weeks of damage later.
tip 6: clean your gutters—yes, it matters more than you think
Clogged gutters don’t just look messy—they force water to back up onto your roof. That standing water eventually finds its way under shingles.
Make it a habit to:
- remove leaves and debris
- check downspouts for blockages
- ensure water flows freely
A clean drainage system reduces pressure on your roof and significantly lowers the risk of leaks.
tip 7: check roof valleys carefully
Roof valleys—the areas where two slopes meet—are natural water channels. They handle large volumes of runoff, which makes them vulnerable.
Look for:
- worn shingles
- debris buildup
- damaged underlayment
Even a small obstruction can redirect water under shingles instead of down the roof.
Clearing and reinforcing valleys is often one of the most effective leak prevention strategies.
tip 8: use roofing cement wisely, not excessively
Roofing cement is helpful, but it’s not a cure-all. Overusing it can trap moisture or create uneven surfaces.
Apply it:
- under loose shingles
- along flashing edges
- in small, targeted areas
Avoid spreading it randomly across large sections. Precision works better than excess.
tip 9: inspect attic ventilation and insulation
This might seem unrelated, but poor ventilation can lead to condensation buildup, which mimics a roof leak.
Signs include:
- damp insulation
- mold growth
- musty odors
Proper airflow prevents moisture from accumulating inside your roof structure. Sometimes what appears to be a leak is actually trapped humidity.
tip 10: test repairs with controlled water flow
After fixing a suspected leak, don’t wait for rain to test your work.
Use a garden hose:
- start at the lowest part of the roof
- gradually move upward
- have someone inside monitor for leaks
This controlled approach helps confirm whether the repair worked—and if not, where to look next.
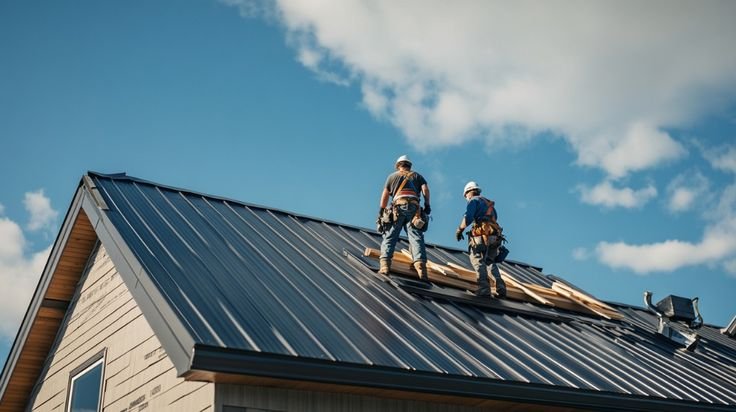
tip 11: know when to stop and call a professional
There’s a point where DIY turns into risk. If your roof is steep, heavily damaged, or the leak source remains unclear after inspection, it’s wiser to involve a professional.
This isn’t failure—it’s strategy.
Professionals have tools and experience that can identify hidden issues quickly. Sometimes spending a little saves a lot.
a practical repair checklist you can follow
Instead of guessing each time, use this quick sequence:
- contain the leak temporarily
- locate the true source
- inspect shingles and flashing
- repair or replace damaged parts
- seal minor cracks
- clean gutters and valleys
- test the repair
Having a repeatable process keeps you focused and prevents missed steps.
real-world lesson: small leaks become big problems
There’s a common pattern in many homes. A tiny ceiling stain is ignored for weeks. Then months. Eventually, the paint bubbles, the drywall softens, and mold begins to form.
By the time action is taken, the repair involves not just the roof—but also ceilings, insulation, and sometimes electrical wiring.
The lesson is simple: early action is always cheaper, easier, and less stressful.
materials that make repairs easier
Keeping a few basic materials on hand can make a huge difference:
- roofing nails
- spare shingles
- roofing cement
- sealant or caulk
- a sturdy ladder
- safety gloves
You don’t need a full toolkit—just the essentials ready when needed.
the mindset that makes repairs successful
More than tools or techniques, mindset plays a big role.
Successful repairs come from:
- patience
- observation
- willingness to double-check
Rushing leads to missed details. And in roofing, small details matter more than anything.
Instead of thinking “fix it fast,” think “fix it right.”
common mistakes to avoid
Even experienced DIYers slip into these traps:
- fixing the wrong spot
- ignoring flashing issues
- overusing sealants
- skipping safety precautions
- assuming one fix solves everything
Being aware of these mistakes puts you ahead of most people already.
when weather plays a role
Weather conditions affect repairs more than expected.
Avoid working:
- during rain or strong winds
- on extremely hot surfaces
- when the roof is slippery
Dry, mild conditions are ideal. Not just for comfort, but for safety and effectiveness.
long-term prevention tips
Fixing a leak is one thing. Preventing the next one is another.
Consider:
- annual roof inspections
- seasonal gutter cleaning
- trimming overhanging branches
- checking seals around vents and chimneys
These habits reduce the chances of future leaks significantly.
a final thought on confidence
Roof repairs can feel intimidating, especially if it’s your first time. But most leaks are not as complicated as they seem.
With the right approach, careful inspection, and steady hands, many issues can be handled without major expense or stress.
The key is not perfection—it’s persistence and awareness.
frequently asked questions
- how do i know if my roof leak is serious?
If the leak spreads quickly, causes structural sagging, or is accompanied by mold or electrical issues, it’s serious. Small, contained drips are less urgent but still need prompt attention. - can i fix a roof leak from inside the house?
You can temporarily manage it from inside using buckets or sealants, but permanent repairs must be done from the outside to stop water entry. - how long does a typical roof repair last?
A properly done repair can last several years, especially if the surrounding roof is in good condition. Poor repairs may fail within months. - is it safe to walk on my roof?
It depends on the slope, material, and your experience. Flat or low-slope roofs are safer. Steep roofs require caution and sometimes professional help. - what is the most common cause of roof leaks?
Damaged shingles and faulty flashing are among the most common causes, followed closely by clogged gutters and poor sealing. - should i replace the whole roof if there’s a leak?
Not always. Many leaks are localized and can be repaired. Full replacement is only necessary if the roof is old or extensively damaged.
A leaking roof doesn’t have to become a disaster. With attention, care, and the right steps, it becomes just another problem you handled—and solved—on your own terms.


