8 Essential Roof Leak Fix Guide Maintenance Steps You Shouldn’t Skip
8 Essential Roof Leak Fix Guide Maintenance Steps You Shouldn’t Skip
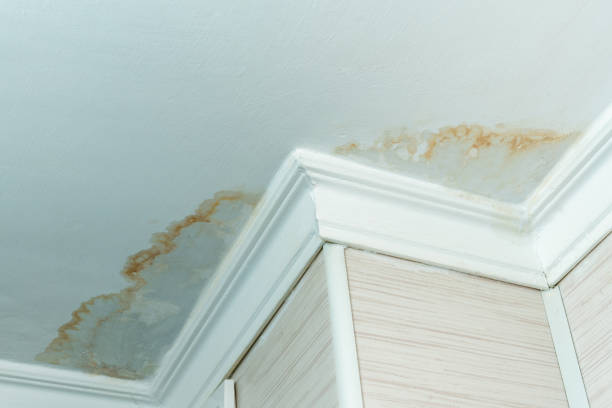
A leaking roof rarely announces itself politely. It starts with a faint stain, a damp smell, or that subtle drip that seems harmless until it isn’t. Left alone, it can quietly turn into structural damage, mold growth, ruined insulation, and costly repairs. What many homeowners don’t realize is that most roof leaks don’t come from dramatic storm damage—they come from neglect, overlooked maintenance, and small issues that slowly grow.
This guide isn’t just a list of steps. It’s a practical, experience-driven walkthrough that helps you understand not only what to do, but why each step matters. Think of it as a conversation with someone who has dealt with leaks, made mistakes, fixed them, and learned what truly works.
Let’s get into the essential maintenance steps you should never skip if you want to keep your roof dry, strong, and reliable.
step 1: inspect your roof regularly, not just after storms
One of the biggest misconceptions is that roofs only need attention after bad weather. In reality, routine inspection is your first and best line of defense.
Set a habit of visually checking your roof at least once every two to three months. You don’t always need to climb up—sometimes a careful look from the ground or from a window is enough to spot warning signs. Look for missing shingles, uneven patches, sagging areas, or anything that looks out of place.
The key here is familiarity. When you see your roof often, you start to recognize what’s normal. That makes it much easier to catch subtle changes early.
If you’re comfortable and safe doing so, a closer inspection can reveal cracked shingles, lifted edges, or small punctures. These are often the starting points of leaks. Catching them early can turn a major repair into a minor fix.
step 2: clean your gutters like it actually matters
Gutters don’t seem like a big deal—until they stop doing their job. When gutters clog with leaves, dirt, or debris, water has nowhere to go. Instead, it backs up and seeps under shingles, eventually making its way inside your home.
Cleaning gutters isn’t glamorous, but it’s one of the most effective ways to prevent leaks. Ideally, clean them at least twice a year, and more often if you have trees nearby.
While cleaning, pay attention to how water would flow. Are there sections where debris builds up faster? Are there sagging spots where water might collect? These are trouble zones.
Also check downspouts. If they’re blocked, even clean gutters won’t help. A simple flush with a hose can confirm that water is flowing freely.
Think of gutters as your roof’s drainage system. If it fails, everything above it is at risk.
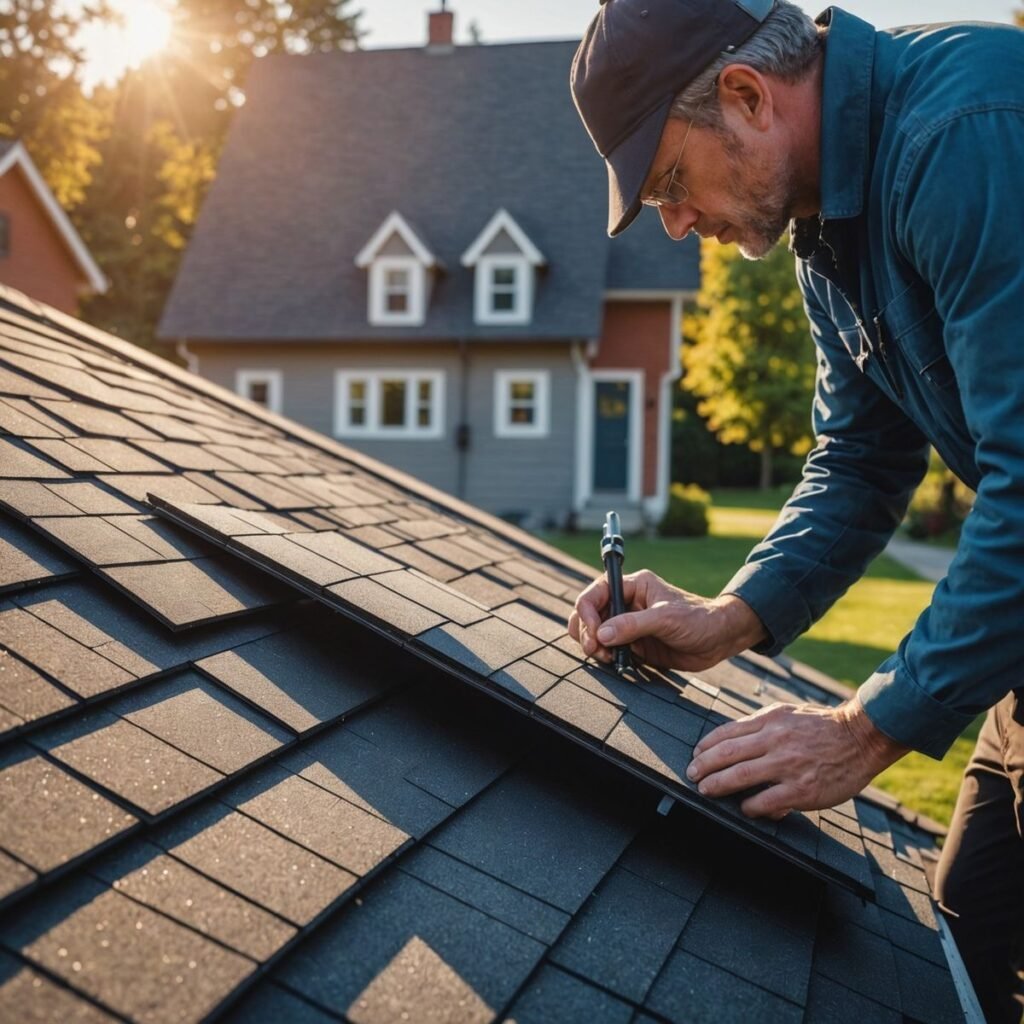
step 3: check flashing and seals around vulnerable areas
Most leaks don’t happen in the middle of the roof—they happen where things meet. Chimneys, vents, skylights, and edges are all vulnerable points.
Flashing is the material (often metal) installed to direct water away from these joints. Over time, flashing can crack, rust, or pull away. Sealants can dry out and lose their effectiveness.
Inspect these areas carefully. Look for gaps, peeling sealant, or signs of rust. Even a small opening can let water in, especially during heavy rain.
If you spot an issue, don’t wait. Reapplying sealant or replacing damaged flashing is usually straightforward and far less expensive than repairing interior damage later.
This step is often overlooked, but it’s one of the most critical in preventing leaks.
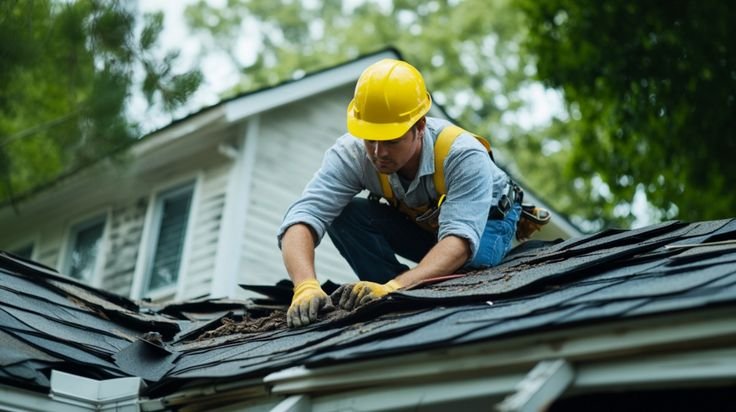
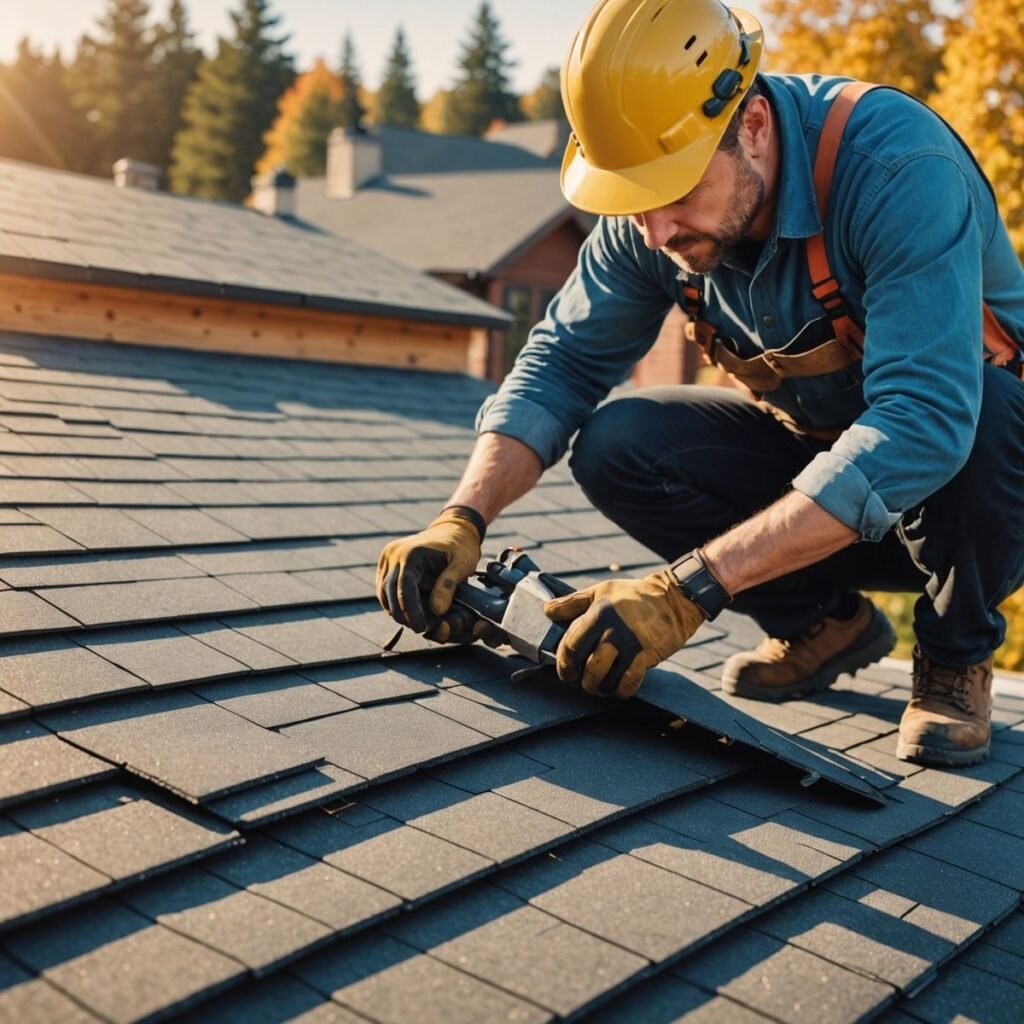
step 4: replace damaged or missing shingles immediately
A single missing shingle might not seem urgent, but it exposes the underlayment and decking to the elements. Water doesn’t need a large opening—it just needs access.
Shingles can become damaged due to wind, heat, aging, or debris impact. When they crack, curl, or go missing, they stop doing their job.
Keep a few spare shingles if possible, especially if your roof uses a specific style or color. Replacing a damaged shingle quickly can prevent a chain reaction of damage.
If you’re unsure how to replace shingles safely, it’s worth calling a professional. But don’t delay the fix. Time is the enemy when your roof is compromised.
step 5: address small leaks before they grow
There’s a tendency to ignore minor leaks, especially if they’re not causing obvious damage yet. Maybe it’s just a small stain or a drip during heavy rain. It’s easy to postpone dealing with it.
That’s a mistake.
Small leaks rarely stay small. Water travels, spreads, and finds new paths. What starts as a tiny issue can lead to rotting wood, weakened structures, and mold growth.
If you notice any signs of a leak—discoloration, damp spots, peeling paint, or musty smells—investigate immediately. Trace the source as best as you can and fix it at the root.
Temporary fixes like tarps or sealants can help in emergencies, but they’re not long-term solutions. Treat them as a stopgap, not a cure.
step 6: keep your roof clear of debris
Leaves, branches, and other debris don’t just sit on your roof—they trap moisture. Over time, this creates the perfect environment for rot and deterioration.
Debris can also block water flow, causing it to pool in certain areas. Standing water is a major risk factor for leaks, especially on low-slope roofs.
Make it a habit to clear your roof after storms or during seasonal cleanups. Pay special attention to valleys and corners where debris tends to collect.
This step is simple, but it has a big impact. A clean roof is a healthier roof.
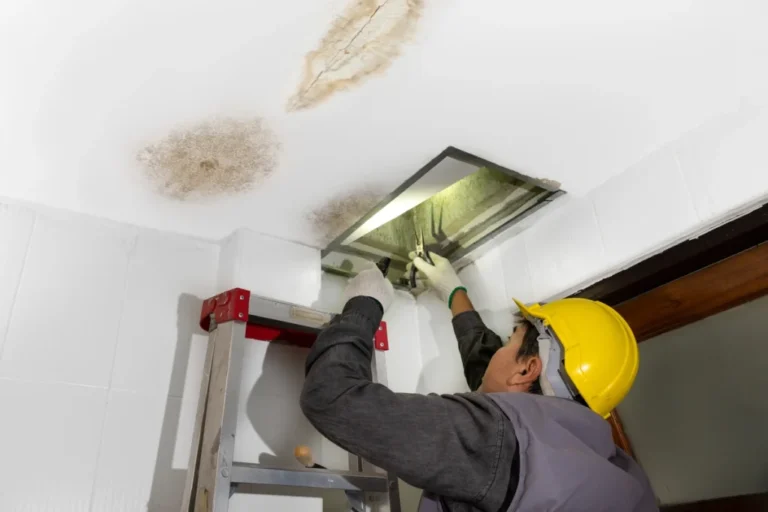
step 7: ensure proper attic ventilation and insulation
This might not seem directly related to leaks, but it plays a bigger role than most people realize.
Poor ventilation can cause heat and moisture to build up in the attic. This can lead to condensation, which mimics a roof leak. Over time, it can damage the roof structure from the inside.
In colder climates, improper insulation and ventilation can cause ice dams. These form when snow melts and refreezes at the roof edge, forcing water back under the shingles.
Check your attic for signs of moisture, mold, or poor airflow. Ensure vents are not blocked and insulation is evenly distributed.
A well-ventilated attic helps regulate temperature and moisture, reducing stress on your roof and preventing hidden damage.
step 8: schedule professional inspections when needed
Even if you’re diligent with maintenance, there are things only a trained eye can catch. Professional roof inspections can identify issues you might miss.
Consider scheduling an inspection once a year, or after major weather events. Professionals can assess structural integrity, hidden damage, and potential weak points.
They can also provide guidance on maintenance, repairs, and the overall condition of your roof.
Think of it as a health check for your home. Prevention is always cheaper and easier than repair.
bringing it all together
Roof maintenance isn’t about doing one big thing—it’s about consistently doing small things well. Each step in this guide plays a role in protecting your home.
When combined, these steps create a system of care that keeps your roof strong and leak-free. Skip them, and you increase the risk of problems. Follow them, and you build resilience into your home.
It’s not about perfection. It’s about attention, consistency, and acting early.
real-world perspective: what people often get wrong
Many homeowners wait until there’s visible damage before taking action. By then, the problem has usually been developing for months or even years.
Another common mistake is focusing only on the roof surface while ignoring gutters, flashing, and attic conditions. A roof is a system, not just a layer of shingles.
People also tend to underestimate how quickly small issues can escalate. A minor crack today can become a major leak tomorrow, especially with changing weather.
Learning from these patterns can help you avoid costly mistakes.
practical checklist you can actually use
Here’s a simple checklist you can revisit throughout the year:
- inspect roof visually every 2–3 months
- clean gutters and downspouts regularly
- check flashing and seals around joints
- replace damaged or missing shingles promptly
- investigate any signs of leaks immediately
- clear debris from roof surface
- monitor attic ventilation and insulation
- schedule annual professional inspection
Keep it somewhere accessible. The easier it is to remember, the more likely you are to follow through.
faqs
- how do i know if my roof leak is serious?
Any leak should be taken seriously. Even small drips can indicate deeper issues. Signs like widespread staining, sagging ceilings, or mold growth suggest a more advanced problem that needs immediate attention. - can i fix a roof leak myself?
Some minor repairs, like replacing a shingle or applying sealant, can be done yourself if you have the right tools and safety measures. However, for complex or high-risk repairs, it’s safer to hire a professional. - how often should i inspect my roof?
A general rule is every two to three months, plus after major storms. Regular inspections help catch problems early before they become expensive repairs. - what is the most common cause of roof leaks?
Clogged gutters, damaged shingles, and faulty flashing are among the most common causes. Poor maintenance is often the underlying reason these issues develop. - how long does a typical roof last?
It depends on the material. Asphalt shingles typically last 20–30 years, while other materials like metal or tile can last longer. Proper maintenance can extend the lifespan significantly. - should i worry about a small water stain on the ceiling?
Yes. Even a small stain can indicate an active or past leak. It’s important to investigate the source and ensure the issue is fully resolved to prevent further damage.
final thoughts
A roof doesn’t demand attention every day, but it does require respect. It protects everything beneath it—your belongings, your comfort, your safety.
The steps in this guide aren’t complicated, but they are essential. Skipping them might save time today, but it often leads to bigger problems tomorrow.
Stay consistent, stay observant, and treat small issues with urgency. That’s the difference between a roof that lasts and one that fails when you need it most.